
*Before assigning or excluding elevations to/from lots, make sure your plans/elevations are assigned to the correct communities.
- Navigate to the Plans section and select the correct plan.
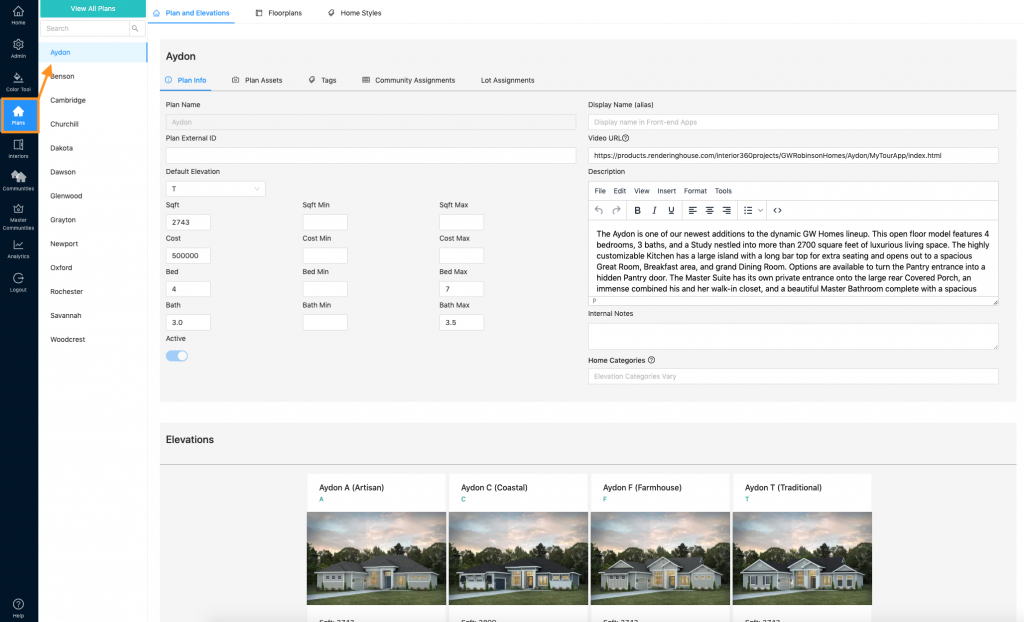
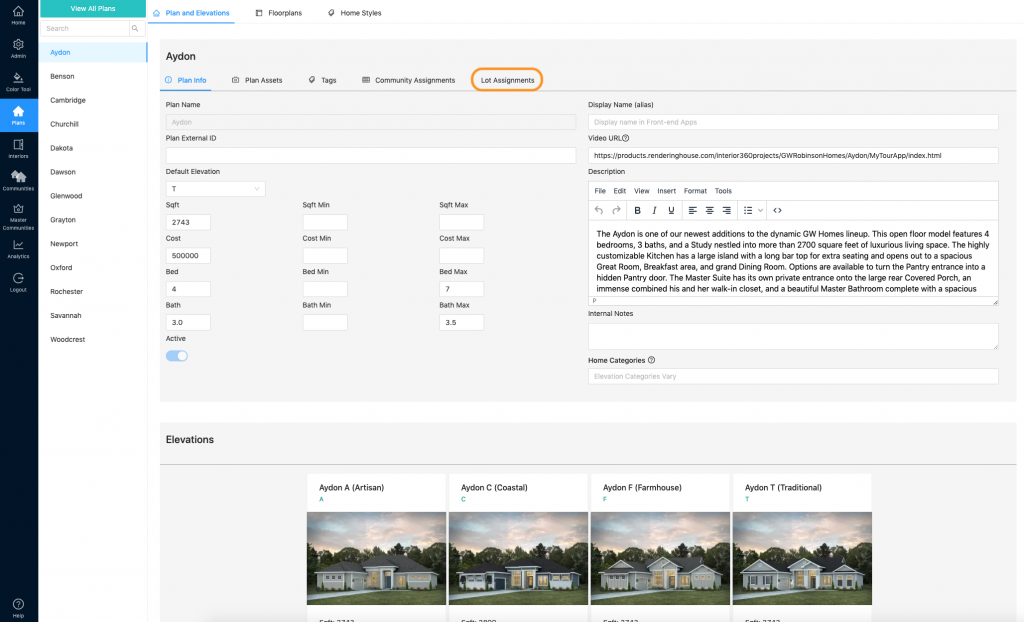
2. Click “Lot Assignments”
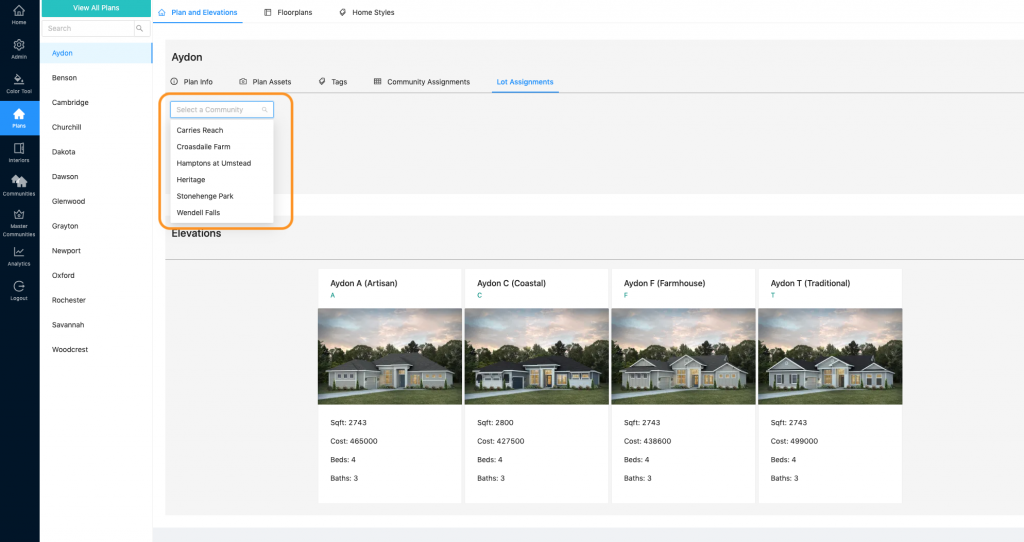
3. Select the correct community from the dropdown
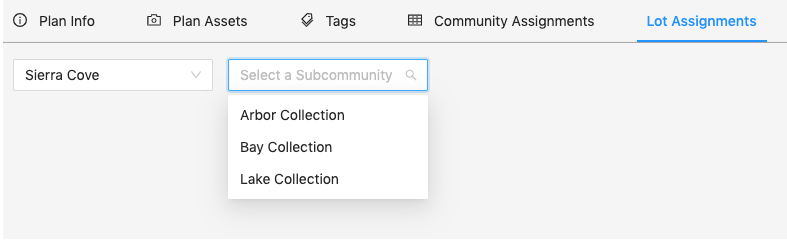
If you have a Master Siteplan, you will be prompted to select a subcommunity…
4. The siteplan for your community will appear. You can see your lots and the assignments table below.
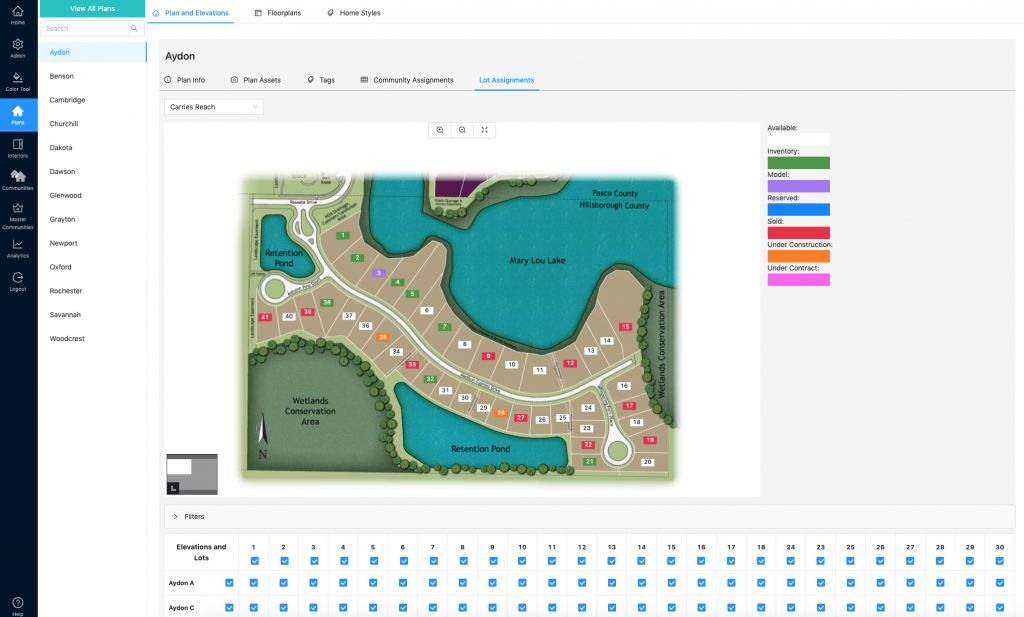
5. Everything is assigned by default, but you can update accordingly. Lots are across the top of the table and elevations are down the left hand side of the table. You can use filters to narrow down your view. Scroll right to left to see more lots. Scroll up and down to see more elevations.
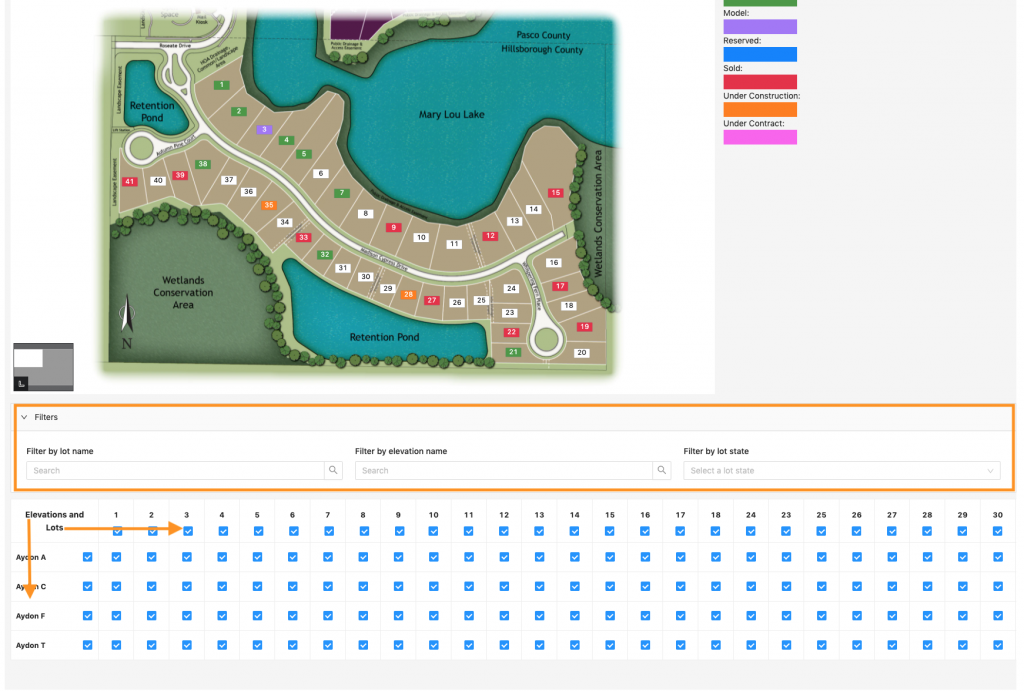
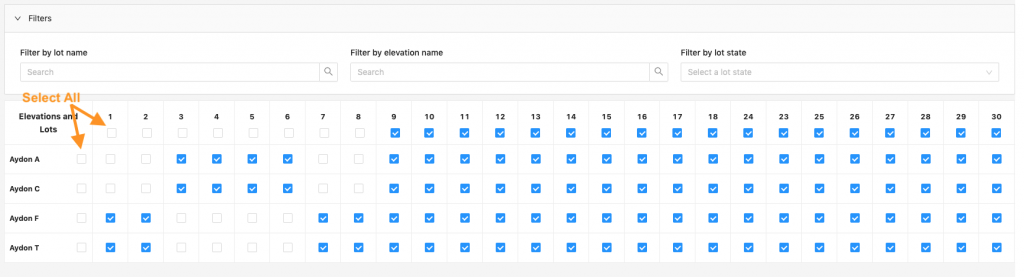
6. Use the check boxes to assign or unassign a particular elevation to/from a specific lot. Checked means that elevation will appear as an option for that lot. Unchecked means that elevation will not appear as an option for that lot. The check boxes under the lots and next to the elevations serve as “select all”
7. Alternatively, you can select the lots on the map image and make your selections there.

8. Once you have completed your selections, you can navigate away from this table and your updates will be saved. You can also set lot exclusions in Communities > Siteplan.