
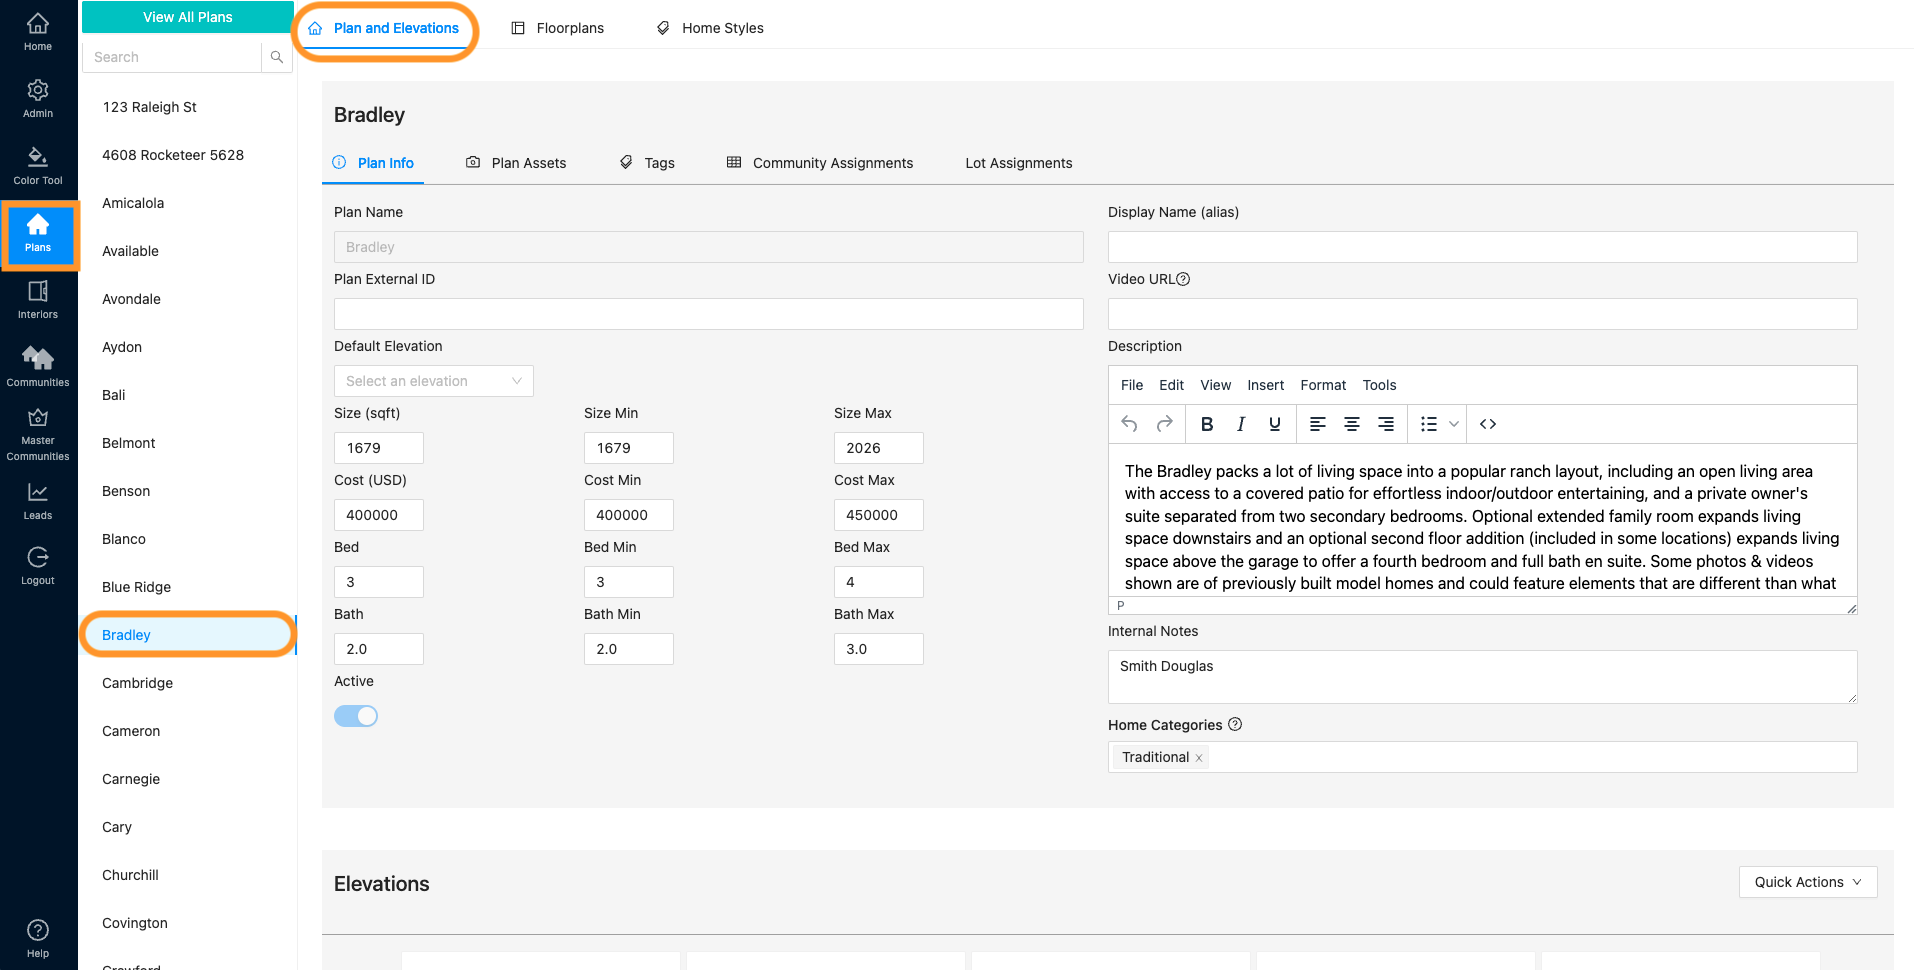
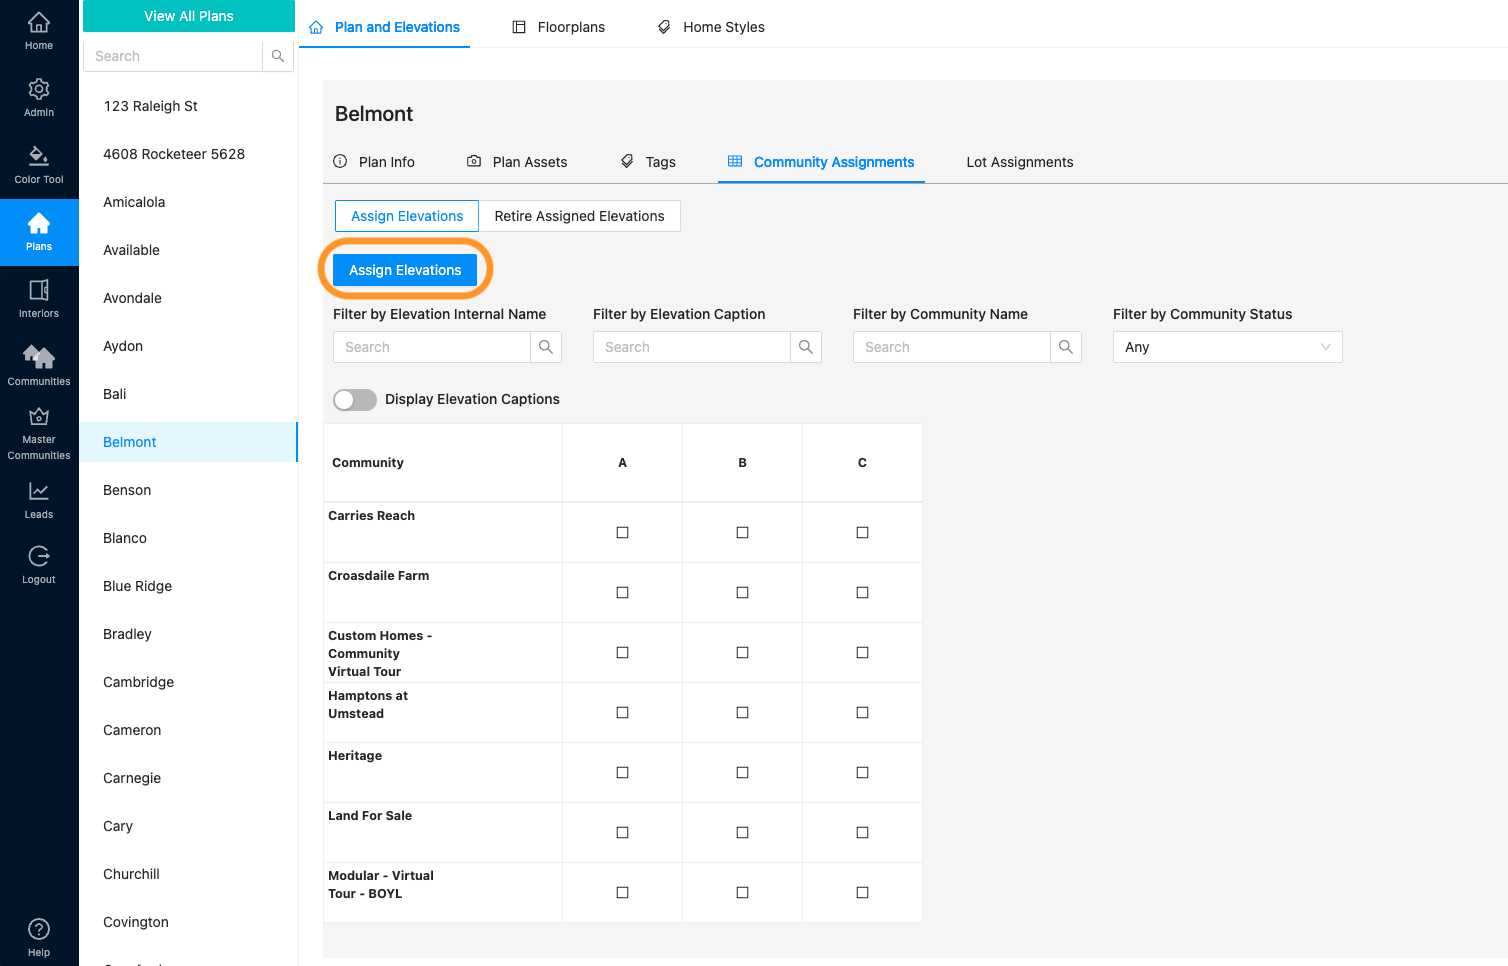
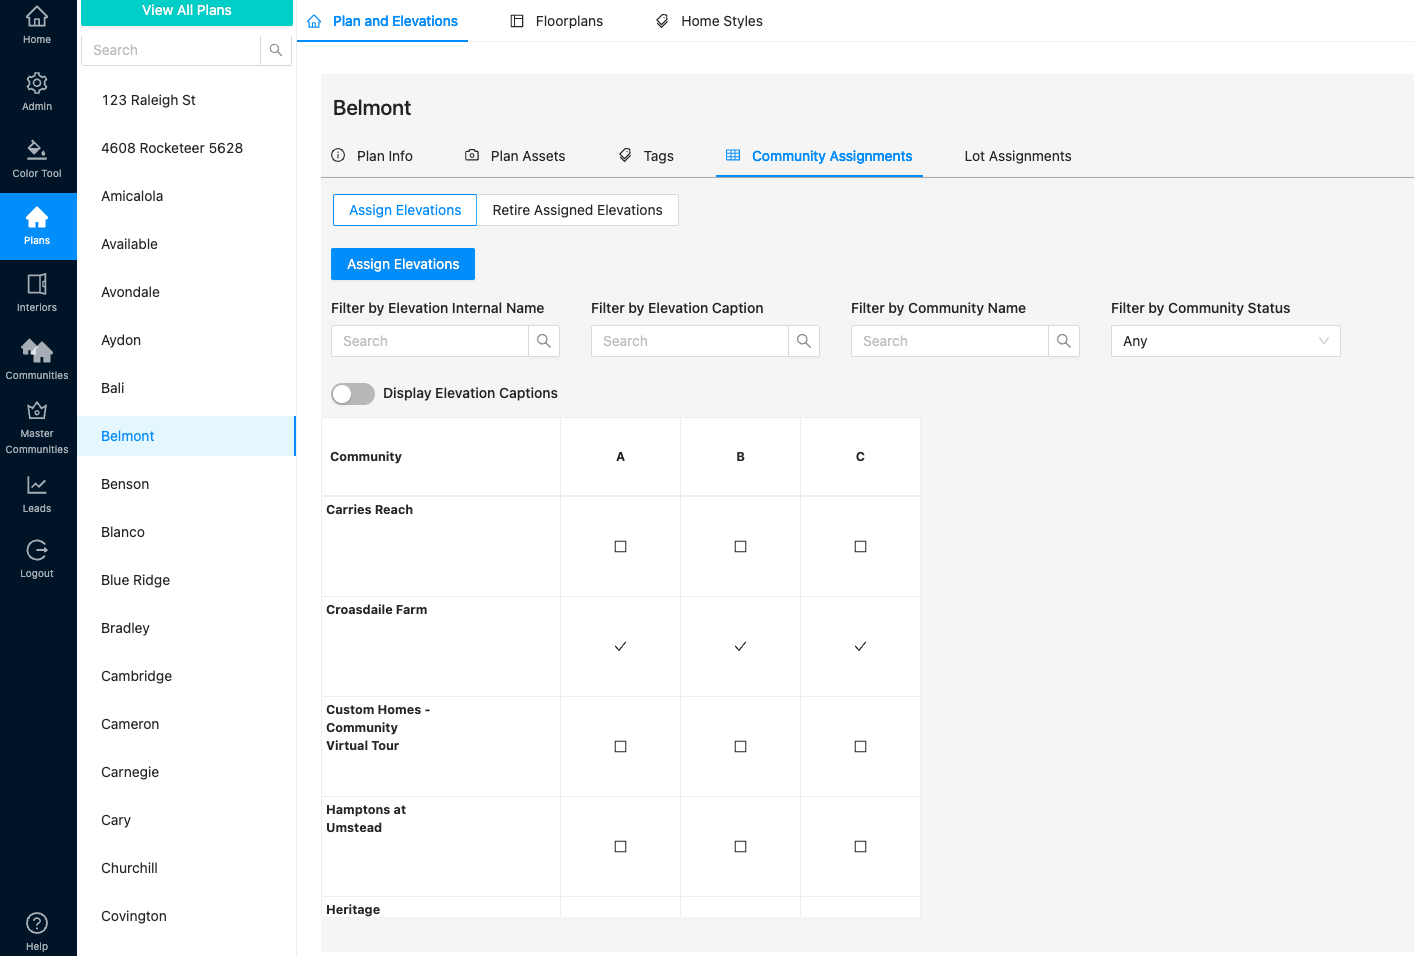
- To assign elevations to communities, go to “Plans” and select the correct plan. This will default to “Plans and Elevations”
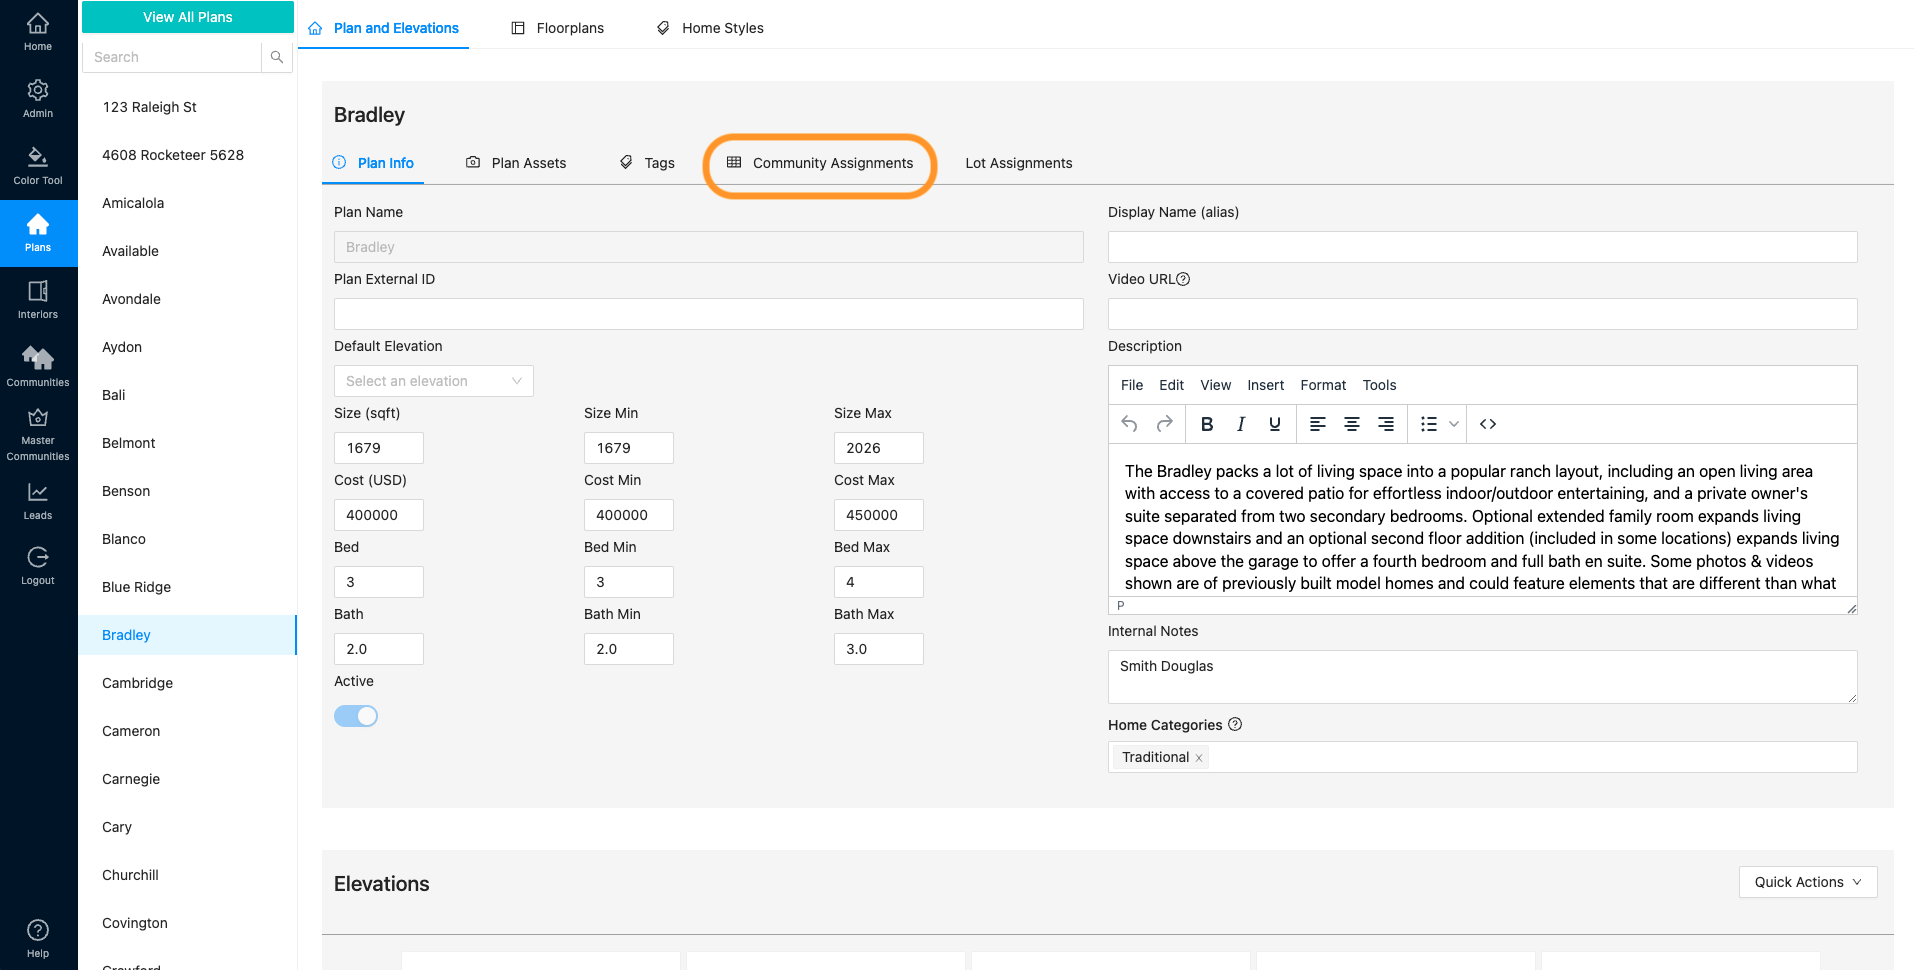
- Find and click “Community Assignments”
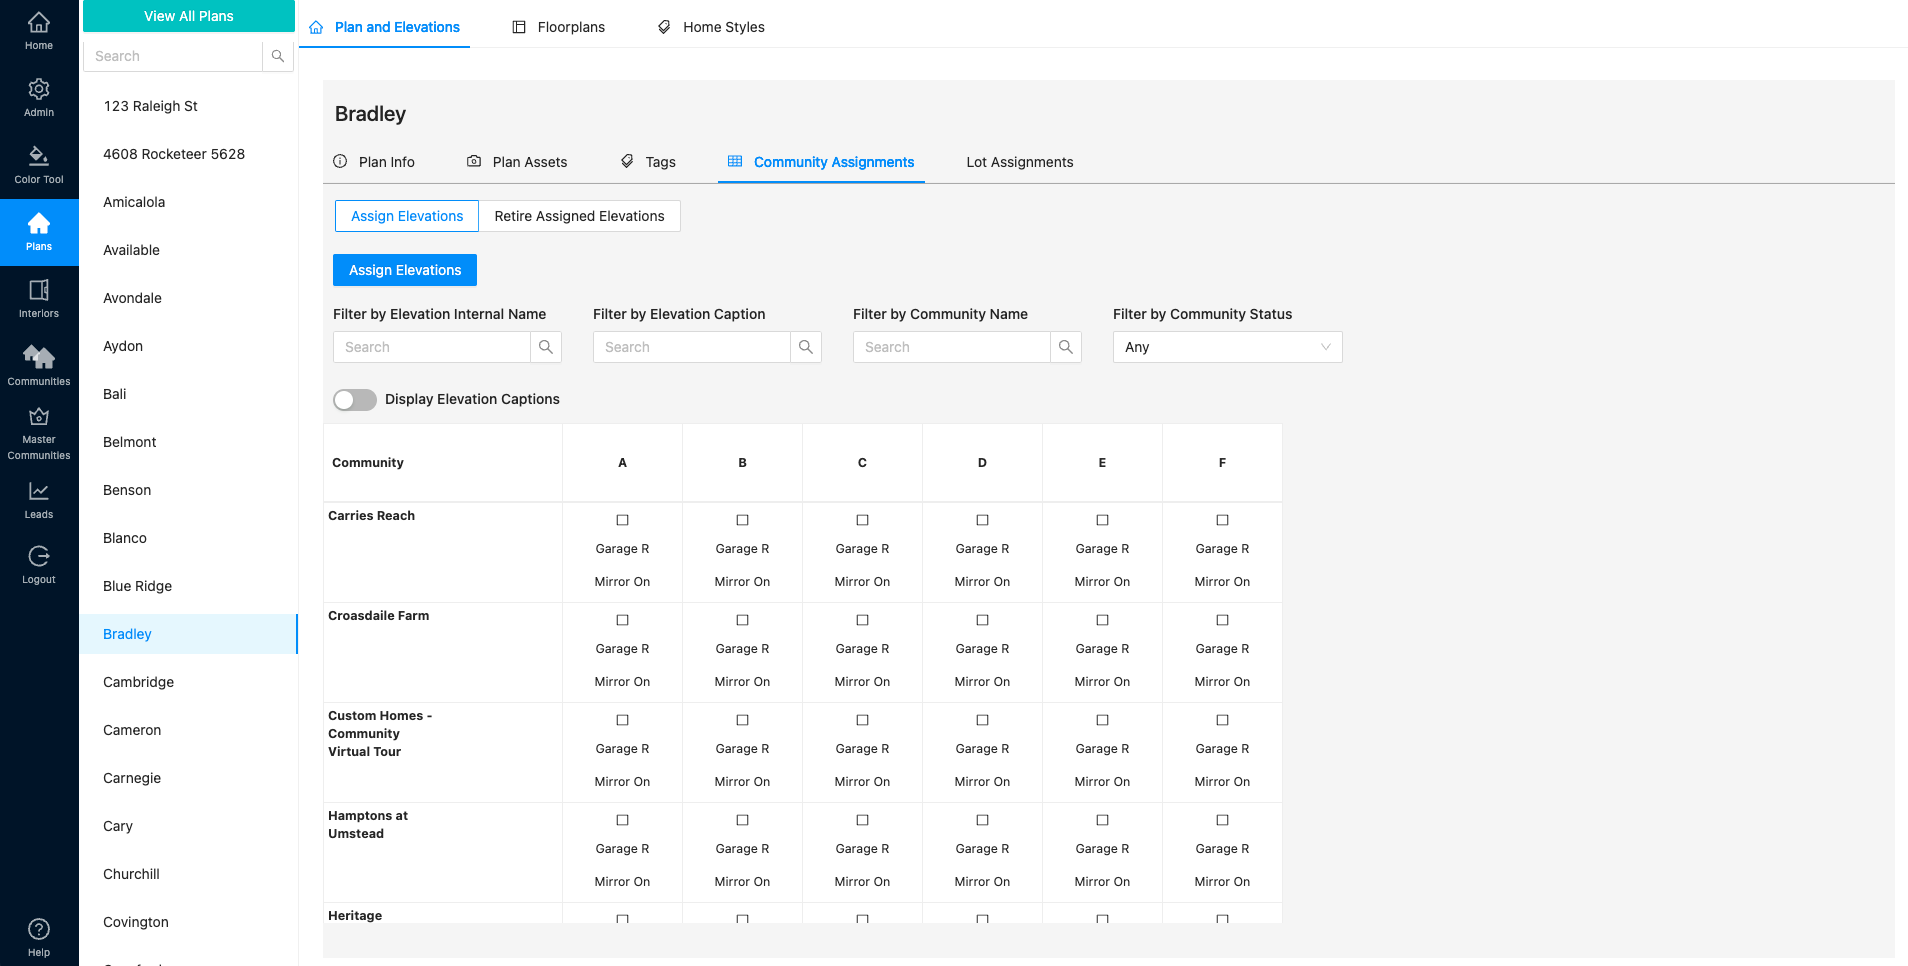
- Here you can see which communities your plans/elevations are assigned to. This table view will look different depending on if you have SVG plans or not.
SVG Plan Table View (includes mirroring options)
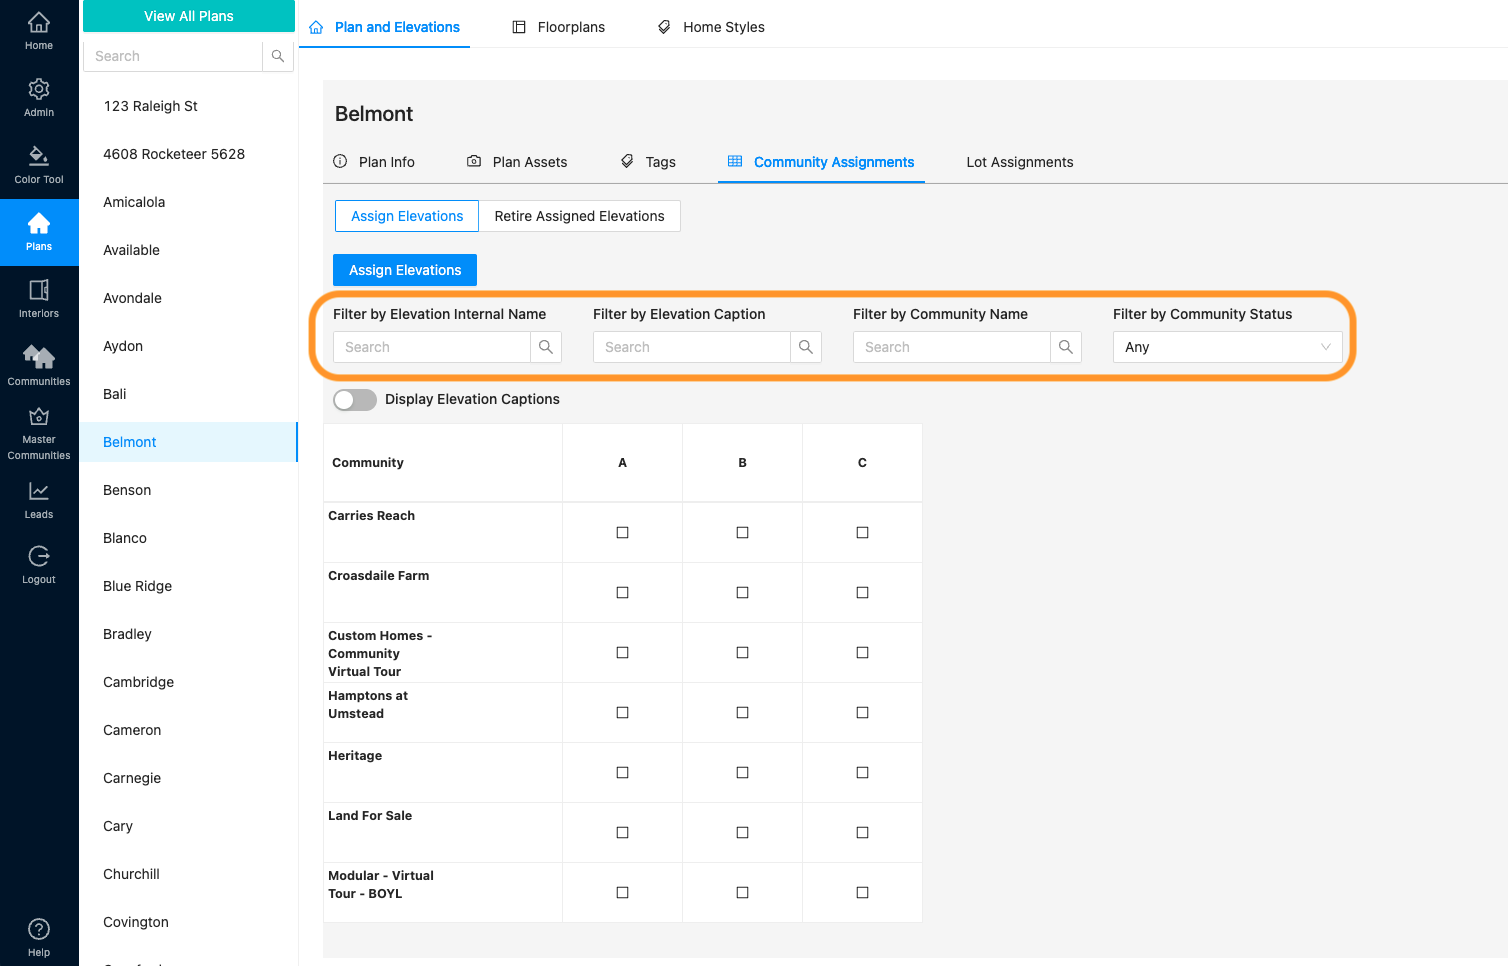
Non-SVG View

- You can use the filters to narrow down your view.
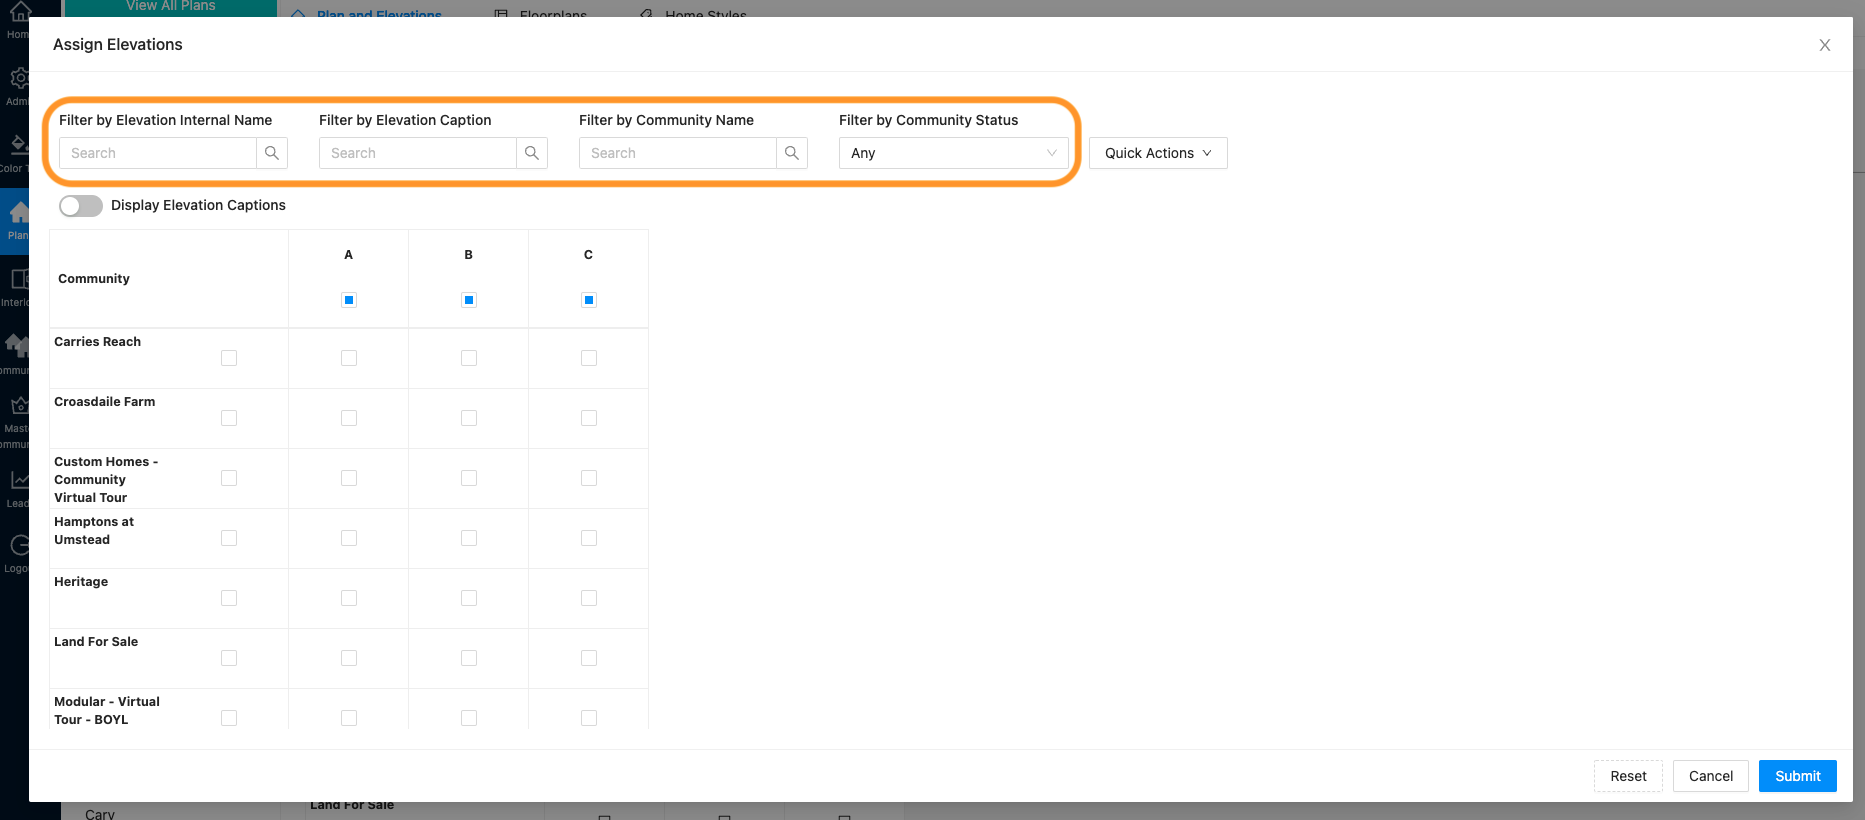
- Click the blue “Assign Elevations” button to make edits.
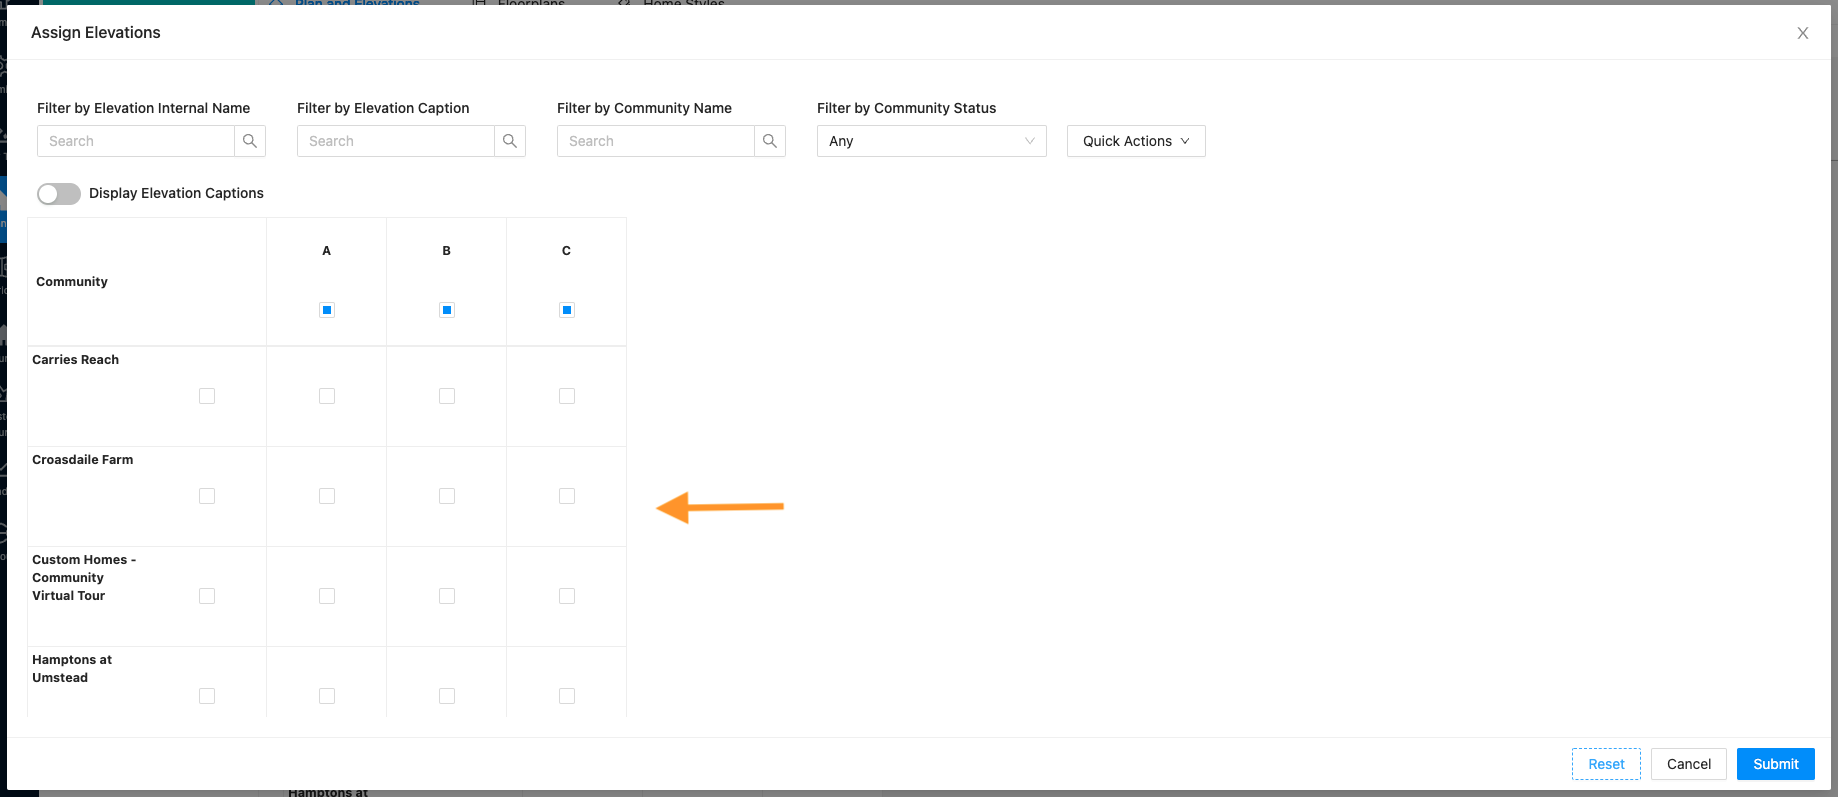
- In this edit window, you can also use the filters to narrow down your view.
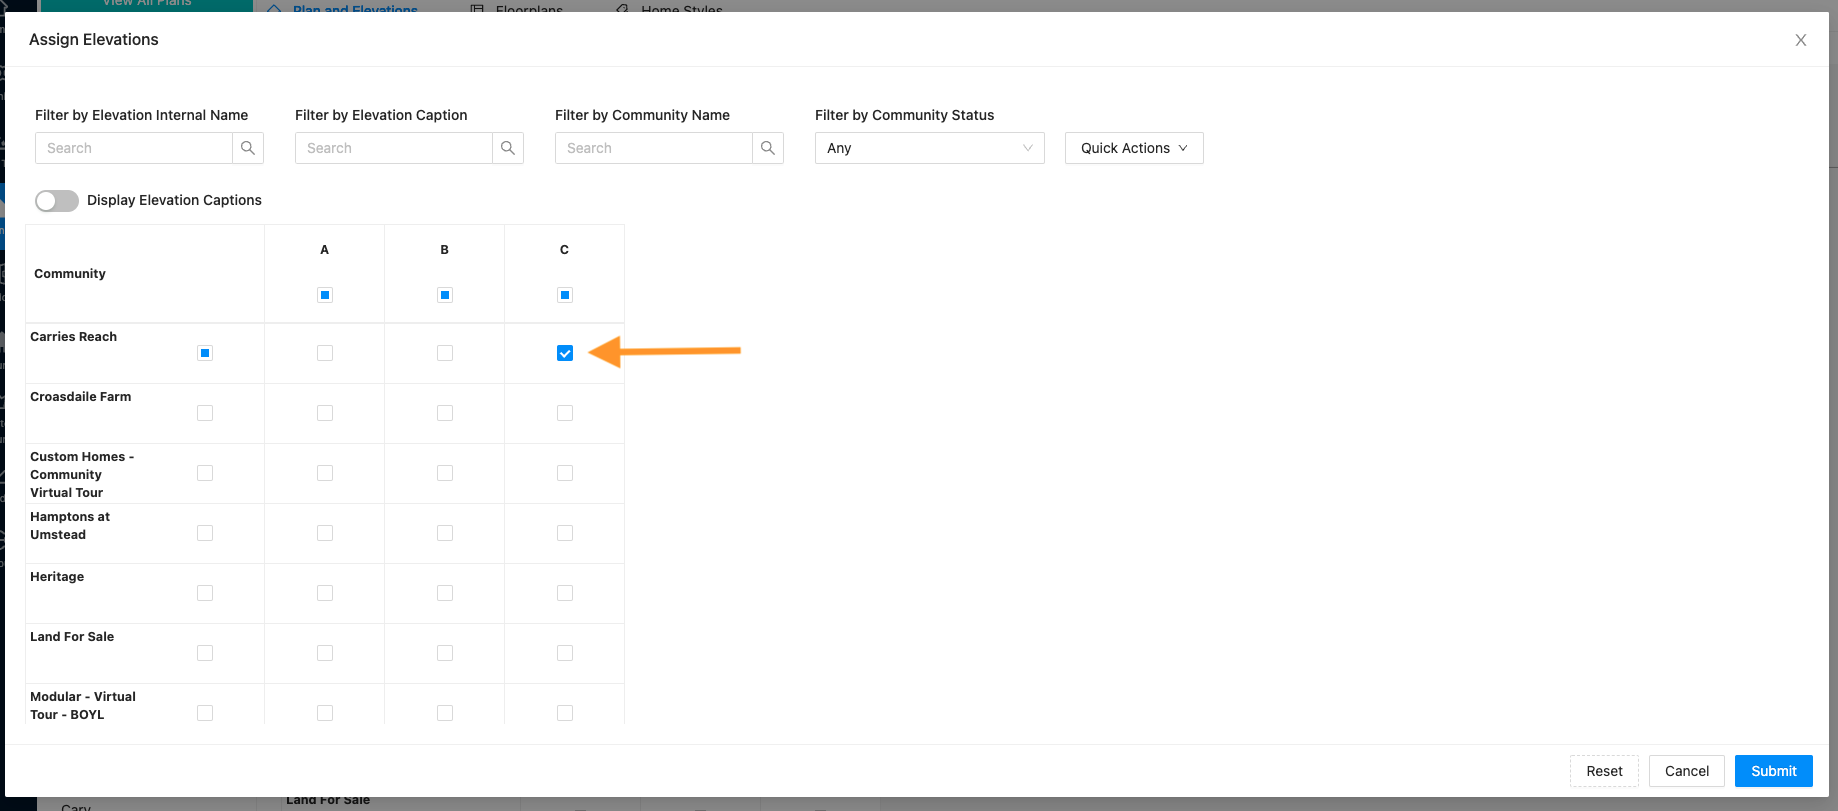
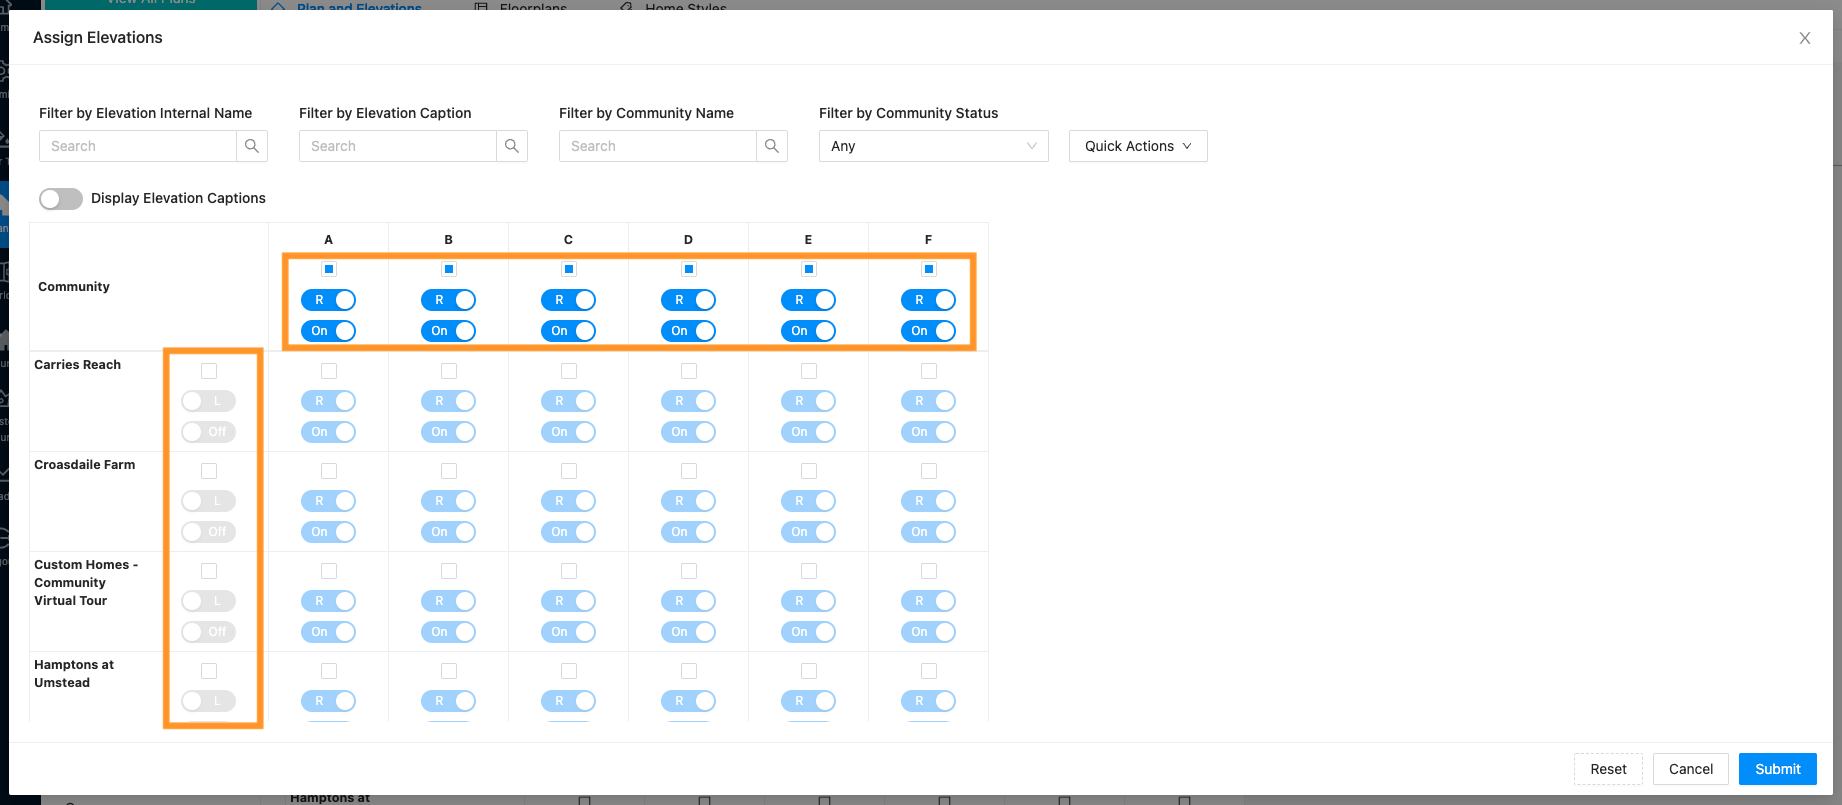
- Check or uncheck the boxes to make the assignments edits needed.
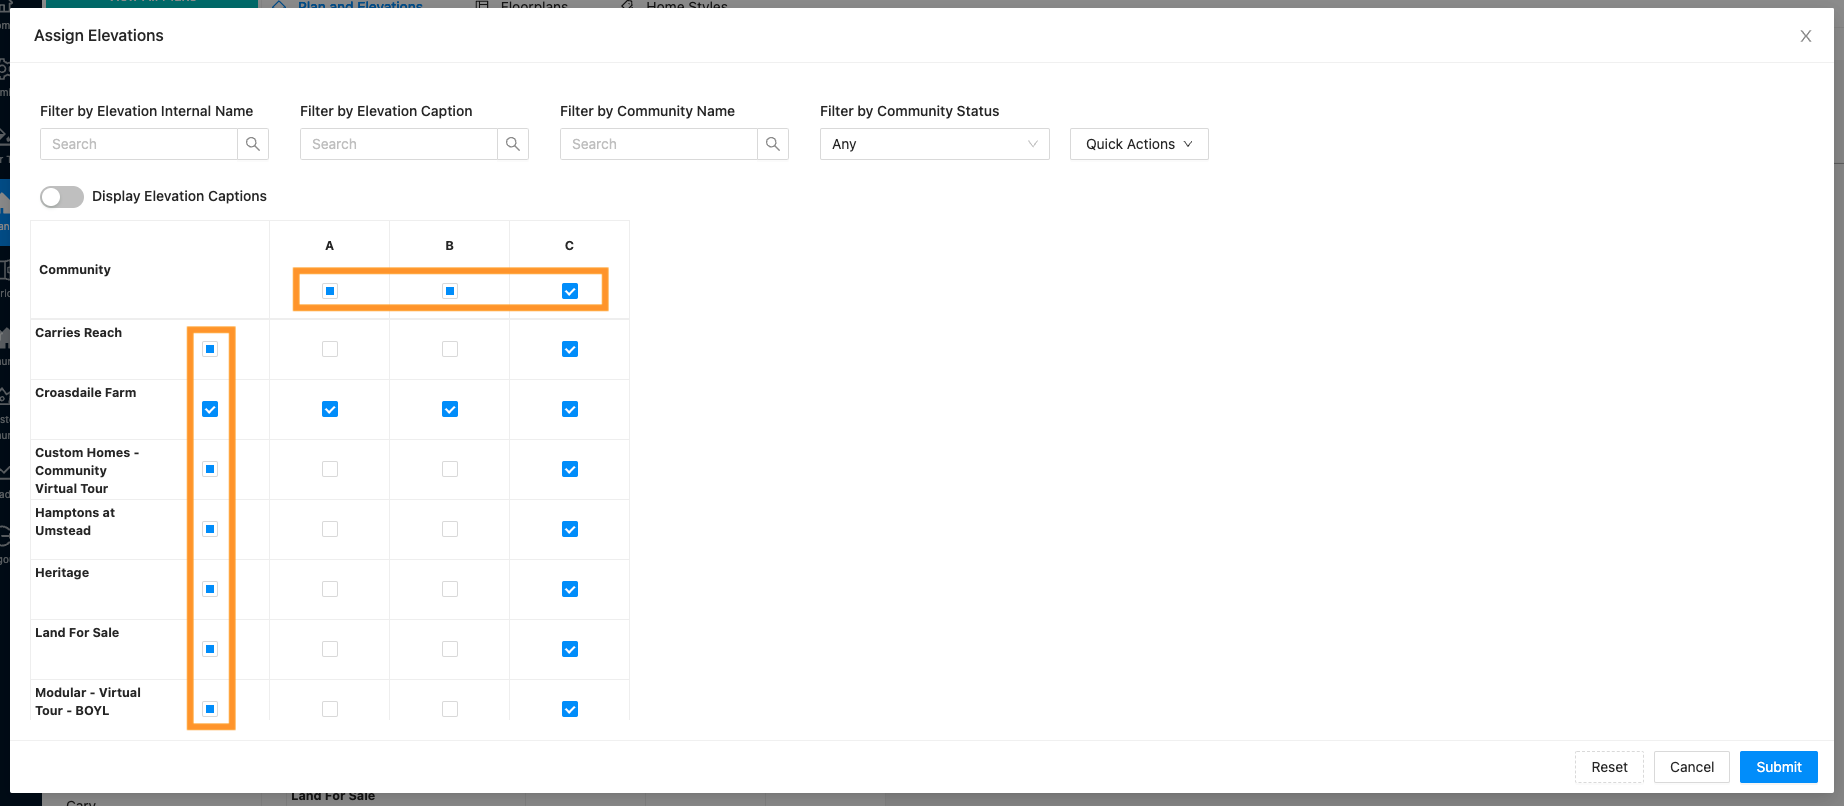
8. The checkboxes under the community names on the left side column and the checkboxes under the elevation names on the top row function as “Select All”
There are also “Select All” buttons for SVG mirroring options.
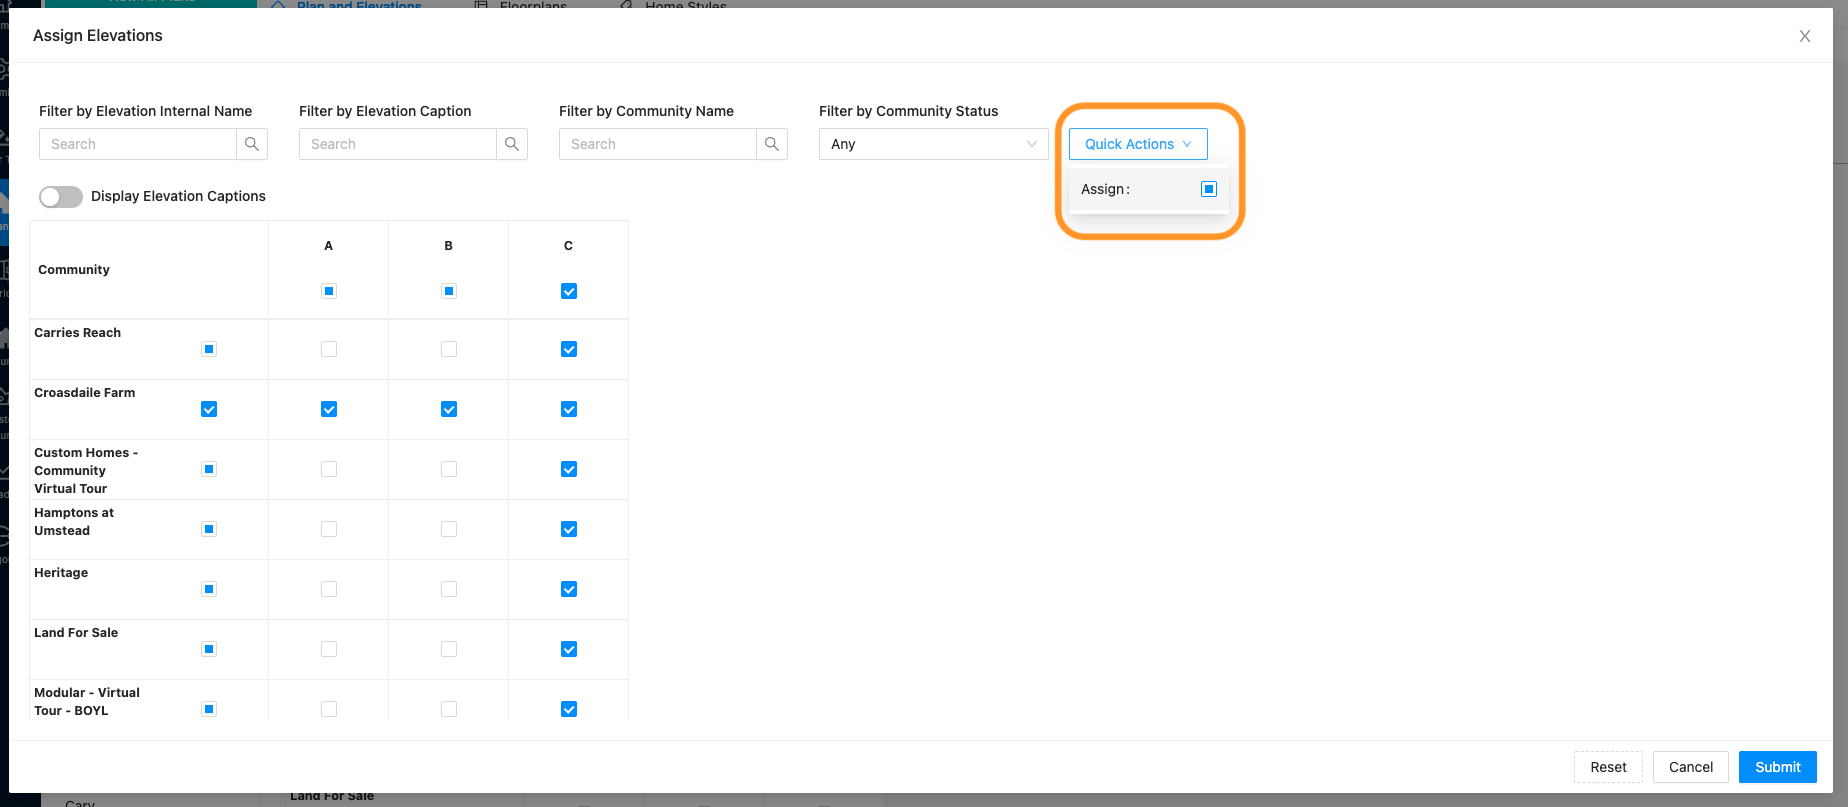
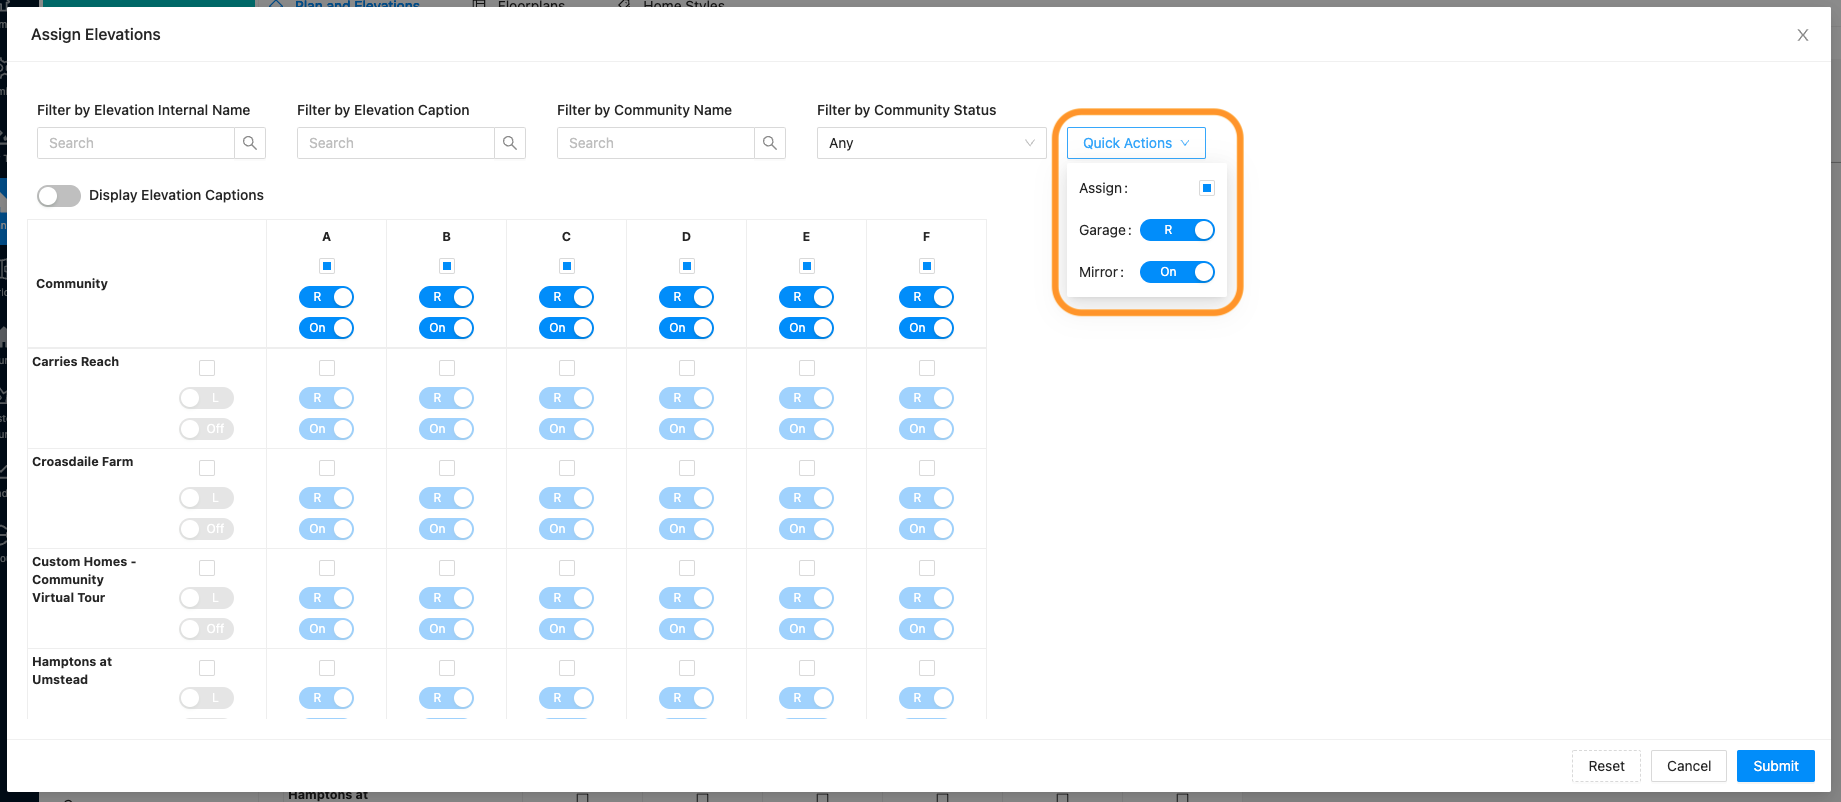
9. The Quick Actions dropdown will assign or unassign the entire table. (This works with the filters, so you can filter down your view and use Quick Actions to assign or unassign. Only changes will be made to what you are actively viewing with the filters.)
The Quick Action dropdown also works for SVG mirroring options.
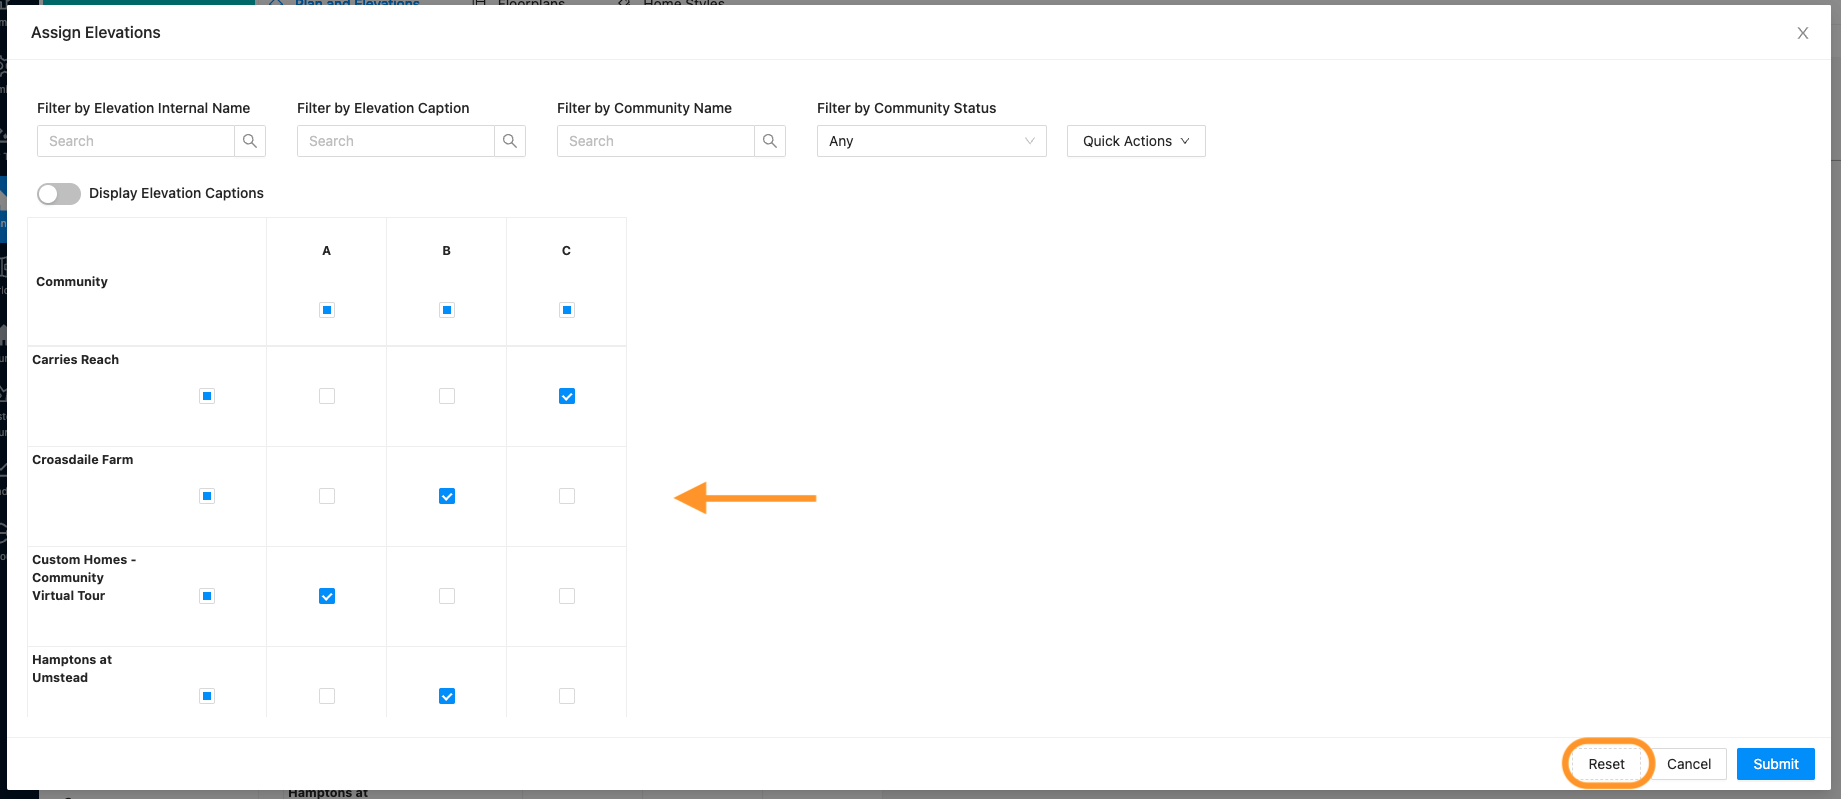
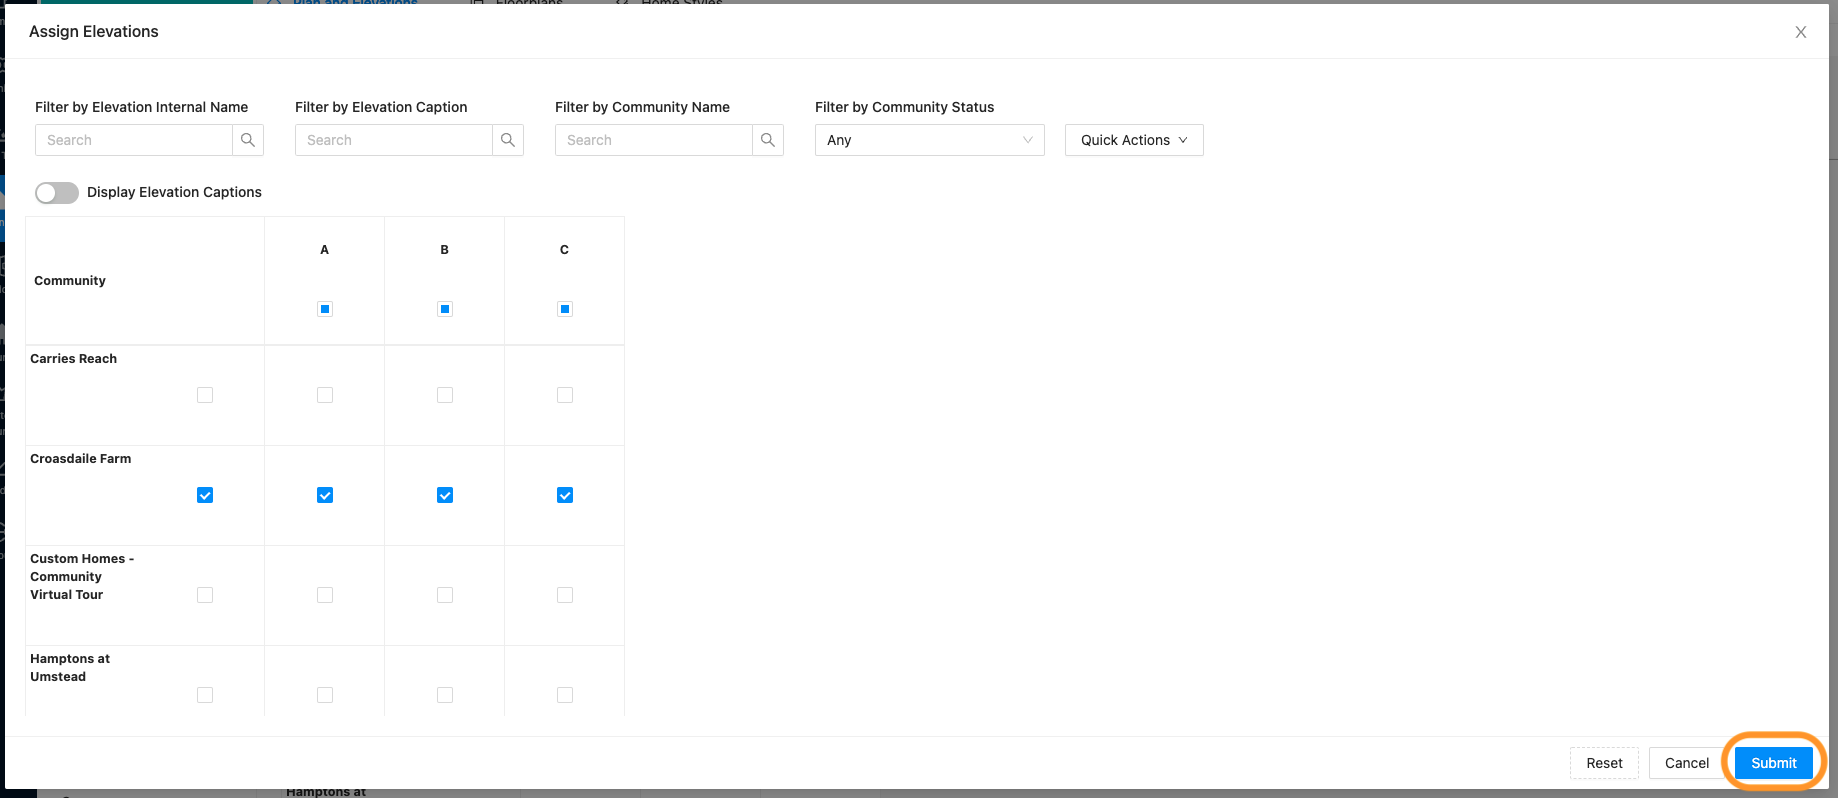
10. If you make changes but wish to un-do them, you can click “Reset” This will clear the recent changes you made and go back to how the window looked when you opened it.
11. When you are finished and want to save your assignments, click “Submit”
12. Your plans/elevations are now assigned to those communities. They will appear in those communities in the front end of both the My Home and Sales Center Apps.
Please note: the Sales Center App mentioned above is an additional cost/upgrade. Please contact your Account Manager for more details.