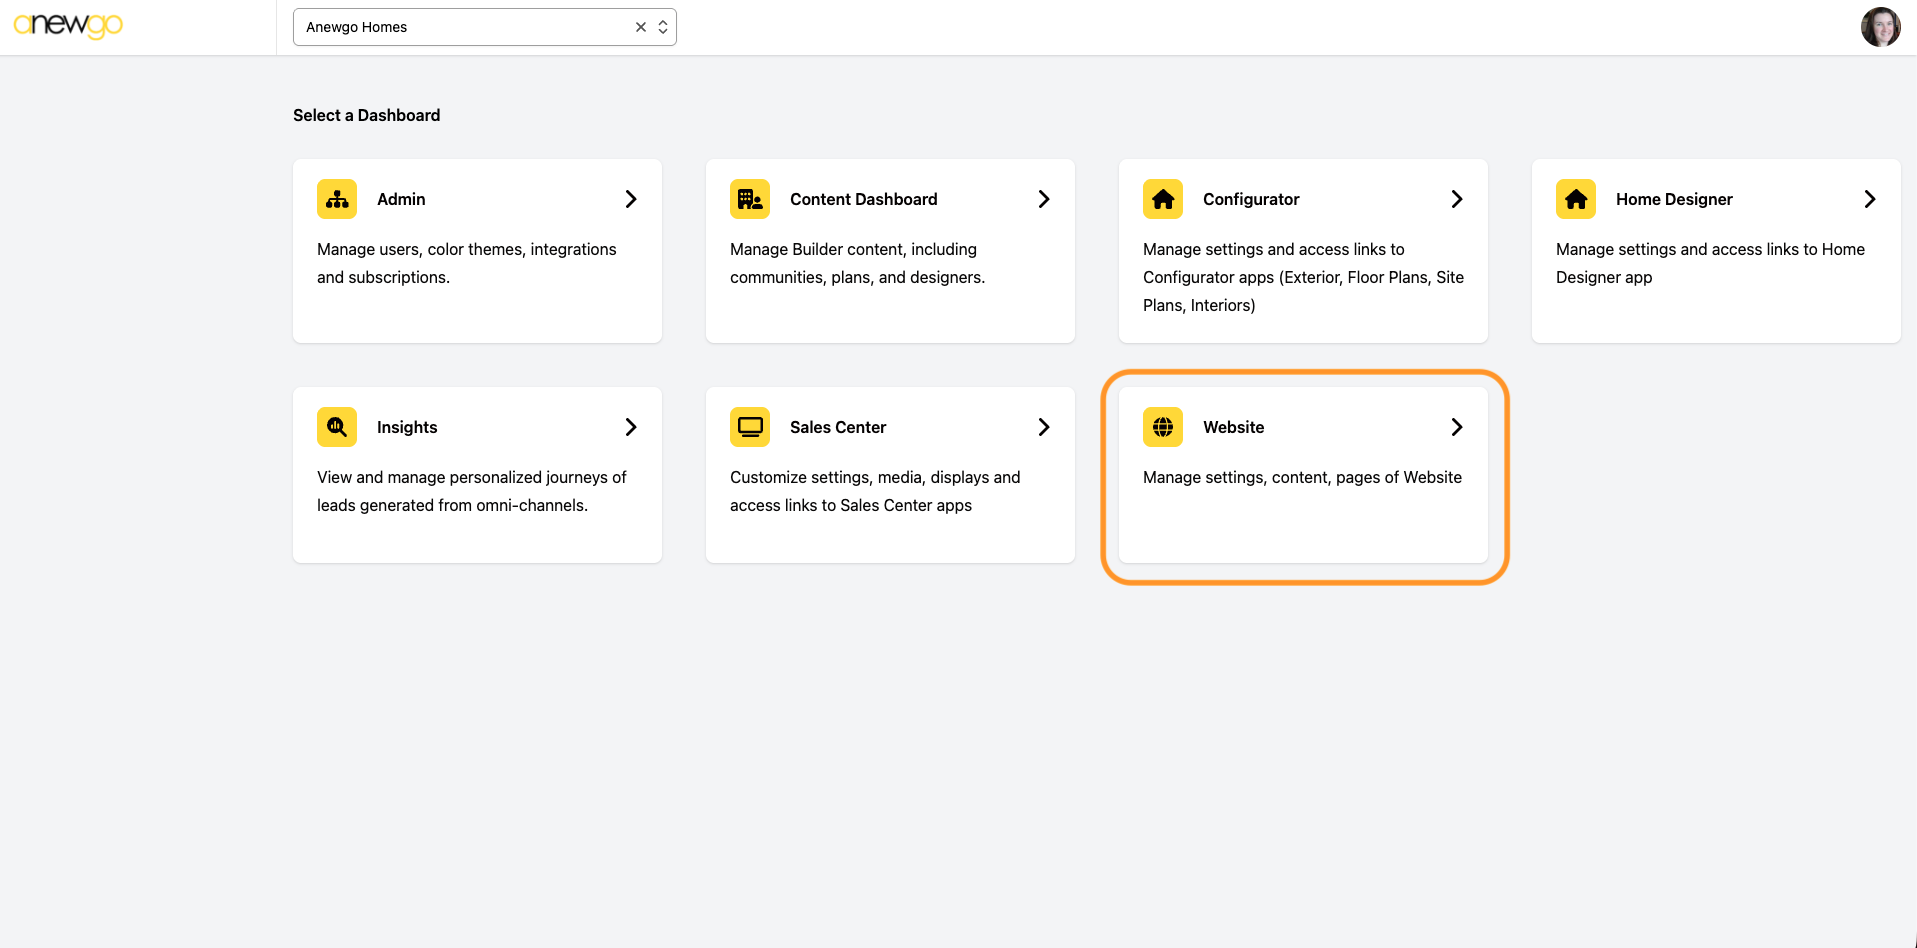
- Click Website card
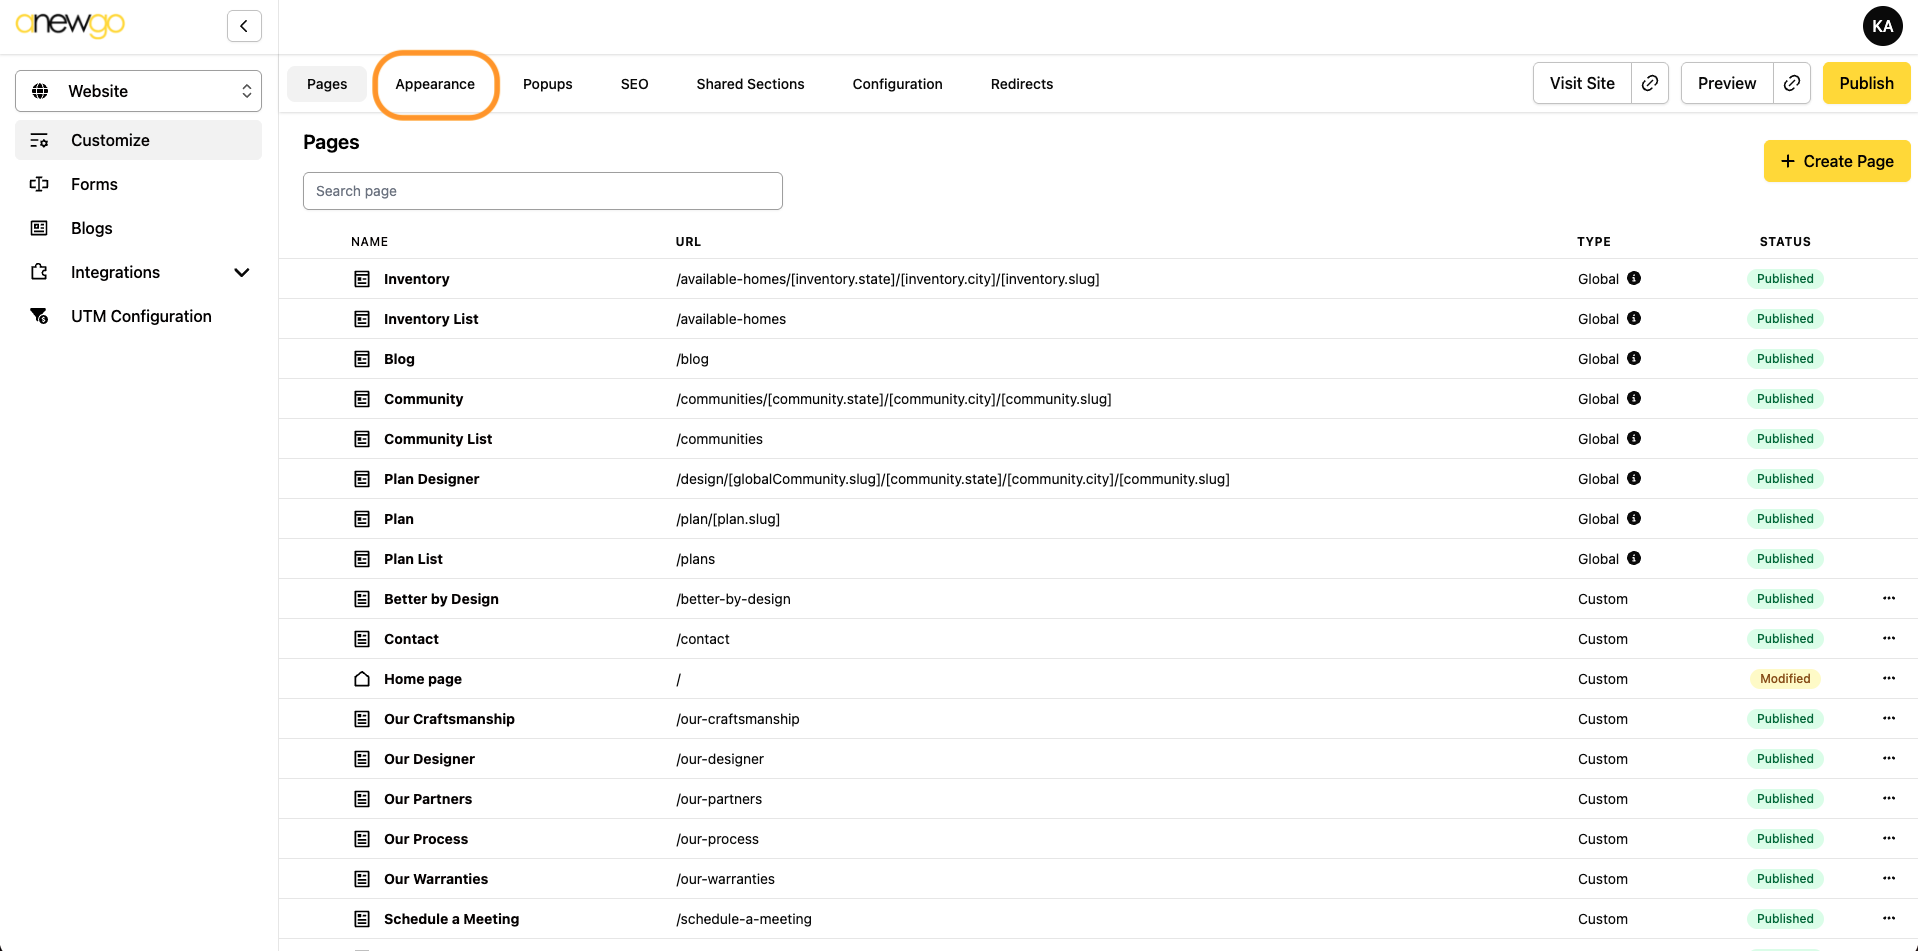
2. Click Appearance
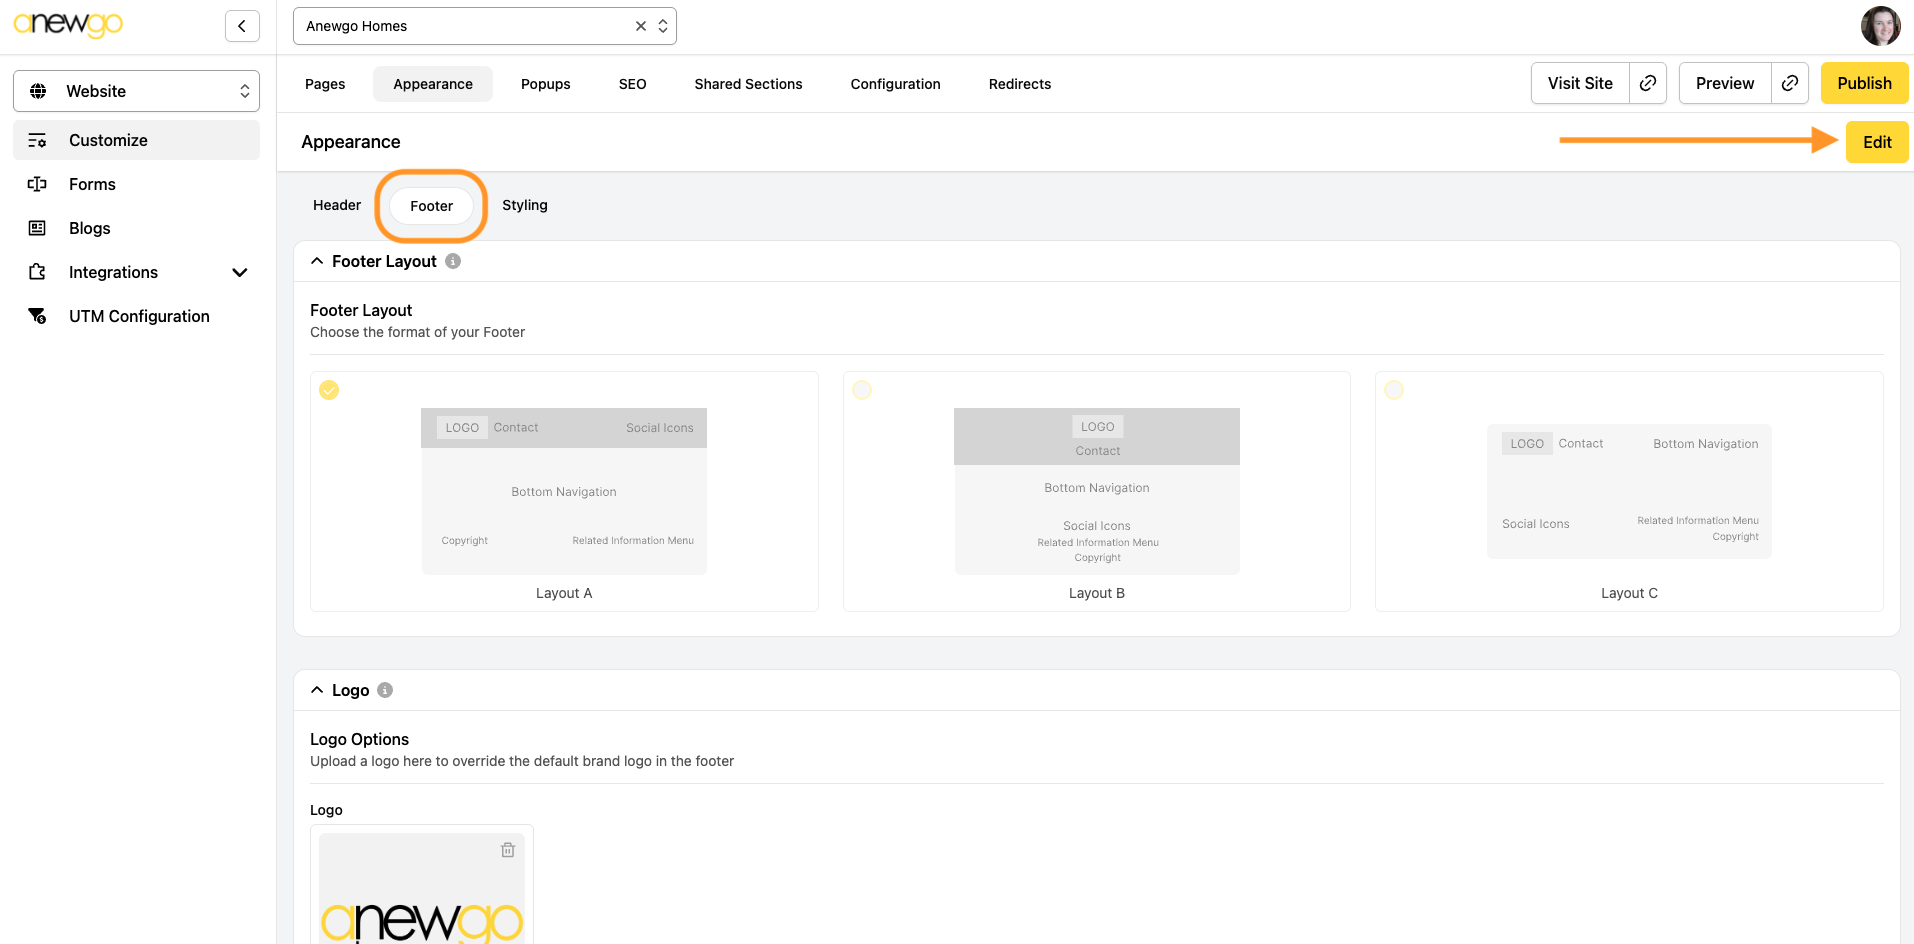
3. Click Footer and then click Edit
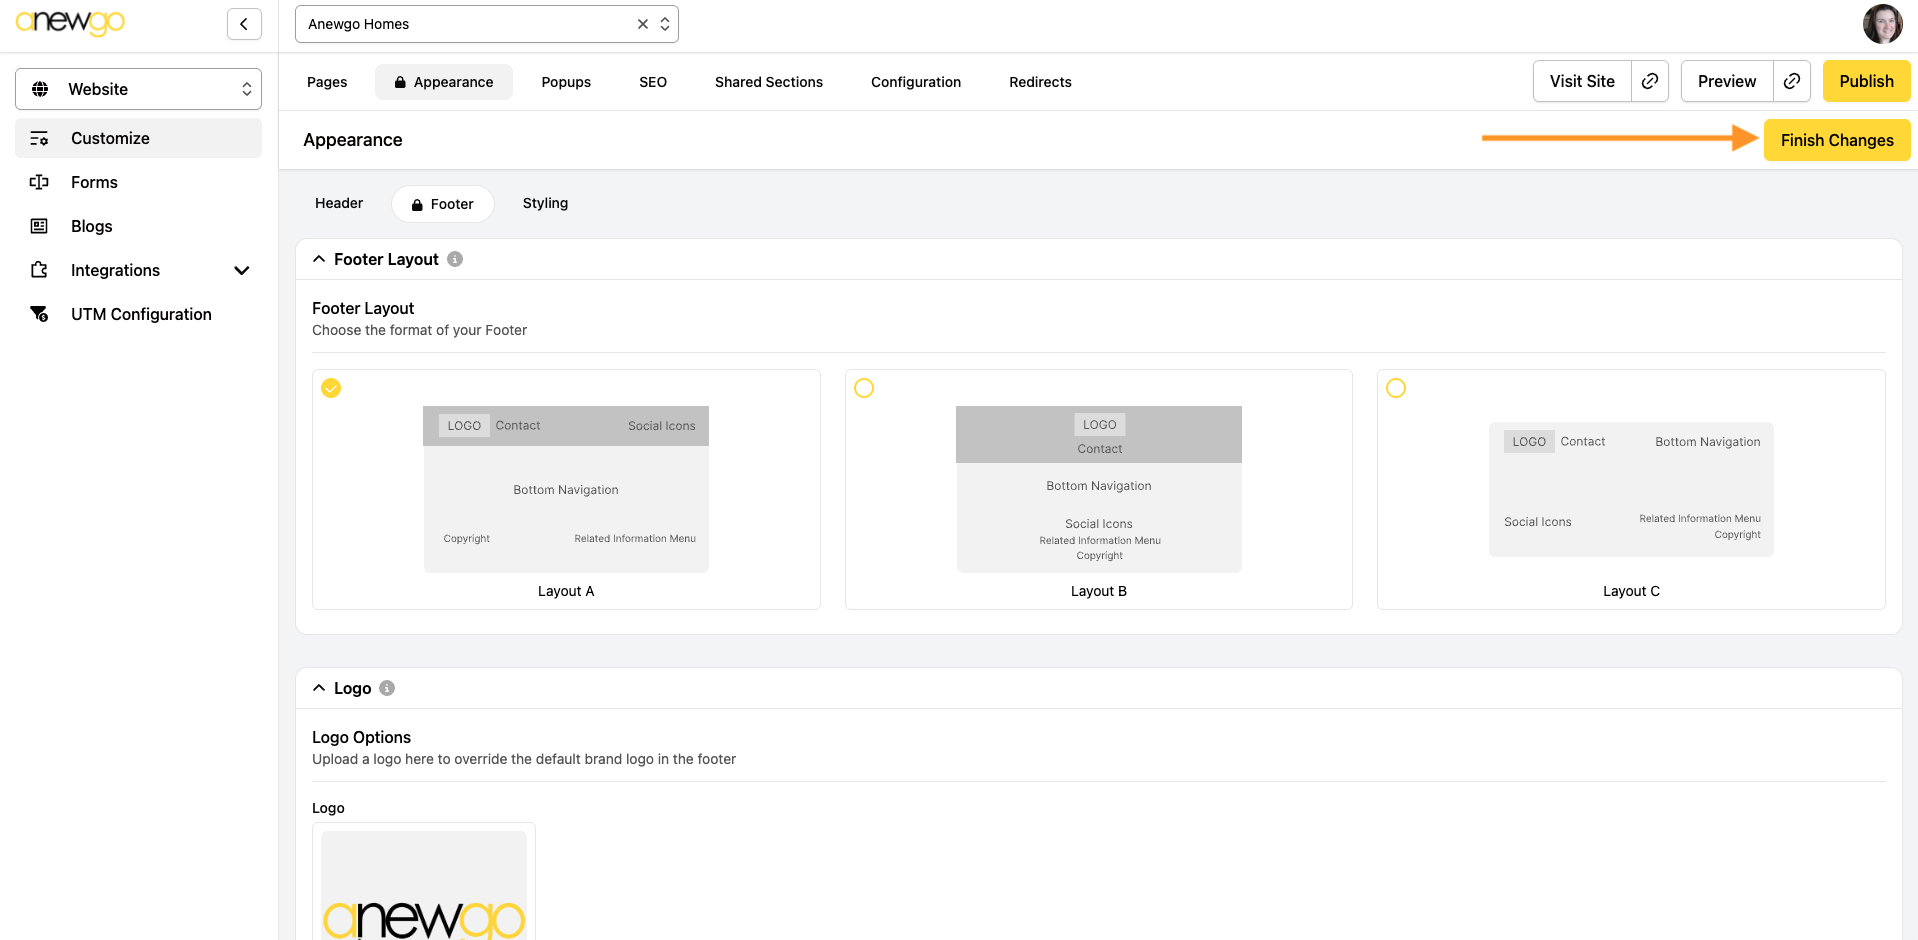
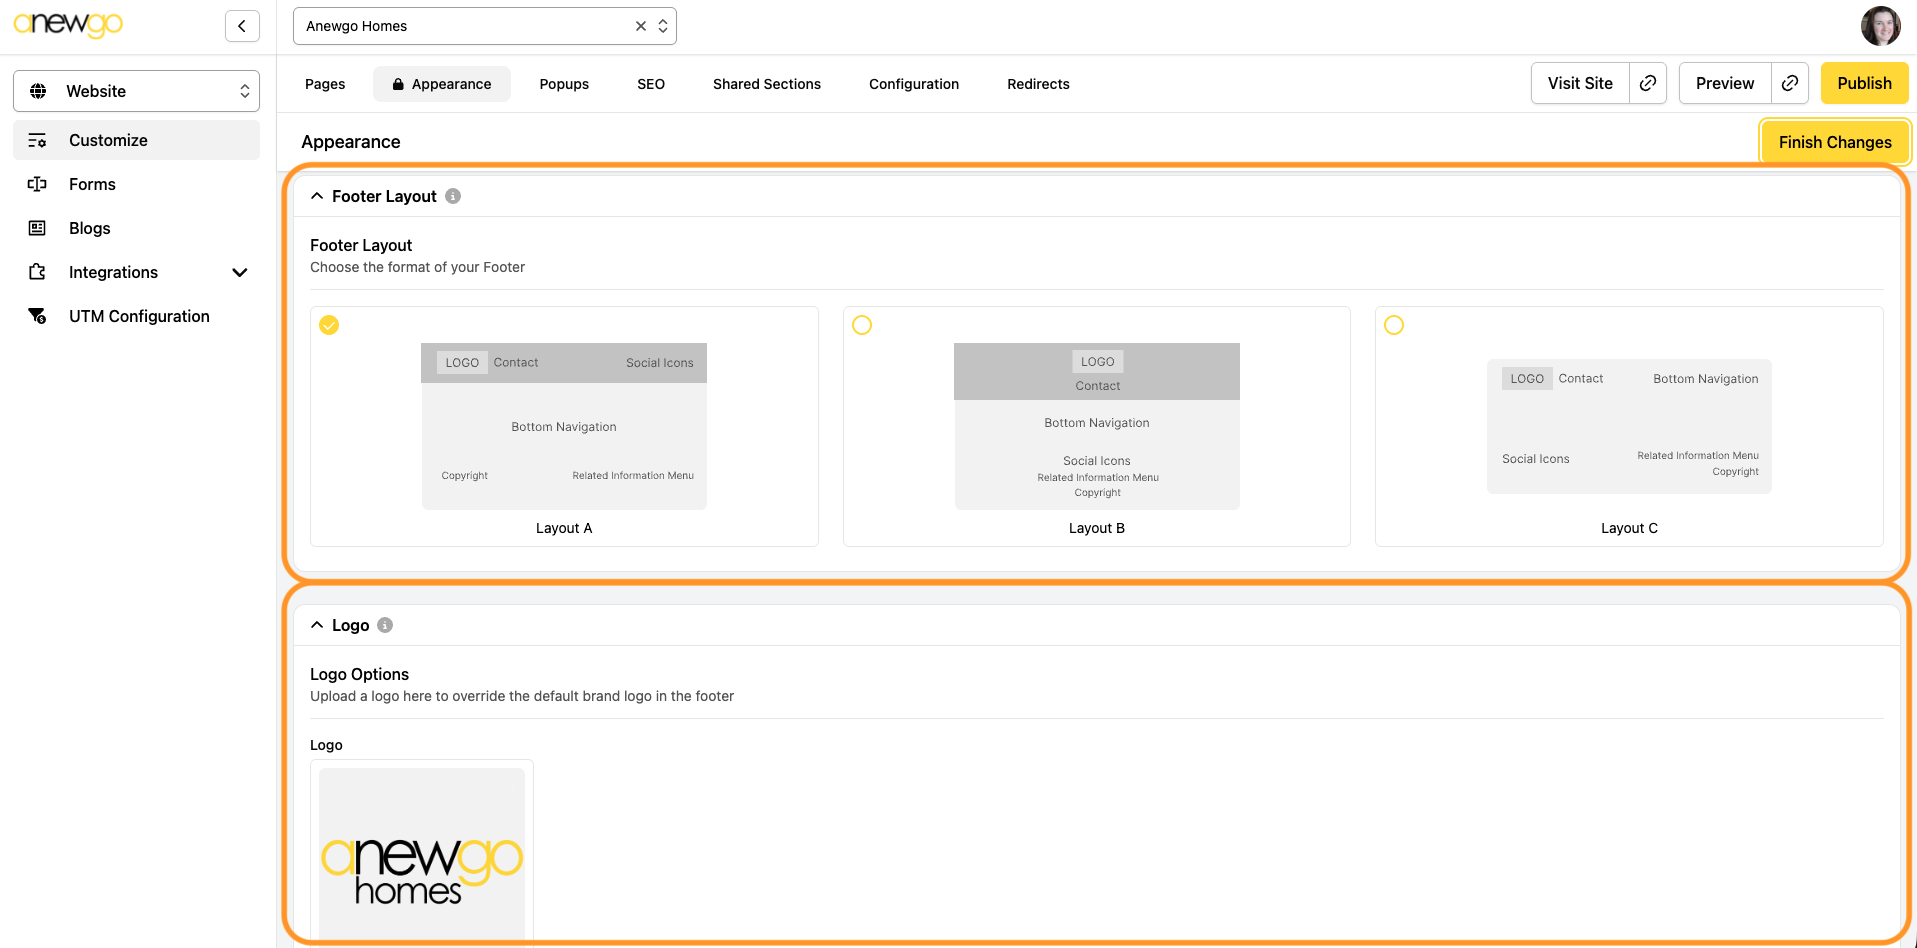
4. The first two sections are the Layout and the Logo. Choose whichever layout you would like and load the logo you would like to use in the footer.
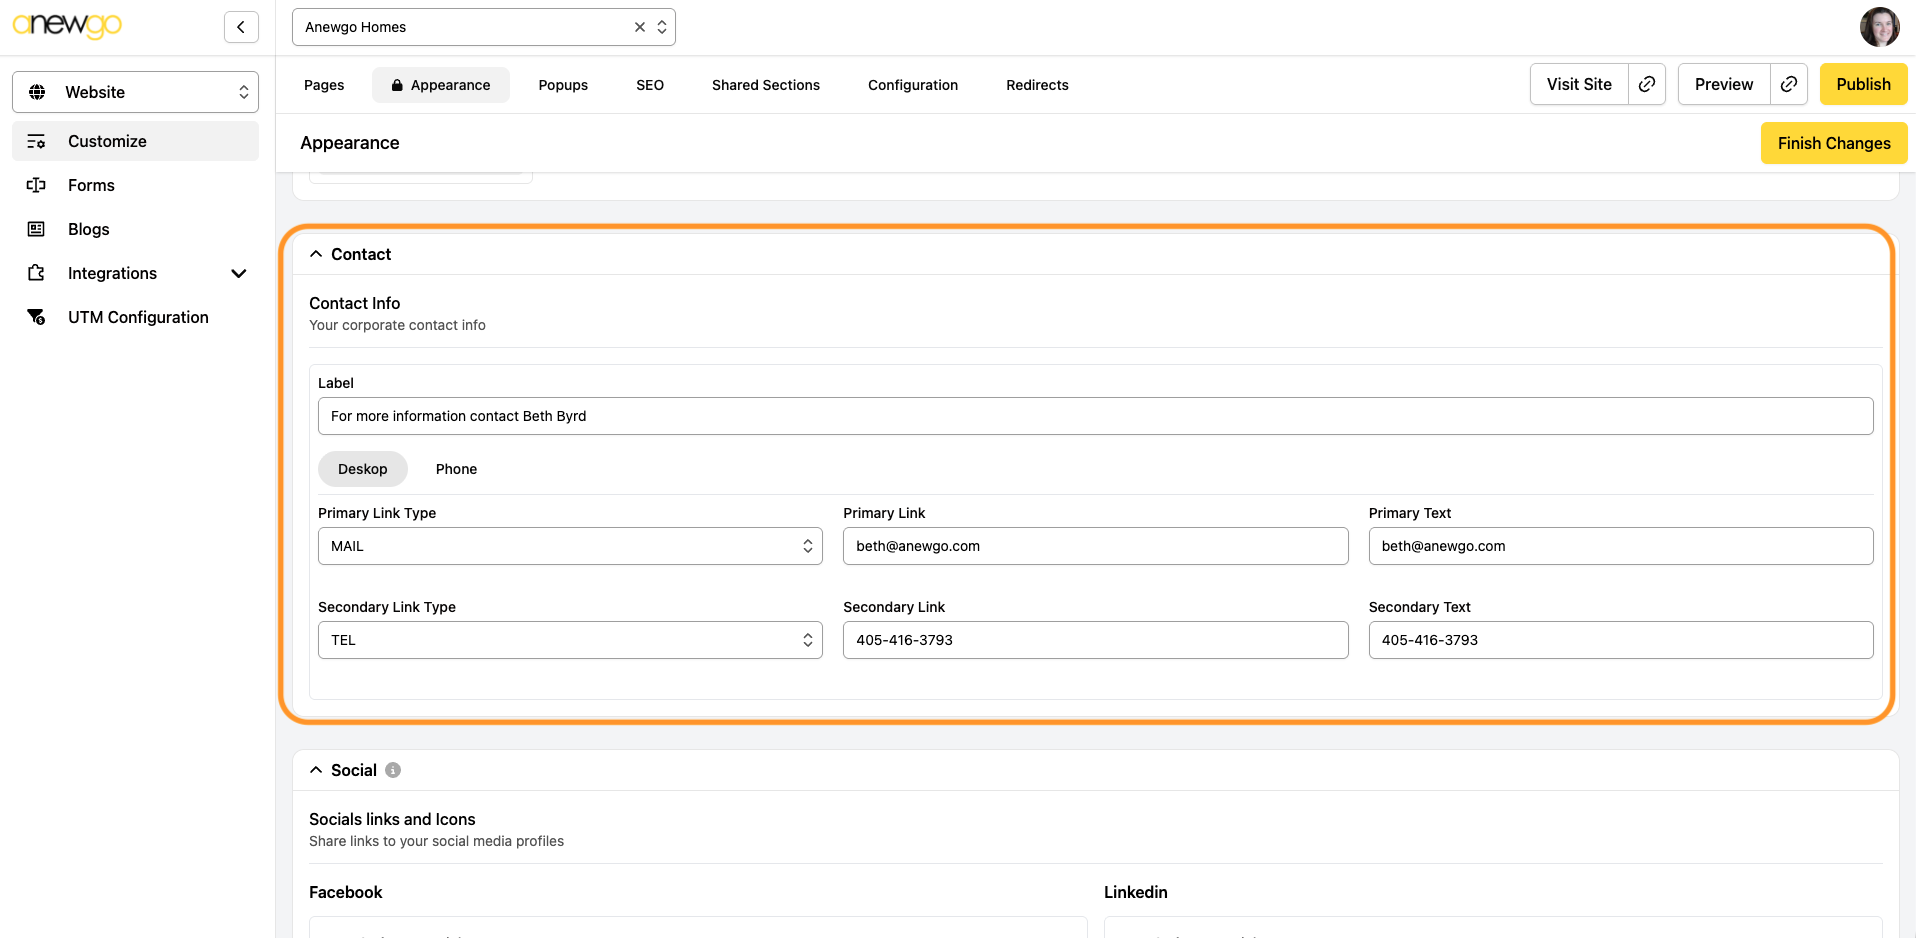
5. The next section is where you can add contact information. Add a Label & Primary Link. You can also add a Secondary link if needed.
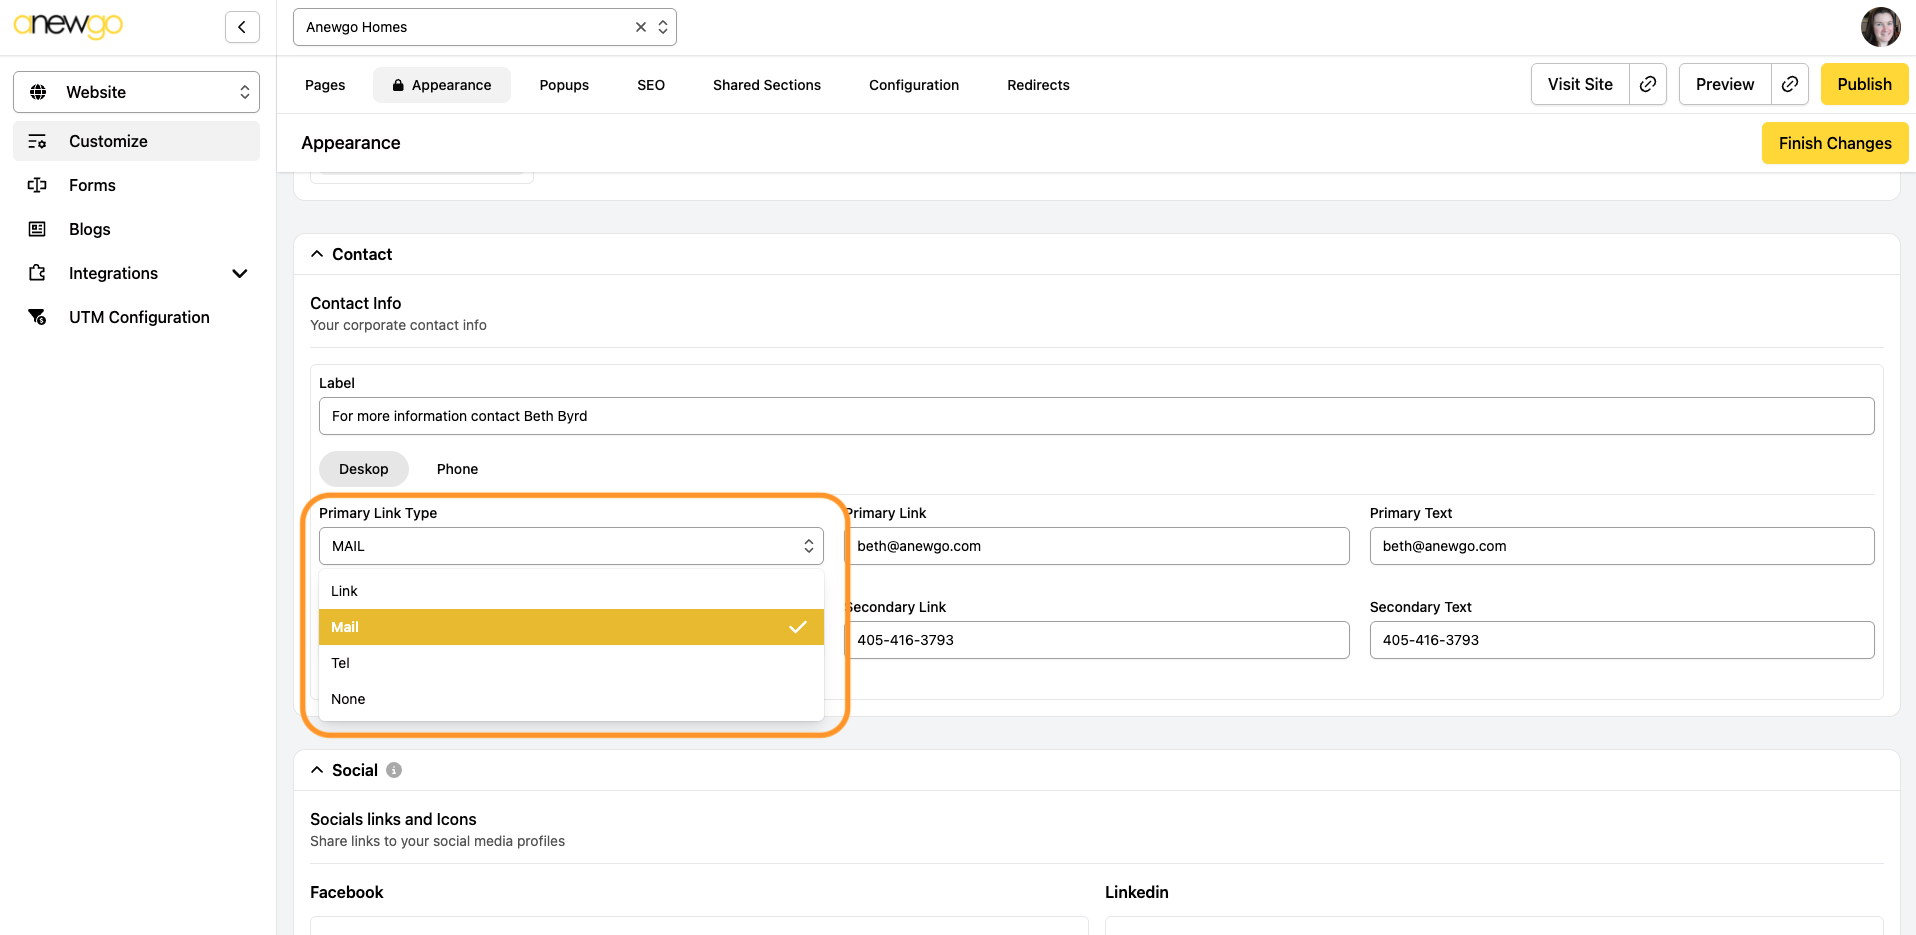
The Link types are Link, Telephone, Mail, or None:
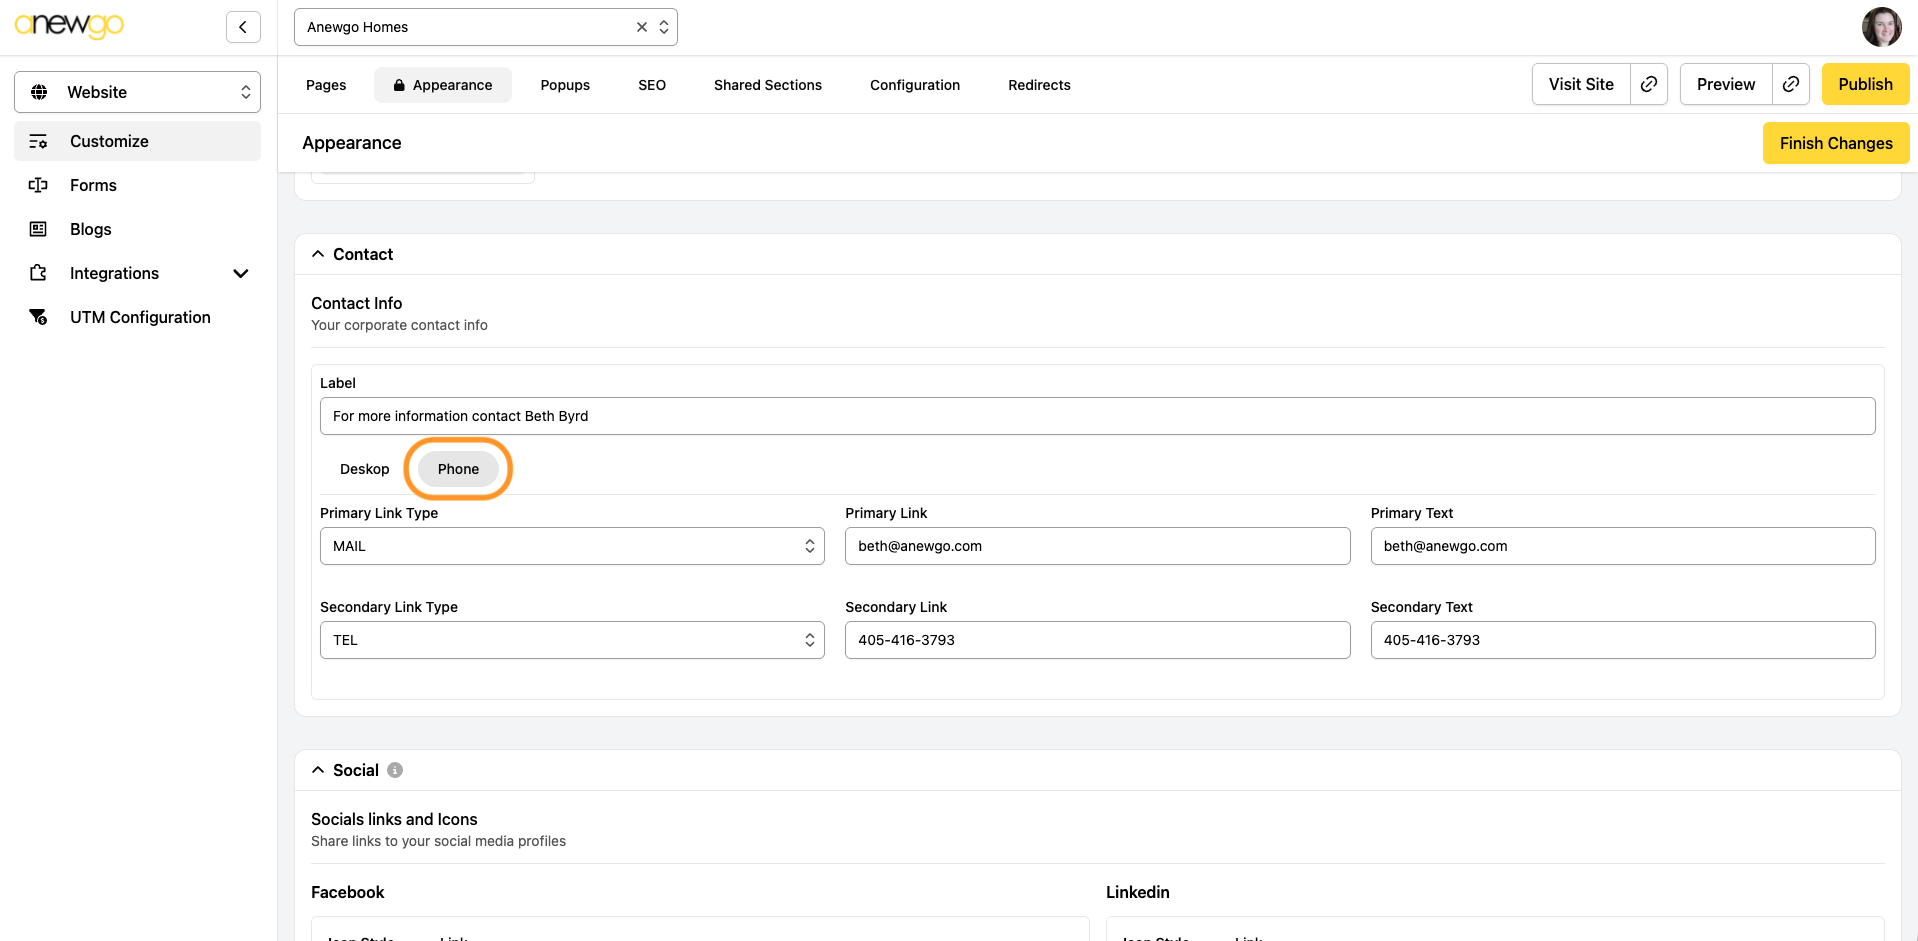
You can also customize phone/mobile display:
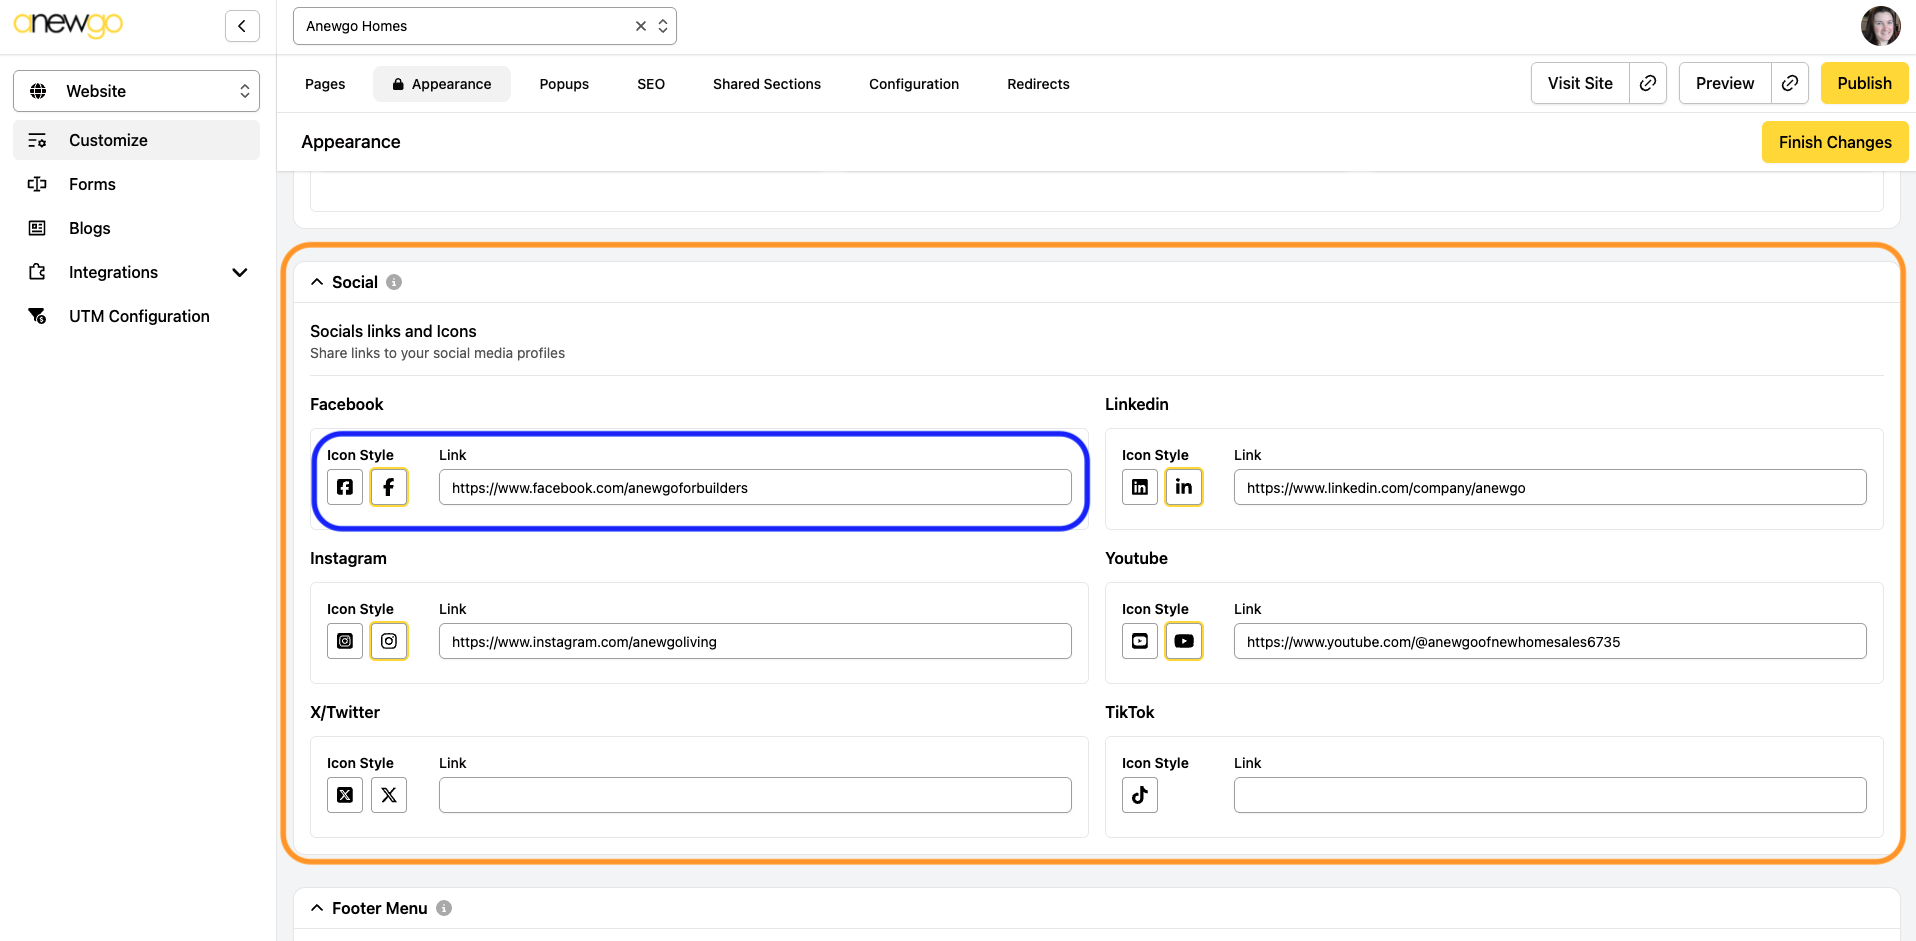
6. The next section is where you can add your social media links. You can select which Icon Style you want to use & add your link to the corresponding social media account.
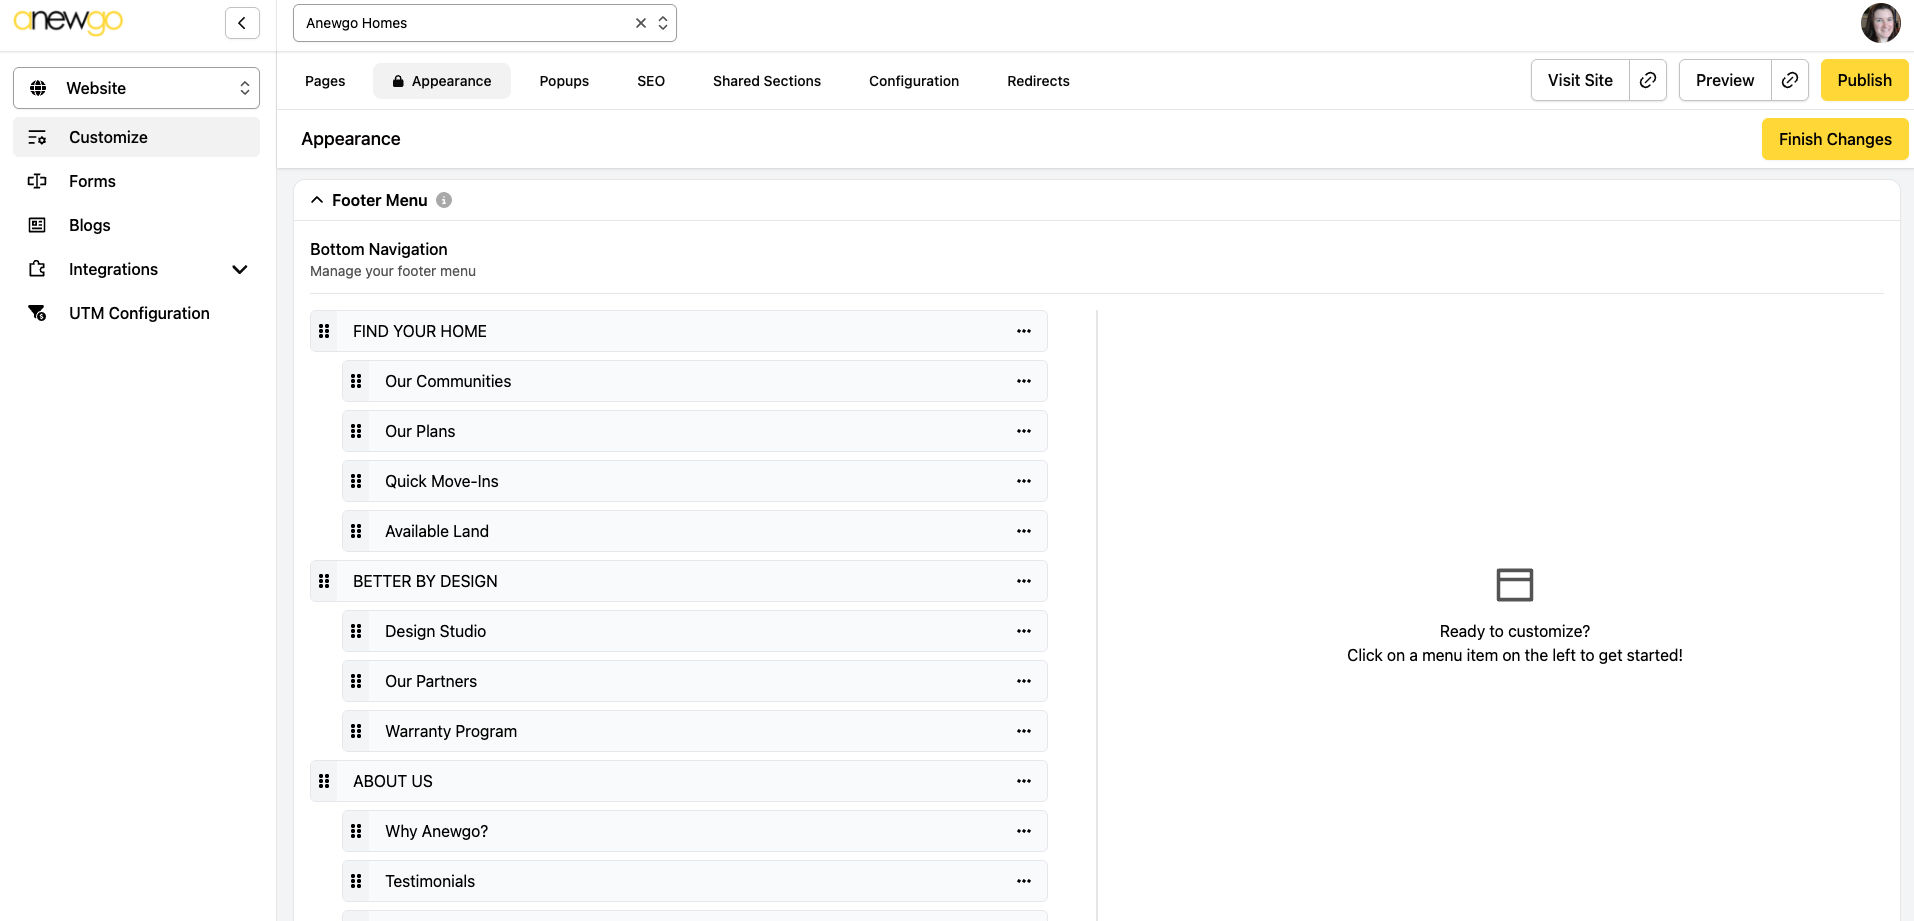
7. The next section is the Footer Menu. This is where you can edit your Bottom Navigation.
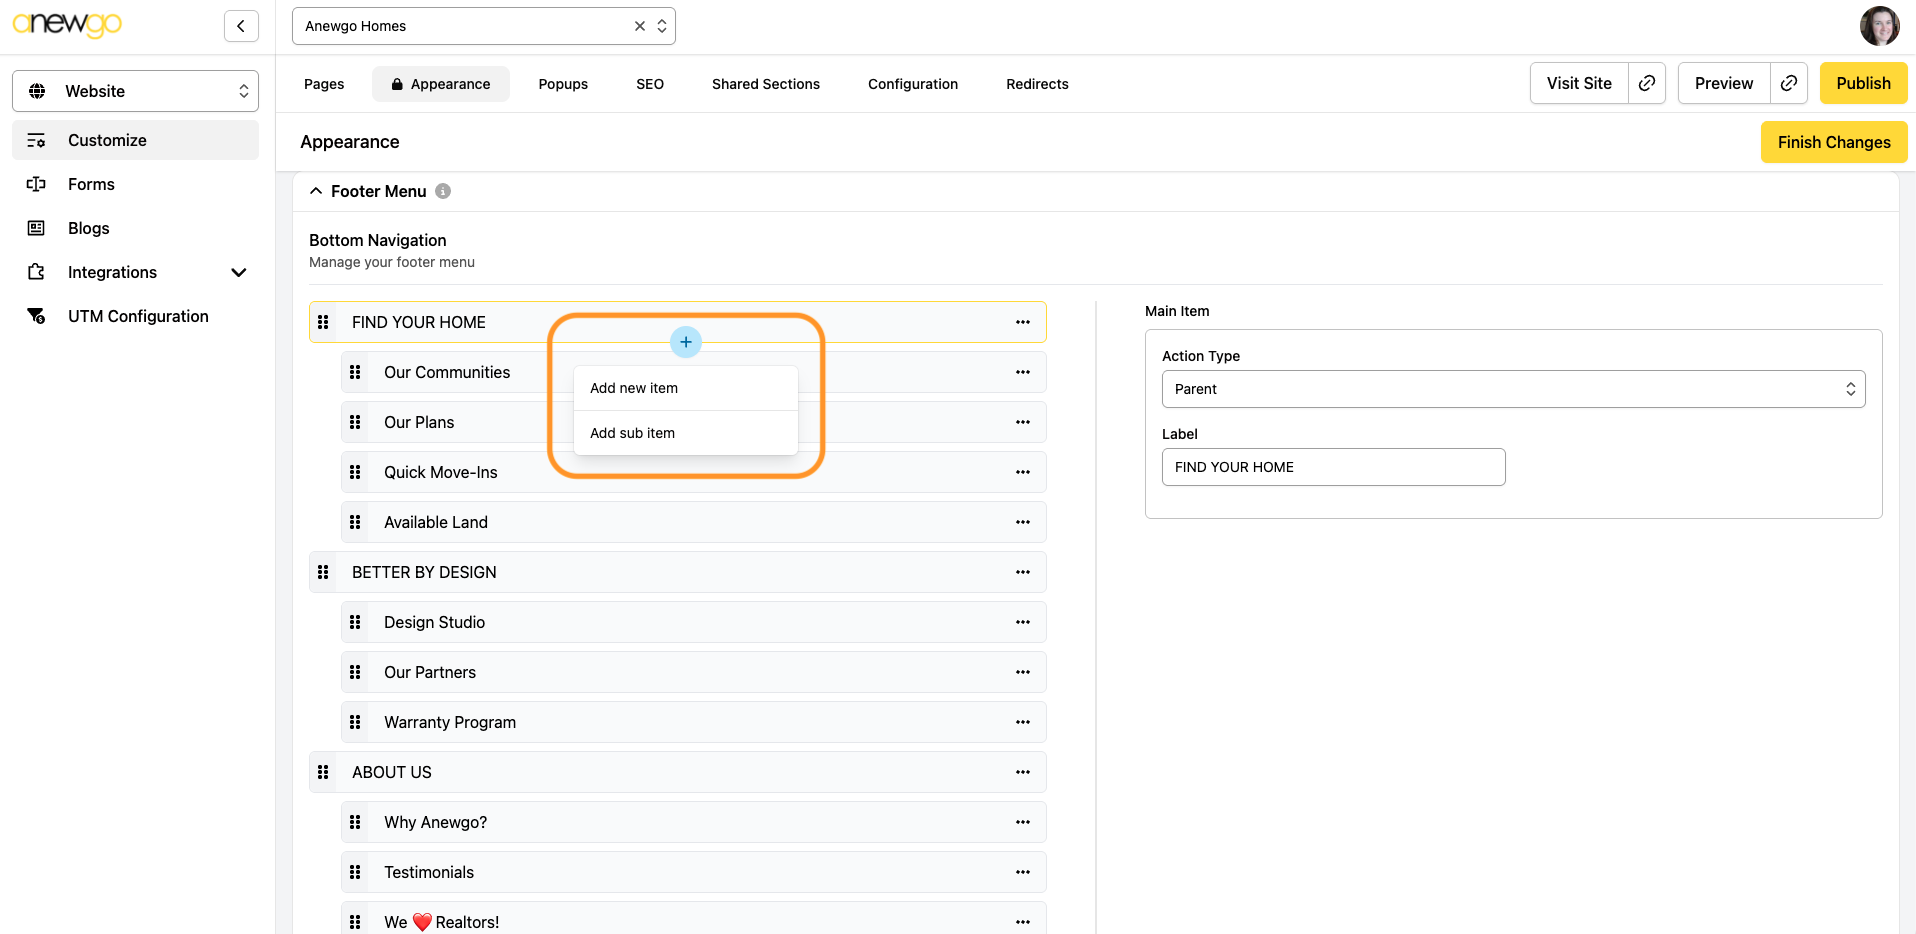
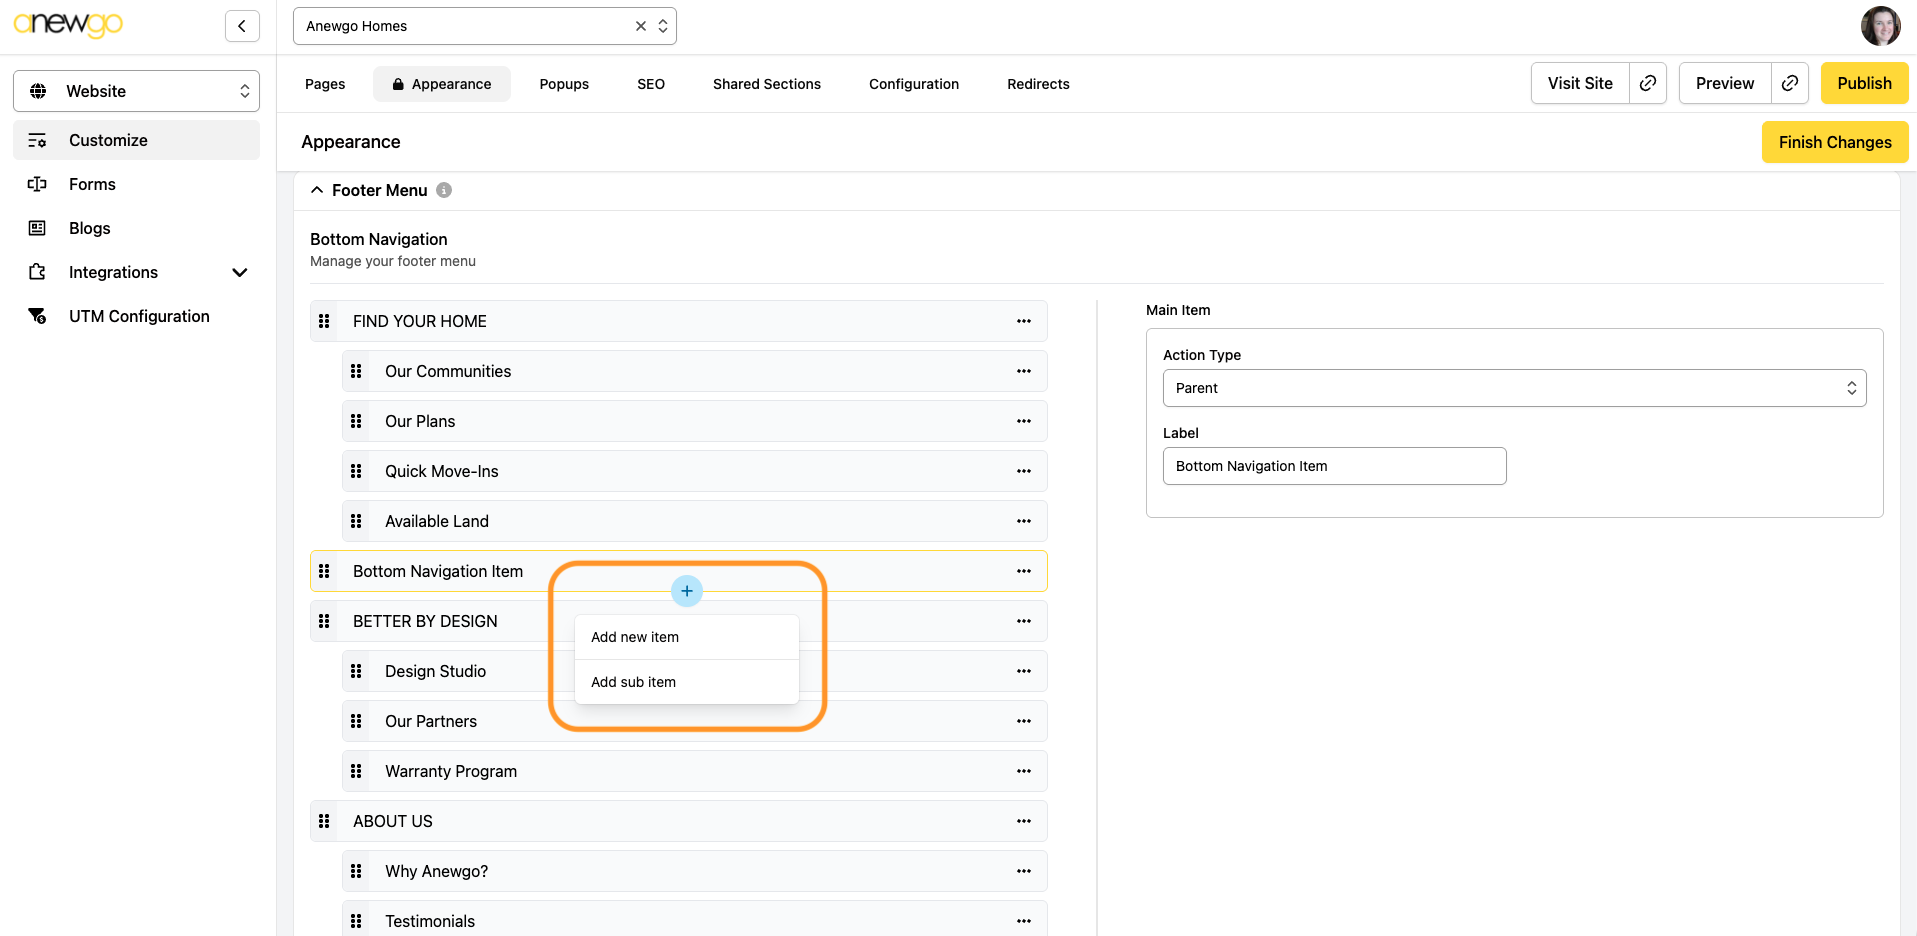
8. To add a new Bottom Navigation item, hover over another main Bottom Navigation item (not a sub item). Click the + sign and select Add New Item.
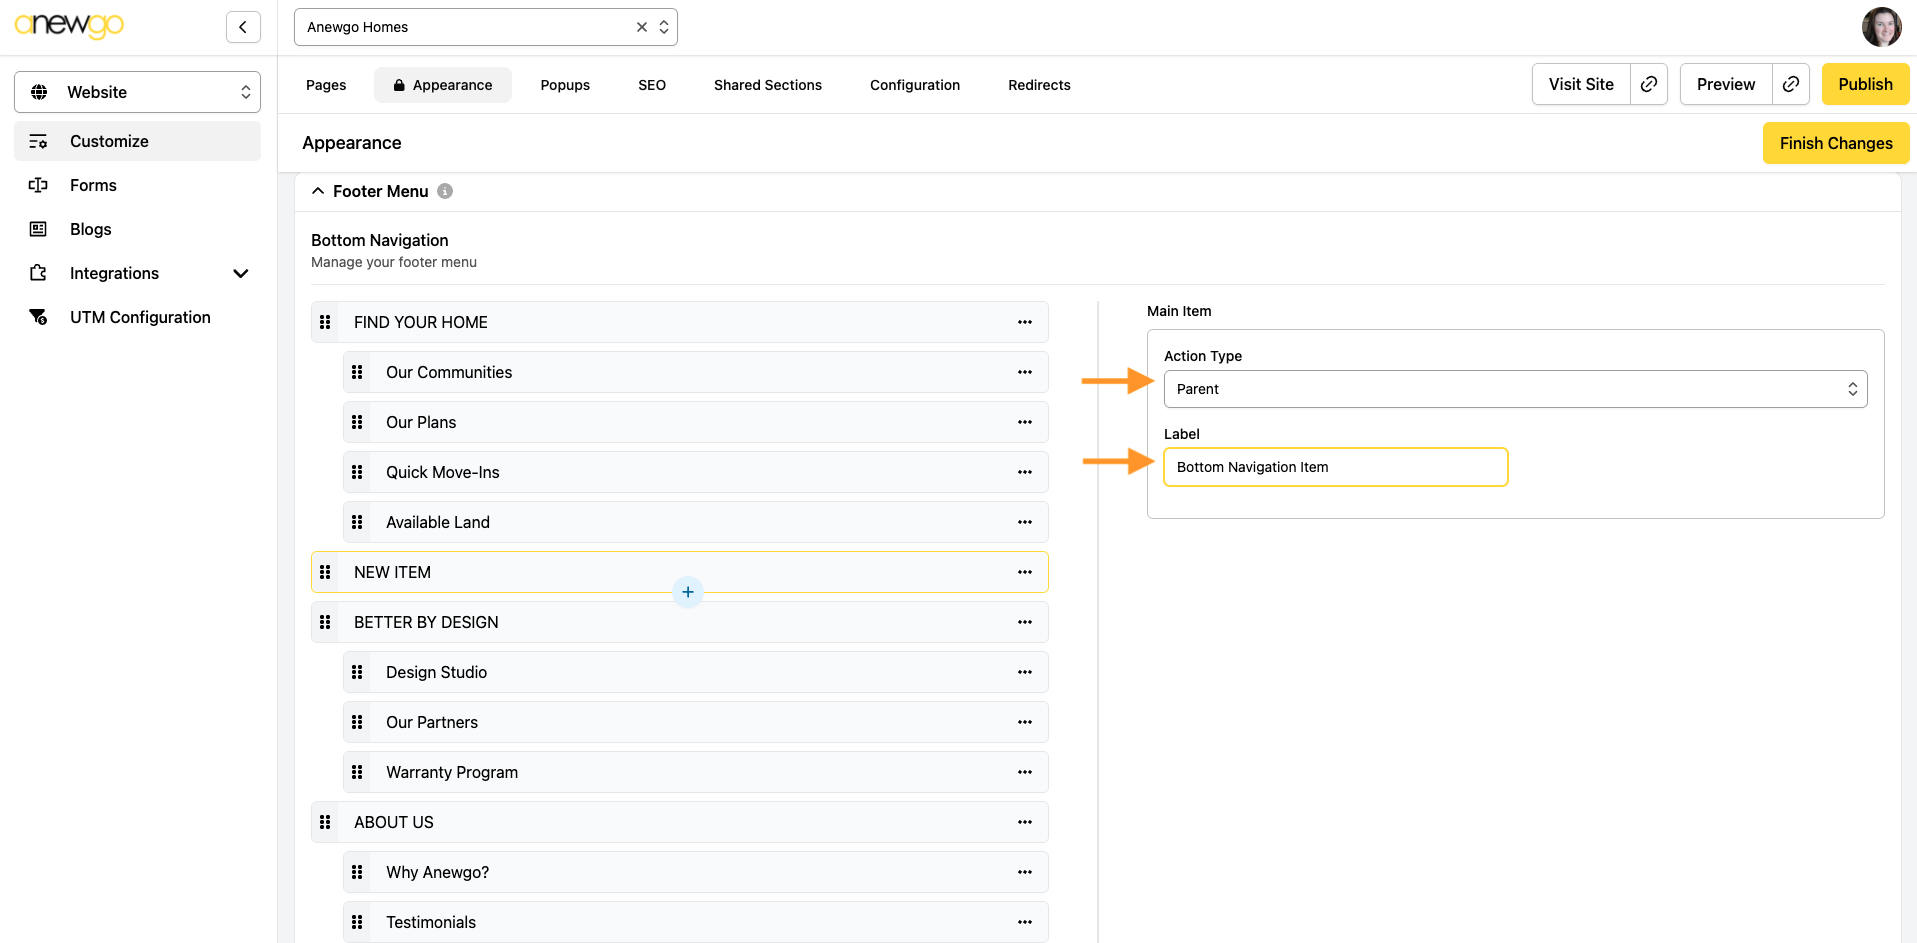
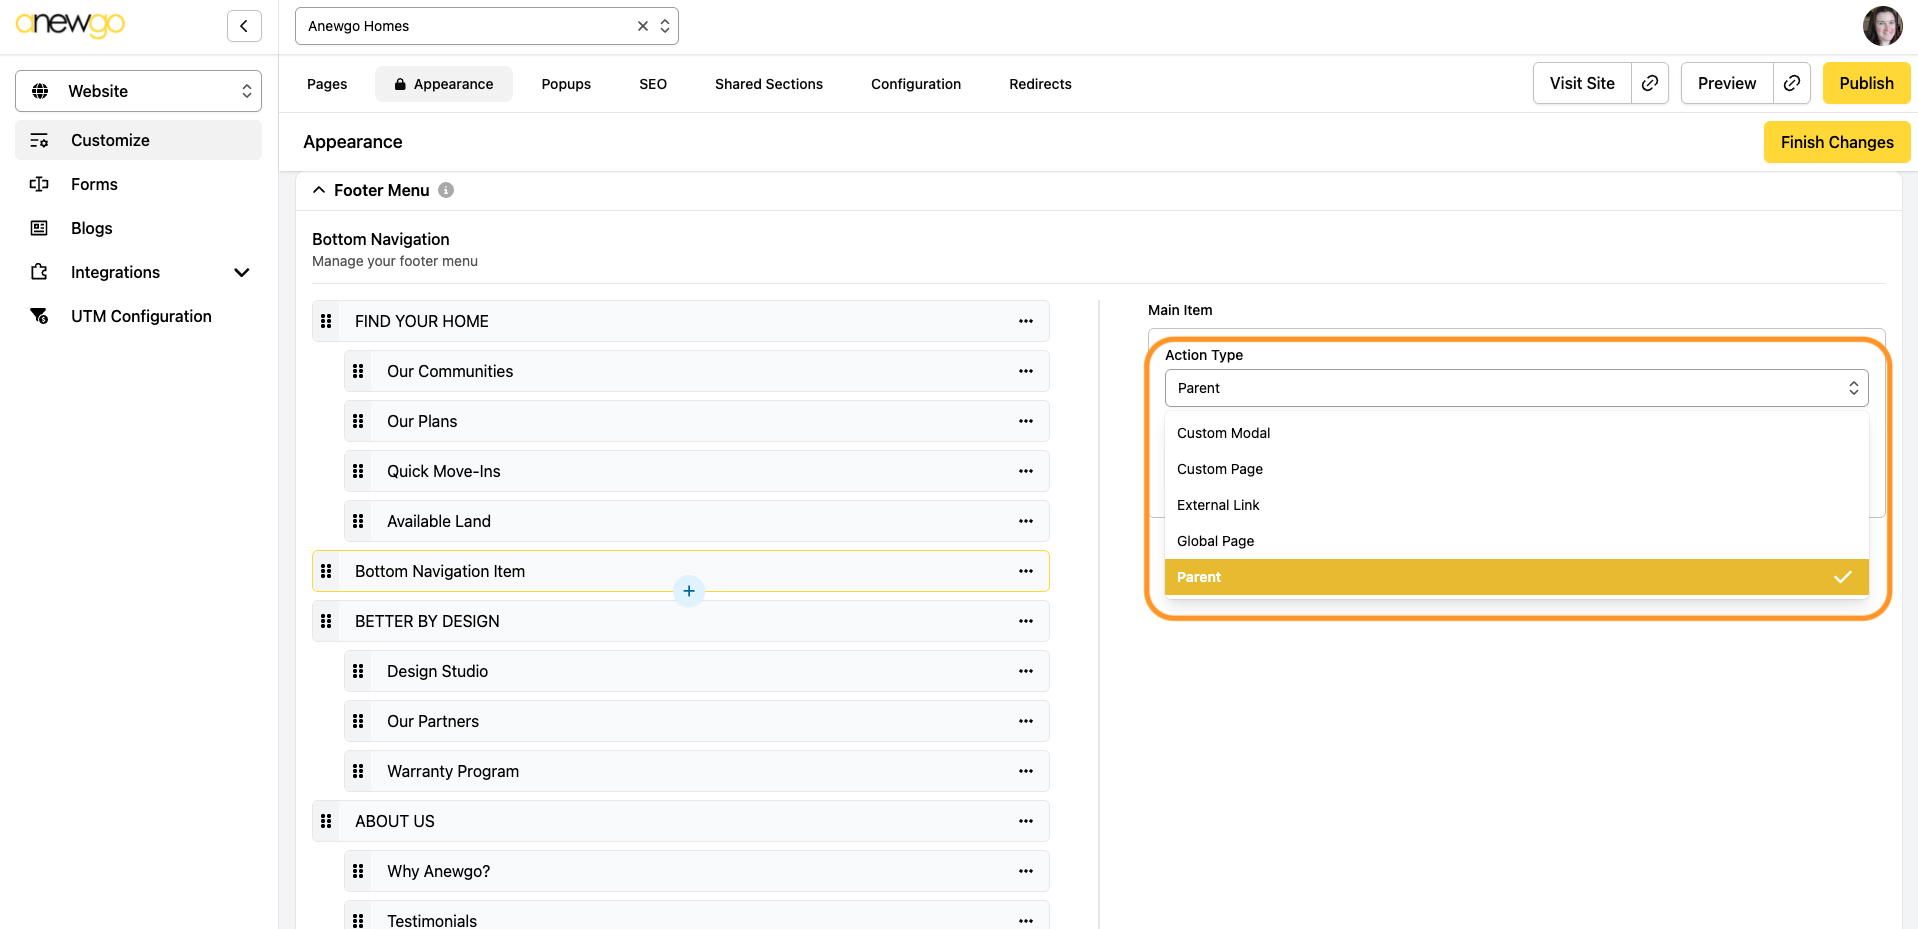
Your item will be added to the list as a Bottom Navigation item. You can customize the Label and which Action Type you want this item to have.
Action Types:
Parent – not clickable, just a title (usually used as Top Navigation for sub items to display under)
Custom Modal – clickable, will display a popup modal
Custom Page – clickable, will navigate to a custom page
External Link – clickable, will navigate to external link specified
Global Page – clickable, will navigate to a global page
9. To add a sub item, click on the Bottom Navigation item that you want the sub item to display under. Click the + sign and select Add sub item. Follow the same steps from step 8 above – Label the menu item & select the Action Type
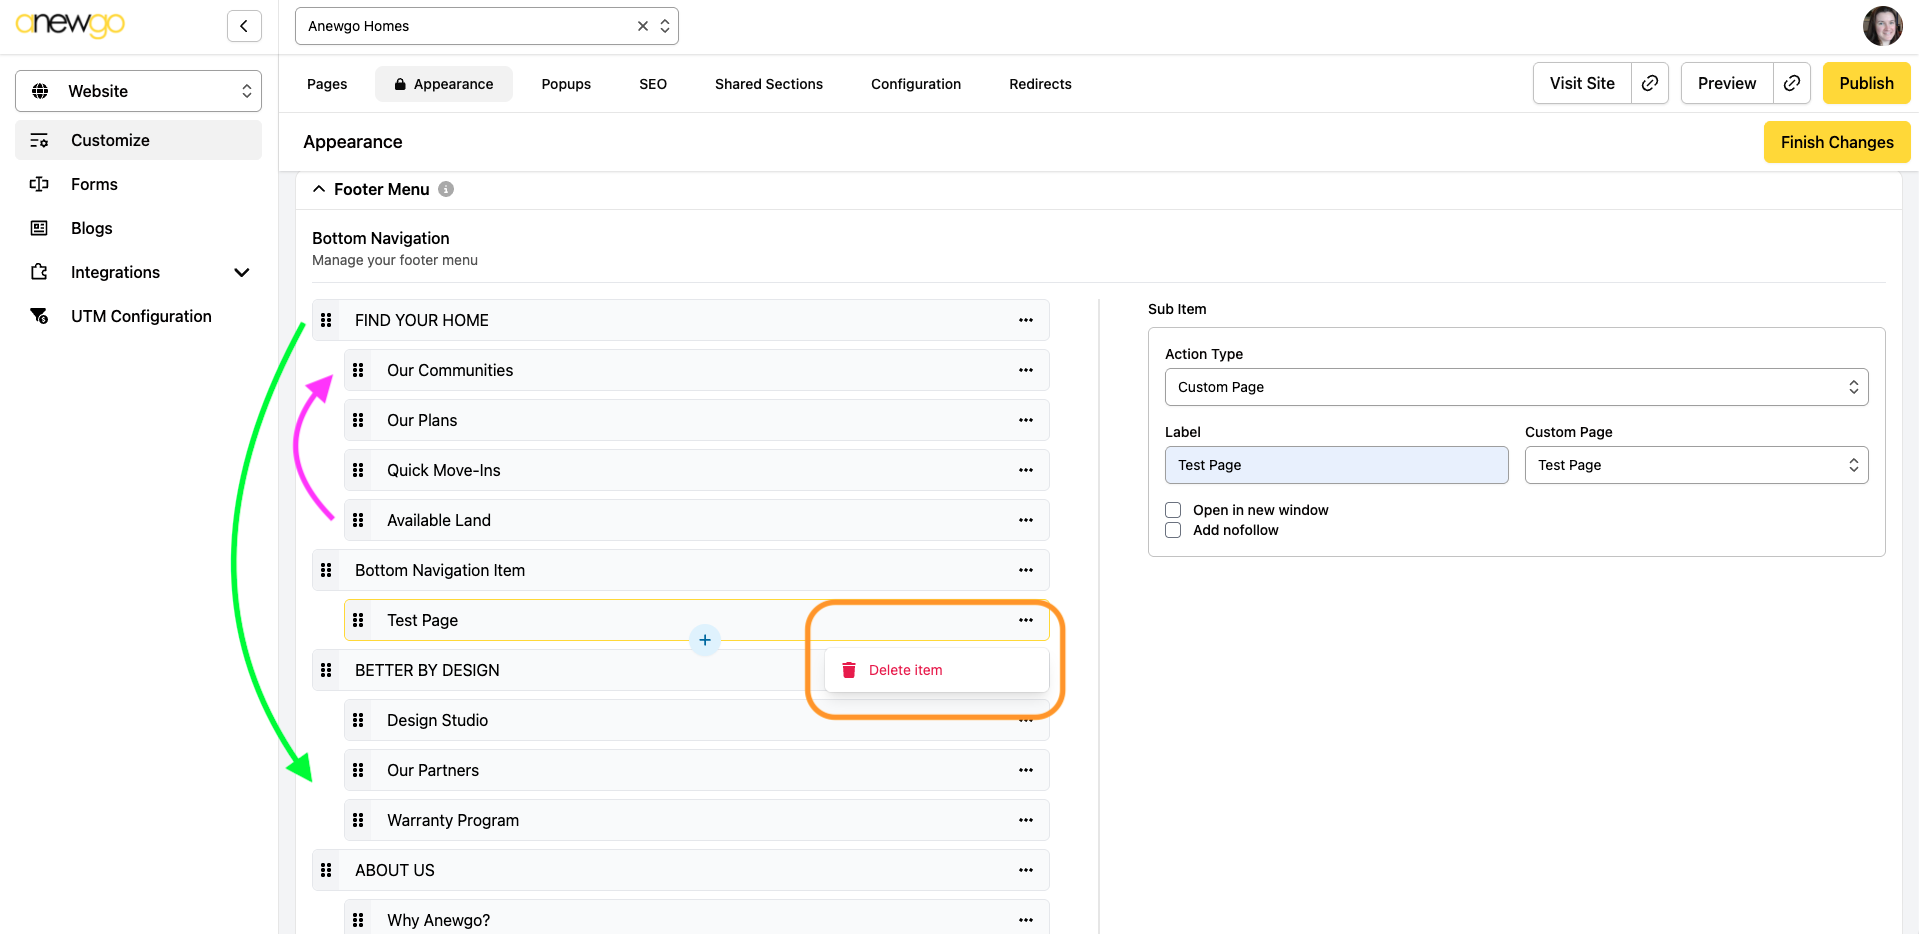
10. You can change the order of the items by dragging and dropping (Note: you cannot move a sub item to a different main section – you can only reorder sub items under 1 main section). You can click the … to delete a menu item.
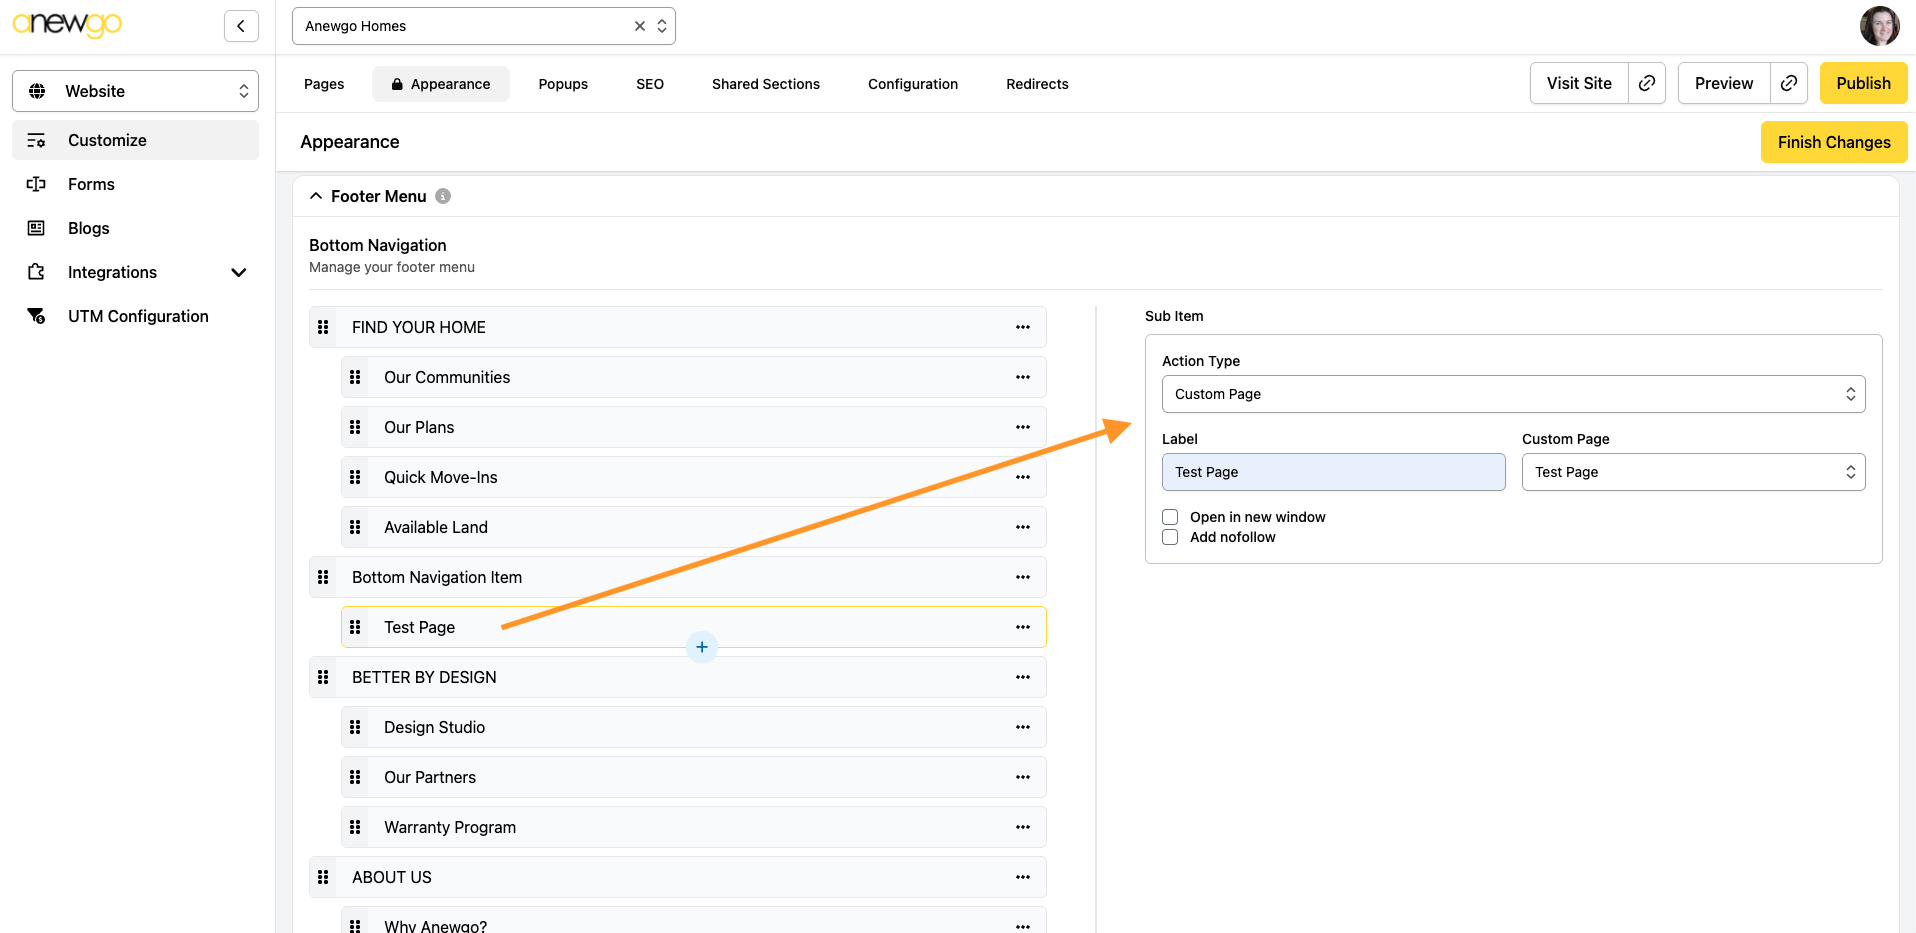
11. To edit an existing menu item, click on it. You can adjust the Label or Action type as needed.
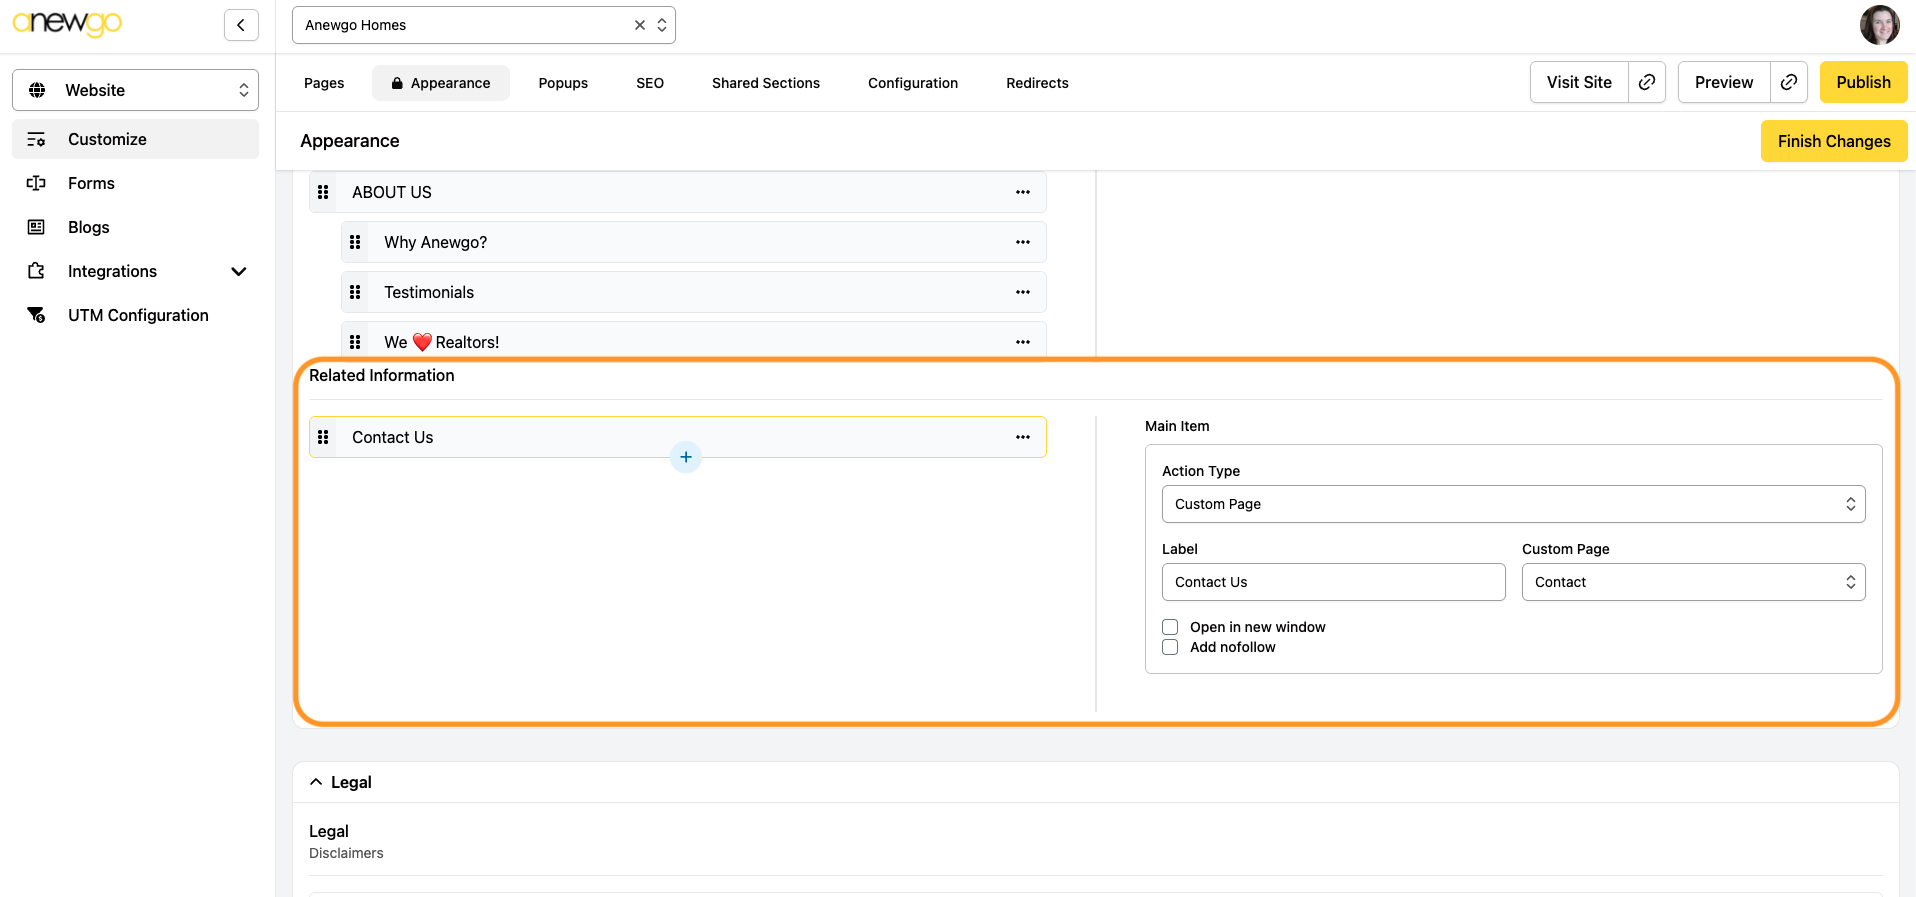
12. The Related Information section works just like the Bottom Navigation area. This section shows in the bottom right of your footer. This area is commonly used for Privacy Practices and Terms of Use.
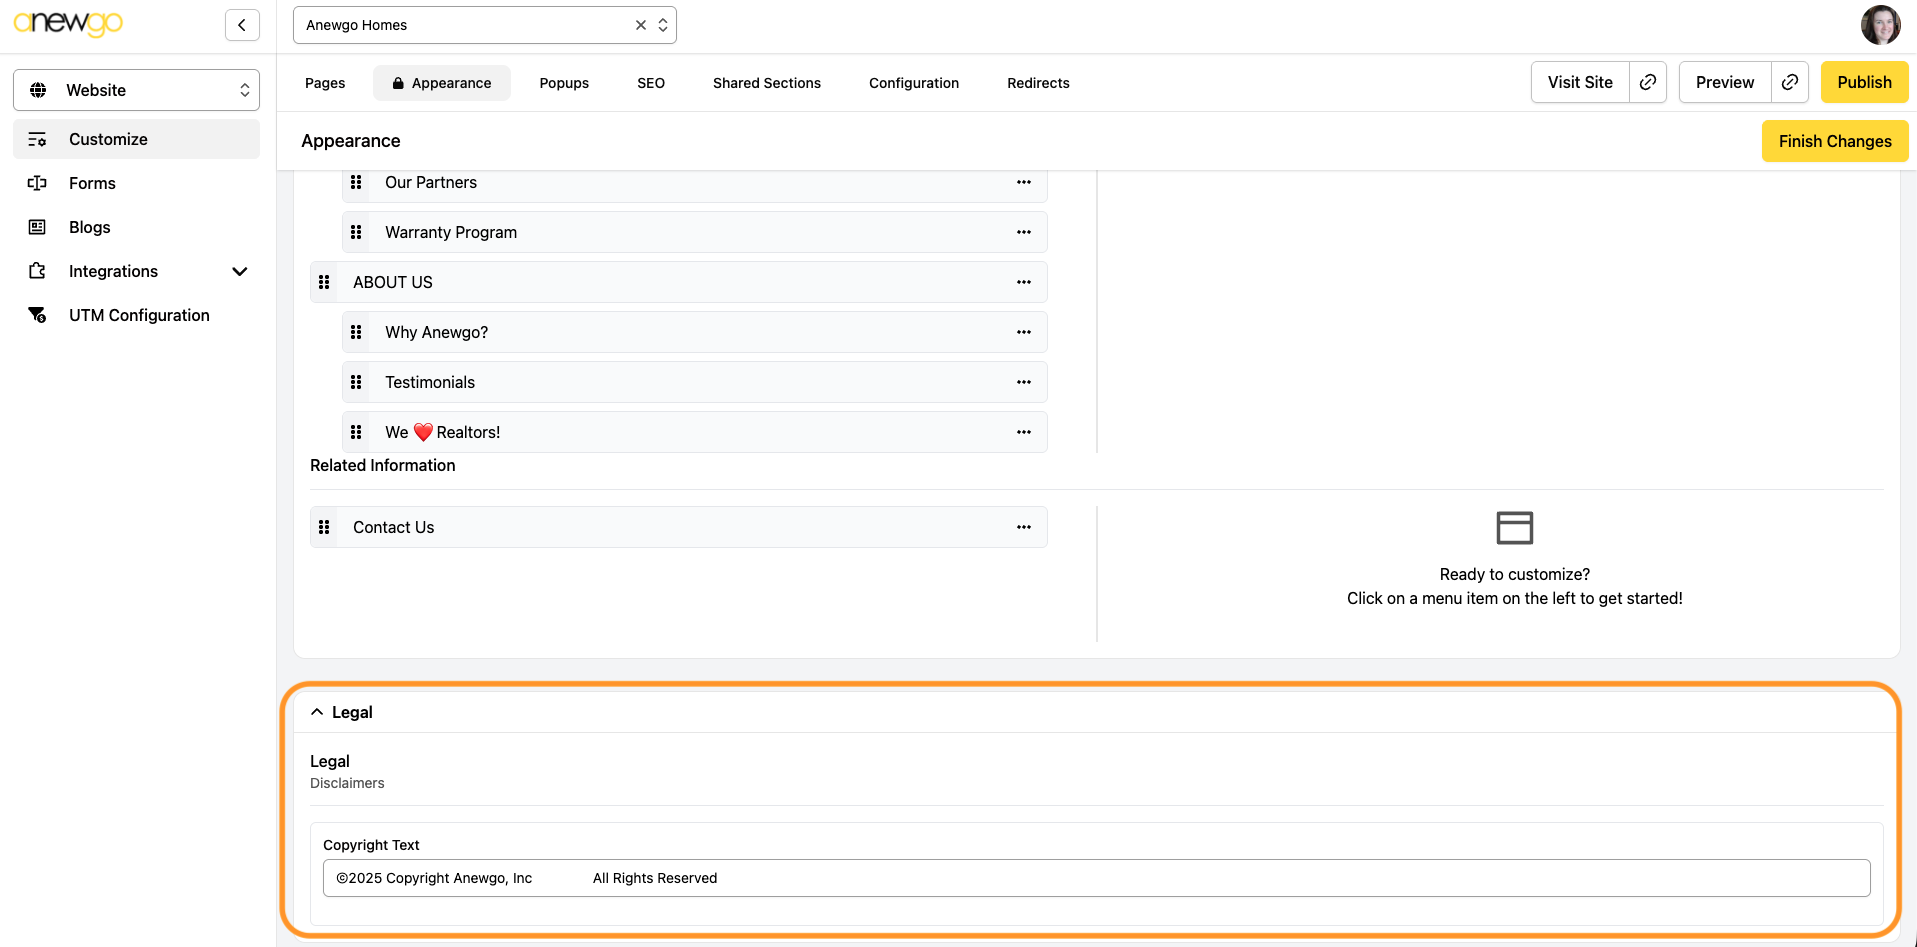
13. The last section is Legal. Here you can add any legal and/or copyright notations.
Be sure to click Finish Changes when you are done! Click Publish to see your updates on your live site. And remember you can check your Preview as you work to see how everything is looking before publishing.