See this doc for how to edit information at the plan or elevation level. Or this doc to see how to set Min/Max Ranges.
Below are the details for how to override both the elevation and plan levels and enter plan information at the community level.
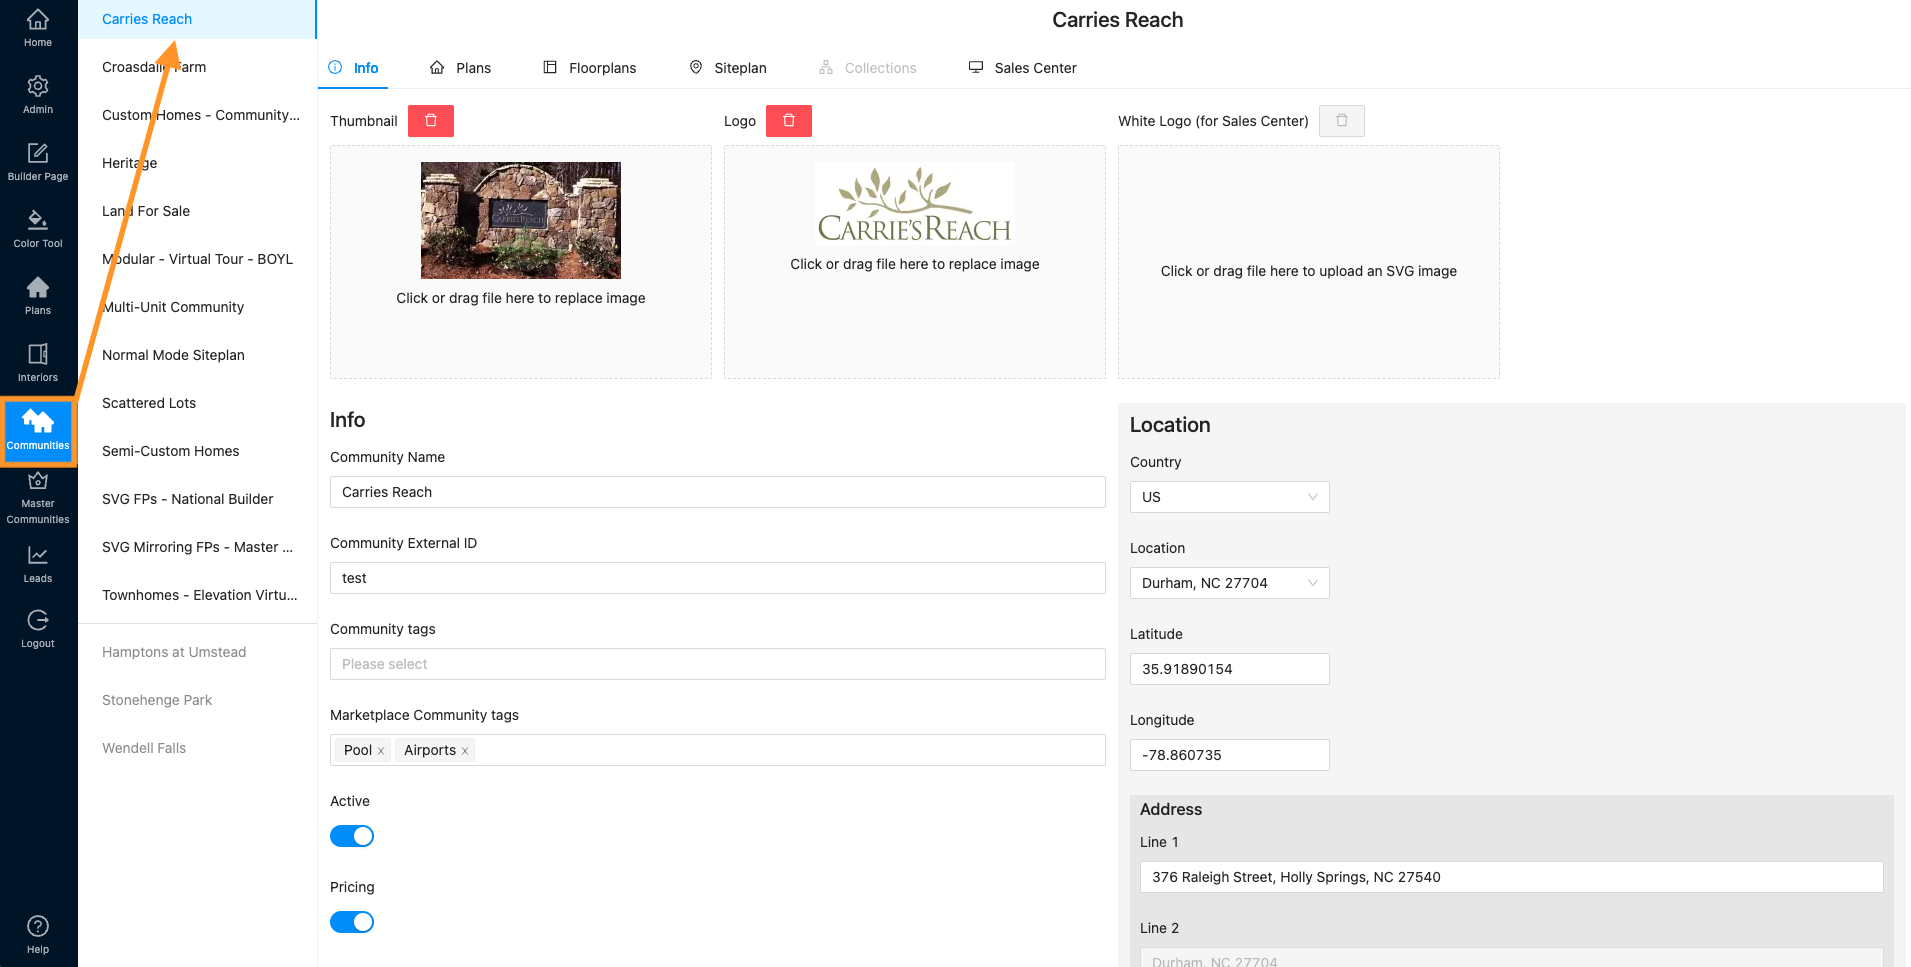
- Navigate to Communities and select the correct community.
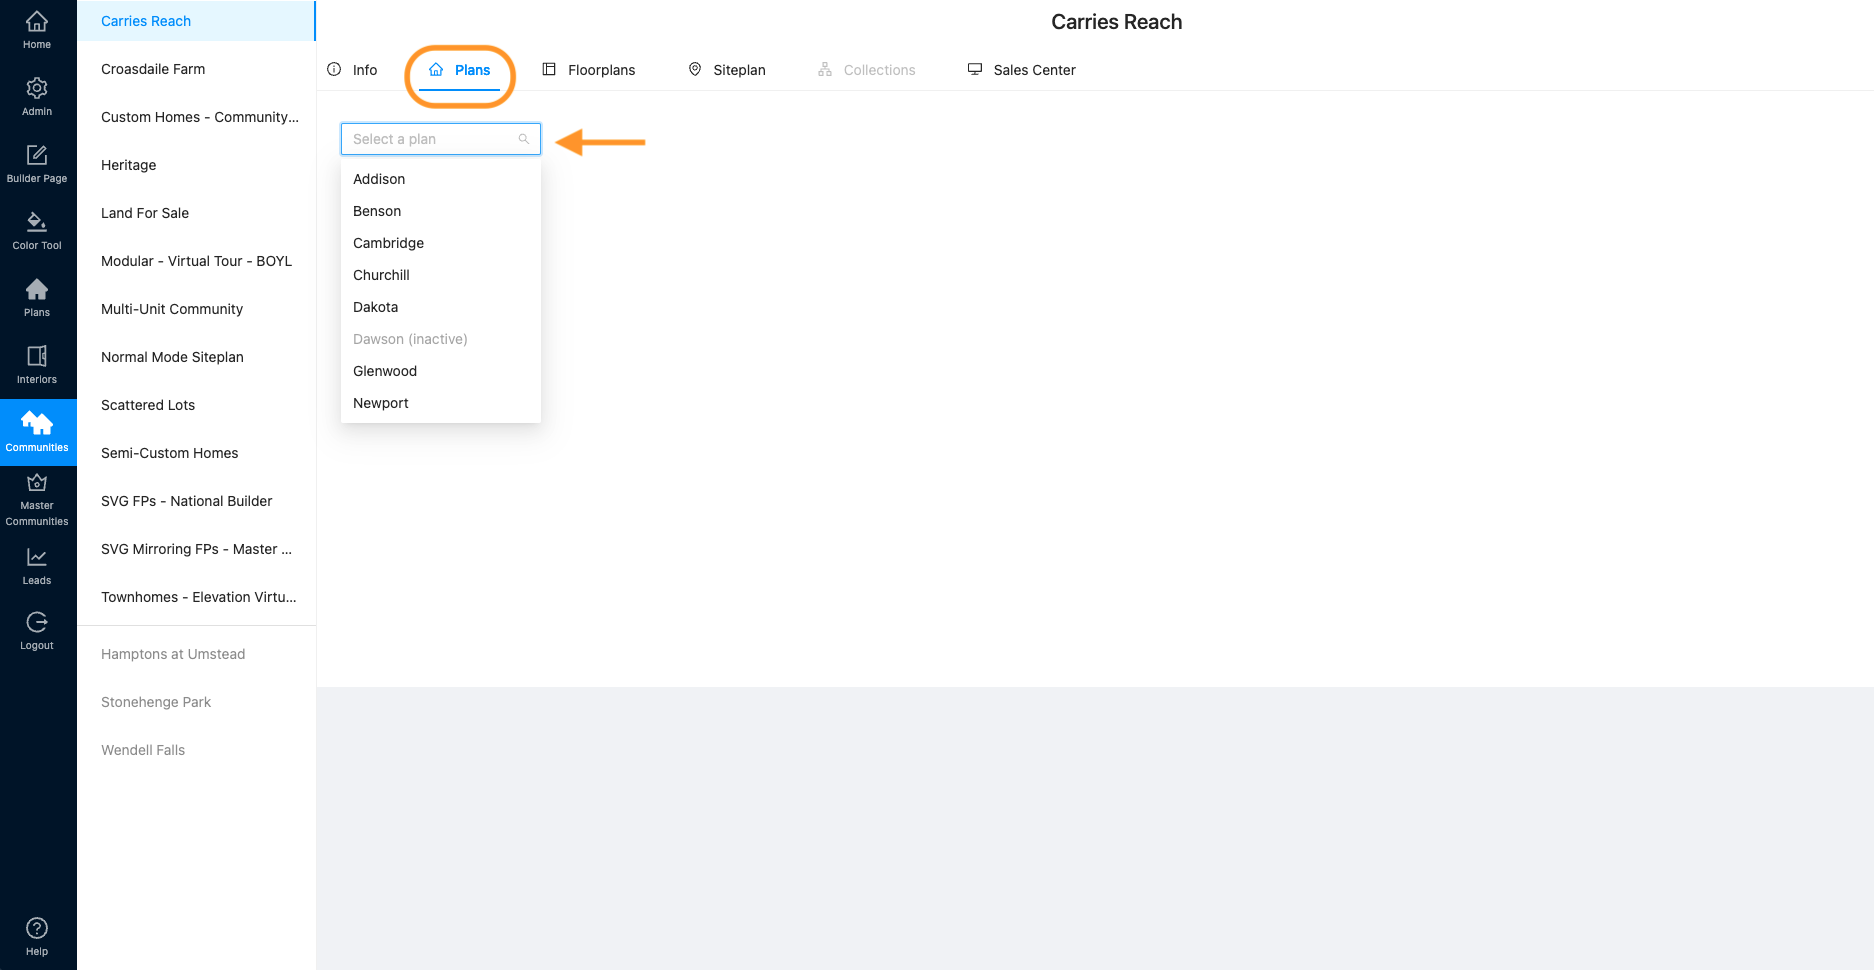
2. Click Plans and select the correct plan from the drop down.
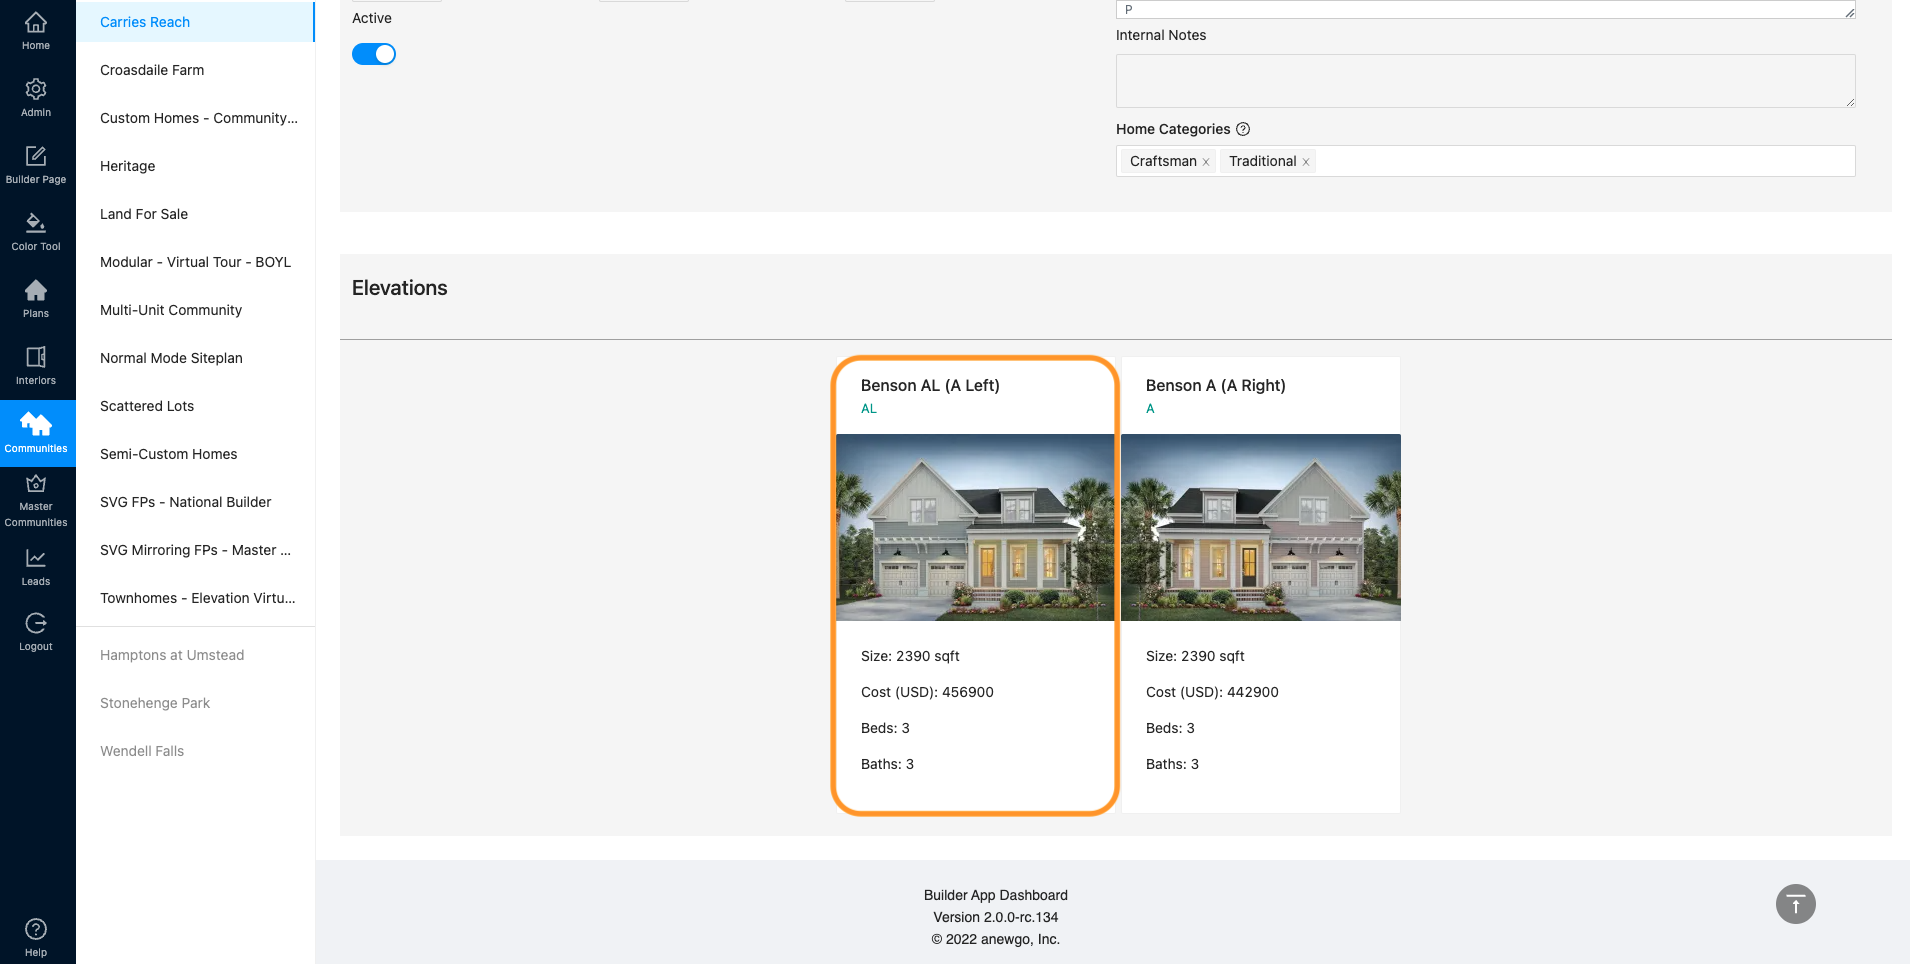
3. Changes cannot be made at the community/plan level. You must scroll down to the community/elevation level to enter data that will display only at the community level.
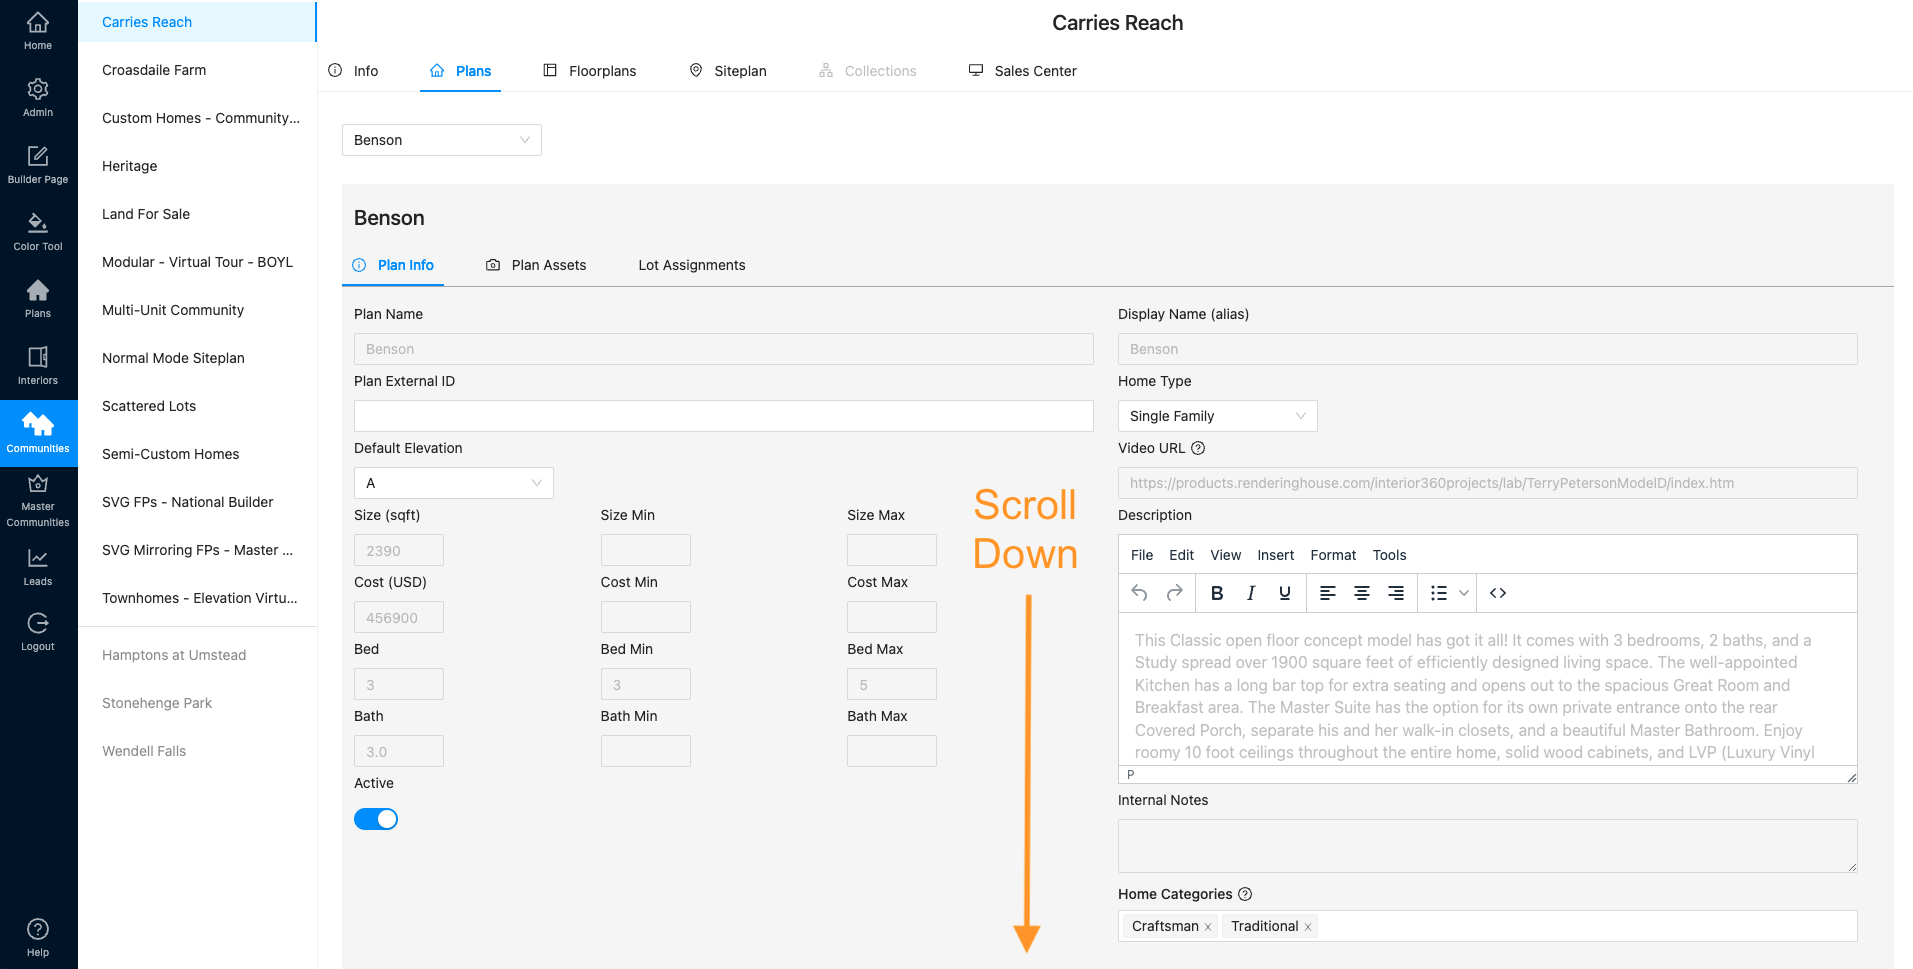
4. Select the elevation by clicking on it.
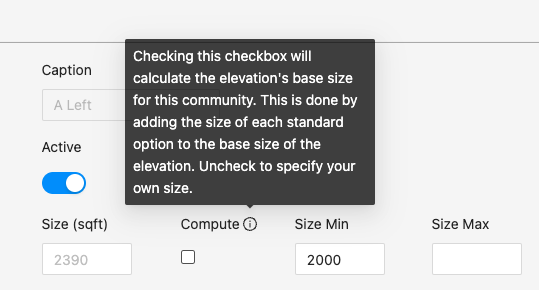
5. Now you will see the plan specifications appear. You can enter information as needed. The grayed out font is displaying the default data entered at the plan or elevation level. That information will display unless you enter data here. Once you do, the text will display as black font to show that the field is active here at the community level (note the 2000 in Size Min field). You can delete your input to go back to the default entries.
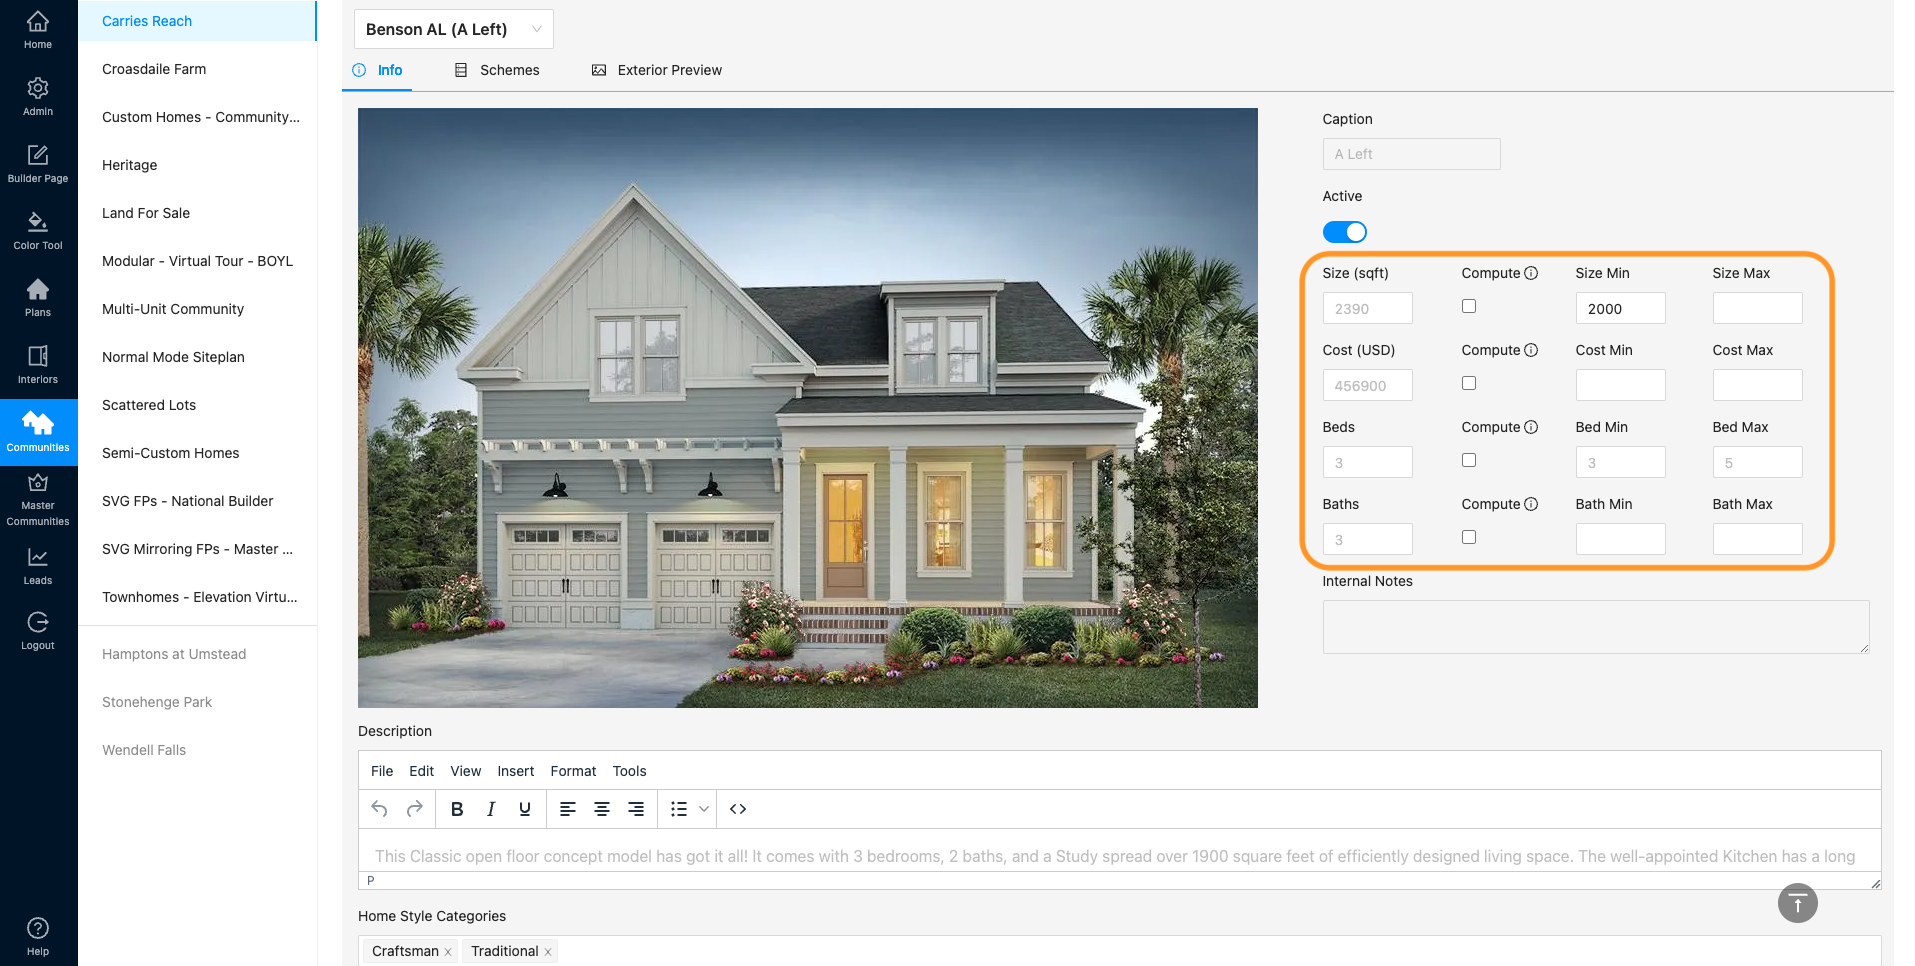
*Compute (see note in image)