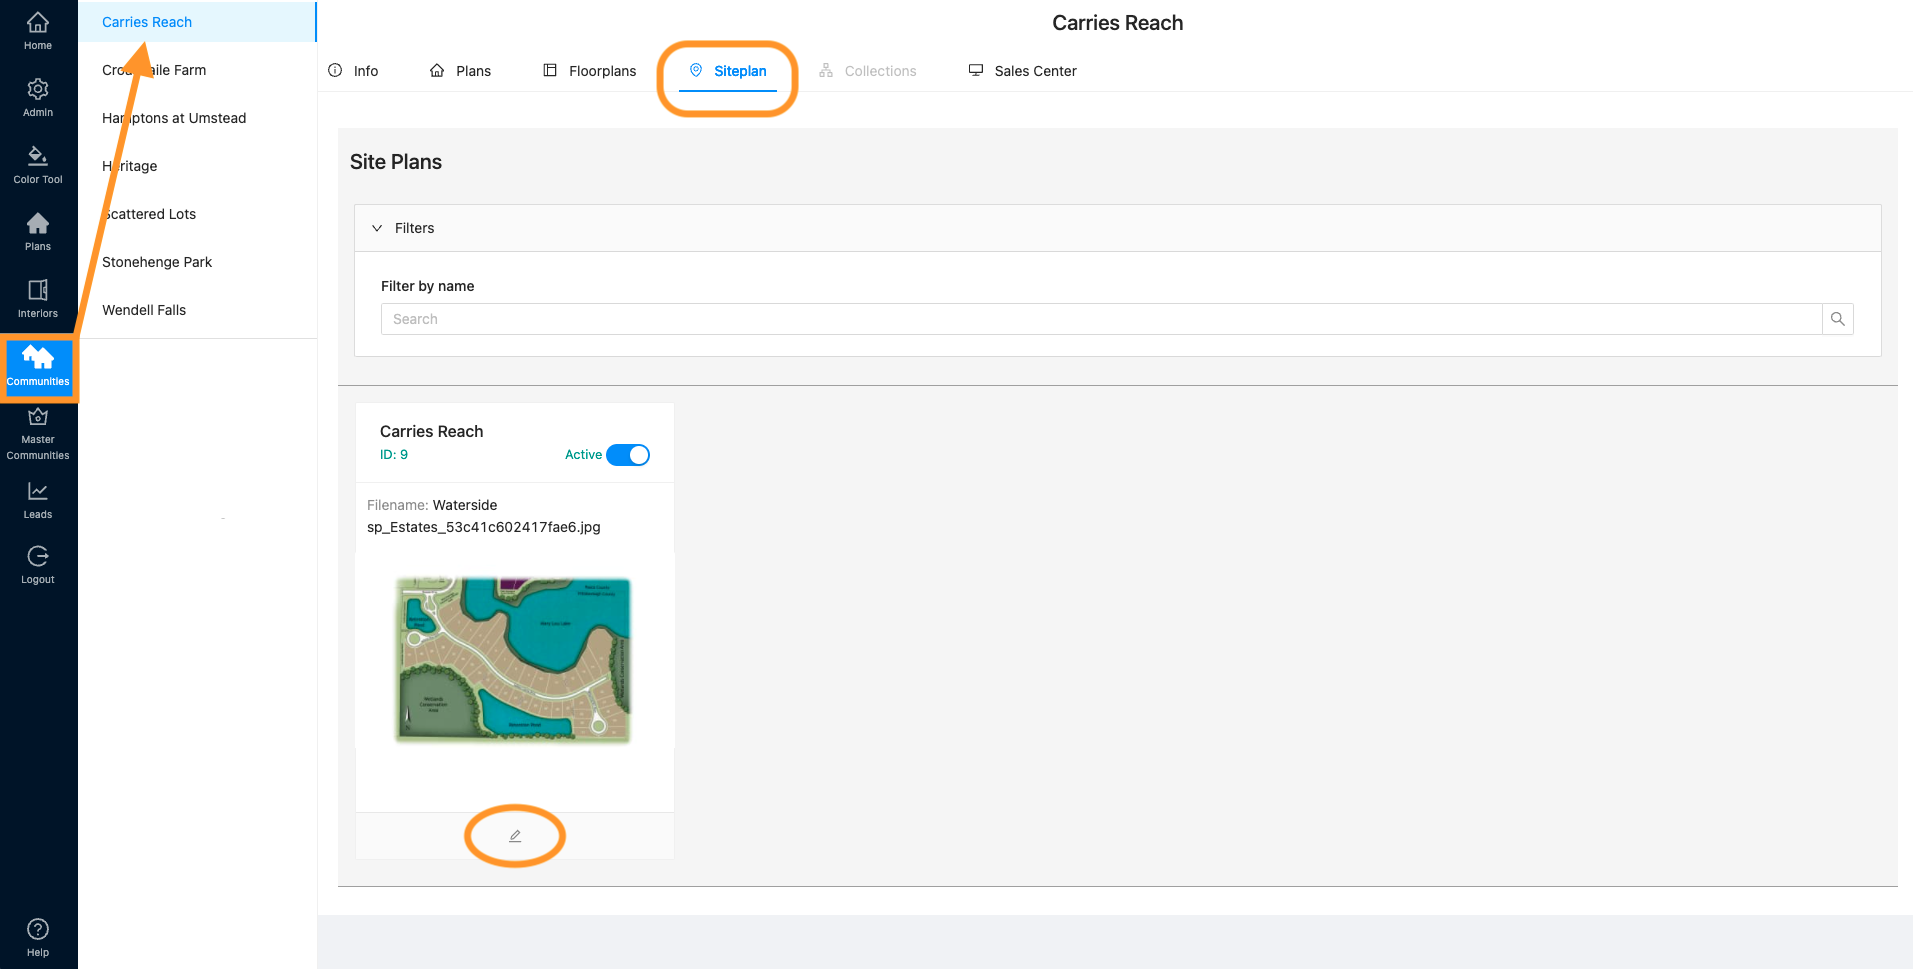
- To add or update the thumbnail image for an Inventory home, go to “Communities” and select the community you need to work in, then click “Siteplan.” All of your siteplans for that community will display below. Click the pencil icon (edit) for the siteplan you need to work with.
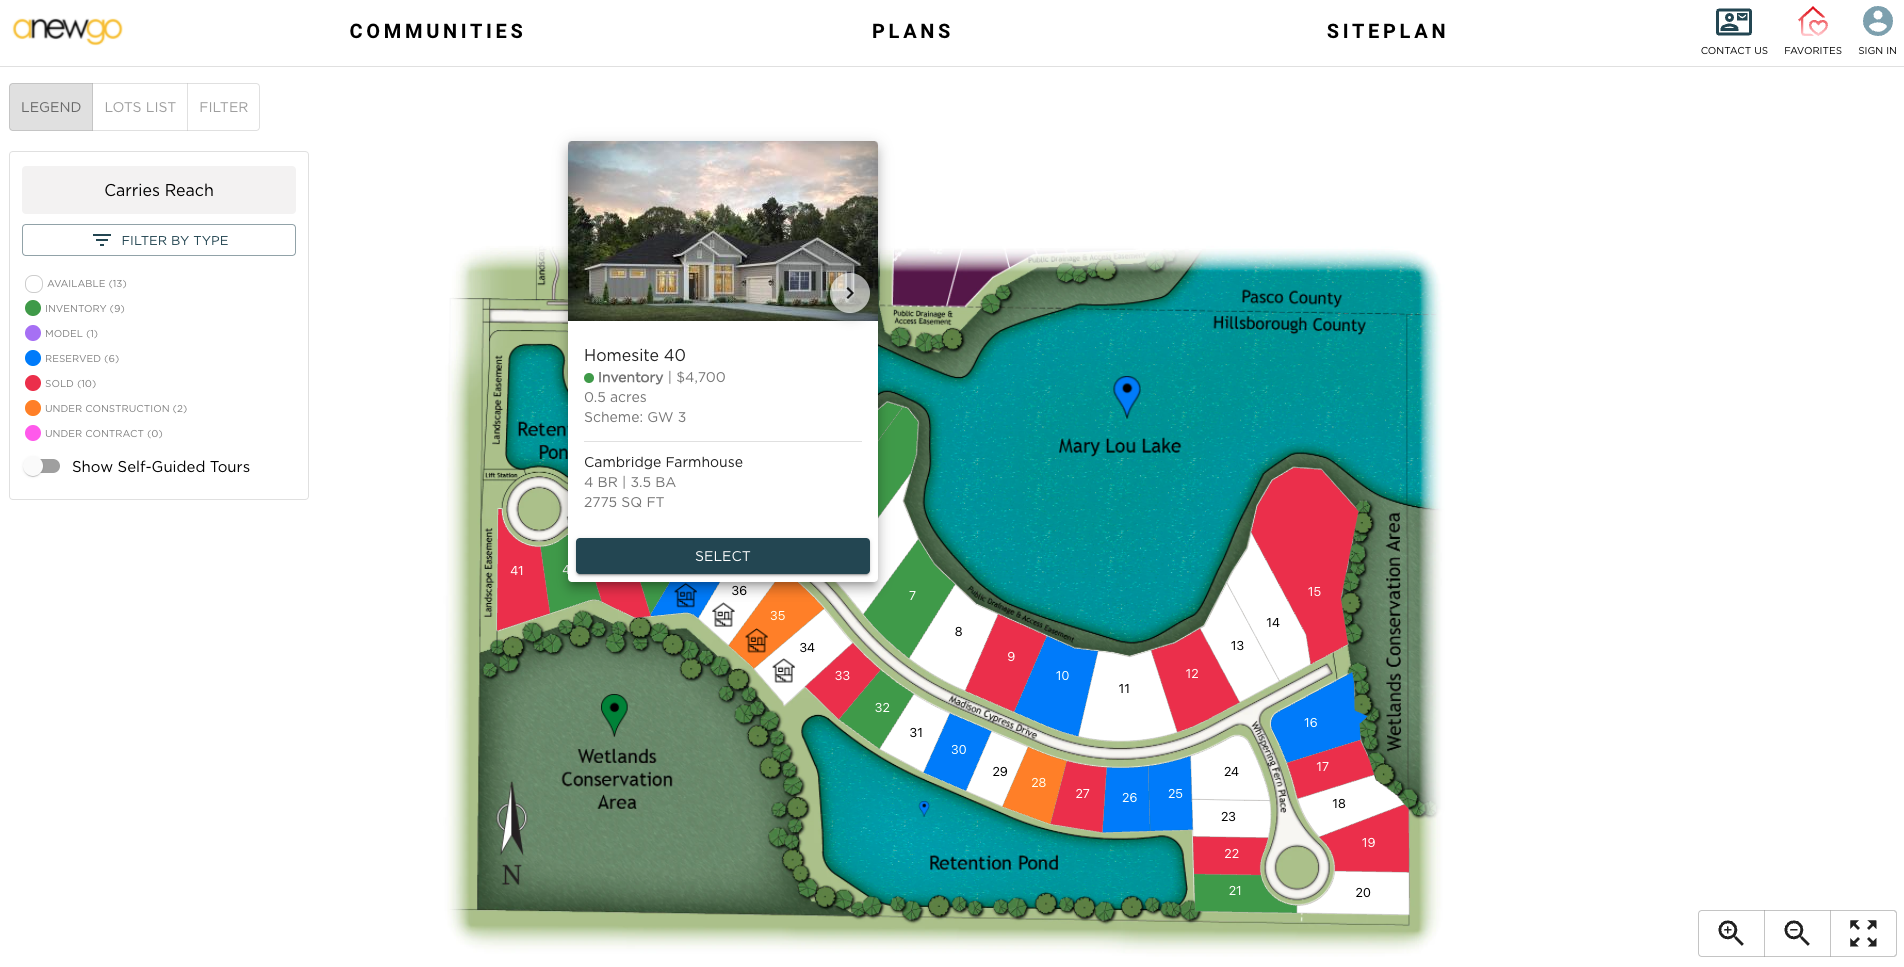
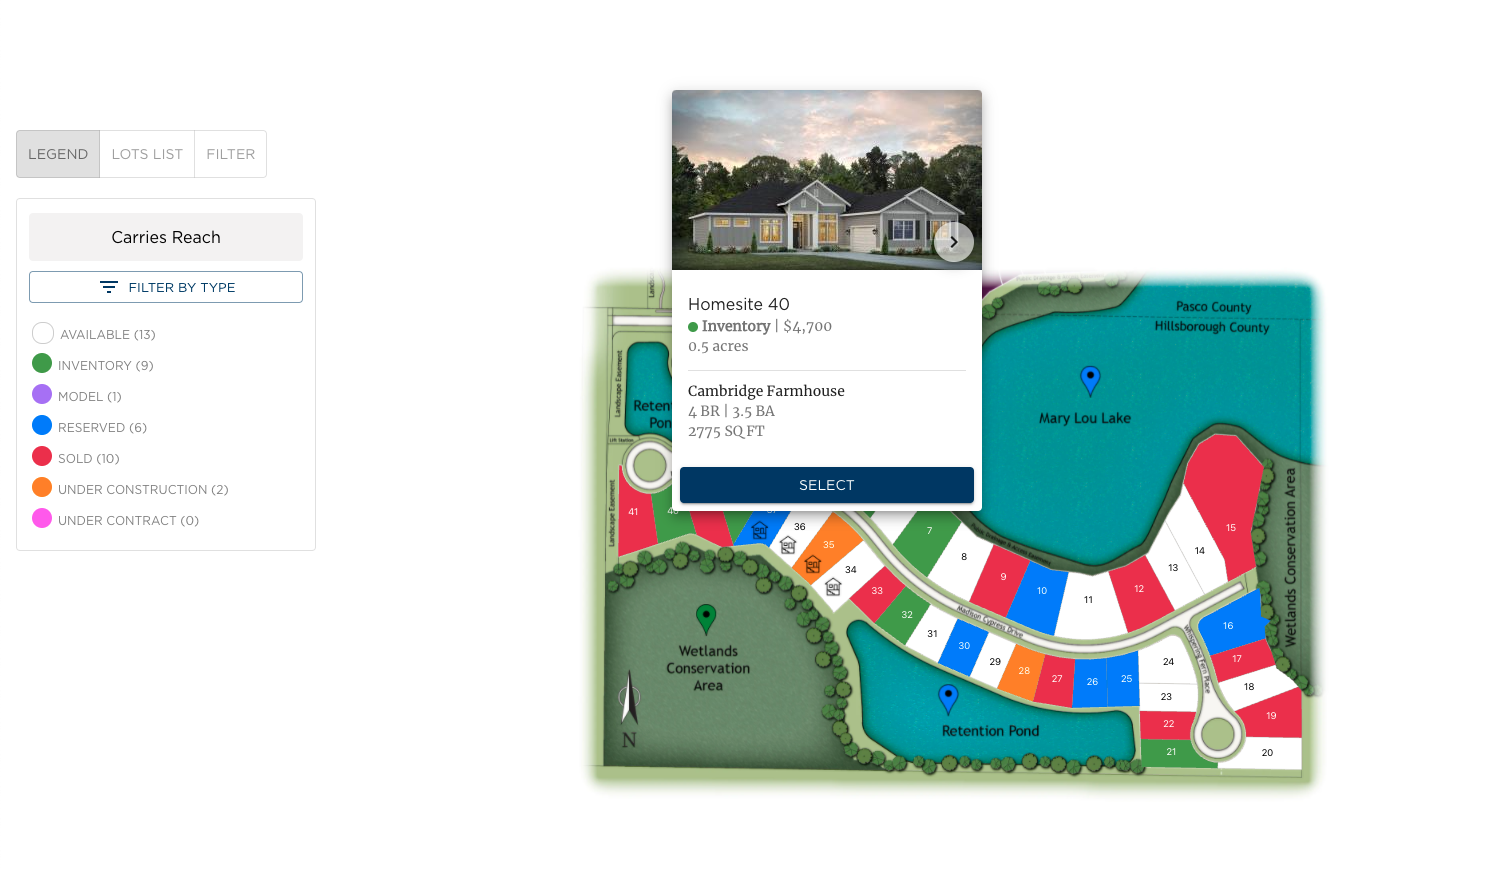
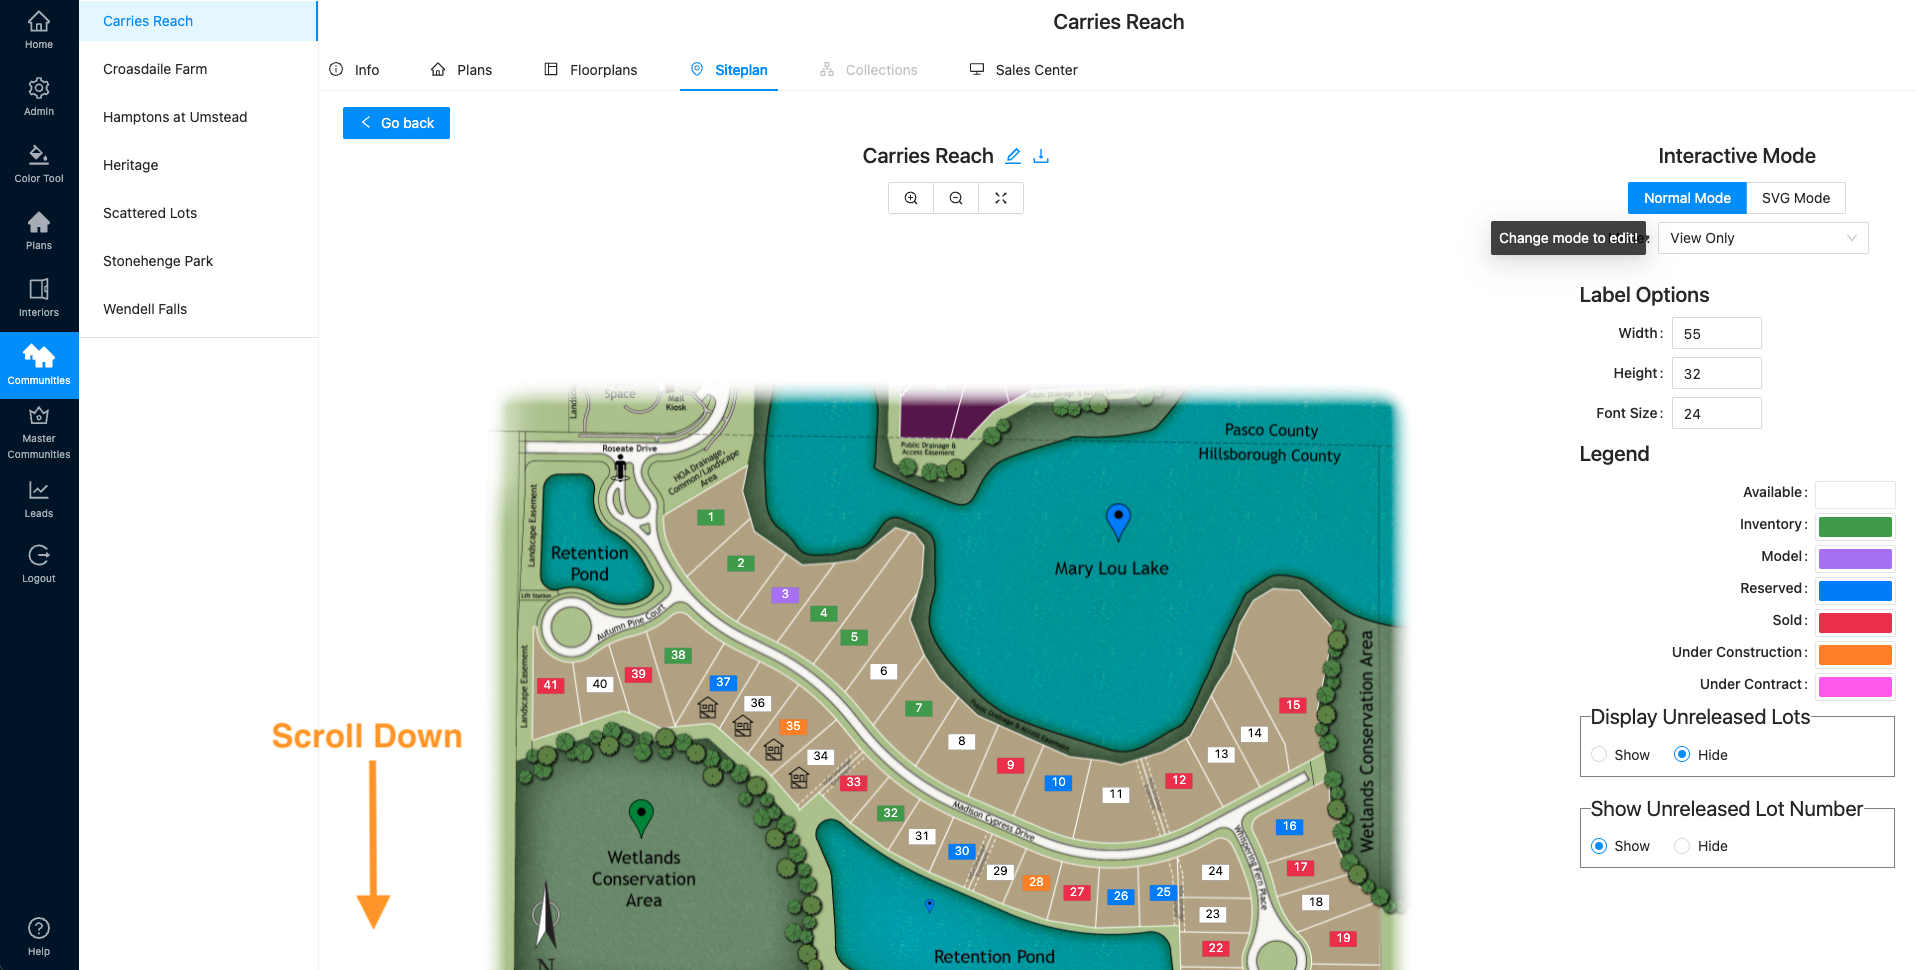
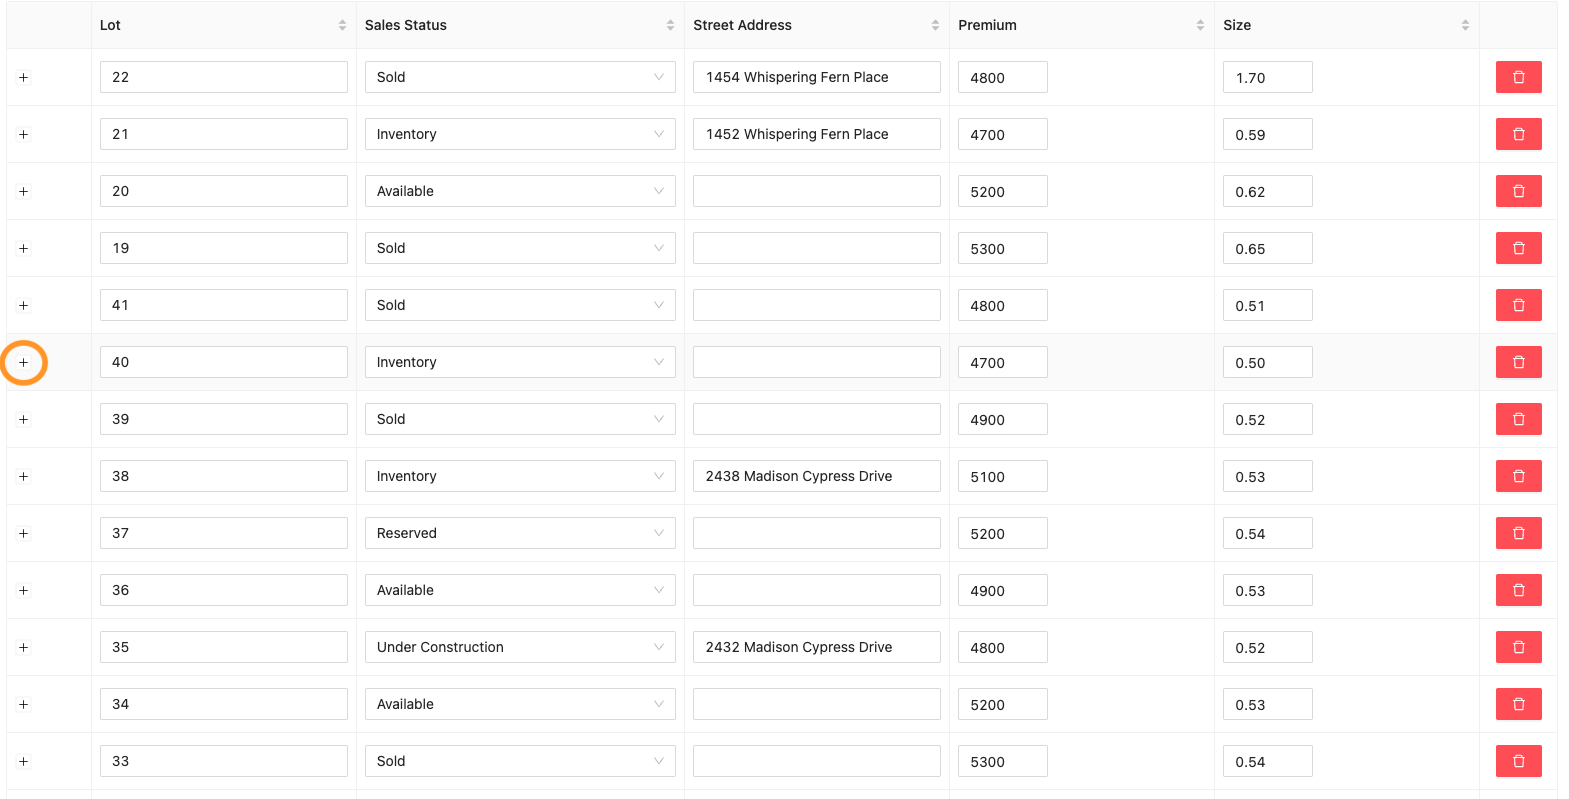
2. This will bring you to your siteplan map. Scroll down to the Home Sites list.
3. Find the correct lot and click the plus sign to expand the options.
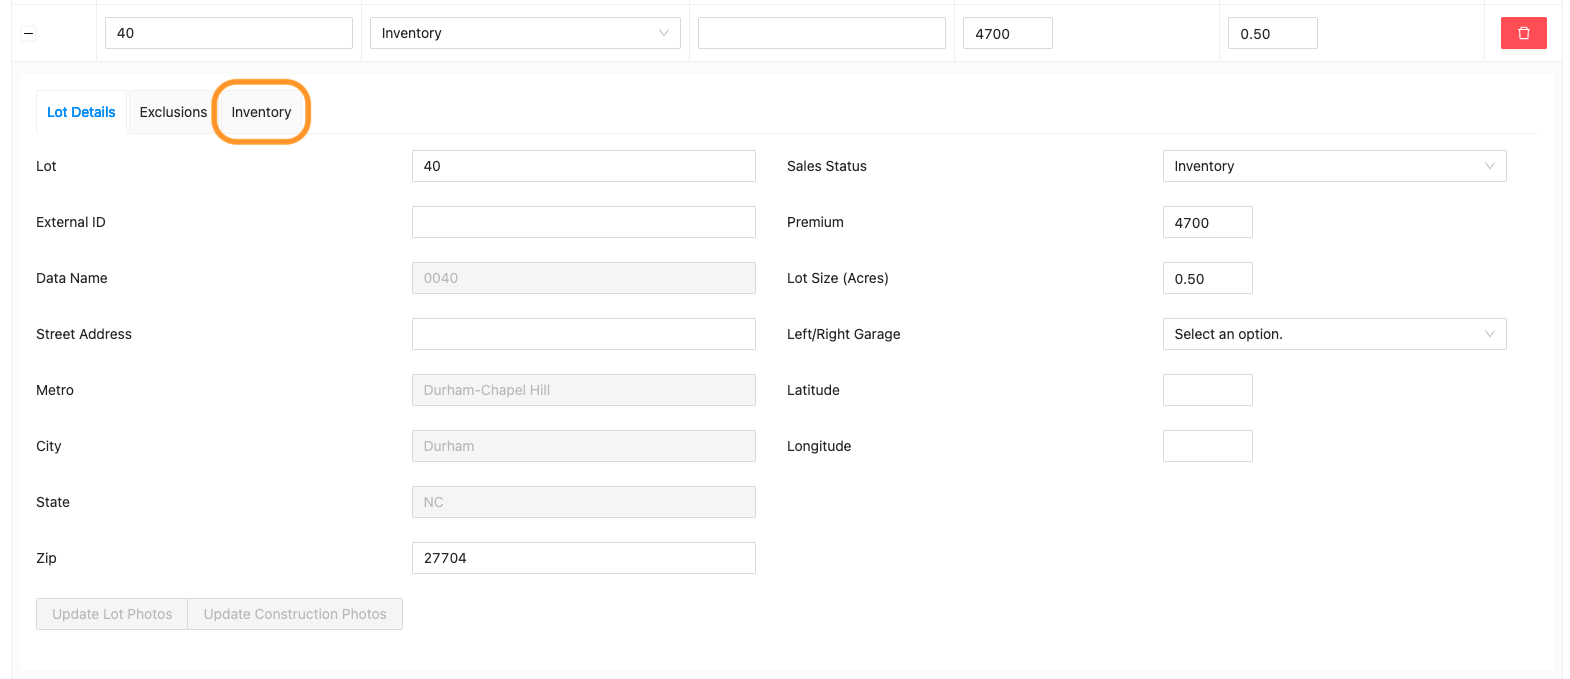
4. Click the Inventory tab.
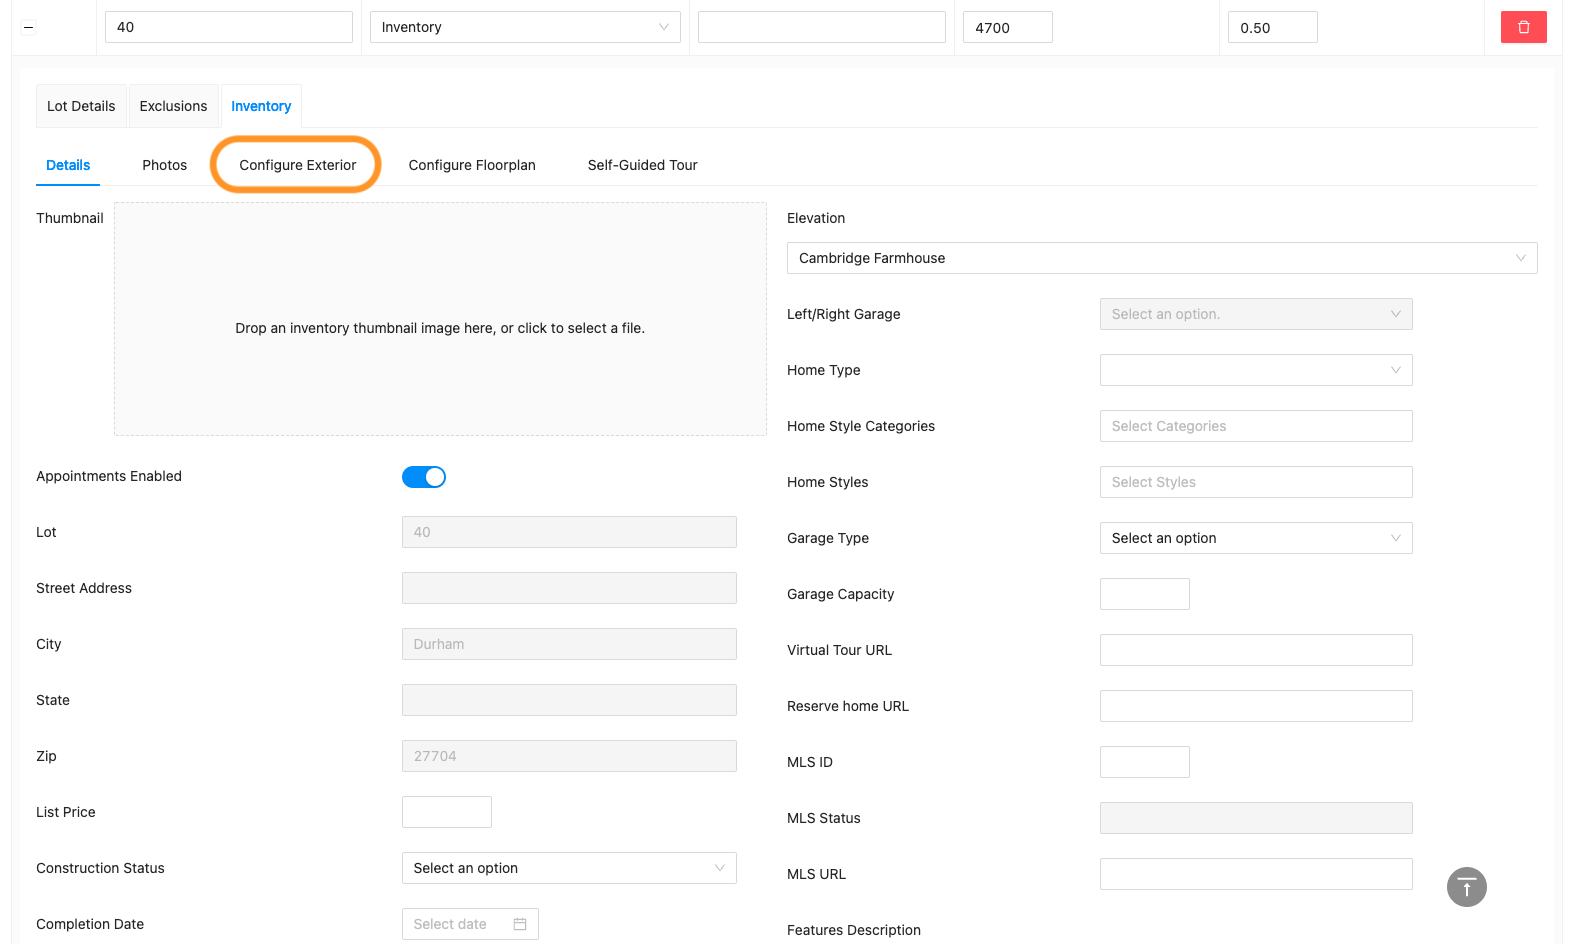
5. Click “Configure Exterior”
Note: If this option is grayed out, this is because you need to select an elevation. See step 6.
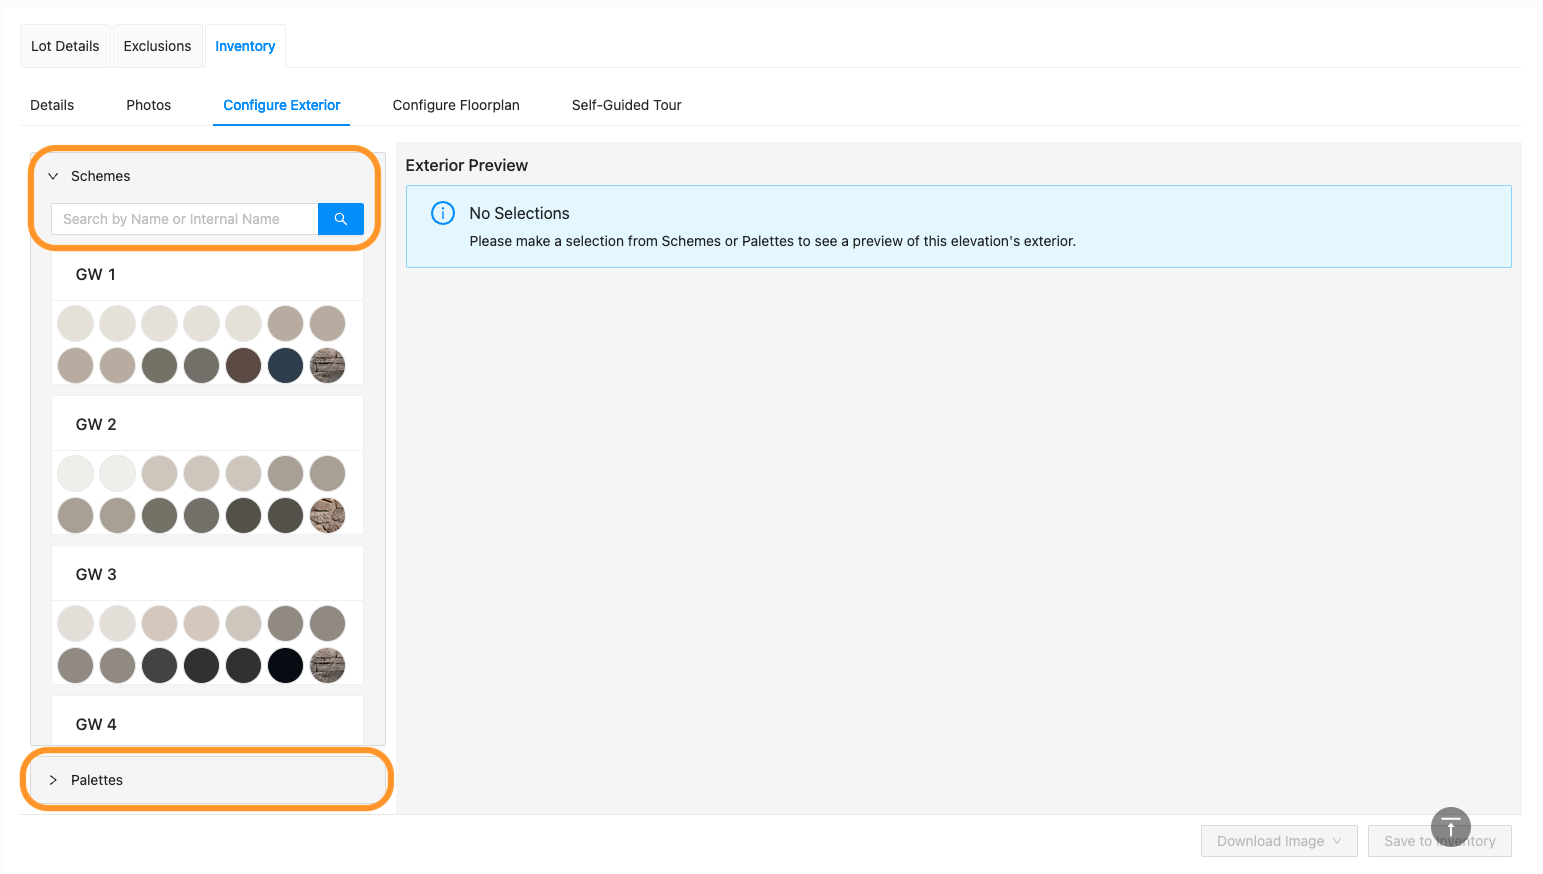
6. Here you can design the exterior of the inventory home. You must start selecting colors to see the preview. You can select from Schemes or Palettes. If you do not see colors you need – double check your default assignments! Palette Assignments & Scheme Assignments
7. Once you have selected your colors and are all finished, you can download the image and/or you can click “Save to Inventory.” Selected colors, either palette or scheme will also display on the My Home Page.
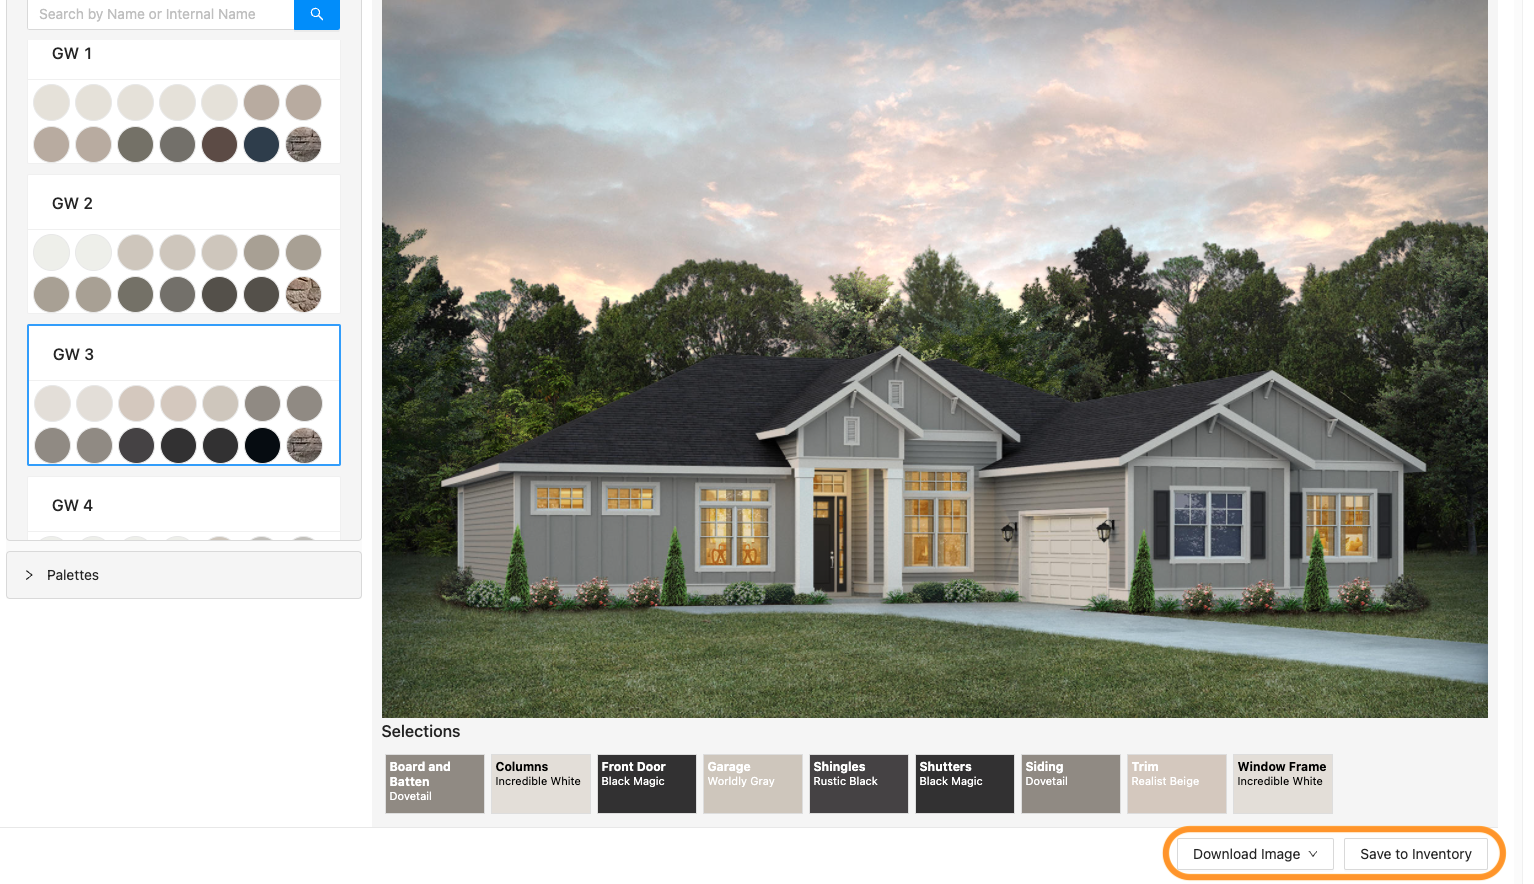
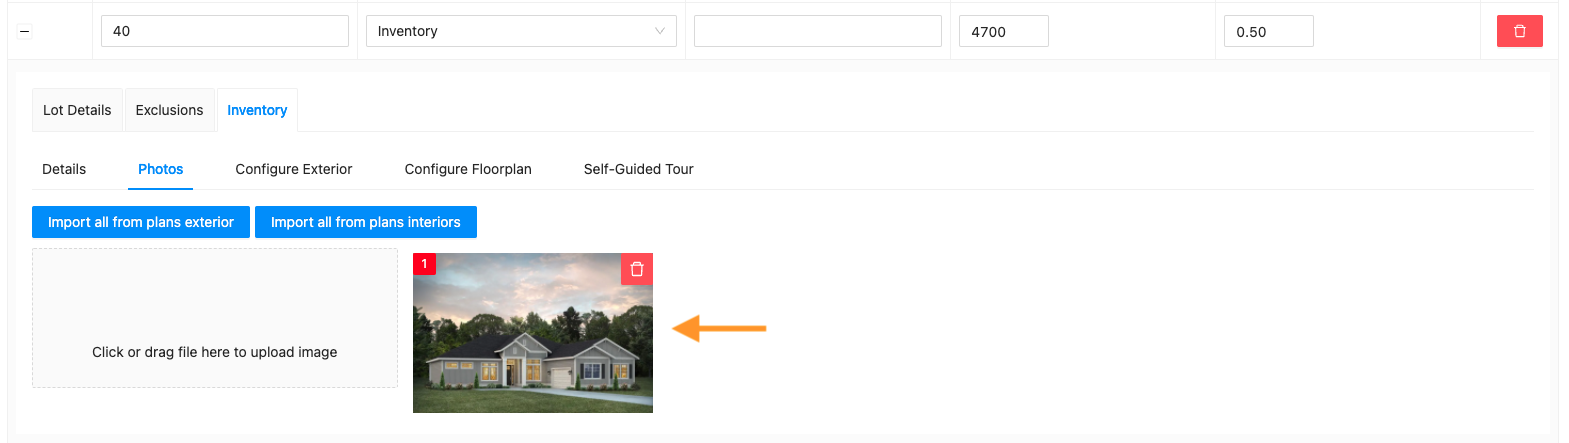
8. When you click “Save to Inventory” this image will save to the “Photos” section and the “Details” section. (Note: if you have an actual photo of the inventory home, you can add that instead of using this rendering)
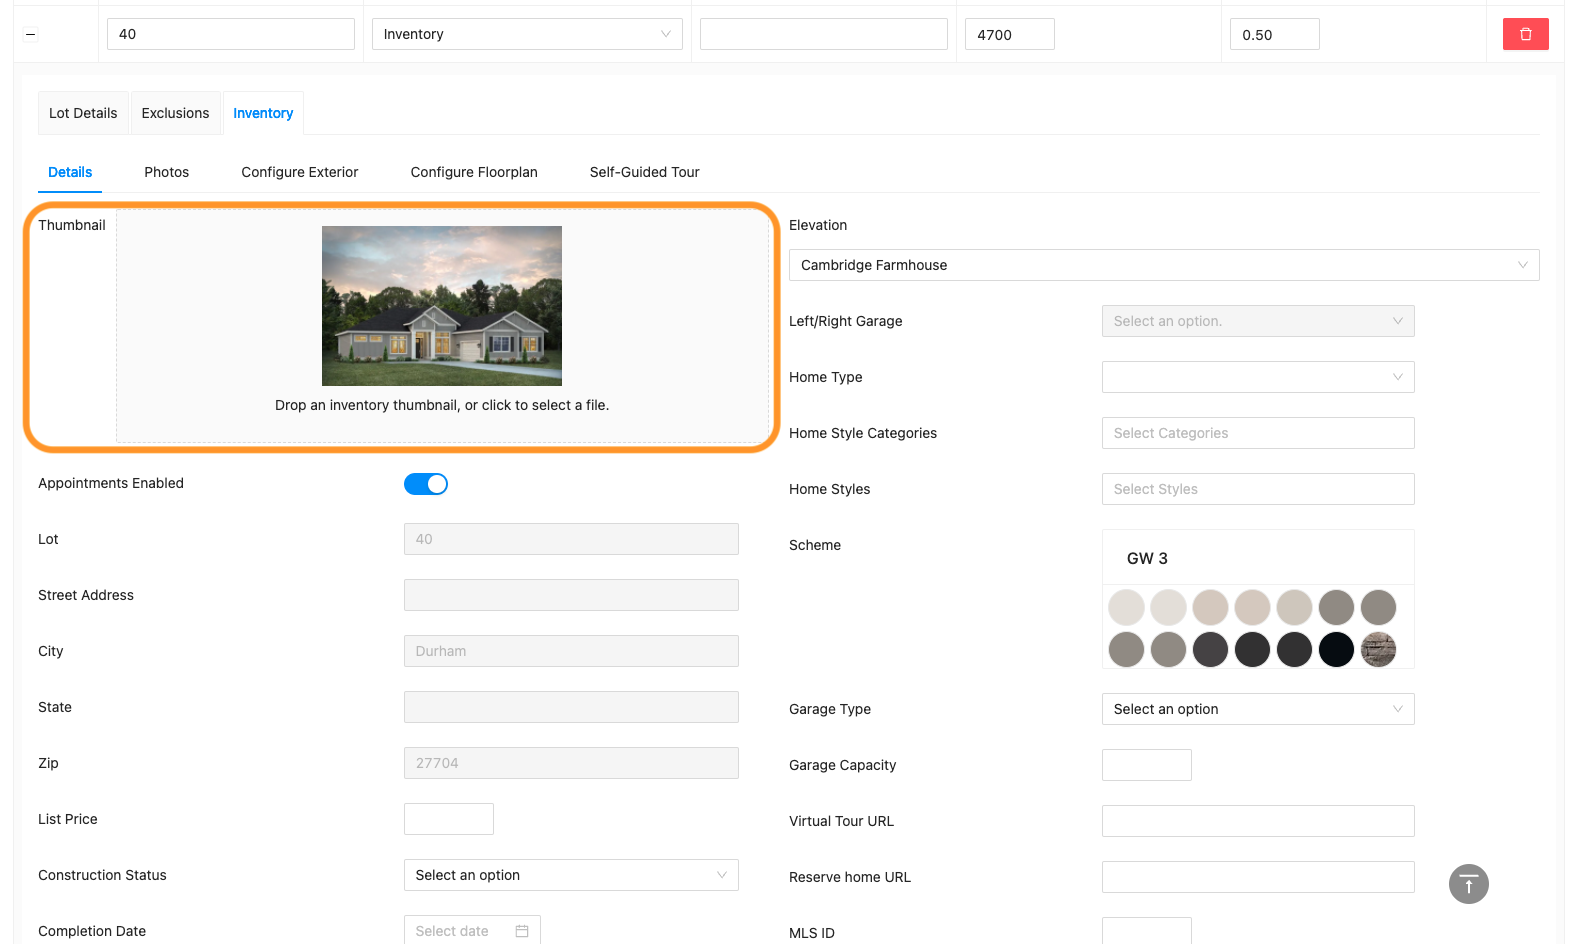
*To update the thumbnail image using Configure Exterior – delete the old image from the Photos section and then re-do the steps above.
9. This image will now represent this Inventory home on this front end of the My Home App and the Sales Center Kiosk. (Make sure you have changed the lot Sales Status to Inventory – see step 3)