
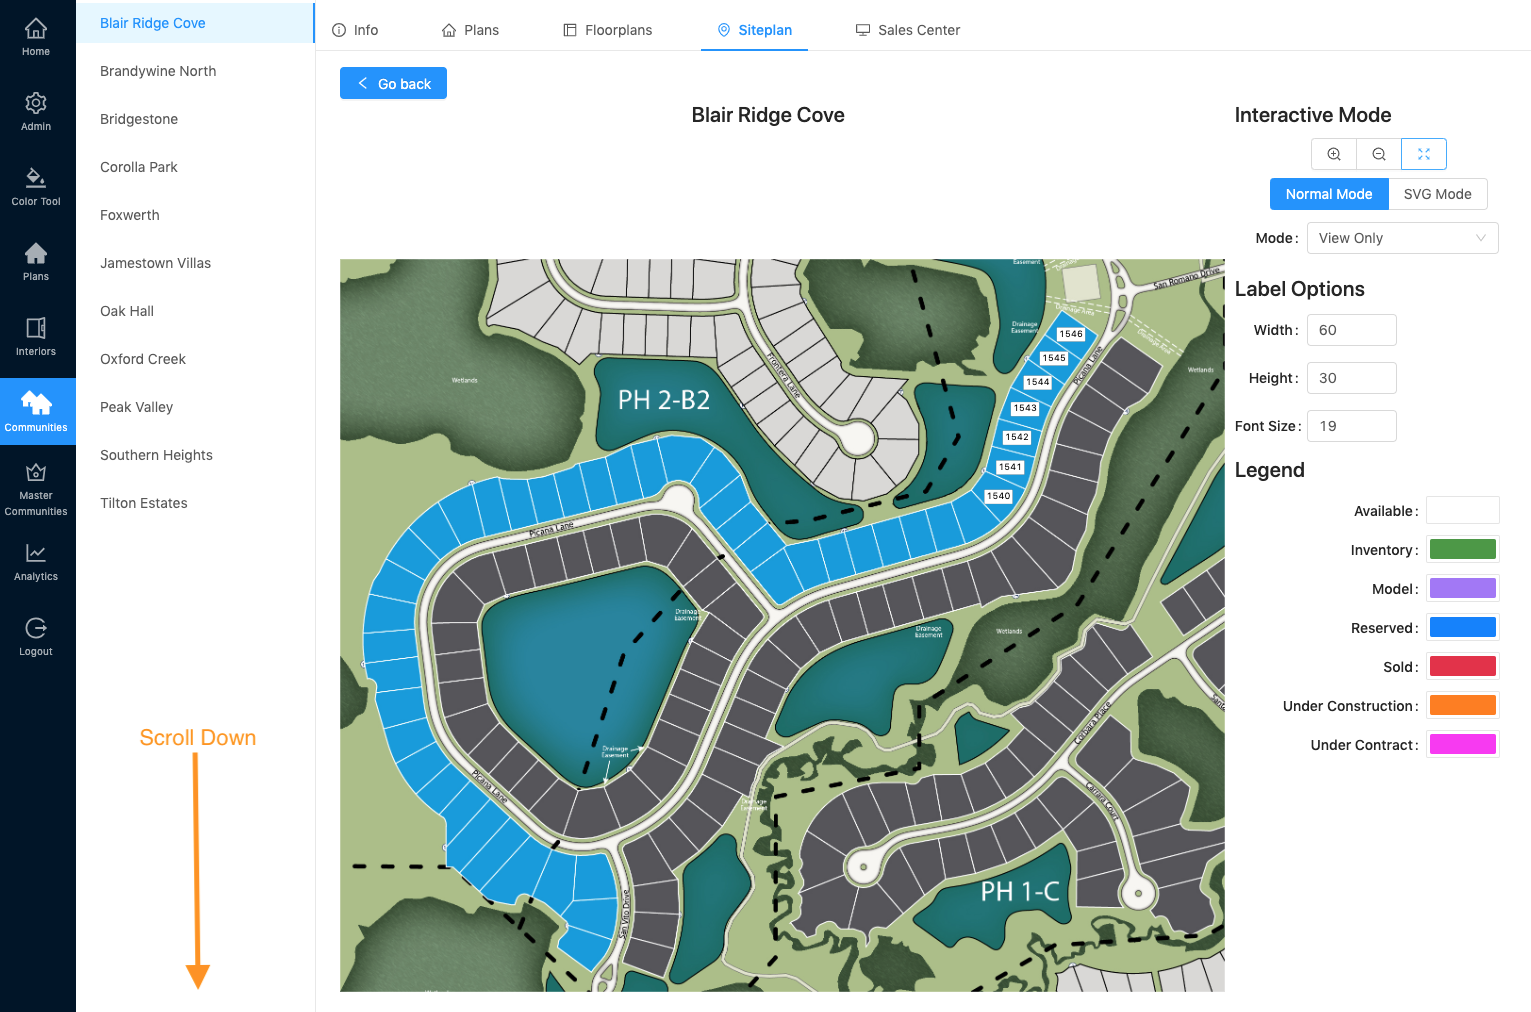
- To edit the lot details of a lot on your siteplan, go to “Communities” and select the community you need to work in, then click “Siteplan.” All of your siteplans for that community will display below. Click the pencil icon (edit) for the siteplan you want to work with.

- This will bring you to your siteplan map. Scroll down to the Home Sites list.
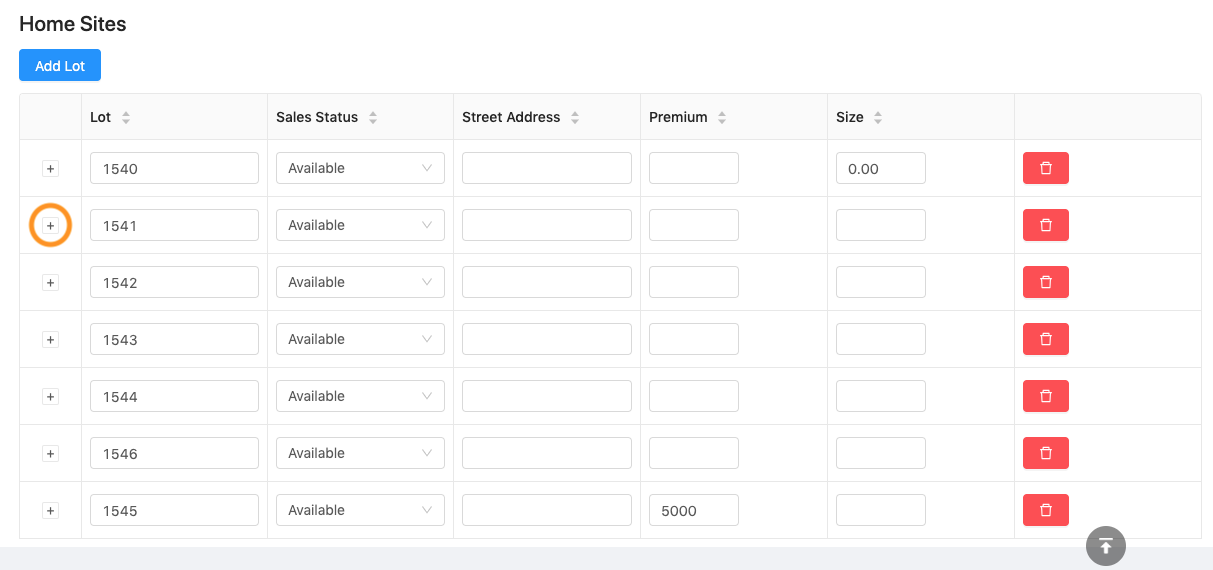
- Here you can see all of your lots listed. Find the lot you need to edit and click the + to expand the list options.
- This will default to the “Lot Details” tab. Here you can see all of the fields you can edit.
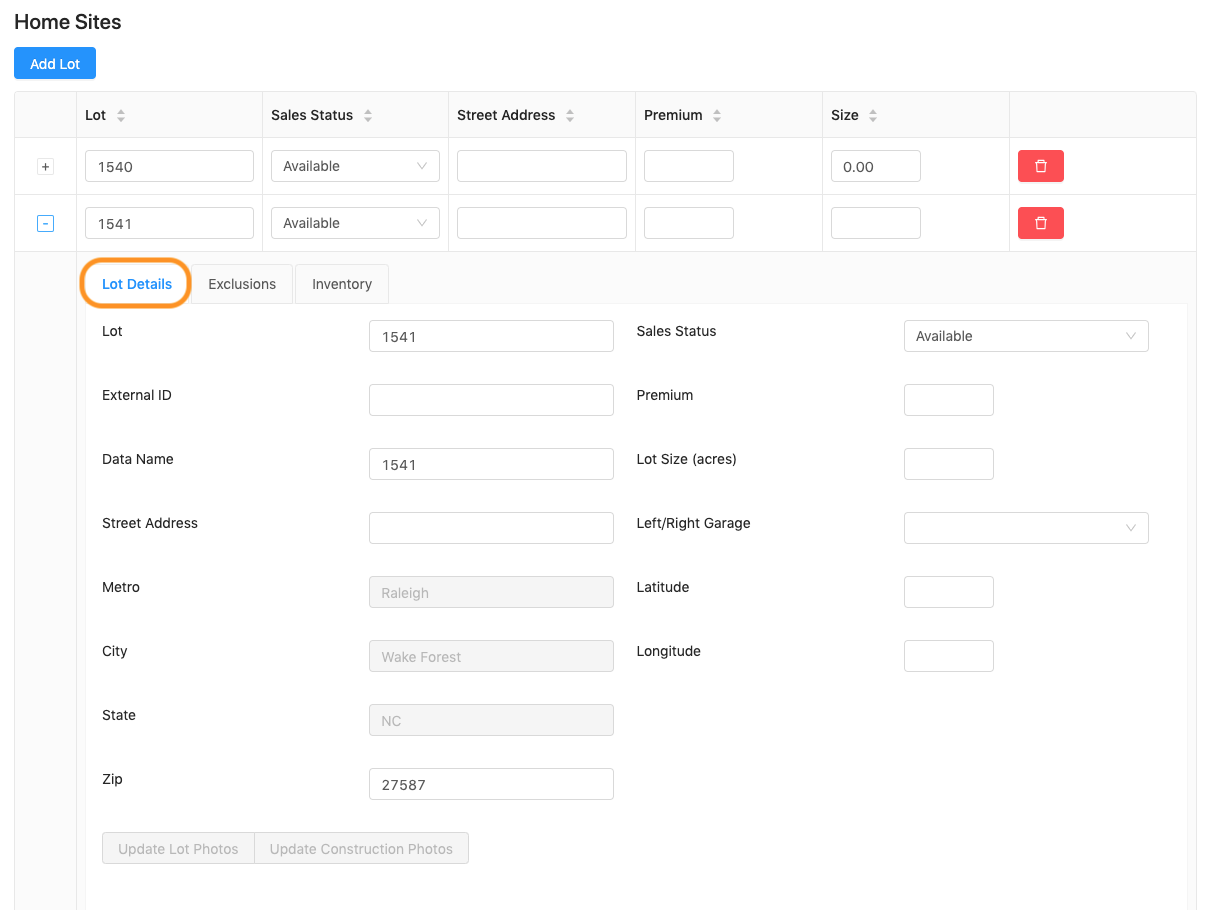
- Lot: lot number that displays on the siteplan map
- External ID: Only used for builders that automatically feed into our system
- Data Name: SVG data information. This is automatically filled in if you create a lot in SVG Mode. If you create a lot in Normal Mode, but need to link it to your SVG map, you can enter the correlating SVG data name here. You can find the steps to do that here (see step 14). (link attached)
- Street Address: street address of lot
- Metro, City, State: These fields are automatically populated from your community information, which is why you cannot edit them here.
- Zip: zip code of lot
- Sales Status: edit the sales status of the lot here
- Premium: cost associated with lot (optional)
- Lot Size (acres): size of lot in acres (optional)
- Left/Right Garage: specify if lot will have a garage on the left or right side of the property (optional)
- Latitude & Longitude: specific latitude and longitude of lot (currently unimplemented)
- Add/Edit whatever details you need to.

- You can see these details on the front end of both your My Home App (Siteplan) and Sales Center App (Homesites) when you click on the lot.


Please note: the Sales Center App mentioned above is an additional cost/upgrade. Please contact your Account Manager for more details.