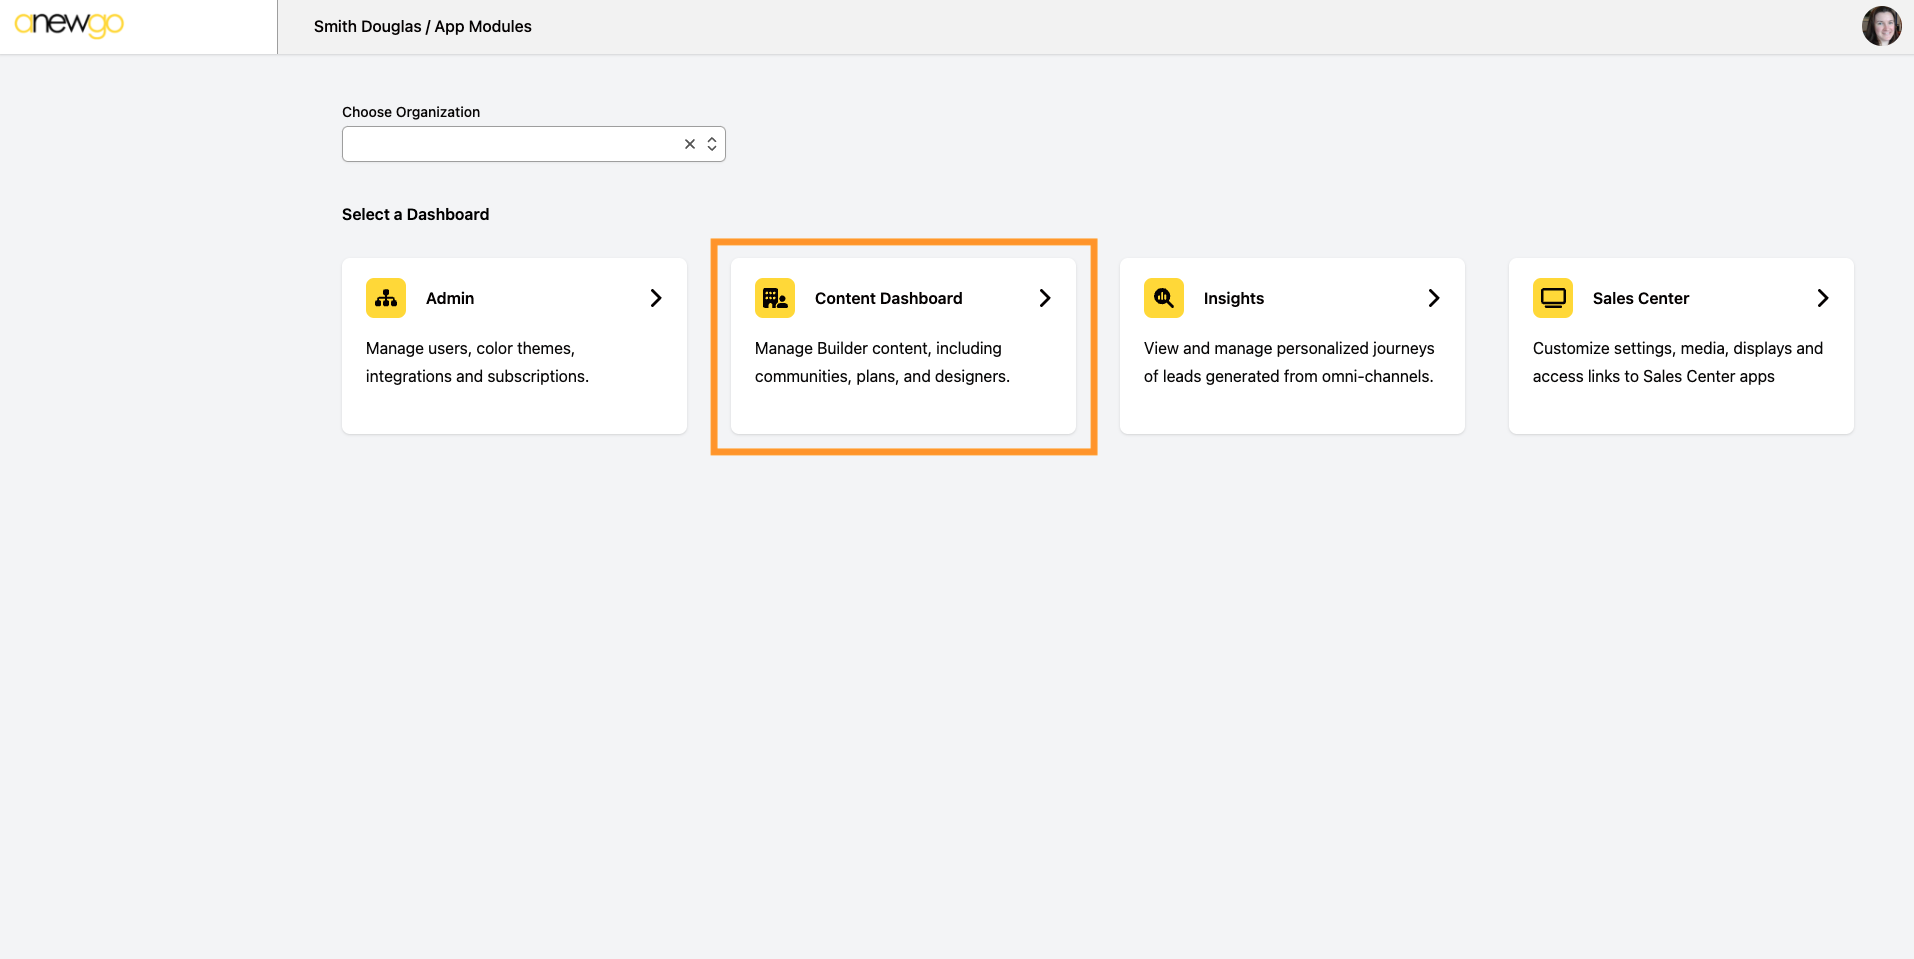
- You can access the Manage Media section via the Content Dashboard
Note: the Manage Media module will also pop-up and be accessible as you work within the different products/apps
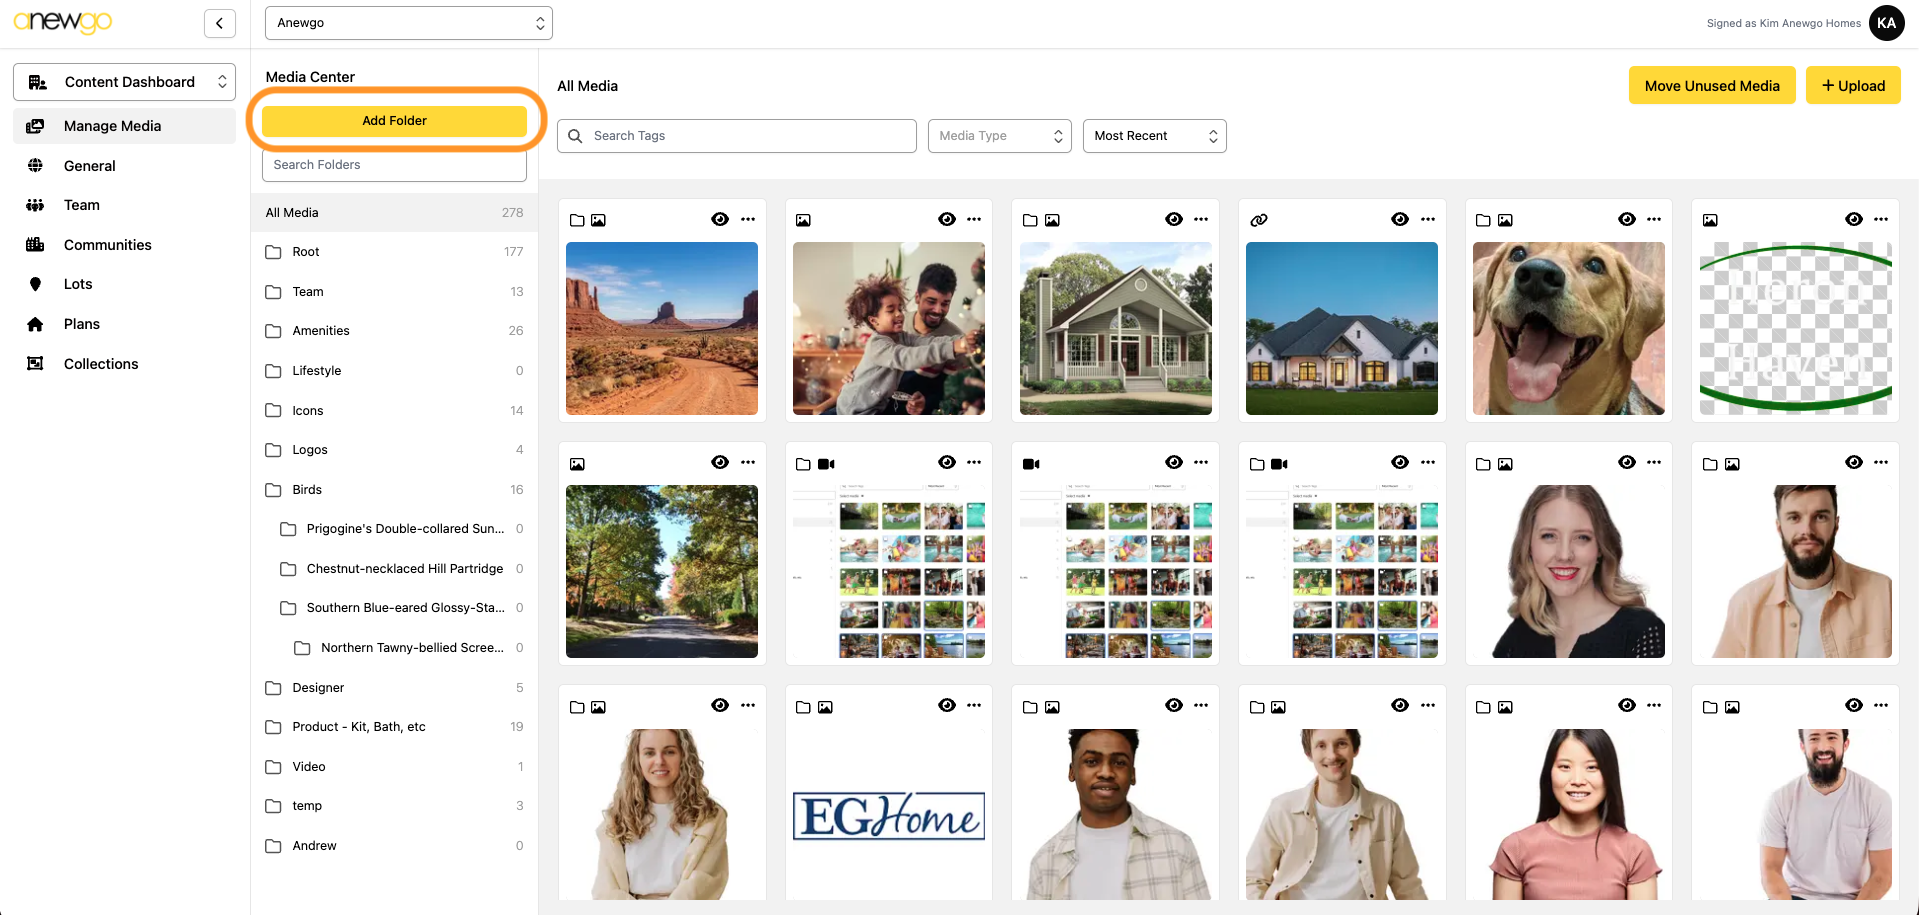
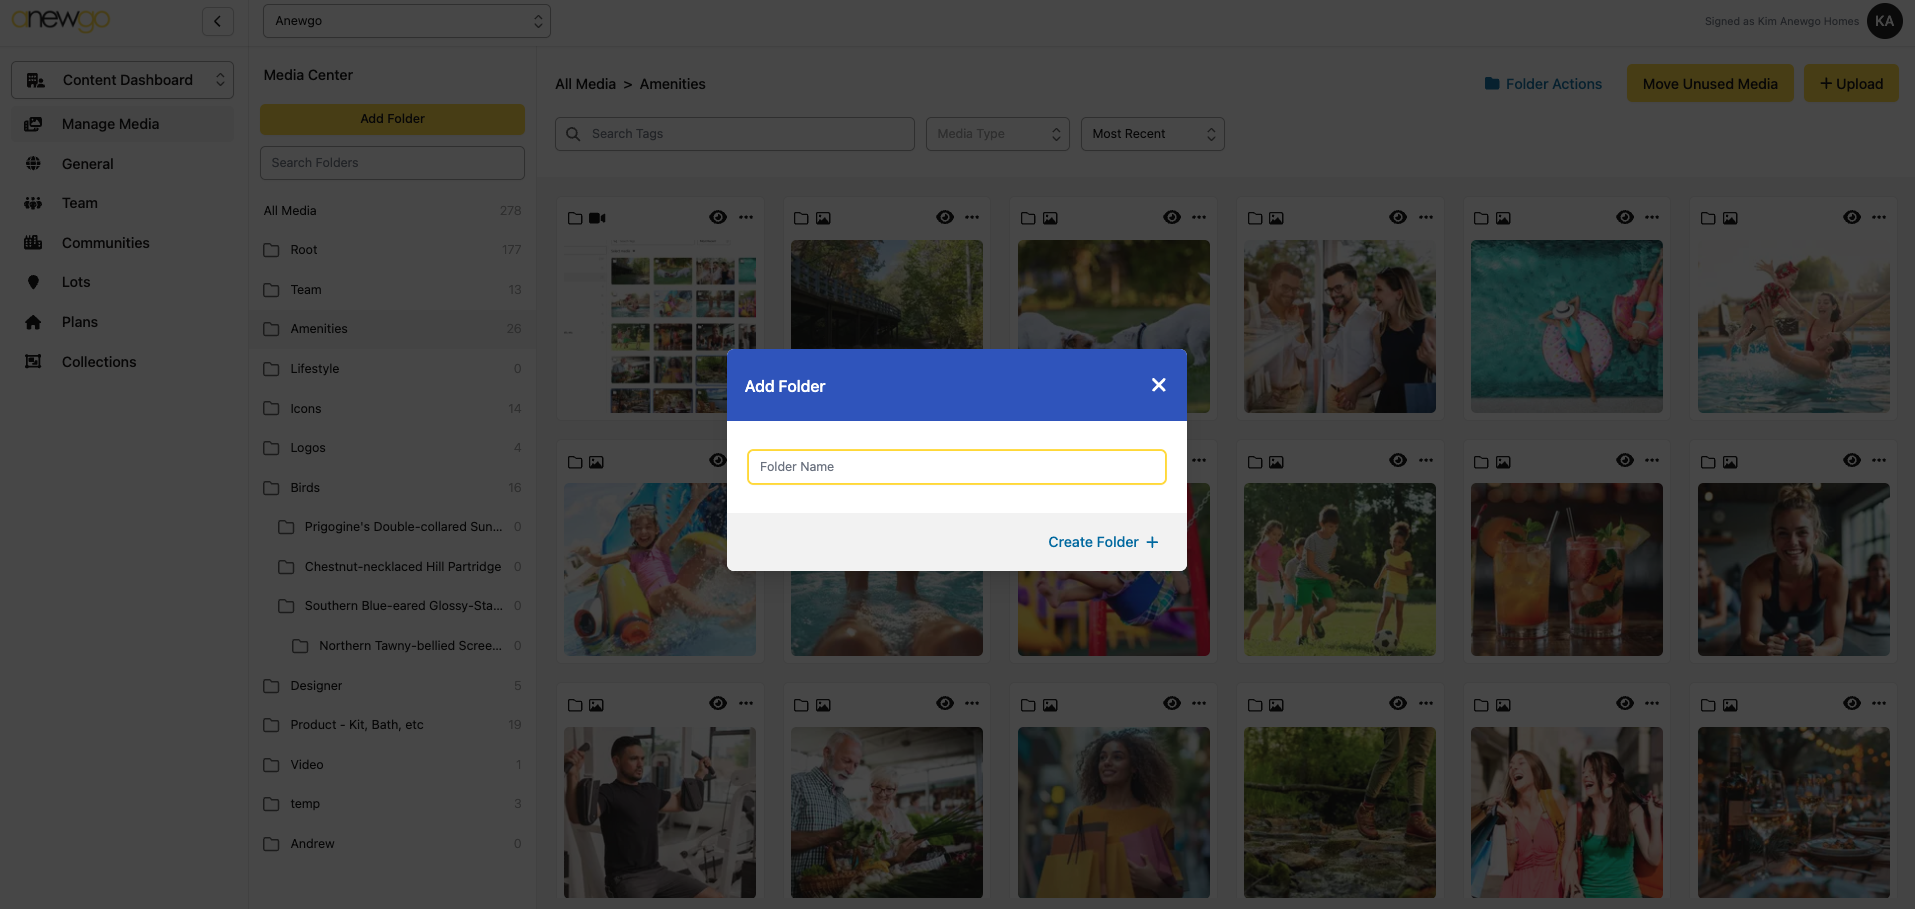
2. To best keep your media organized, we do recommend starting with creating Folders. Click Add Folder
3. Type in the Folder Name and click Create Folder +
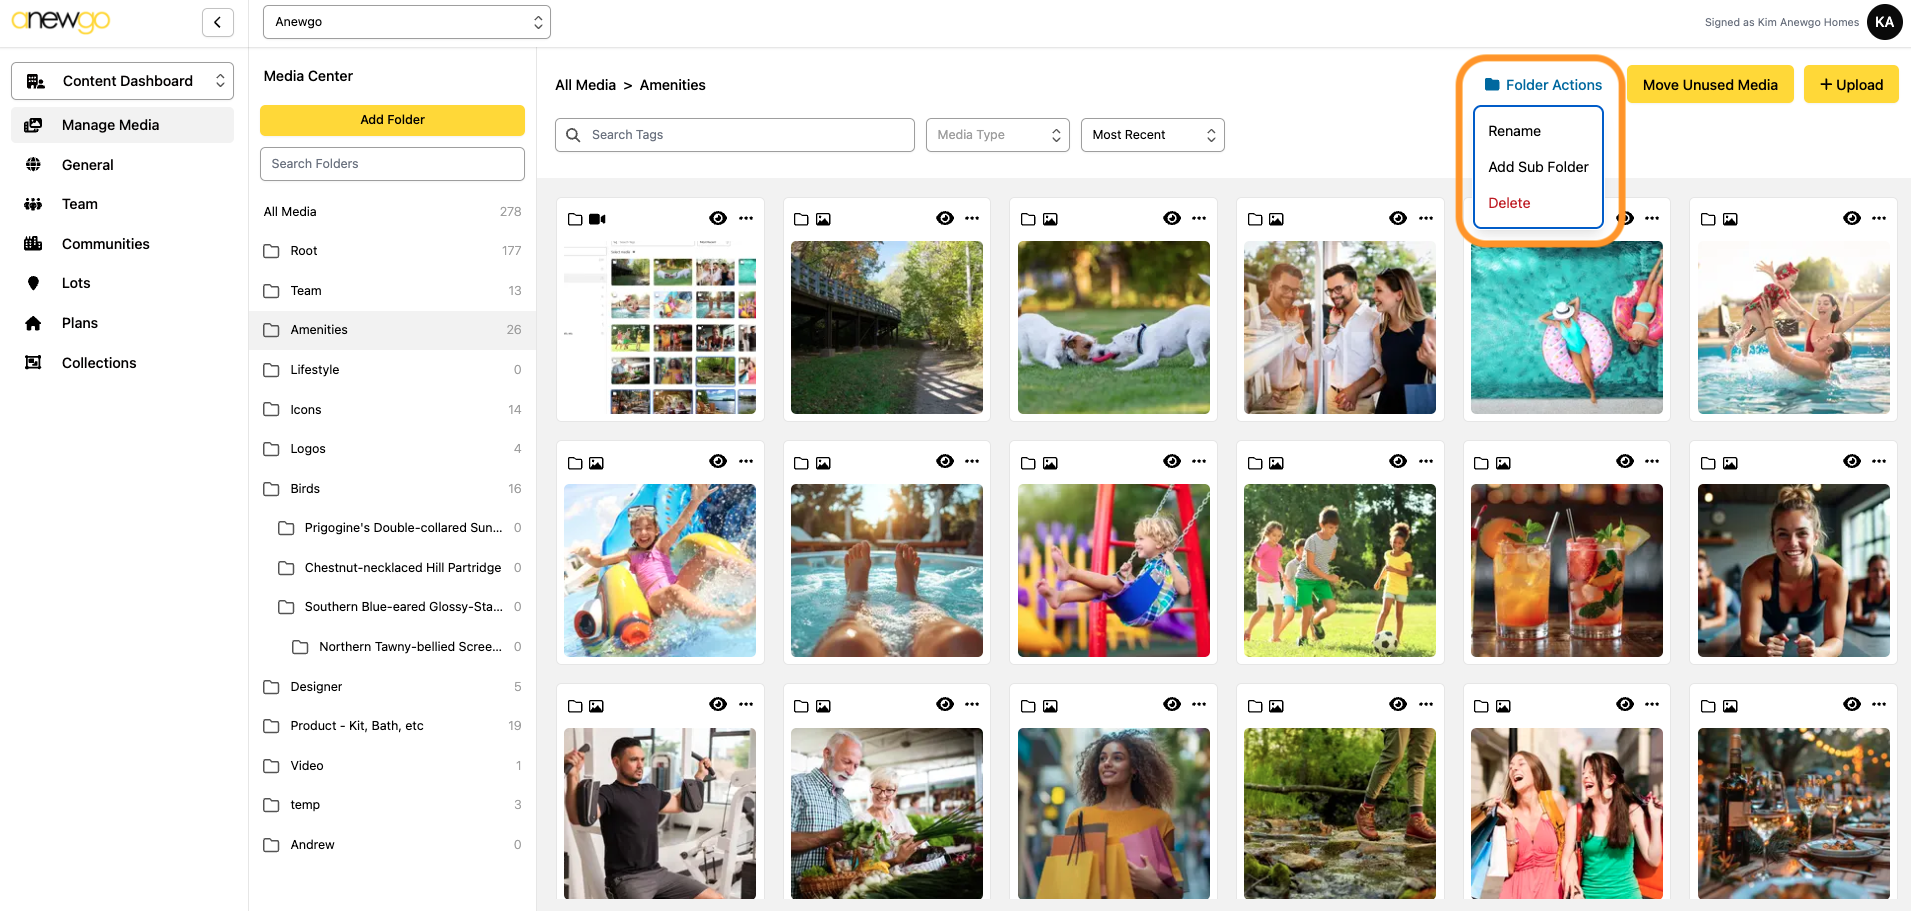
After you create Folders, you can Rename, Add Sub Folder or Delete them with Folder Actions
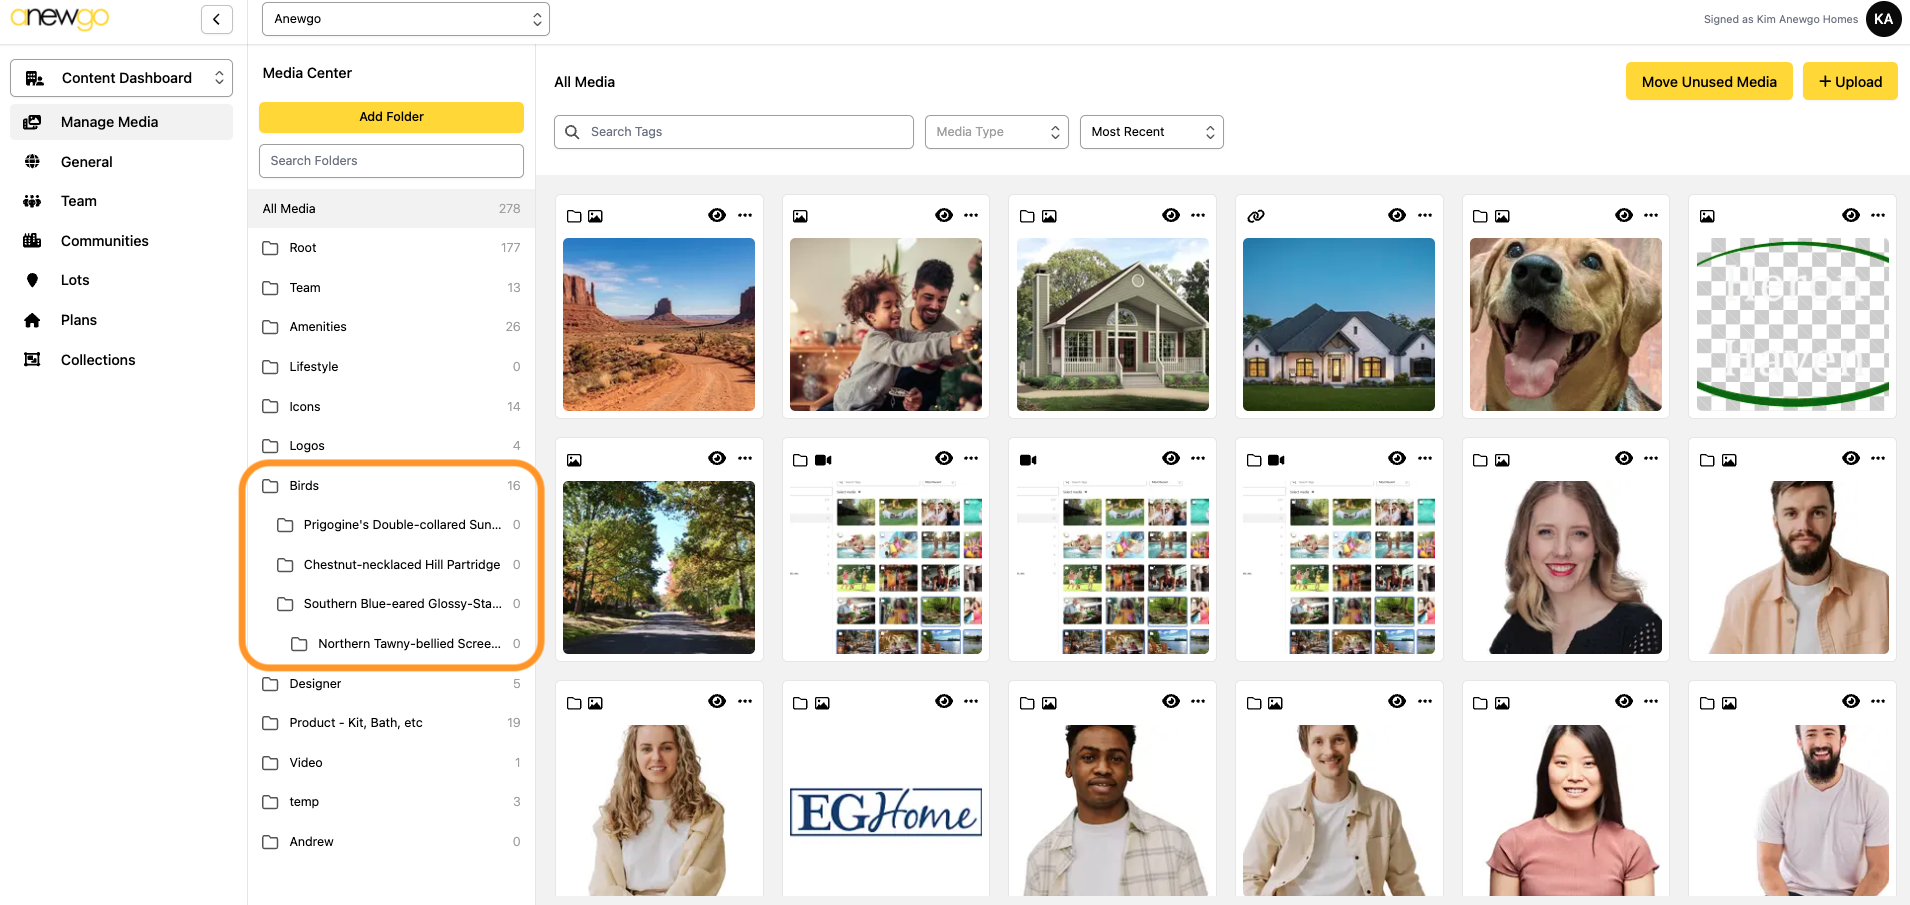
Sub Folders will display like this in the list:
*Note: The number displaying next to the folder is how many images are in that folder
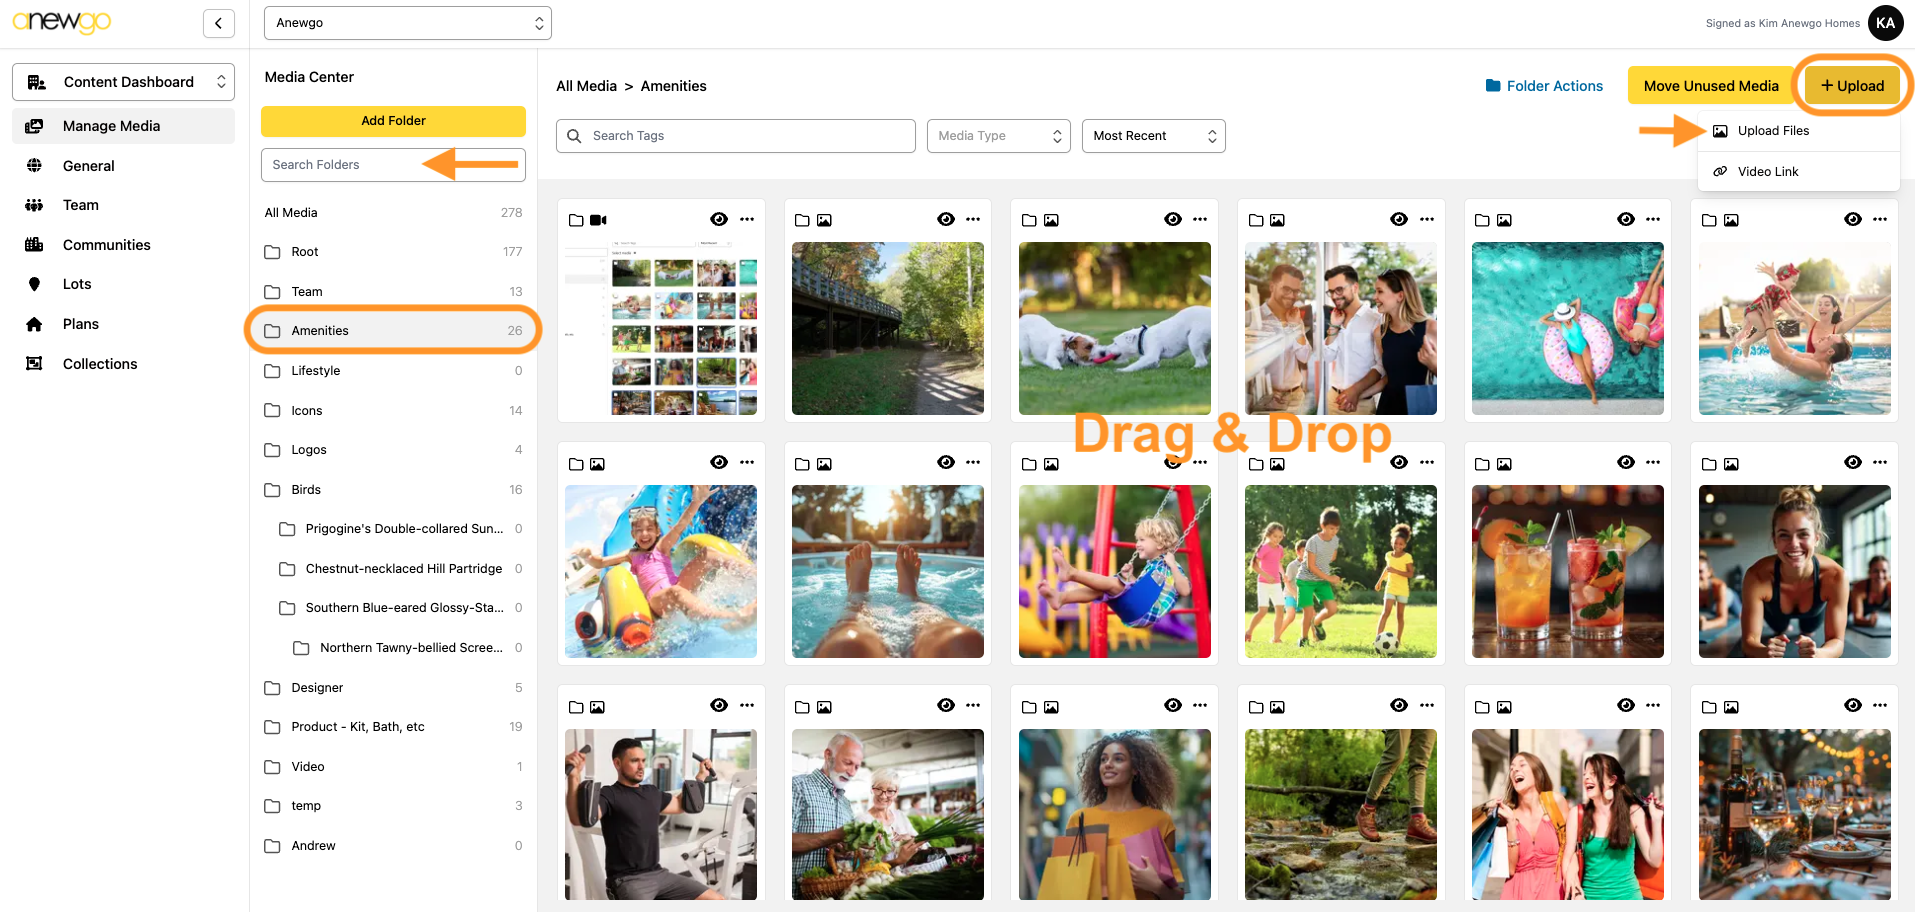
4. Select the Folder where you would like to add the media (use the Search Folders field if needed to find your folder). Then you can click + Upload Media to select files from your device or just drag and drop files to the media section.
Note: upload limit is 25 images & size limit per image/video is 41.9 MB (Tip: use an online video compressor to get videos down to this size or add a YouTube or Video link)
5. After you load your images, you have some options when you click “…” in the upper right corner of the image when you hover over it. See below for details of each.
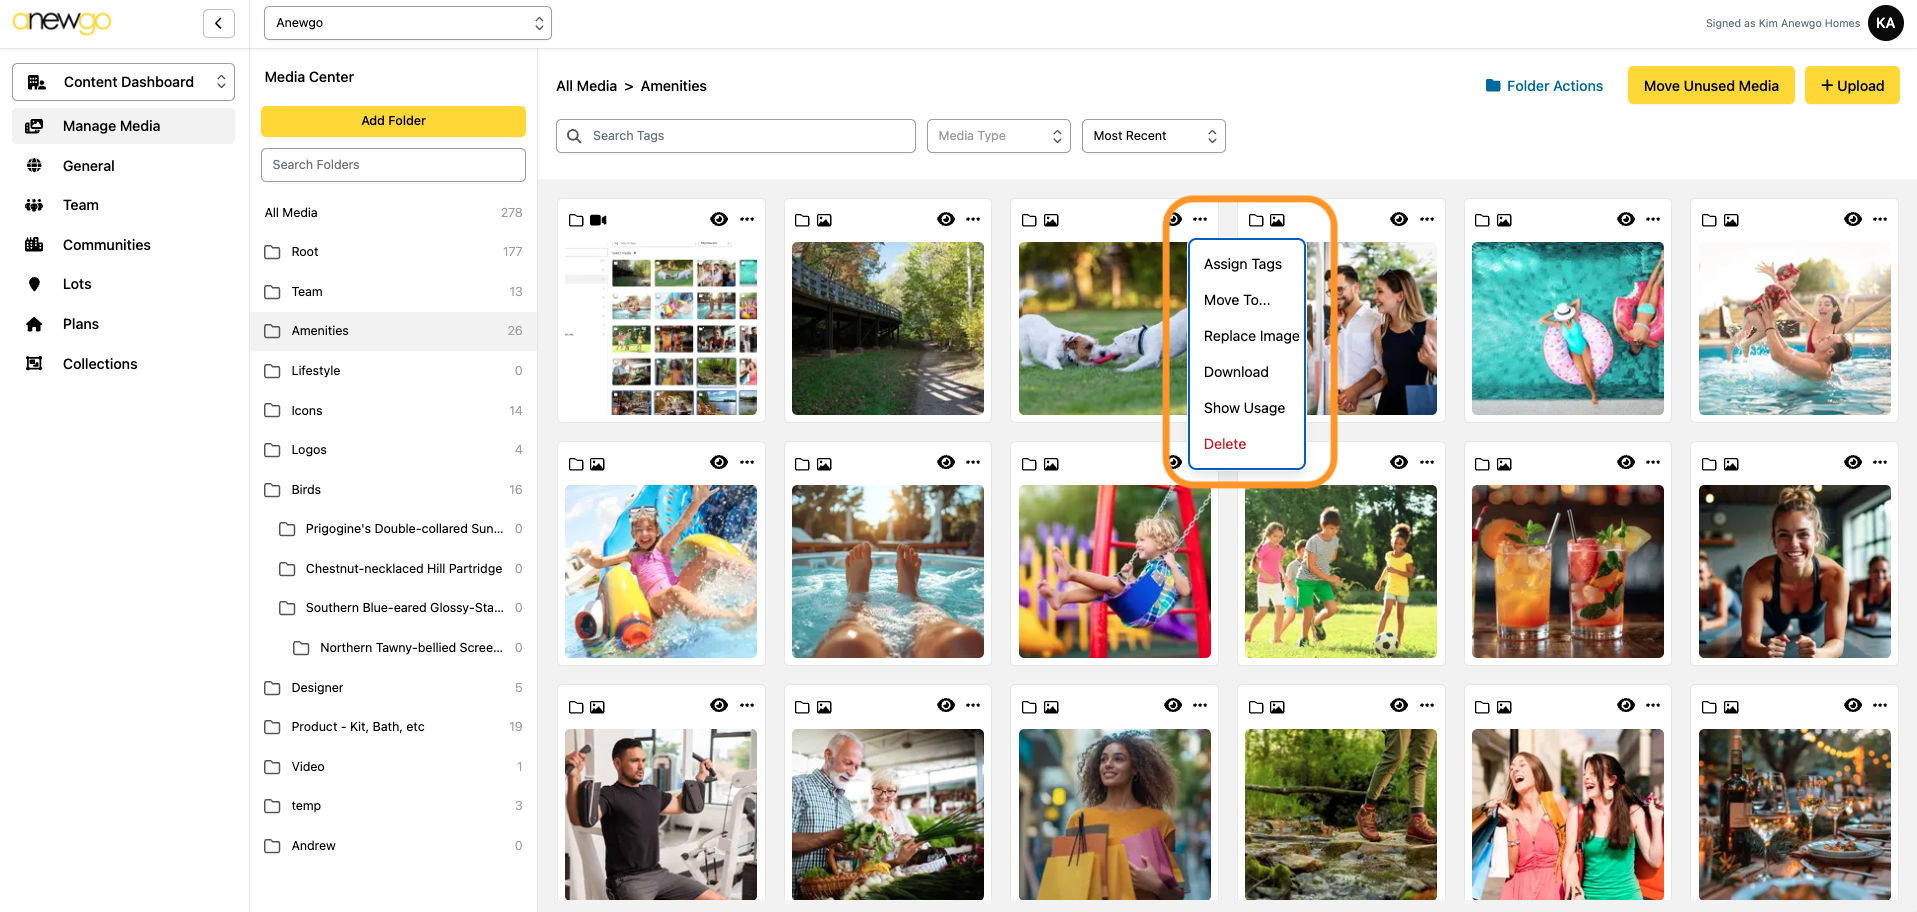
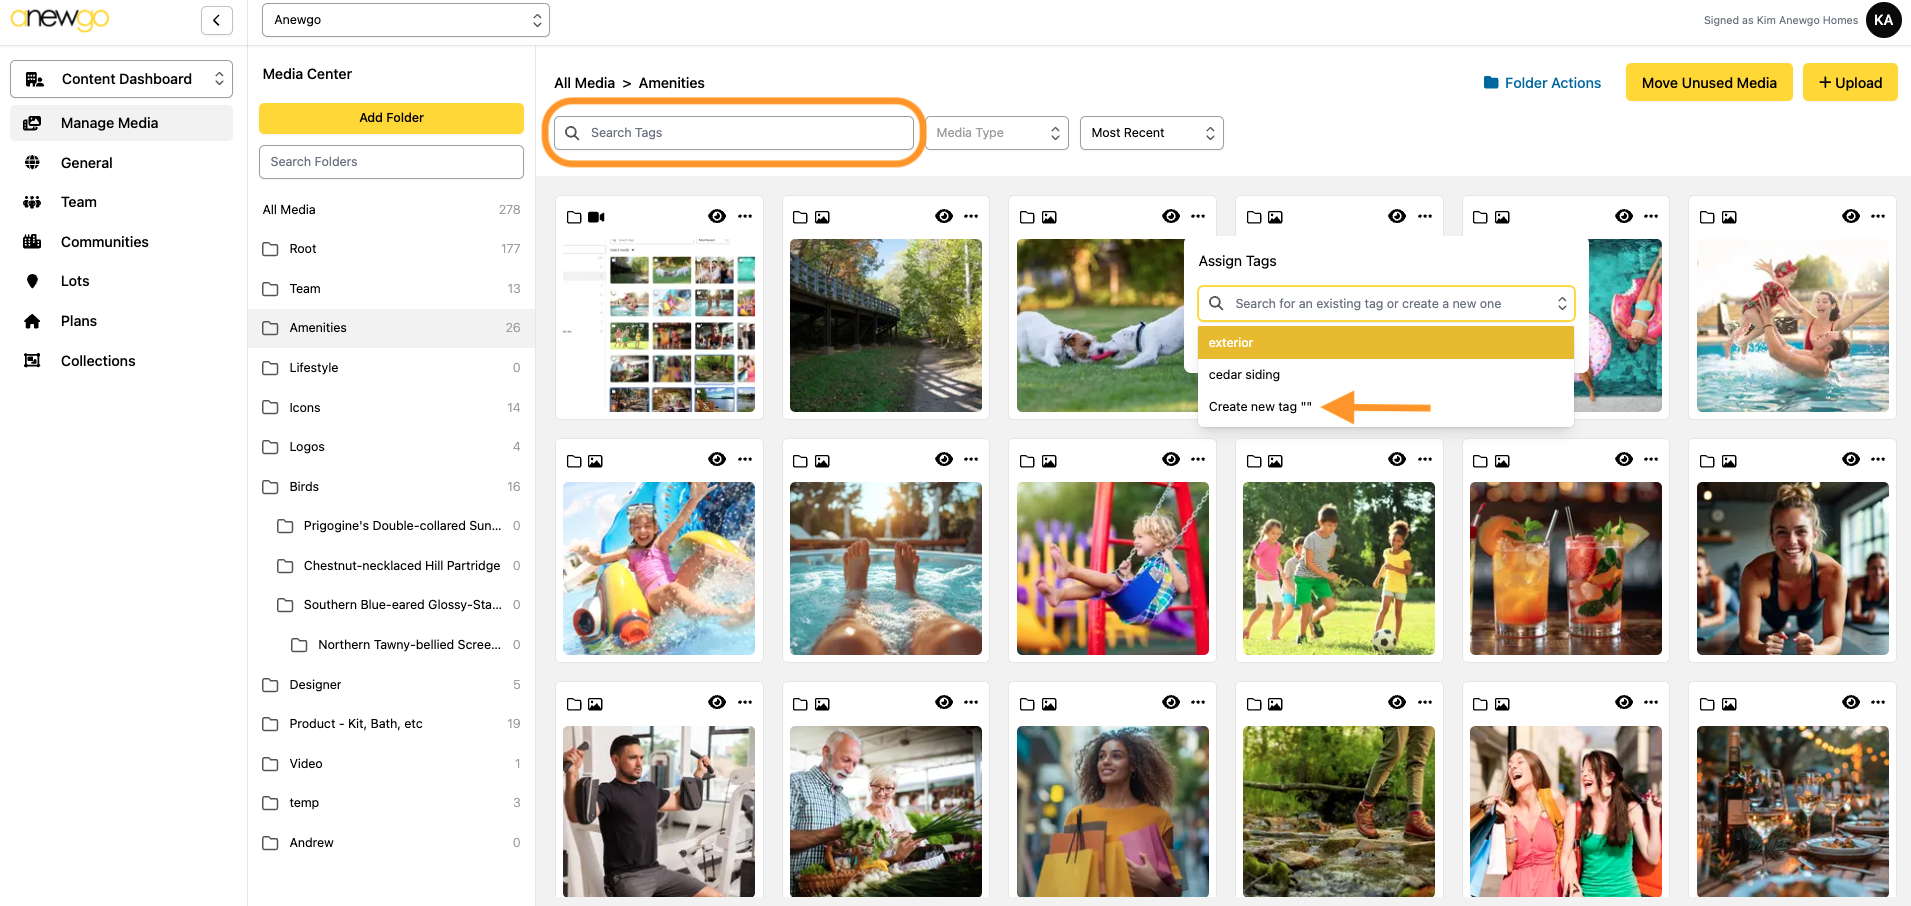
Assign Tags – you can add tags to images for organizing and searching. To add a new tag, just type it in and click Create new tag. You can assign multiple tags to one image if needed.
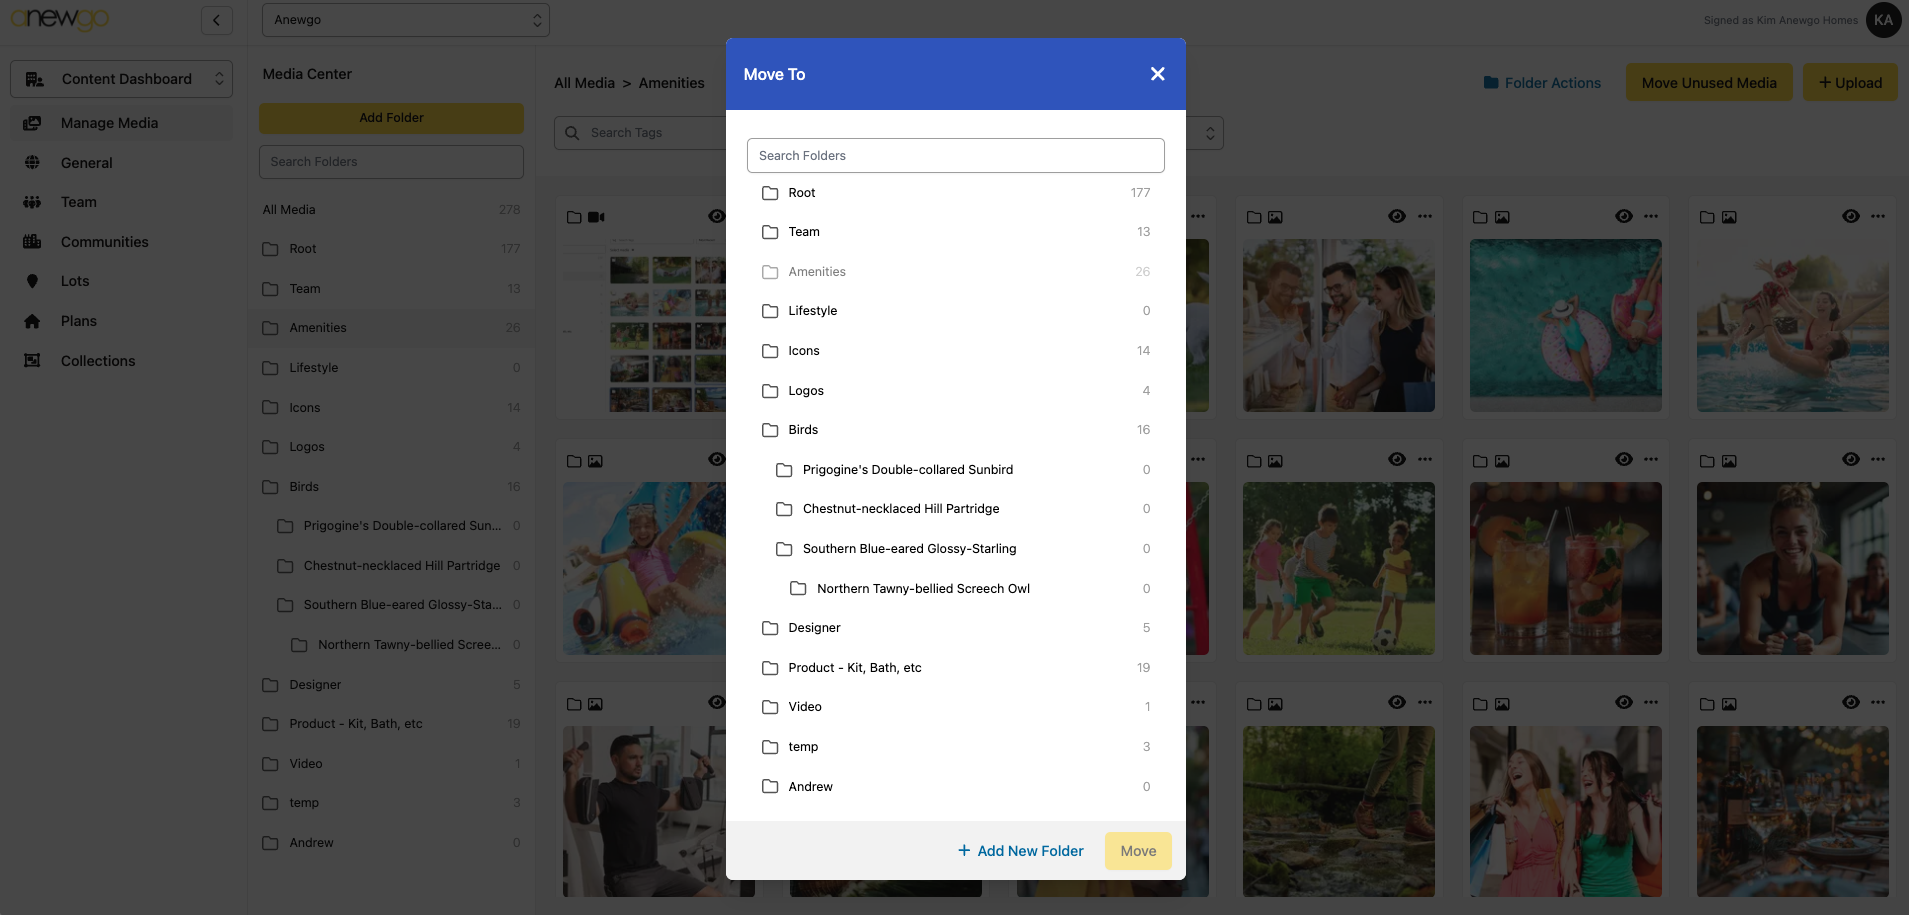
Move To – you can move an image to a different folder or you can create a new folder and move the image there.
Replace Image – you can update the image with a more recent version. For instance, if you have a home under construction, you can replace the images of the home as it advances in the construction process.
Download – you can download the image from this backend after you load it.
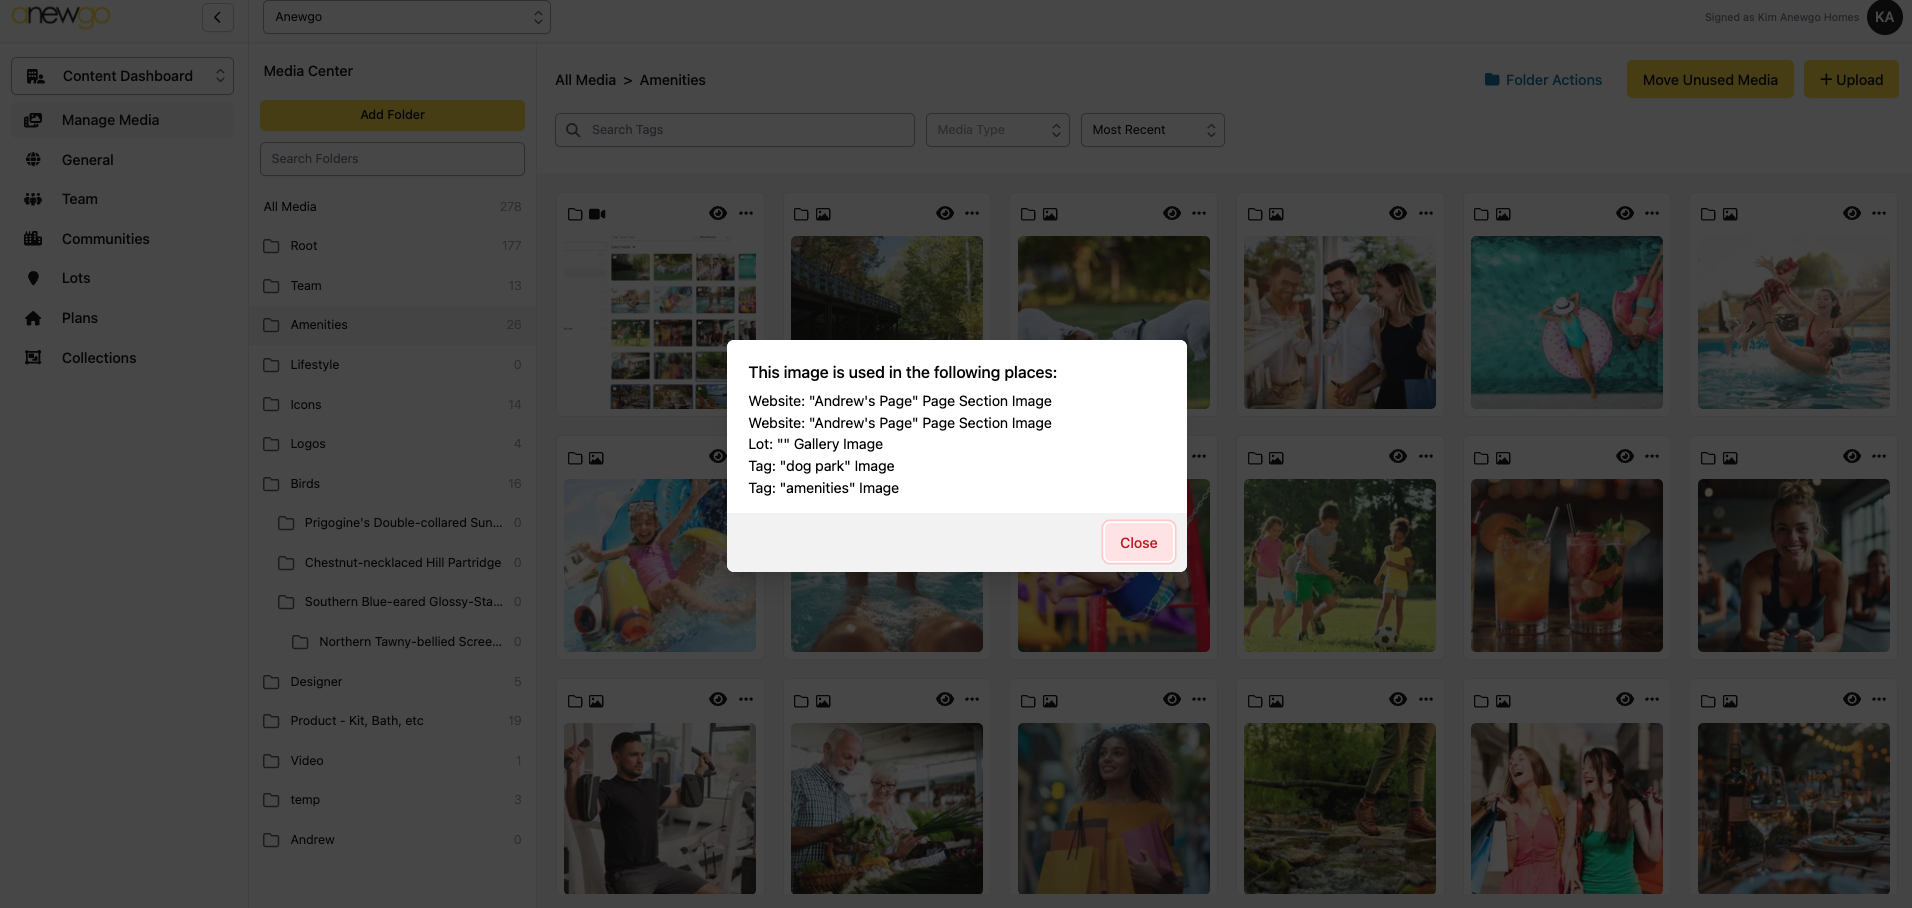
Show Usage – see where the image/video is currently being used in your apps
Delete – you can delete the image. Be cautious with this – once it is deleted, it is gone from the console and anywhere it may be assigned.
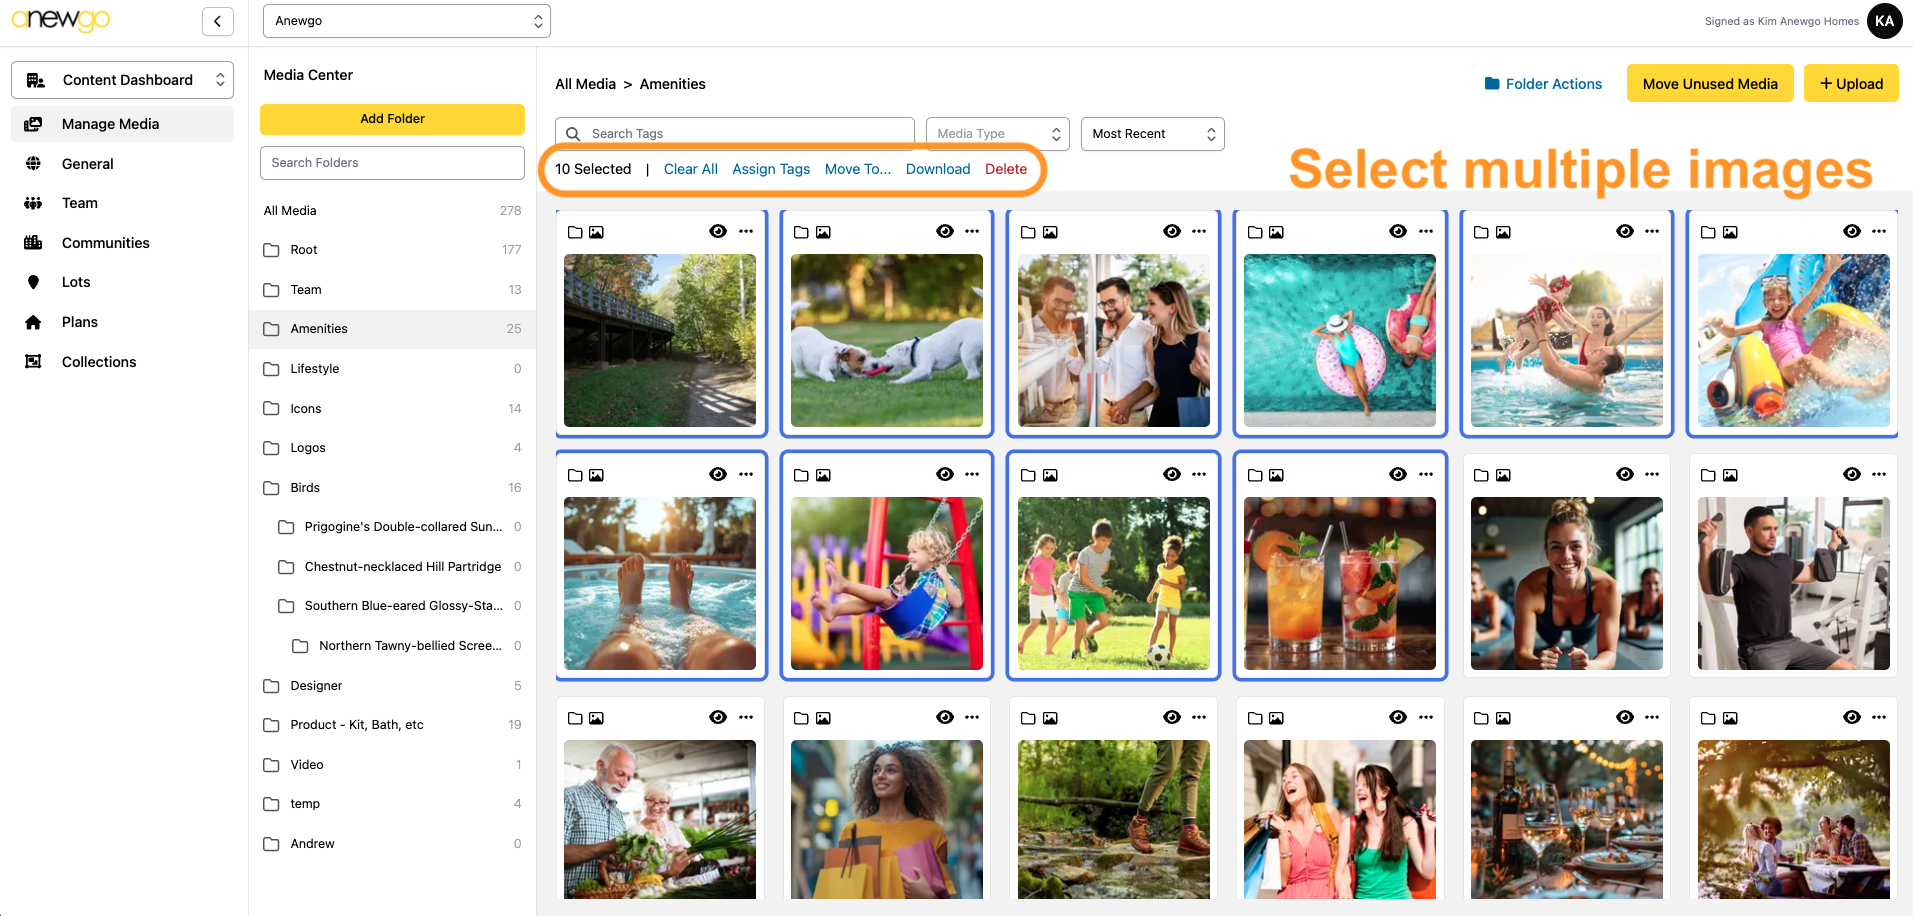
NOTE: you can multi-select images to Assign Tags, Move To, Download or Delete
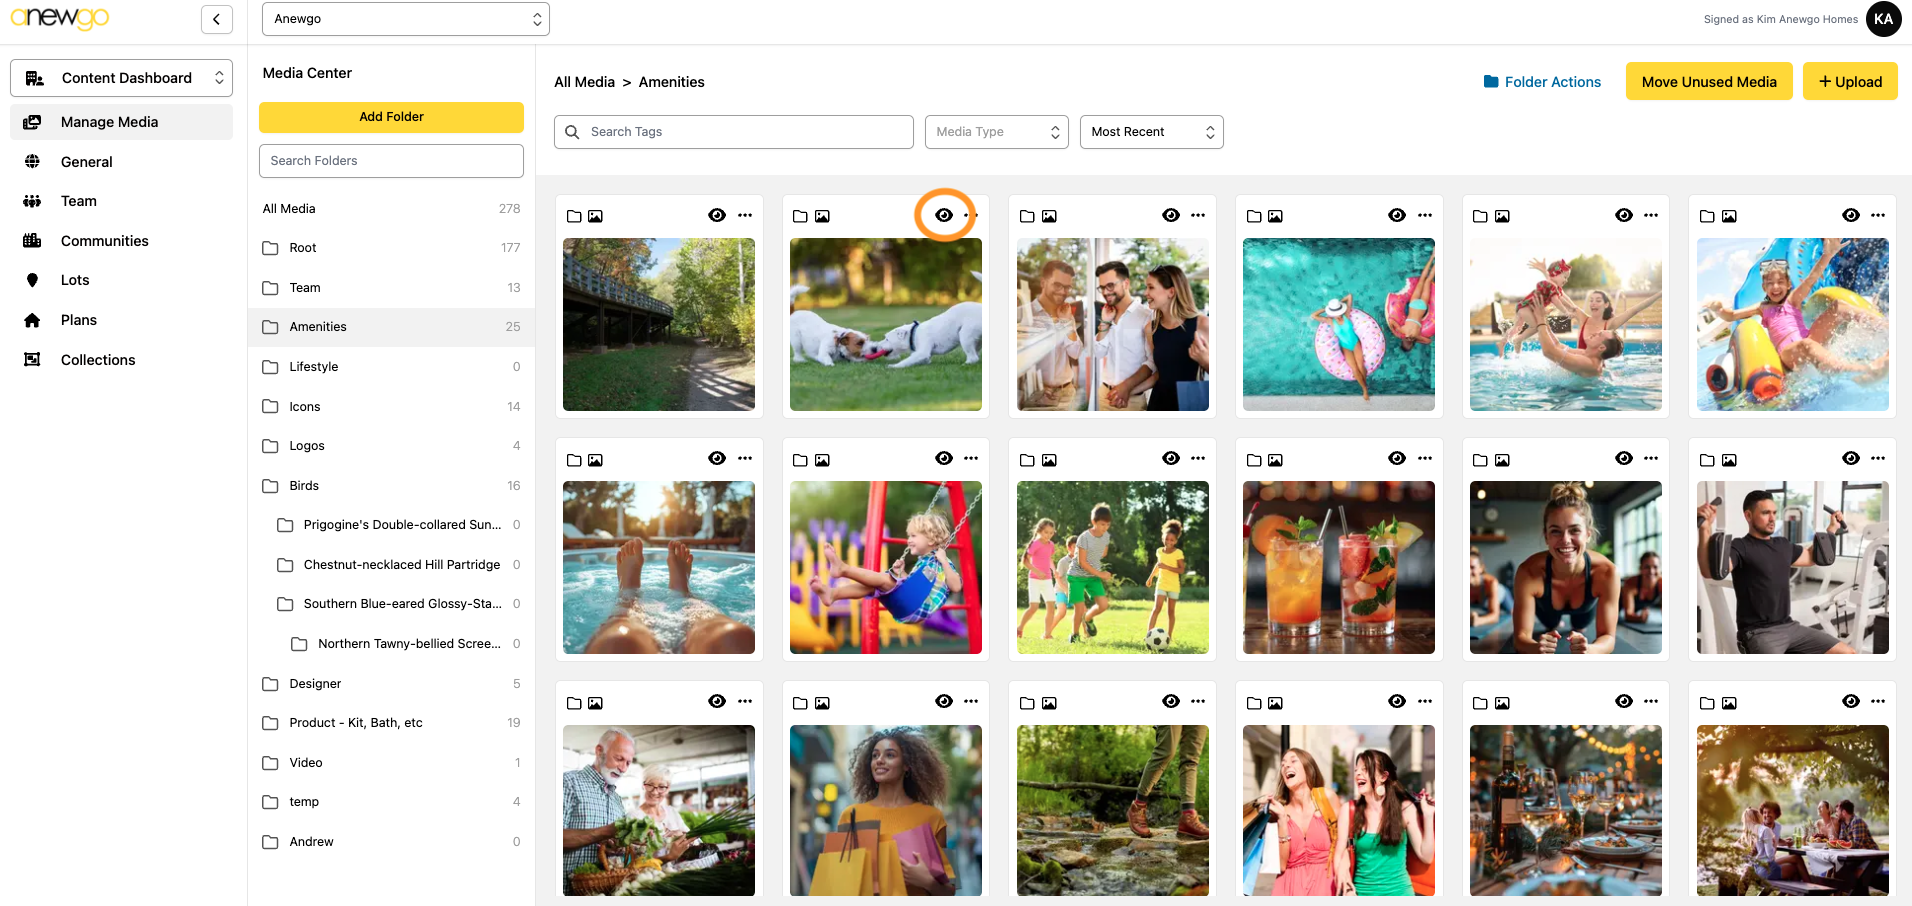
6. You can also Preview the image by clicking the eyeball icon in the upper right corner of the image when you hover over it.
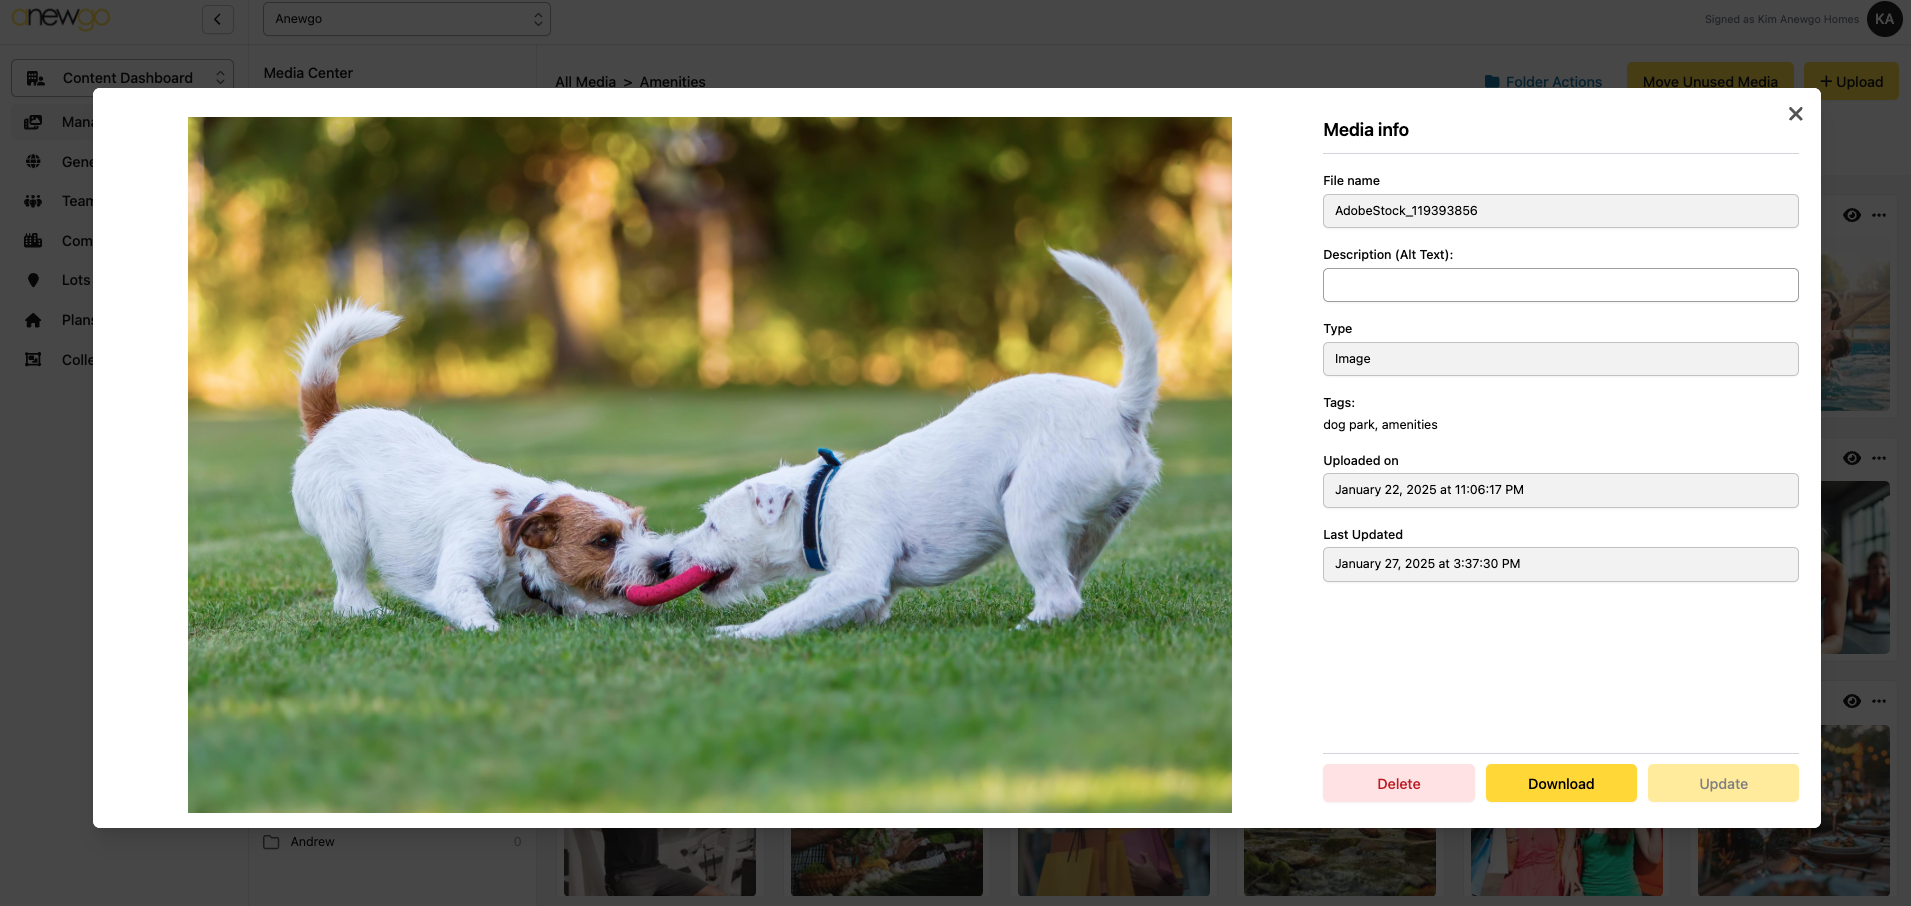
In the preview window, you can view the image details, add a Description (Alternate Text) or Download the image or Delete the image.
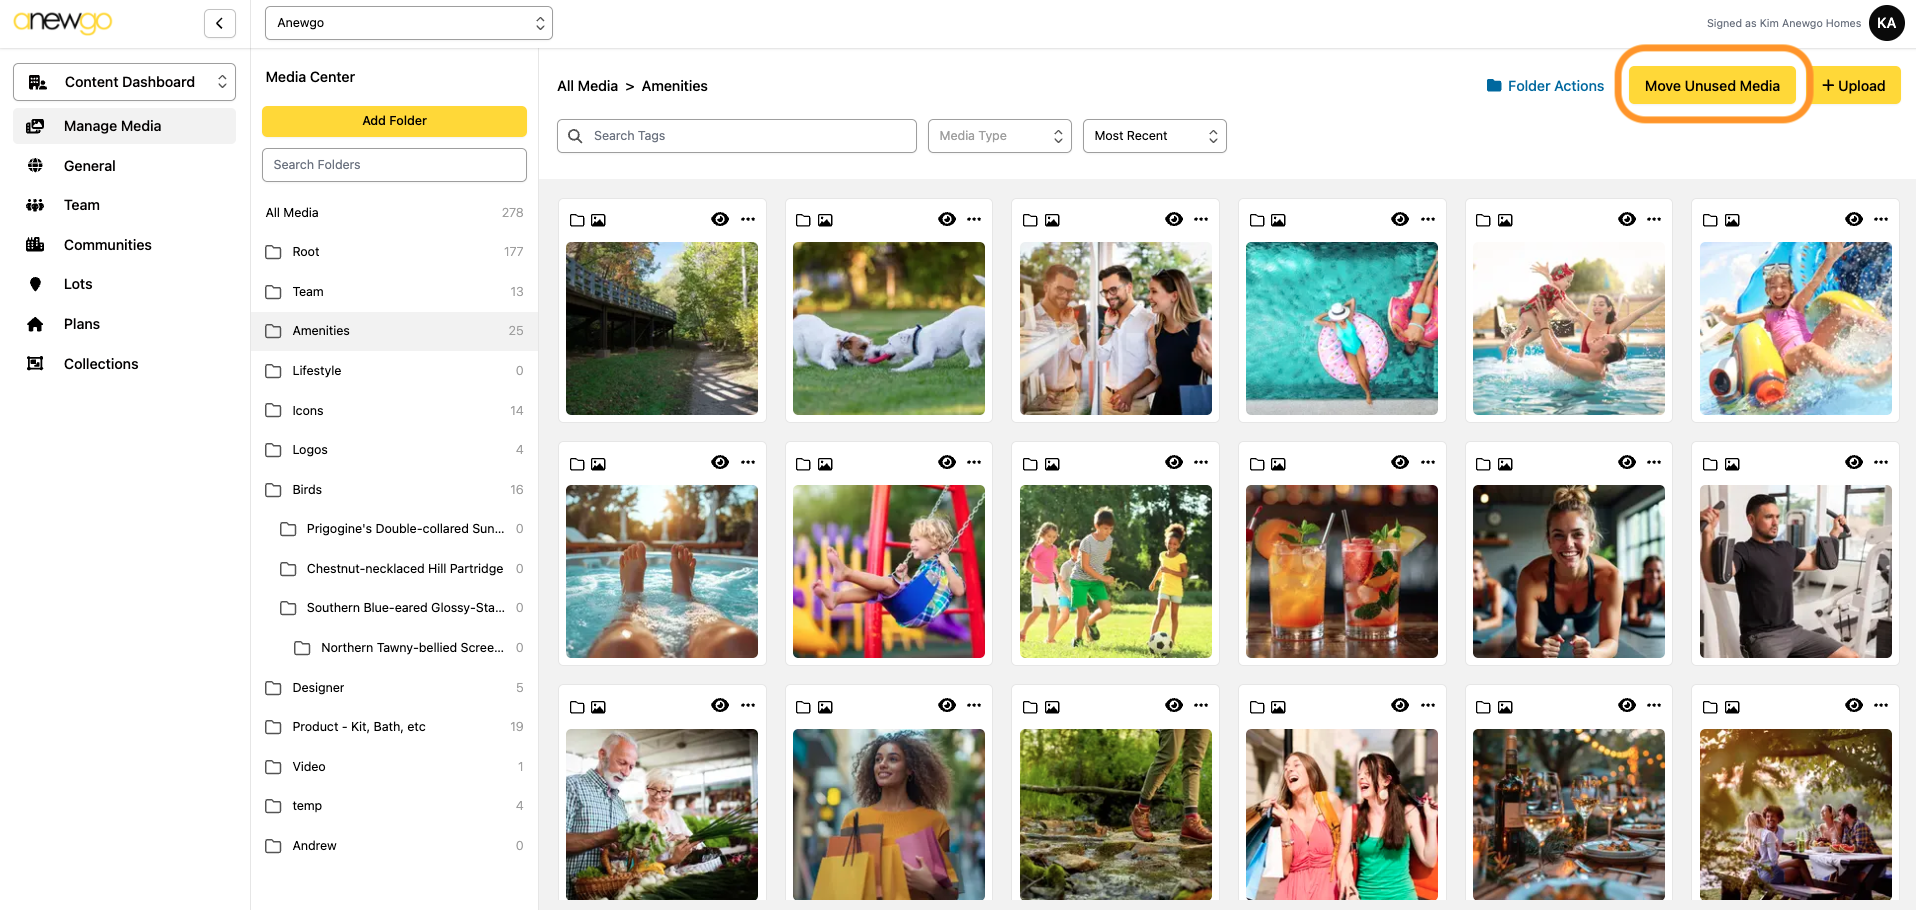
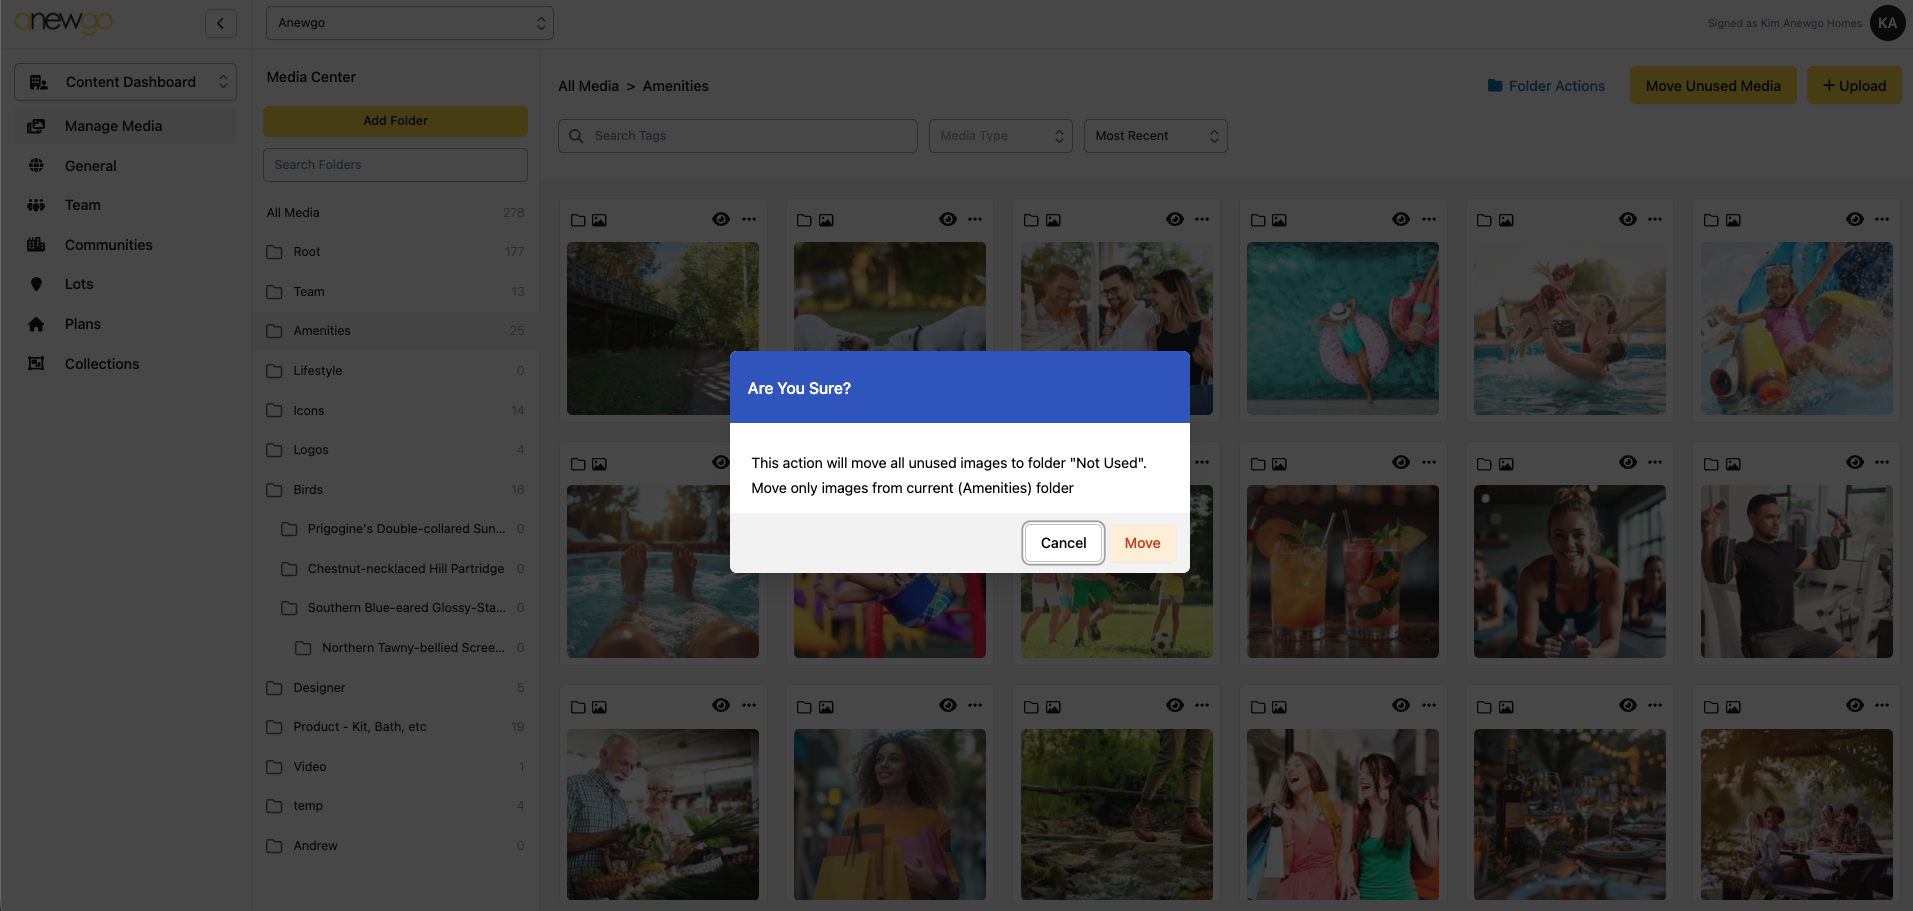
7. Need to clean up any unused media? Click the Move Unused Media button. This will open a confirmation window where you can choose to Cancel or Move unused images to a “Not Used” folder.