- To add plan tags, go to “Plans” which will default to “Plans and Elevations.” Make sure the plan you want to add tags to is selected in the plans column to the left.

- Find and click “Tags”

- To add more tags, click “Import and Create Tags”

- This will open the “Manage Categories and Tags” window. You can see any tags already added listed here. To add a new tag, you can create a new category to the left, however, there are many categories already in the dashboard. You can select one from the drop down menu.

- Then start to type the tag you want to add. Choices will display in the dropdown. You can select from these or type in something new.

- Once you have your selection, click “Add” and the tag will display in the list below.


- You can remove a tag from a category by clicking the X next to the tag name. Or you can delete an entire category by clicking the red trash can icon.

- Once you are finished, get back to the Tags page by clicking the X in the upper right corner or you just click anywhere outside the window box.

- You may notice that the tags you just added do not display below. That is because they are not assigned yet. Under “Assign Tags” click the “Select Tag Categories” bar and find the category of the tags you need to assign.

- Your tags for that category will now appear under that bar. Select the tag you would like to assign (it will go from gray to white with a blue outline when selected).


- Then select the communities that you would like to assign the tag to. (Note: the boxes under the communities and next to the elevations are the “select all” function) Then click “Submit Assignments”

- Your tags are now assigned! You can see them listed below under “Tag Assignments” and you can filter by community in the dropdown menu.


- If you only assign tags to certain elevations within a community, they will display in the “Elevation Exclusive Tags” area.

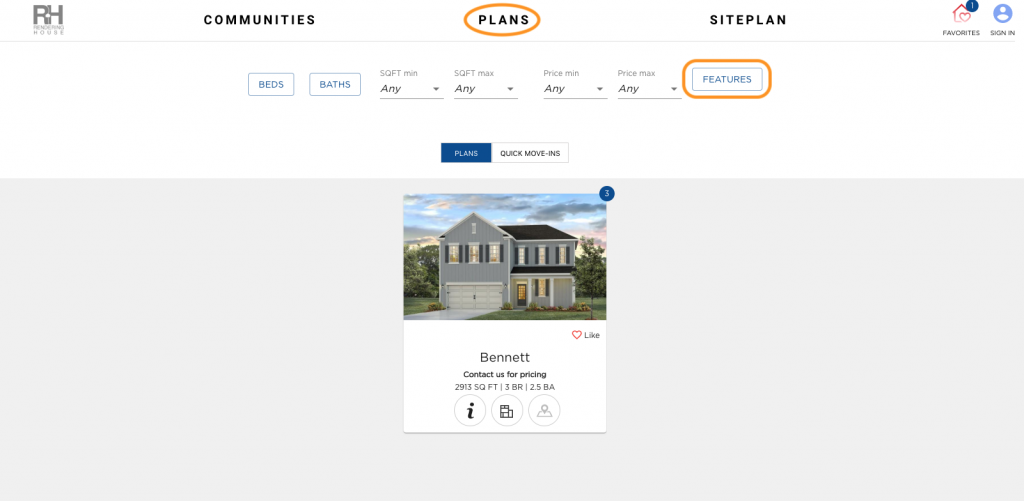
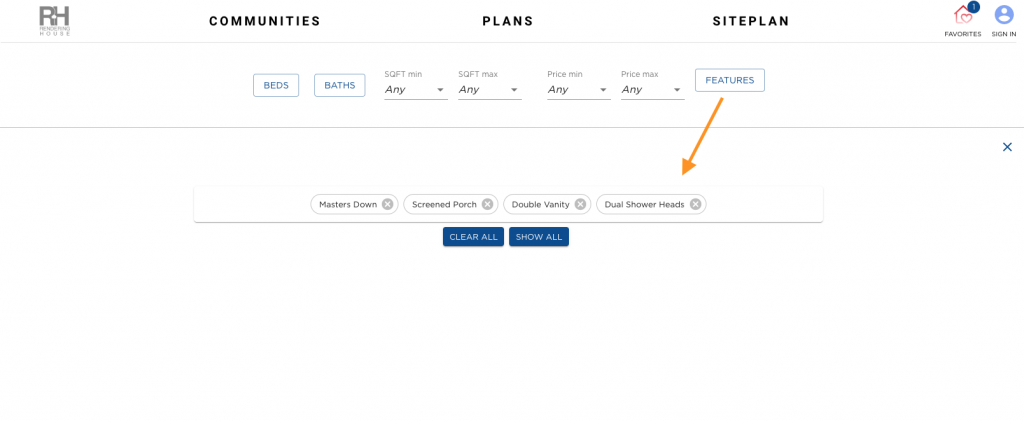
14. You can see these tags on the front end of the My Home App on the “Plans” page. Click “Features” in the filters row.