Add or Edit Community Ribbons
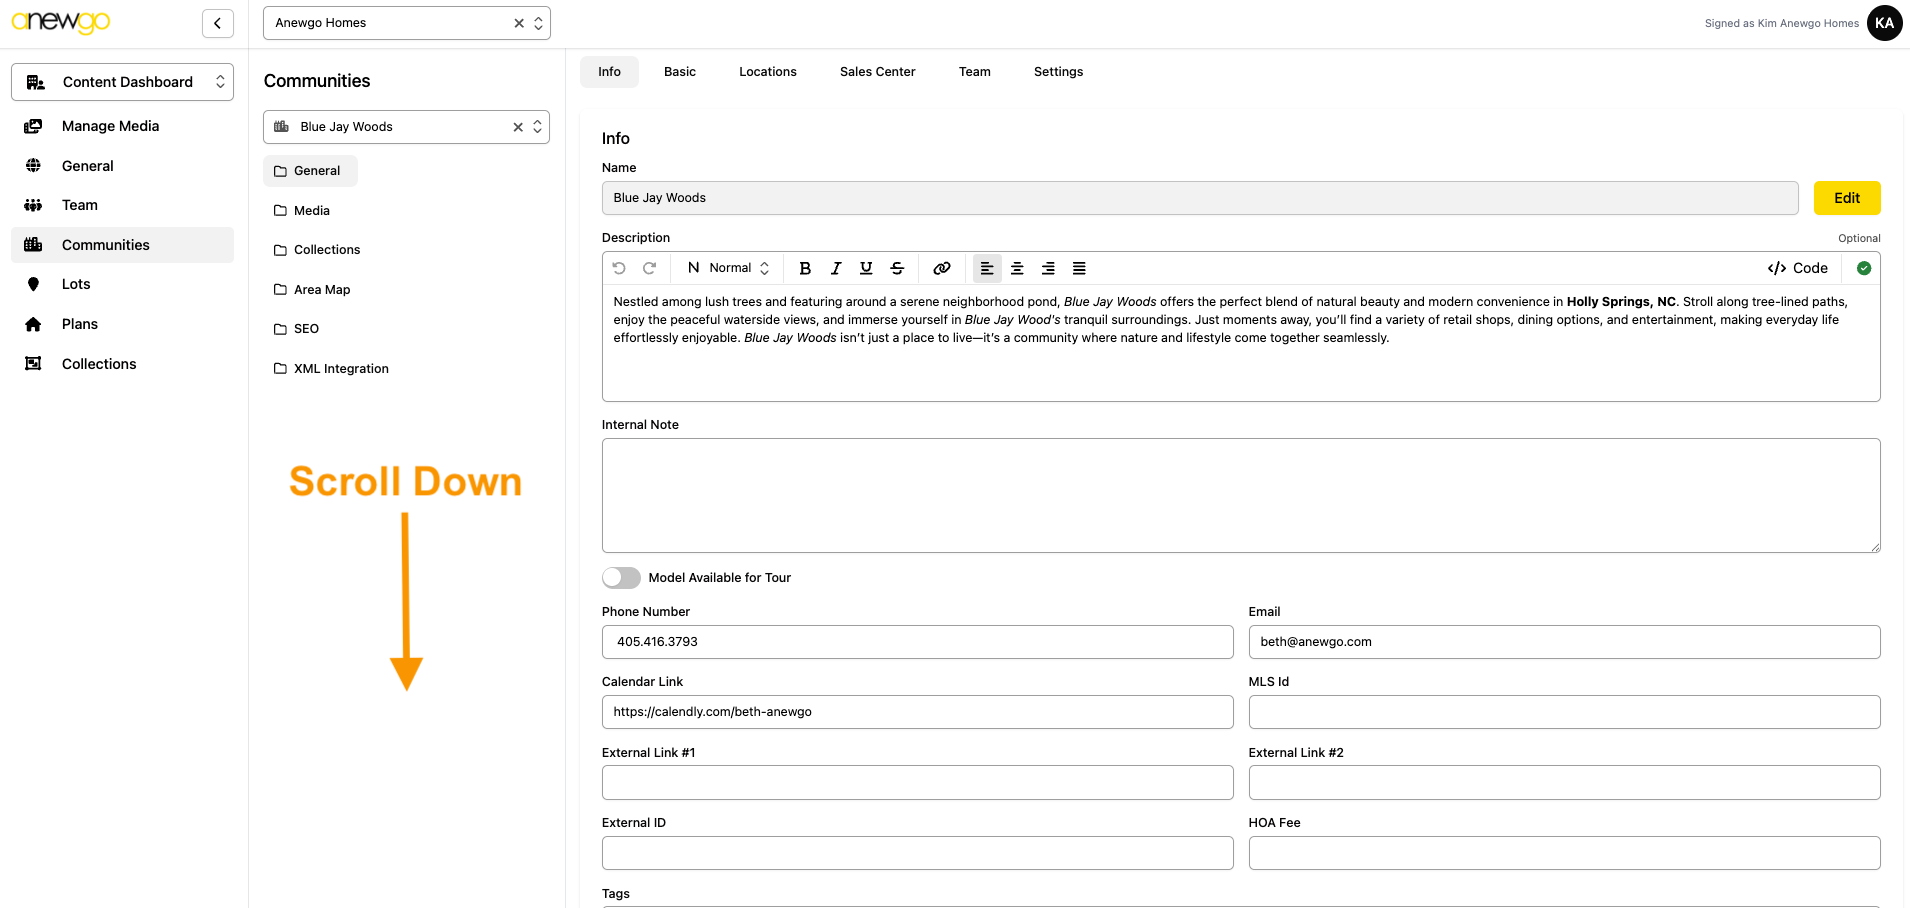
- Navigate to Content Dashboard in the 3.0 backend console
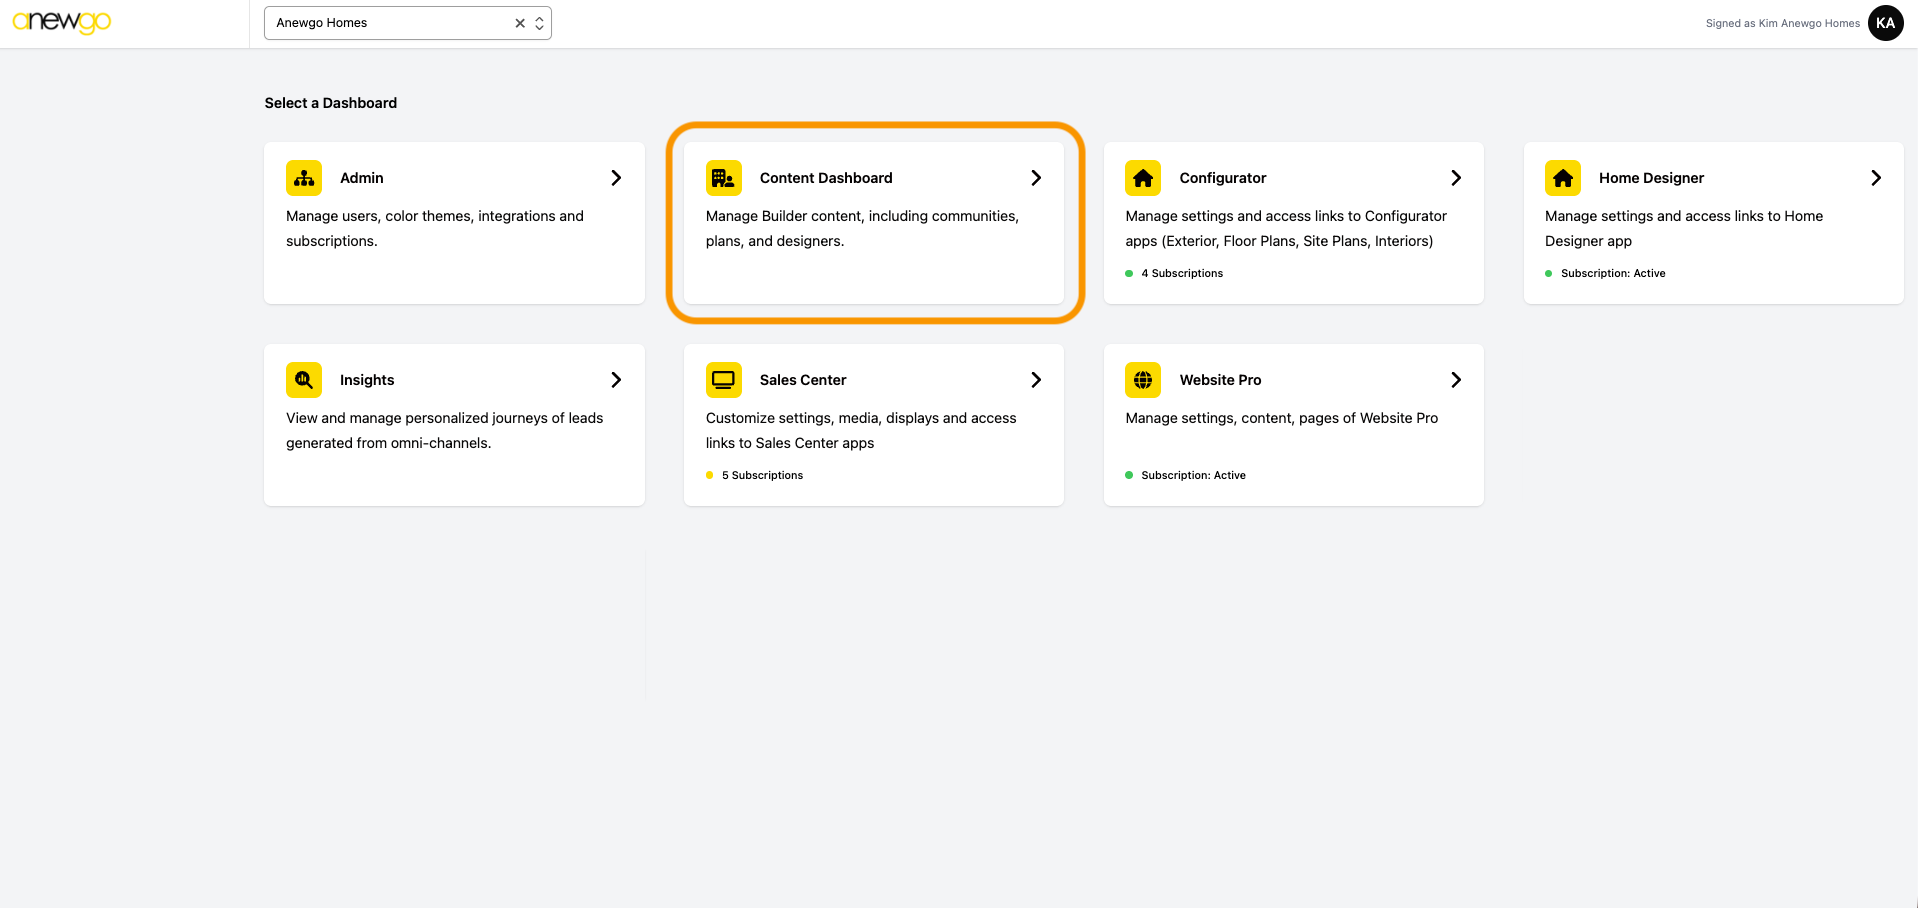
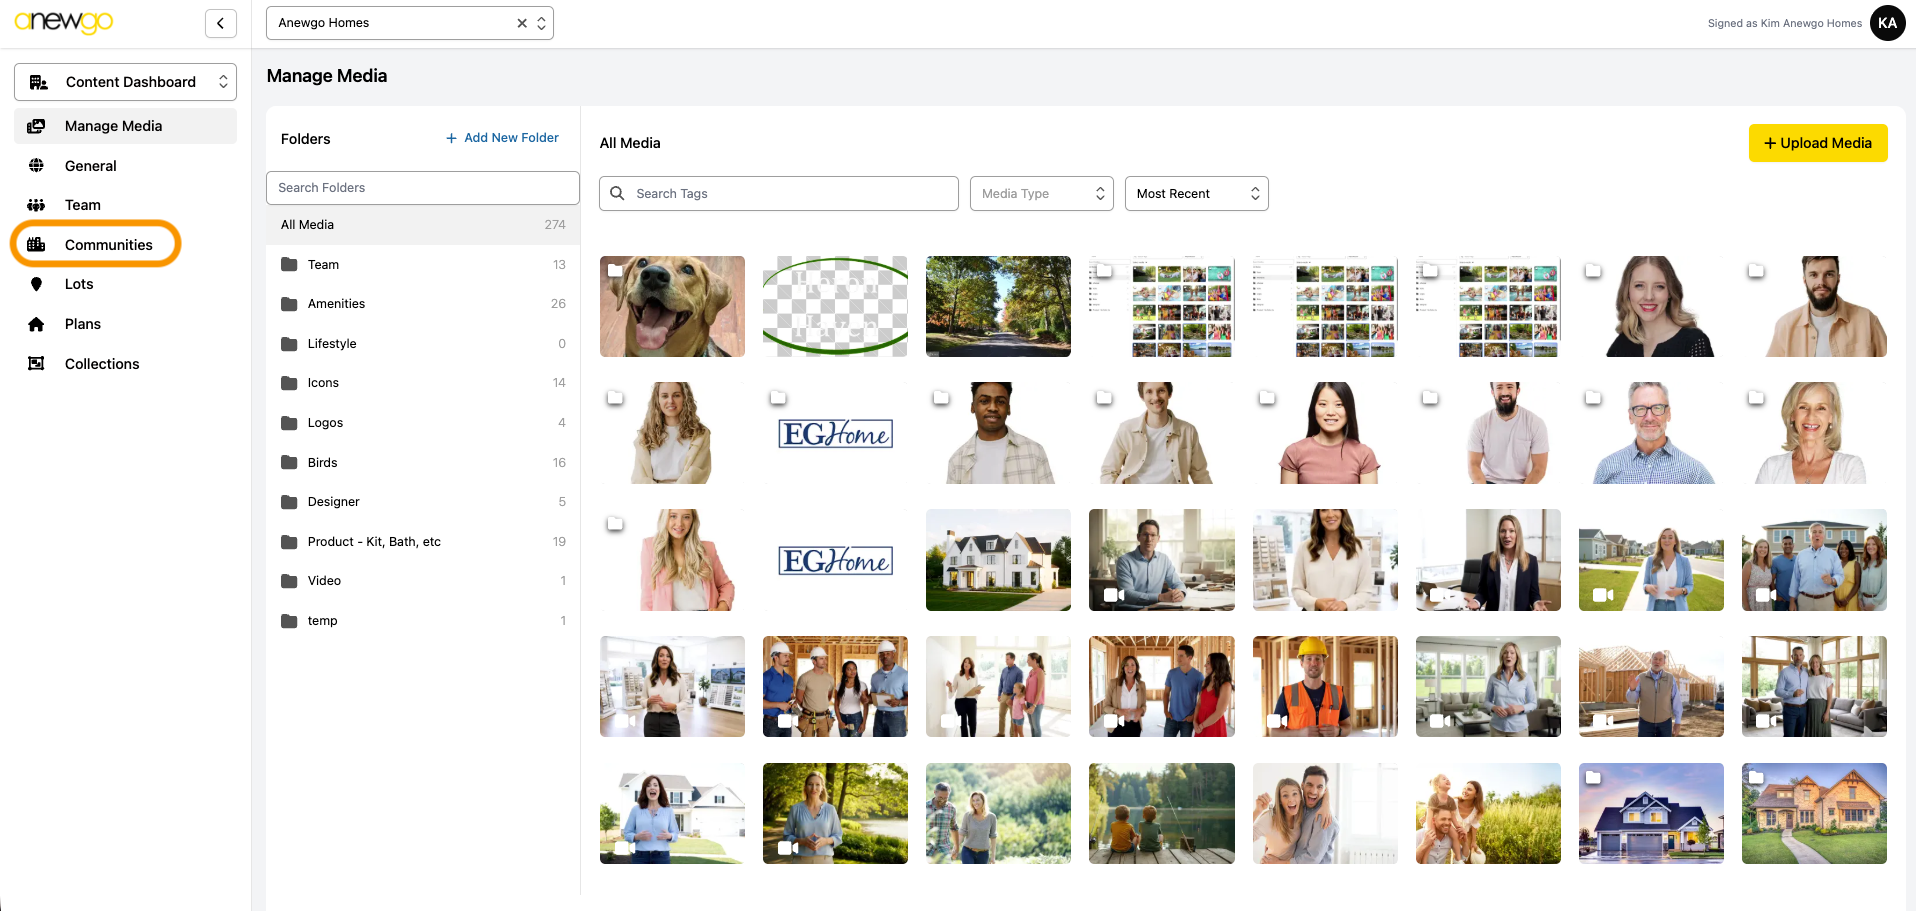
2. Click Communities
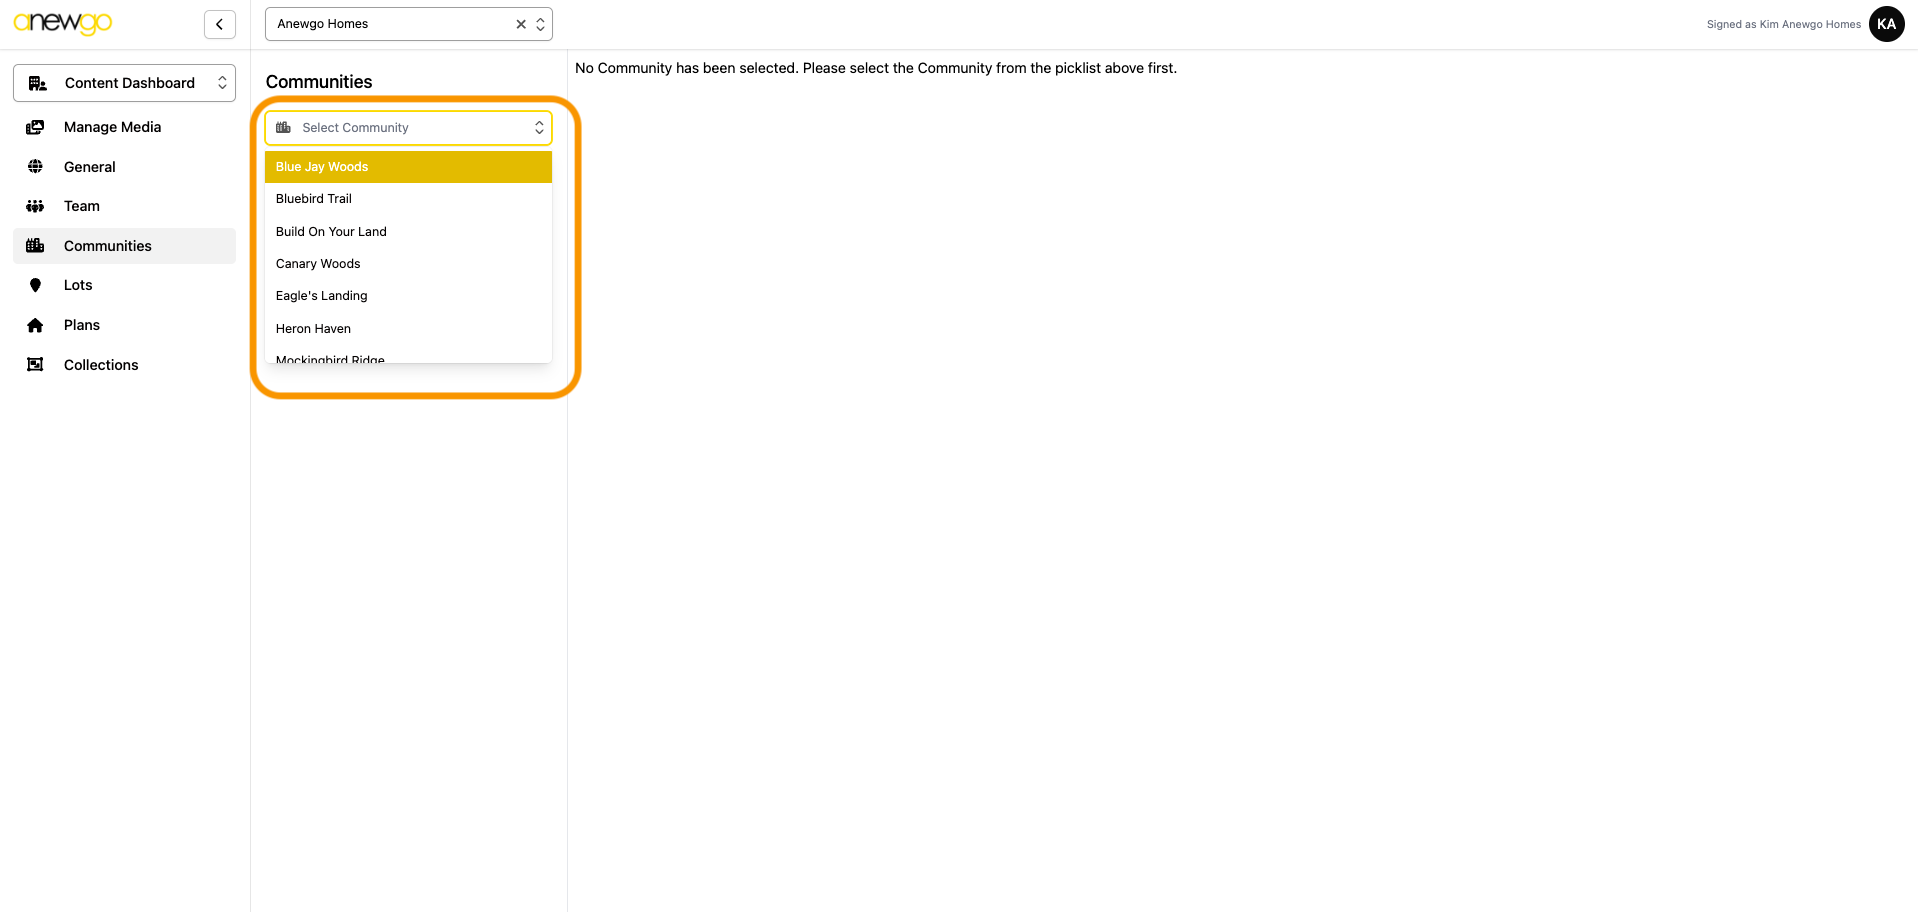
3. Select the community from the drop down.
4. This will default you to the community info section, scroll down to see the ribbons field
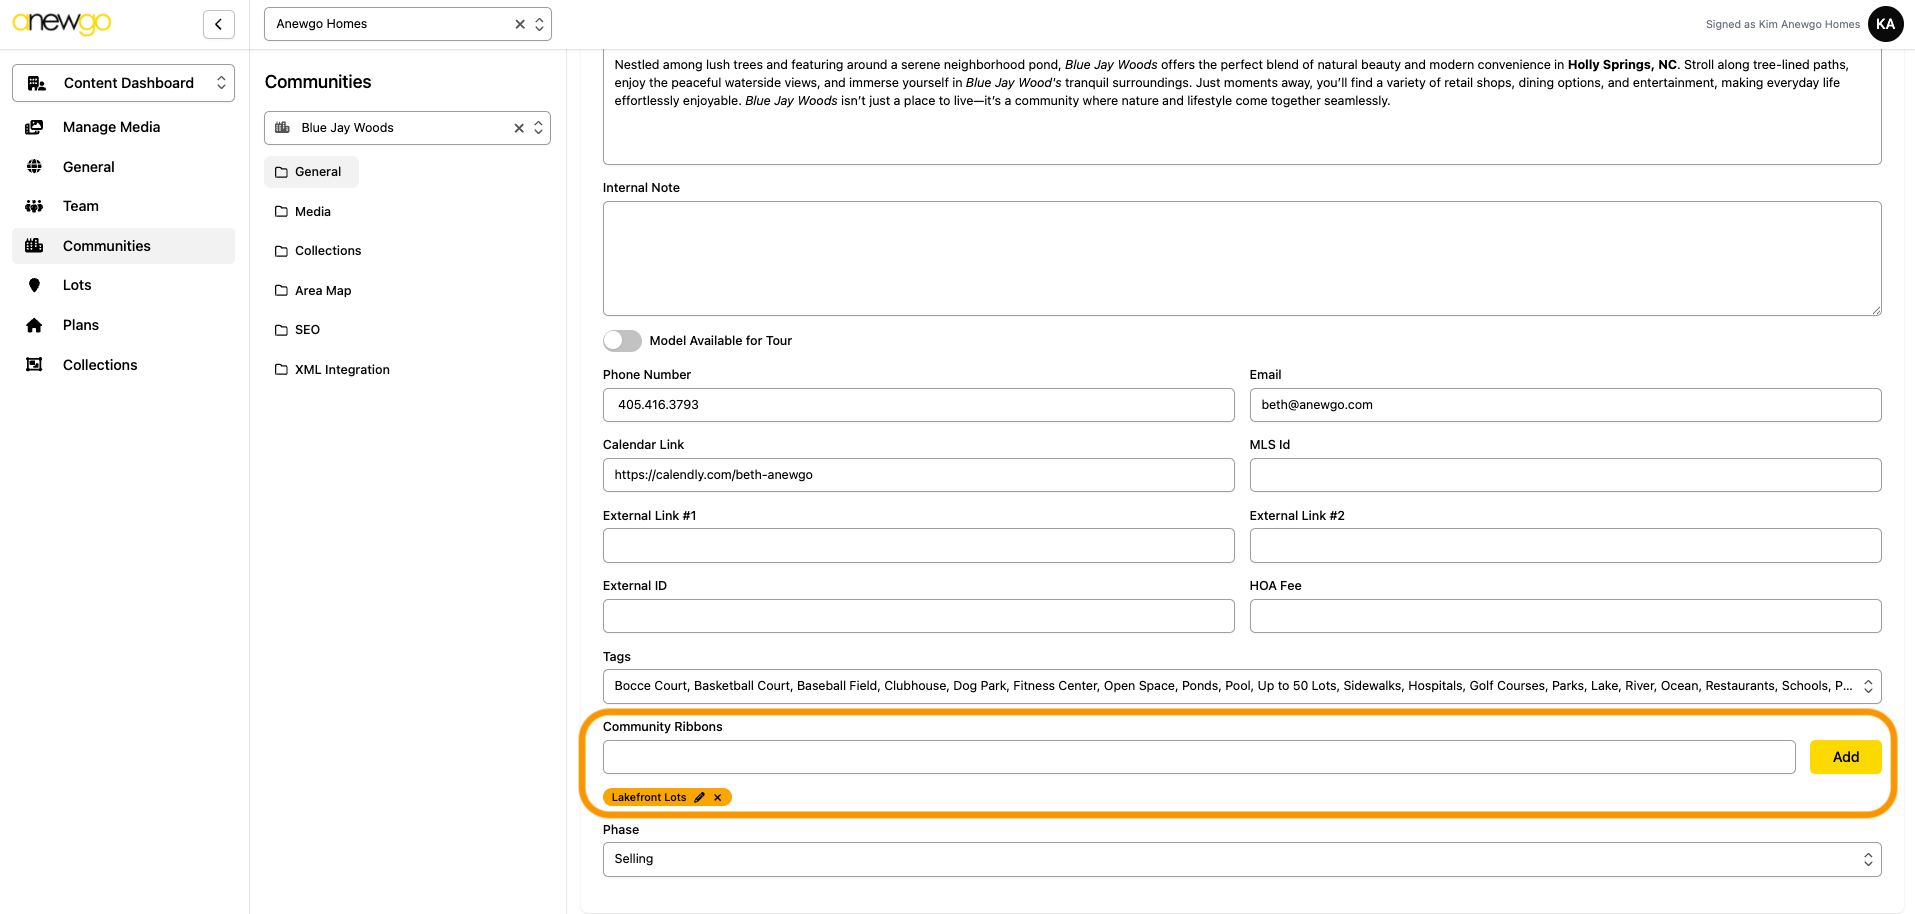
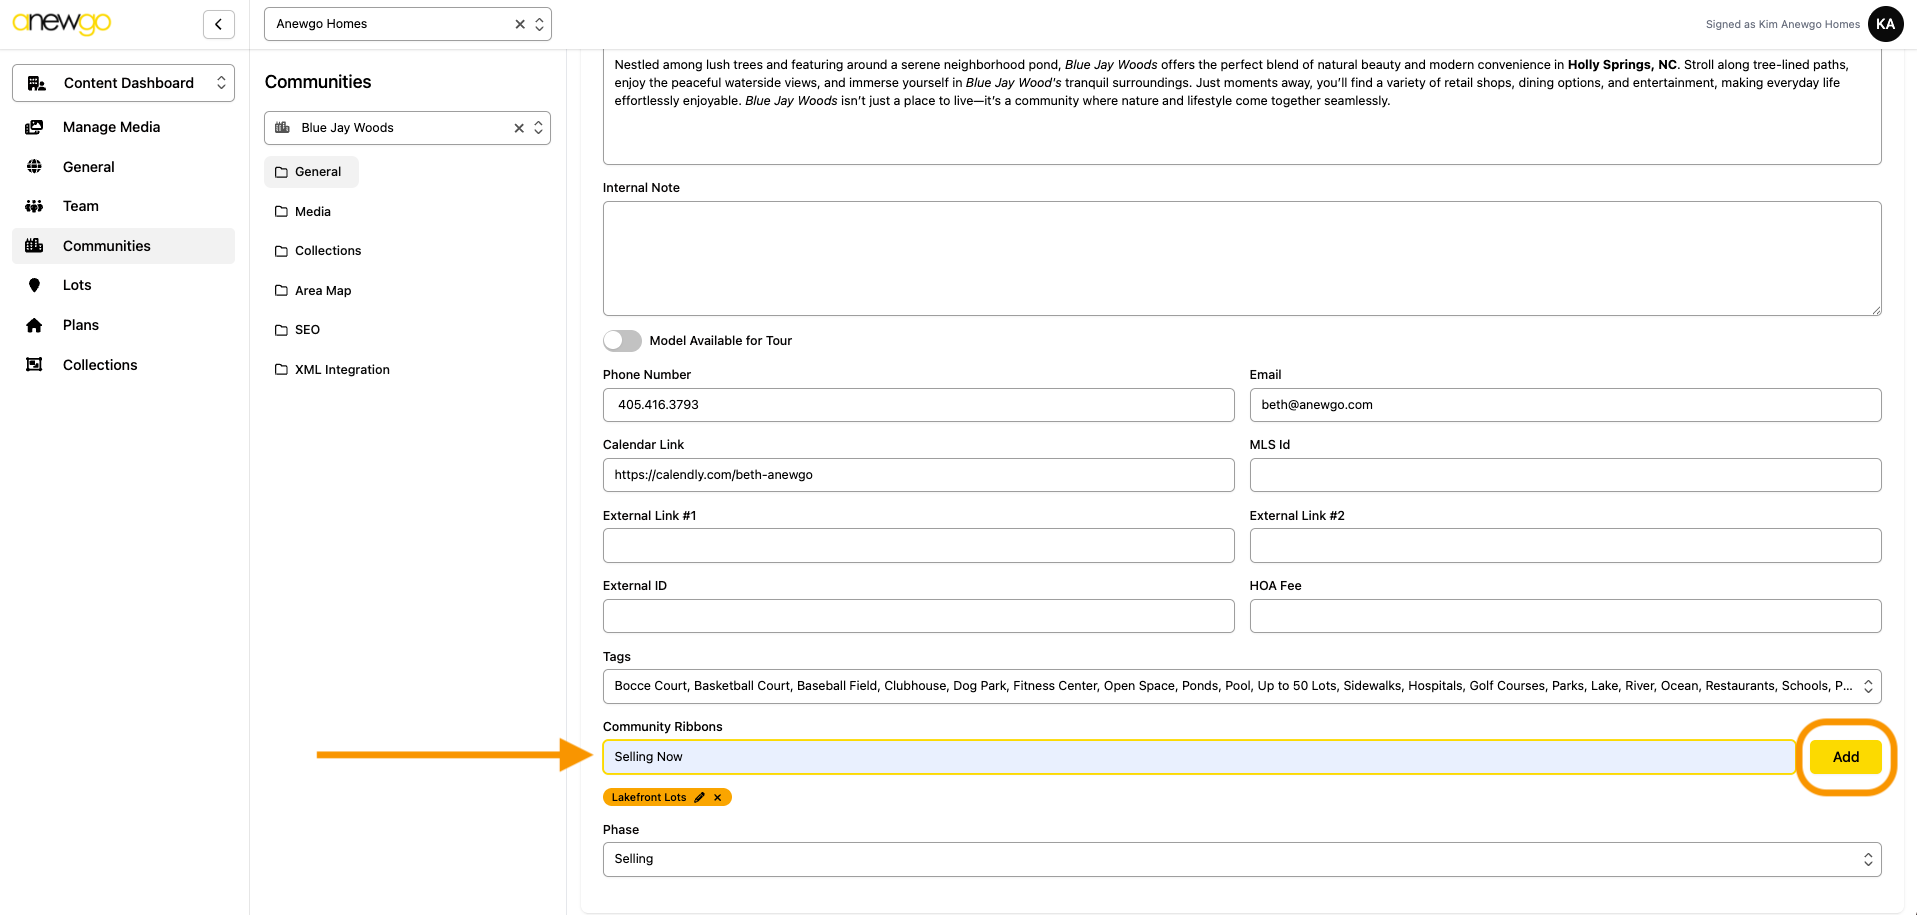
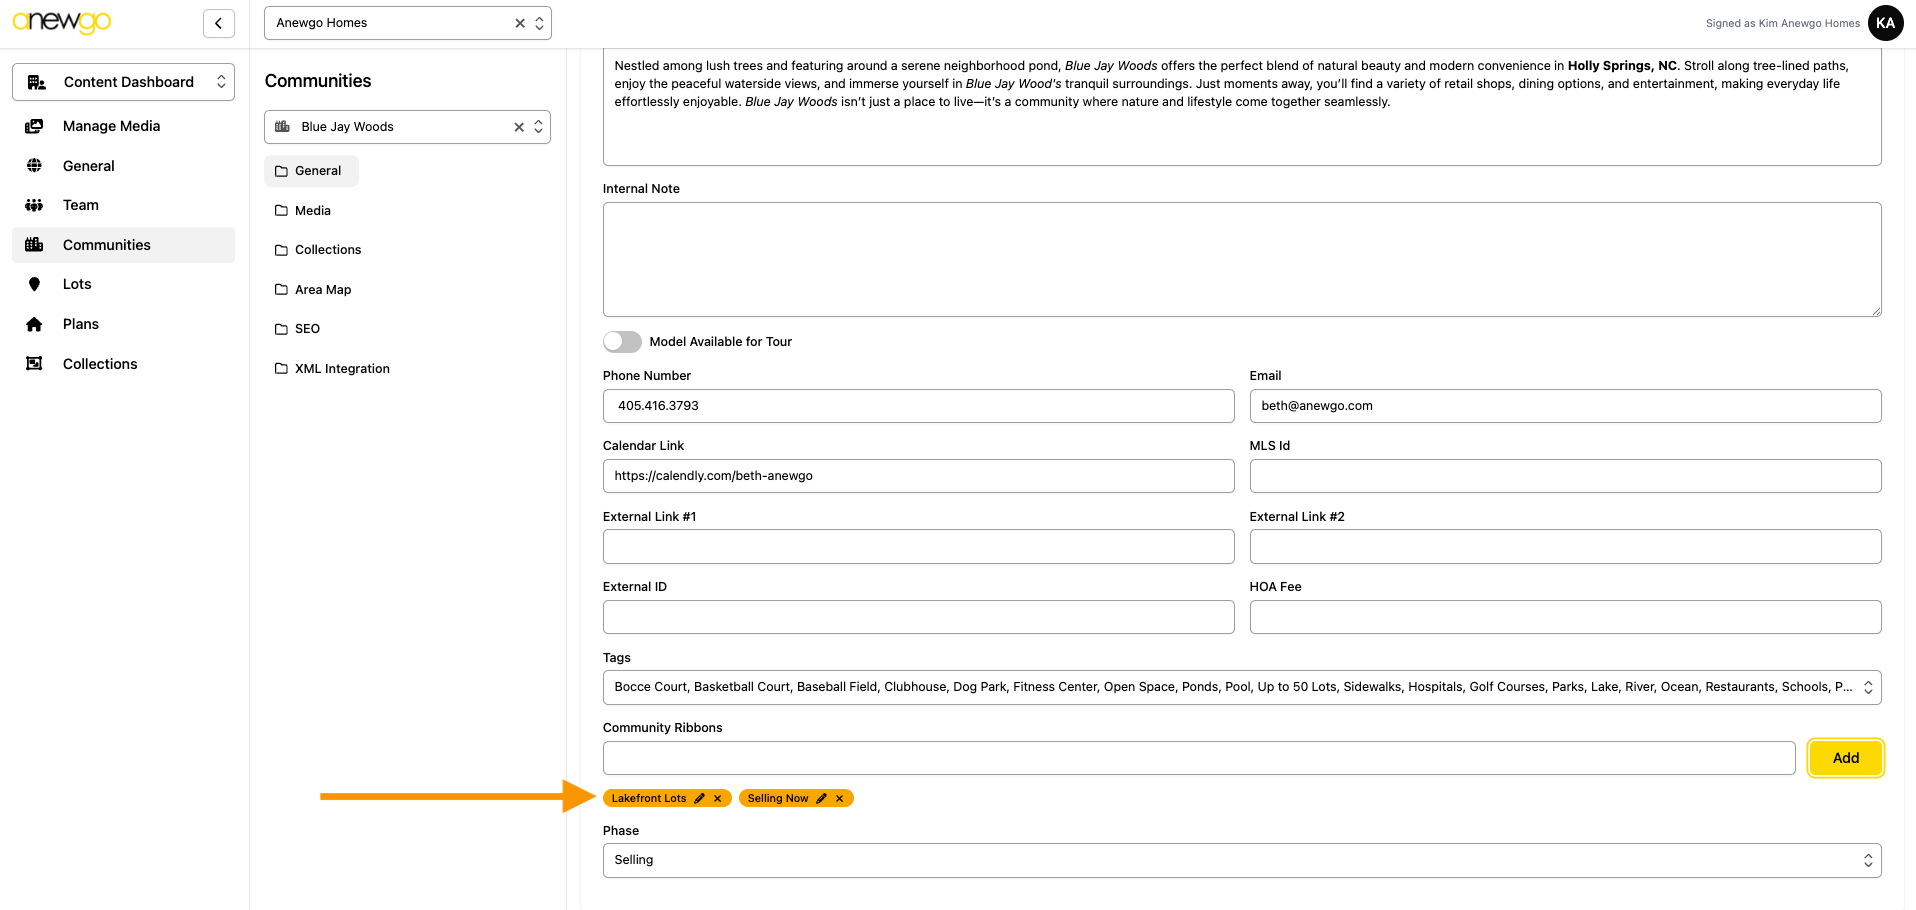
5. To add a new ribbon, type the text into the box and click Add (or hit enter/return on your keyboard). Note: you can add more than one ribbon
6. To remove a ribbon, click the x on the ribbon. To edit a ribbon text or color, click the pencil icon
7. When you click edit, an edit window will open. You can adjust the text or change the color of the ribbon using your color theme options. Note: the ribbons on 1 community can be different colors
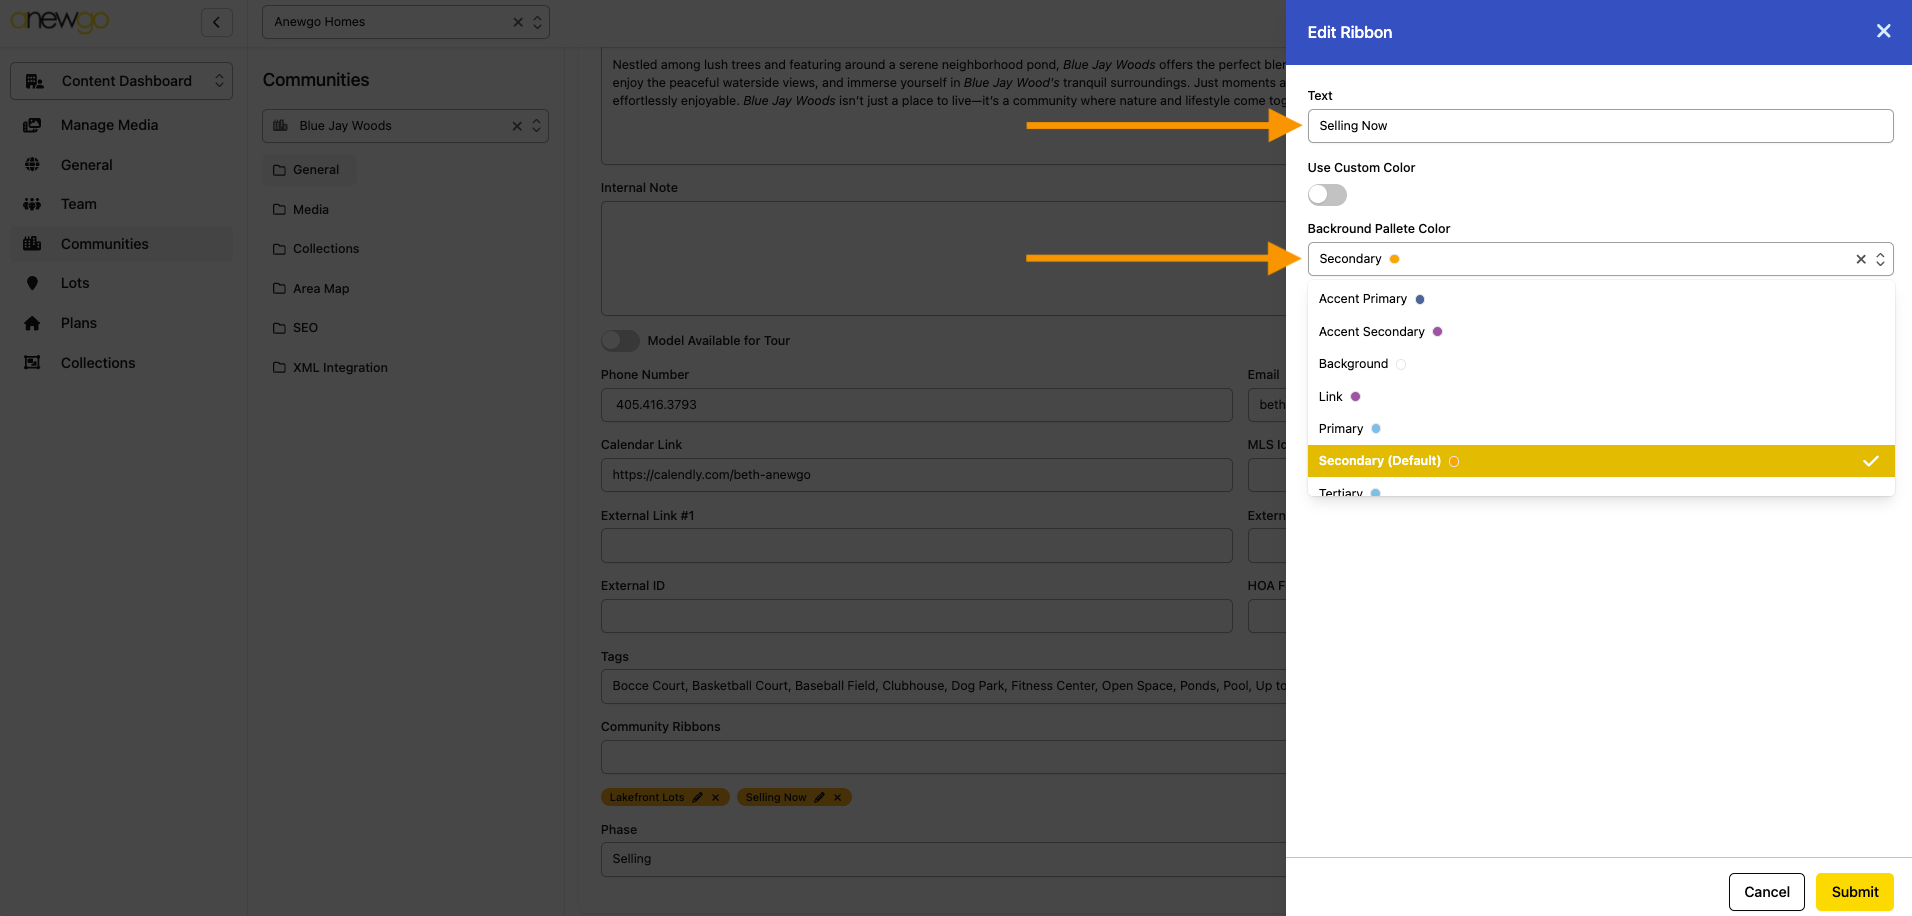
Or you can adjust the colors by creating a custom color – just toggle Use Custom Color on and click Edit to select your color (the eyedropper tool can be very helpful here!). Be sure to click Submit to save your changes.

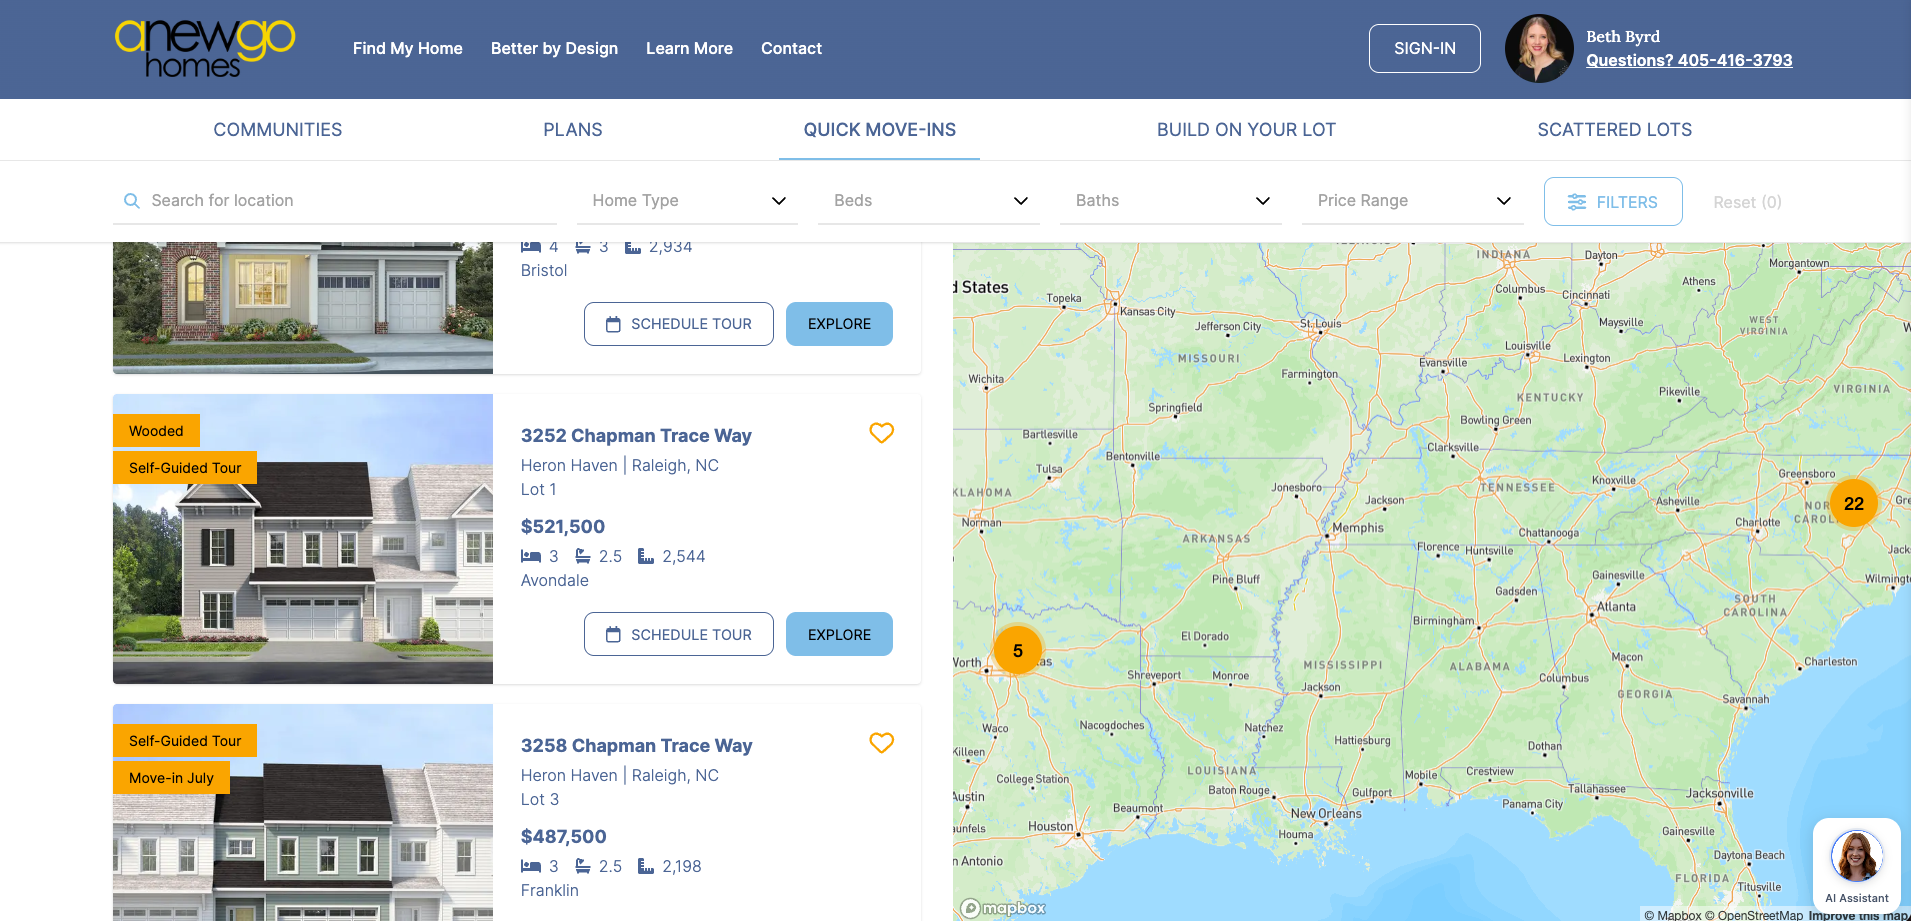
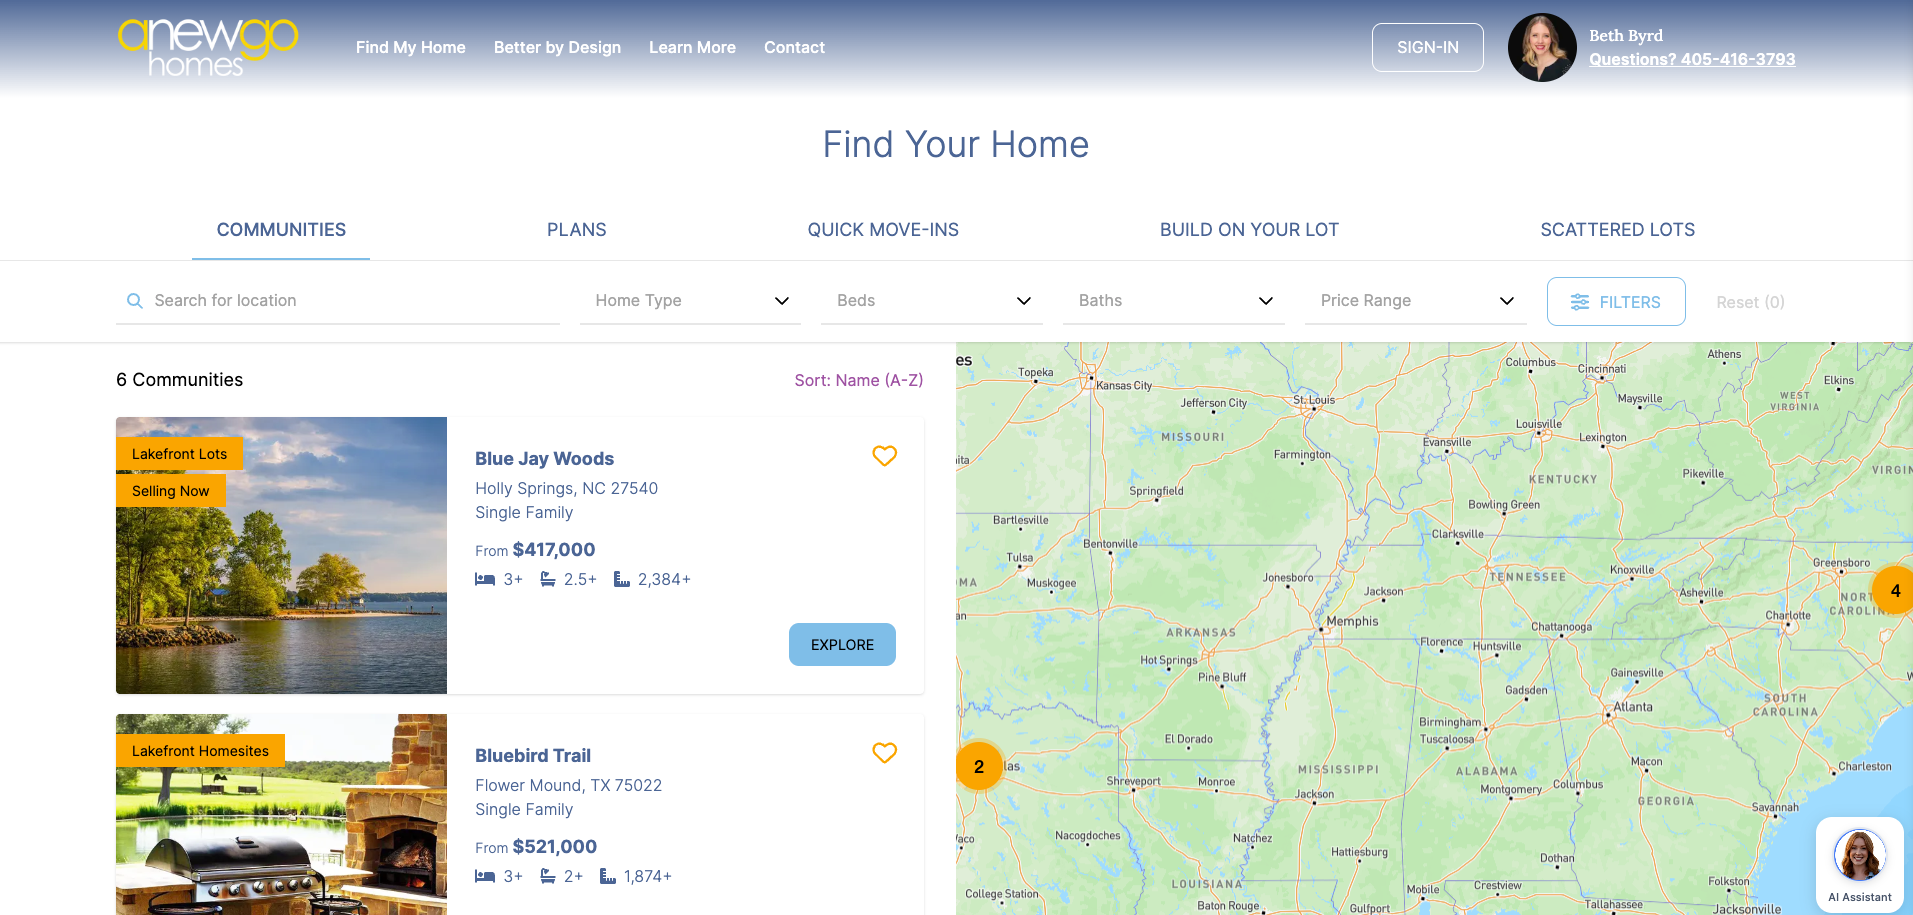
8. When complete, you can see your ribbons on the community list page on the front end.
Add or Edit Lot Ribbons
- Navigate to Content Dashboard in the 3.0 backend console
2. Click Lots
*Note – ribbons can be updated here, but most other updates to Lots still need to be done in the 2.0 backend dashboard (i.e. adding lot info, assigning an elevation, adding photos, etc).

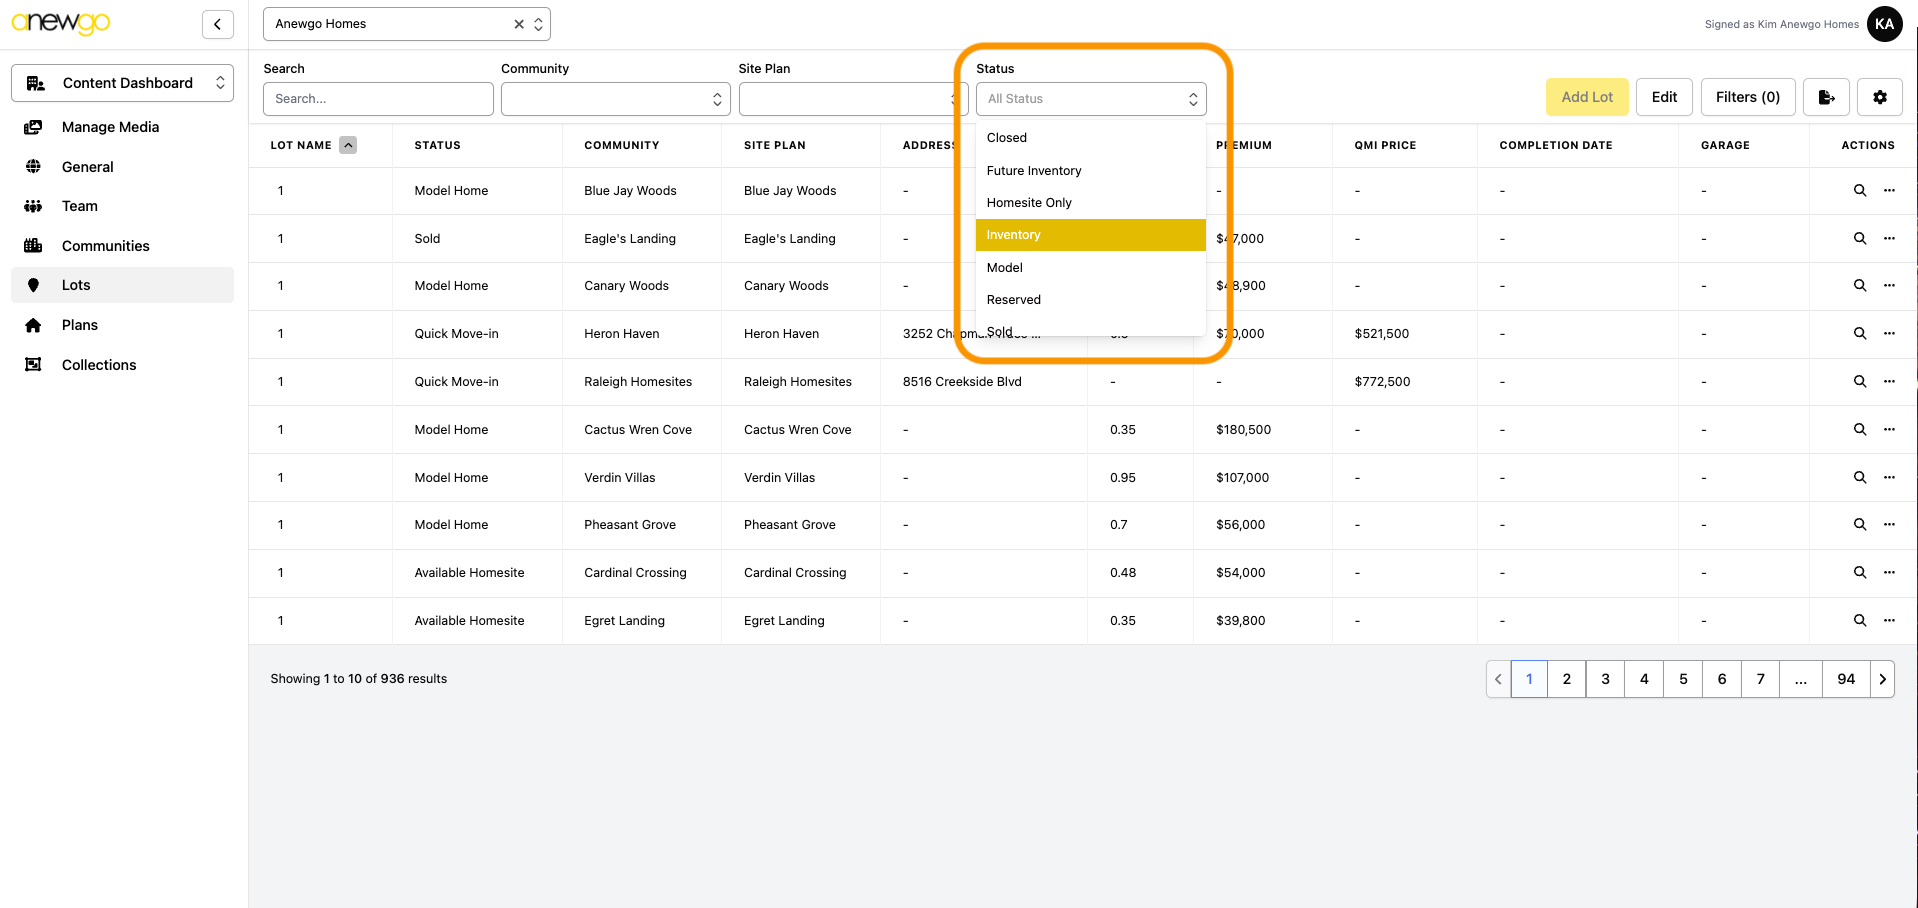
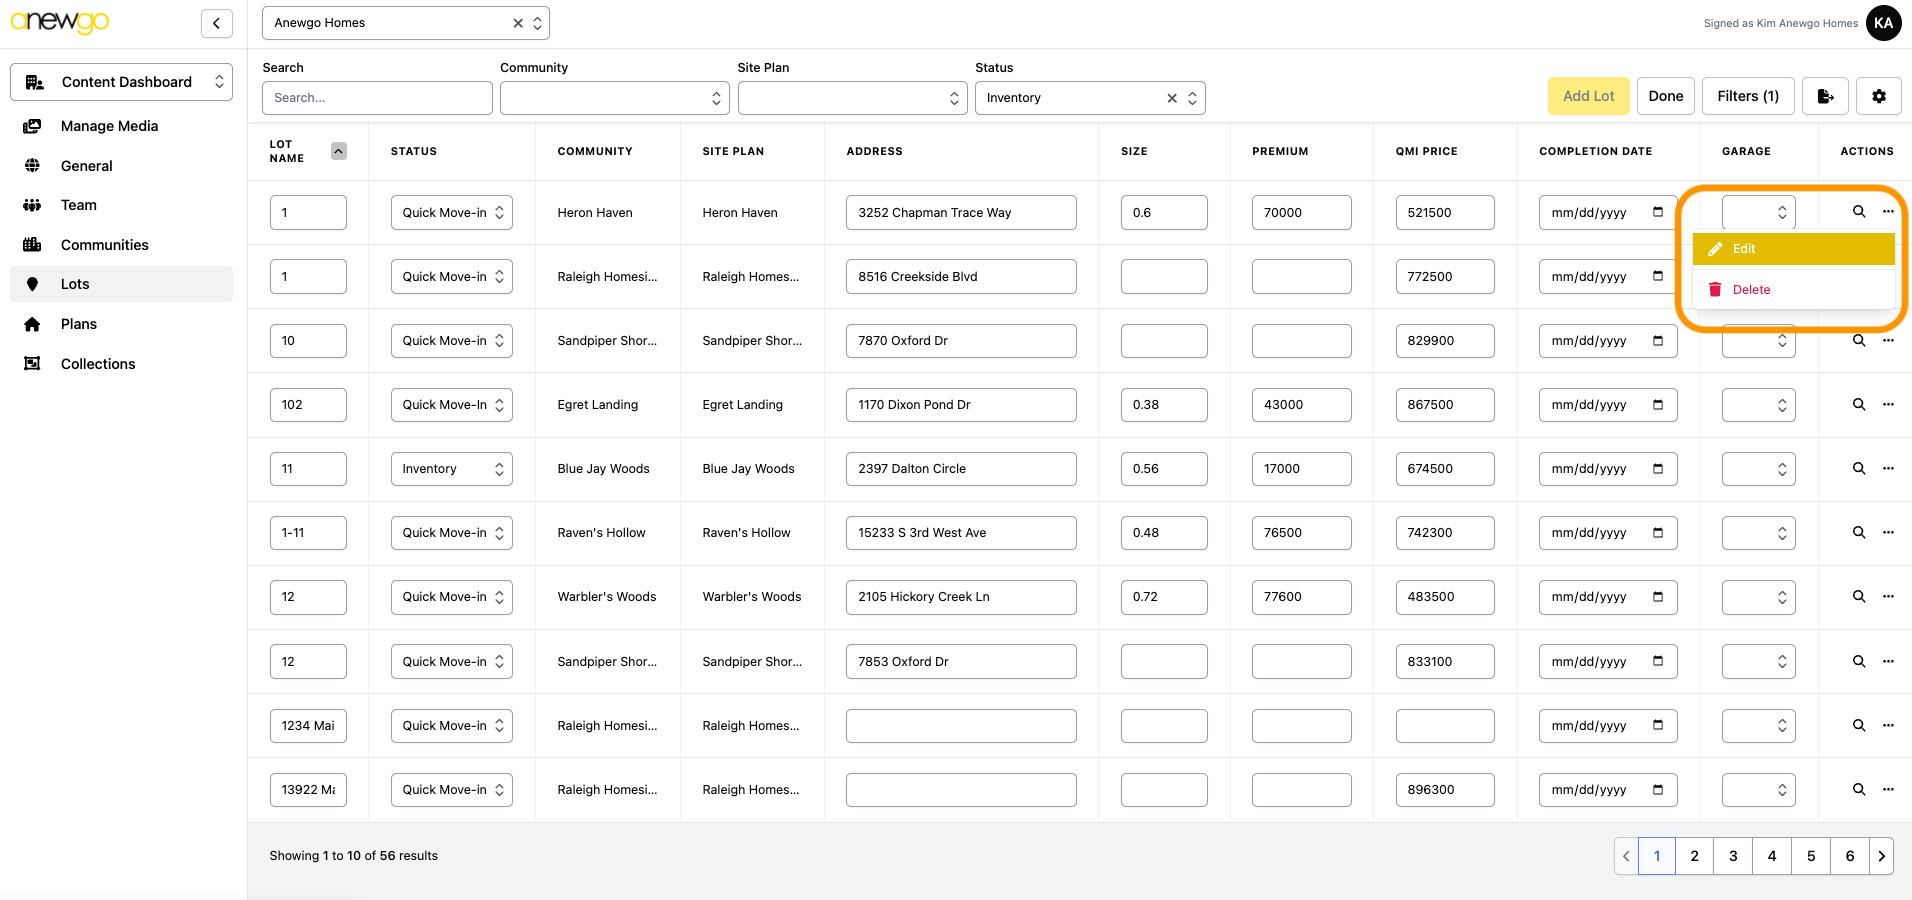
3. Use the filters to find your lot quickly. In this example, we filter to find Inventory homes.
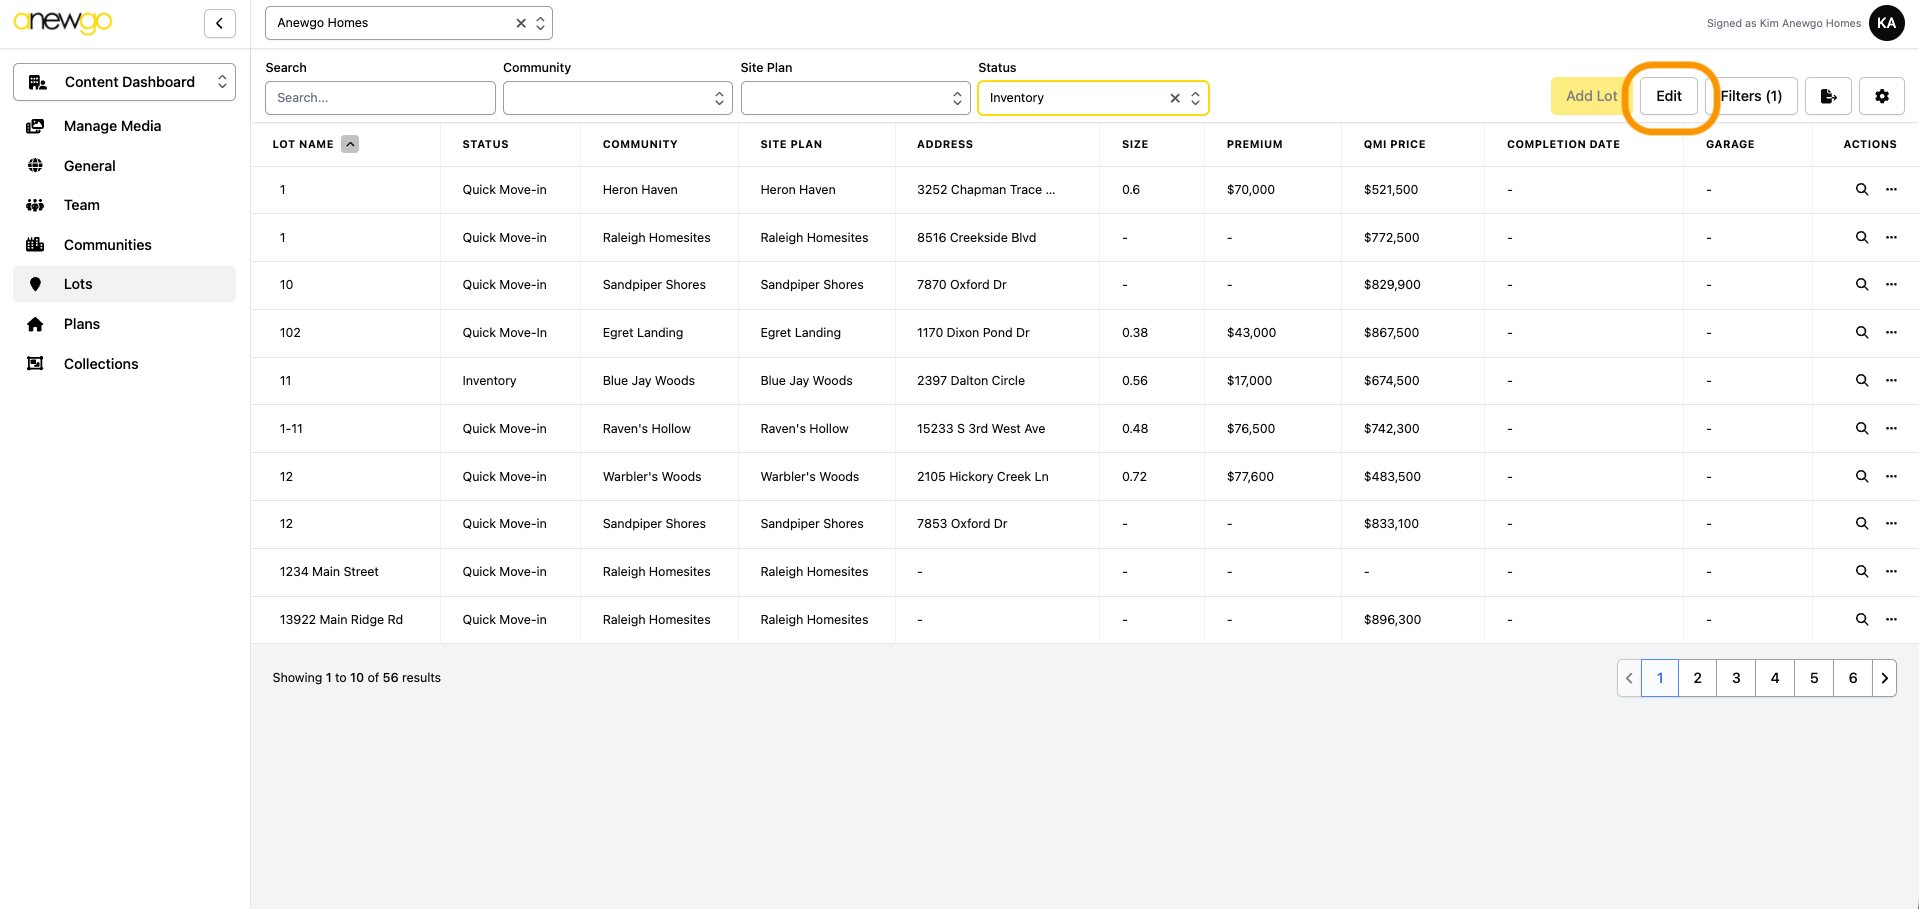
4. Click Edit to activate edit mode for the Lots table
5. Find the lot needed, click … and then click Edit
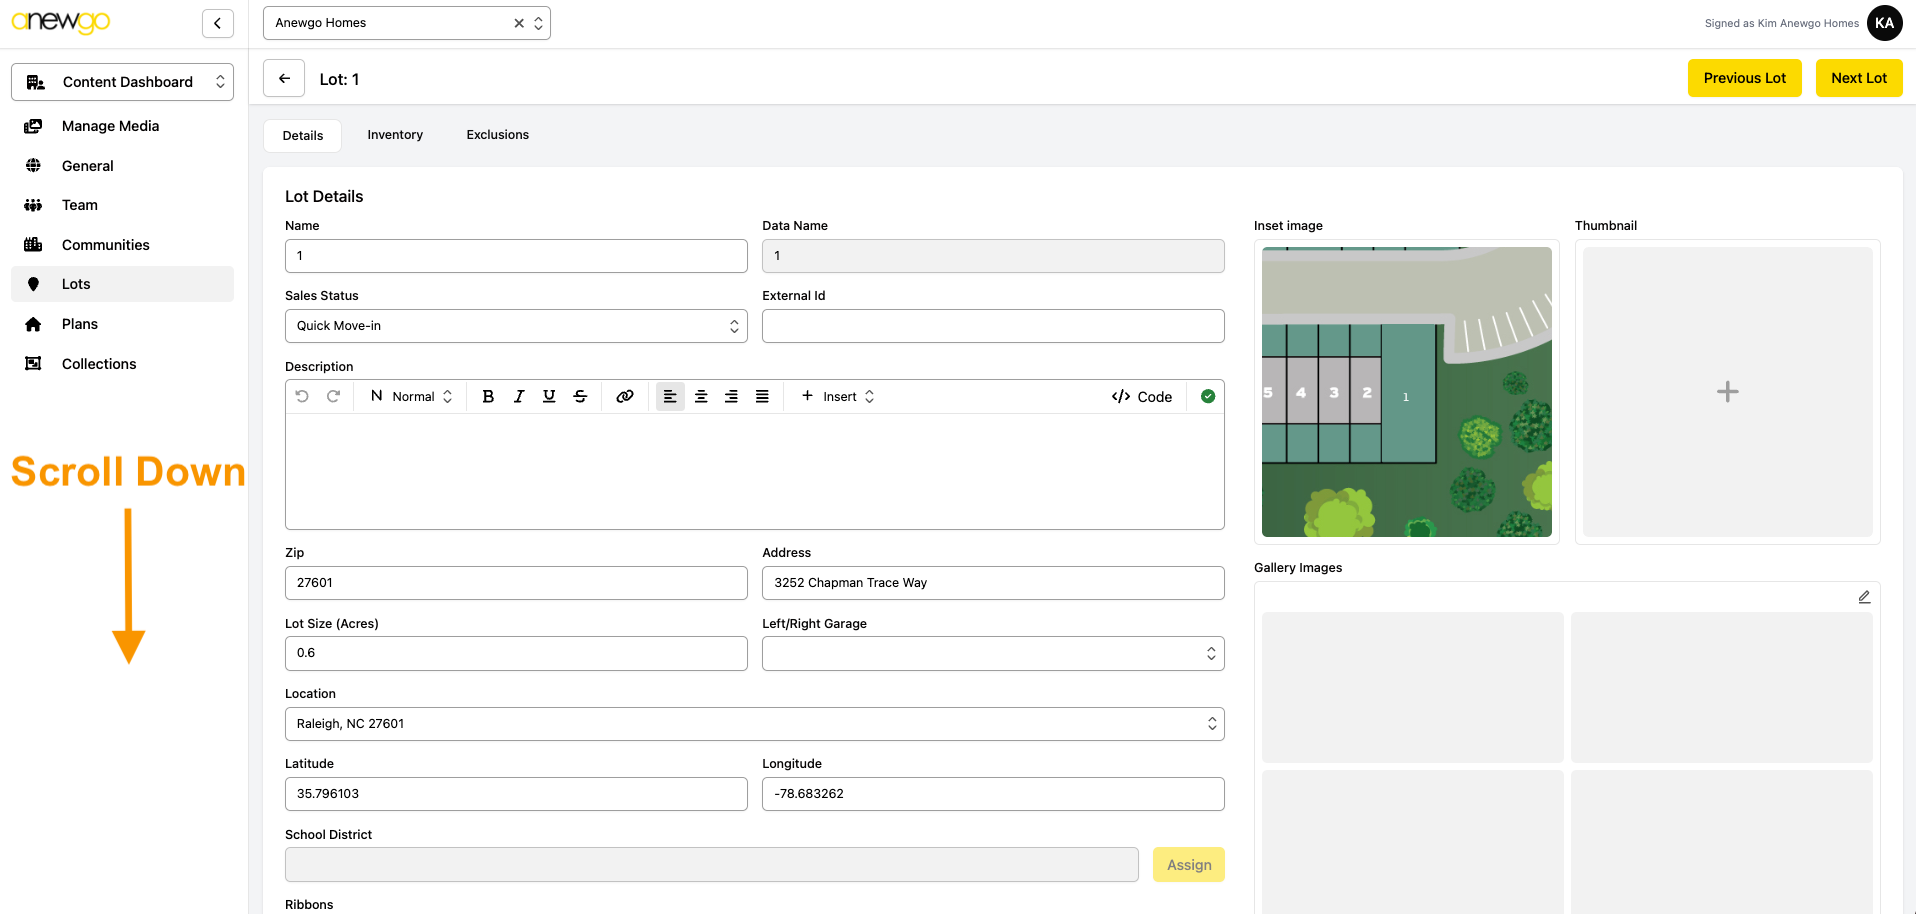
6. This will take you to the Lot Details. Scroll down to see the ribbons field.
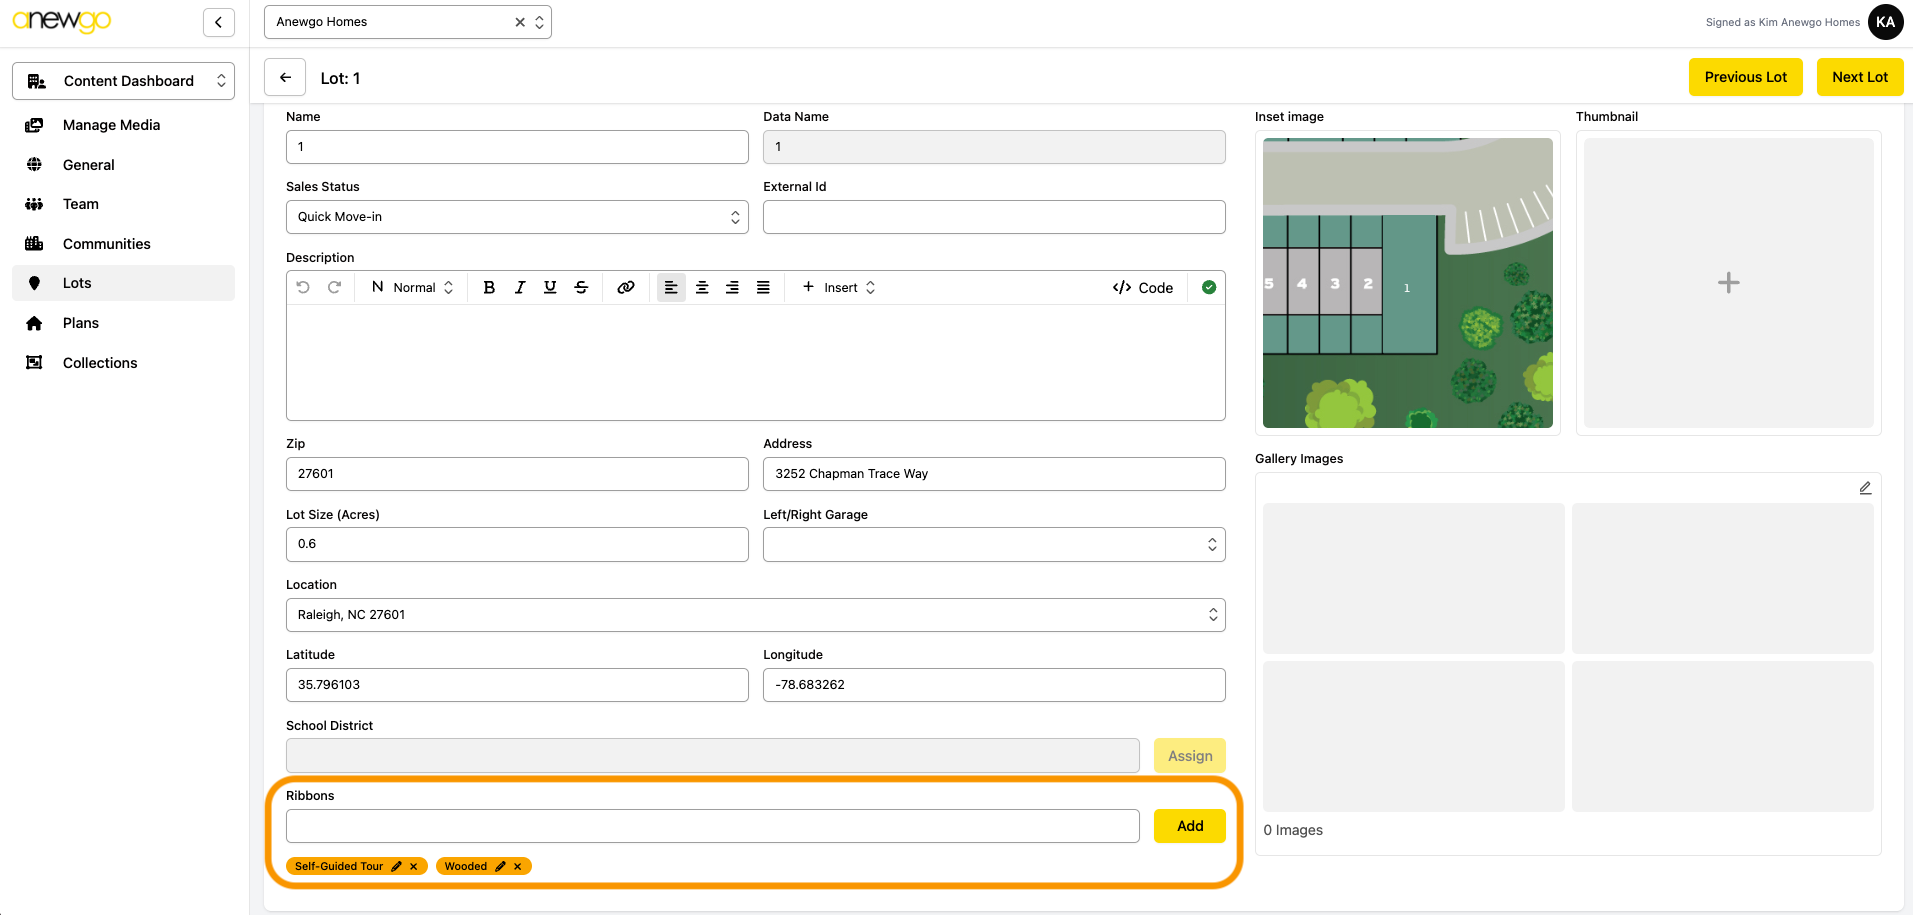
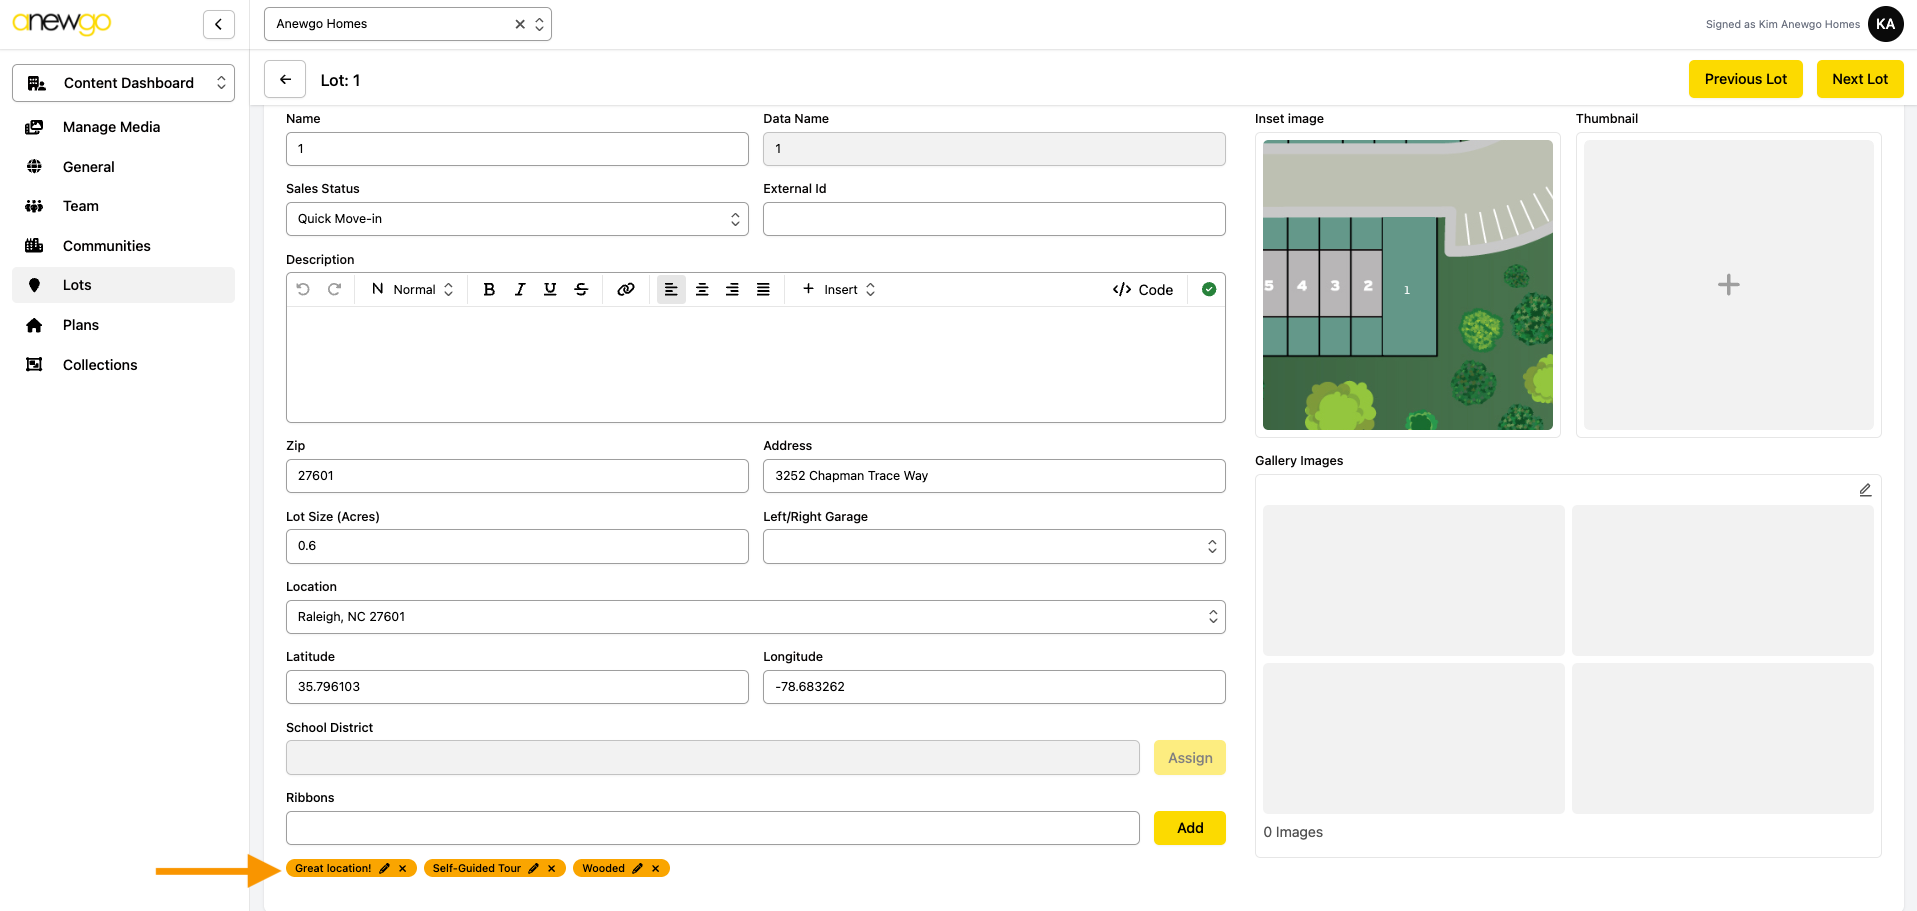
7. To add a new ribbon, type the text into the box and click Add (or hit enter/return on your keyboard). Note: you can add more than one ribbon

8. To remove a ribbon, click the x on the ribbon. To edit a ribbon text or color, click the pencil icon
9. When you click edit, an edit window will open. You can adjust the text or change the color of the ribbon using your color theme options. Note: the ribbons on 1 community can be different colors

Or you can adjust the colors by creating a custom color – just toggle Use Custom Color on and click Edit to select your color (the eyedropper tool can be very helpful here!). Be sure to click Submit to save your changes.

10. When complete, you can see your ribbons on the front end. This example is the inventory home (a.k.a. QMI or Available Homes, etc) list page on the front end.