
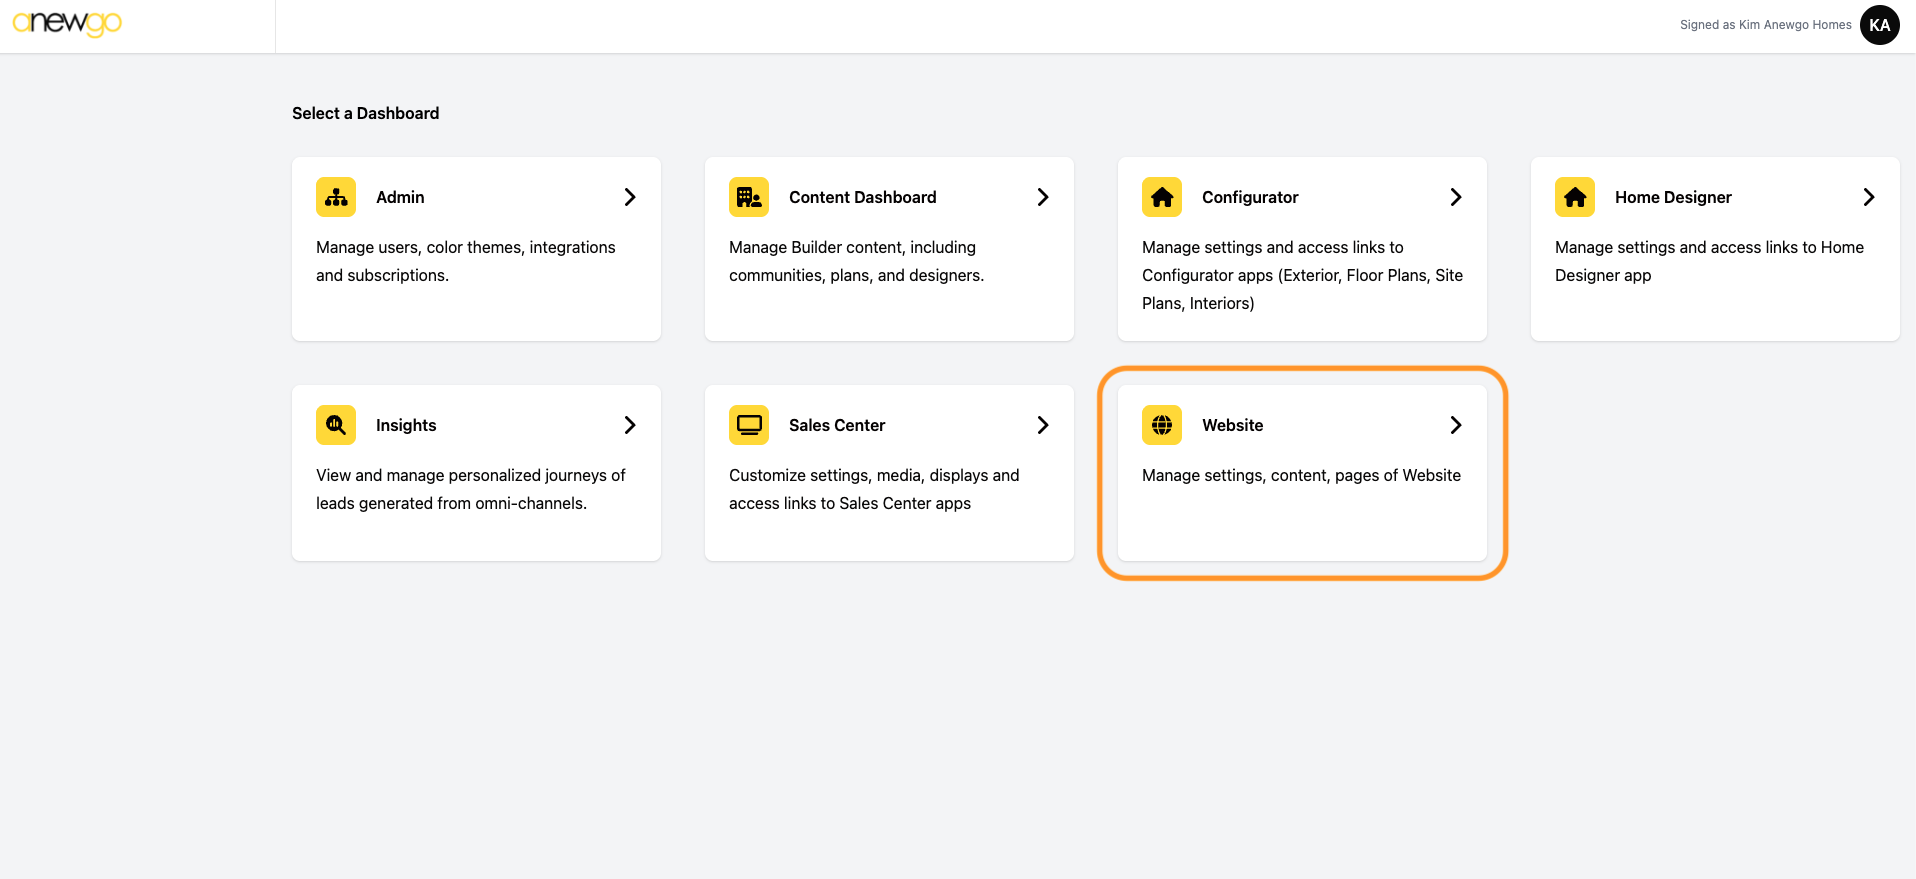
- Click Website card
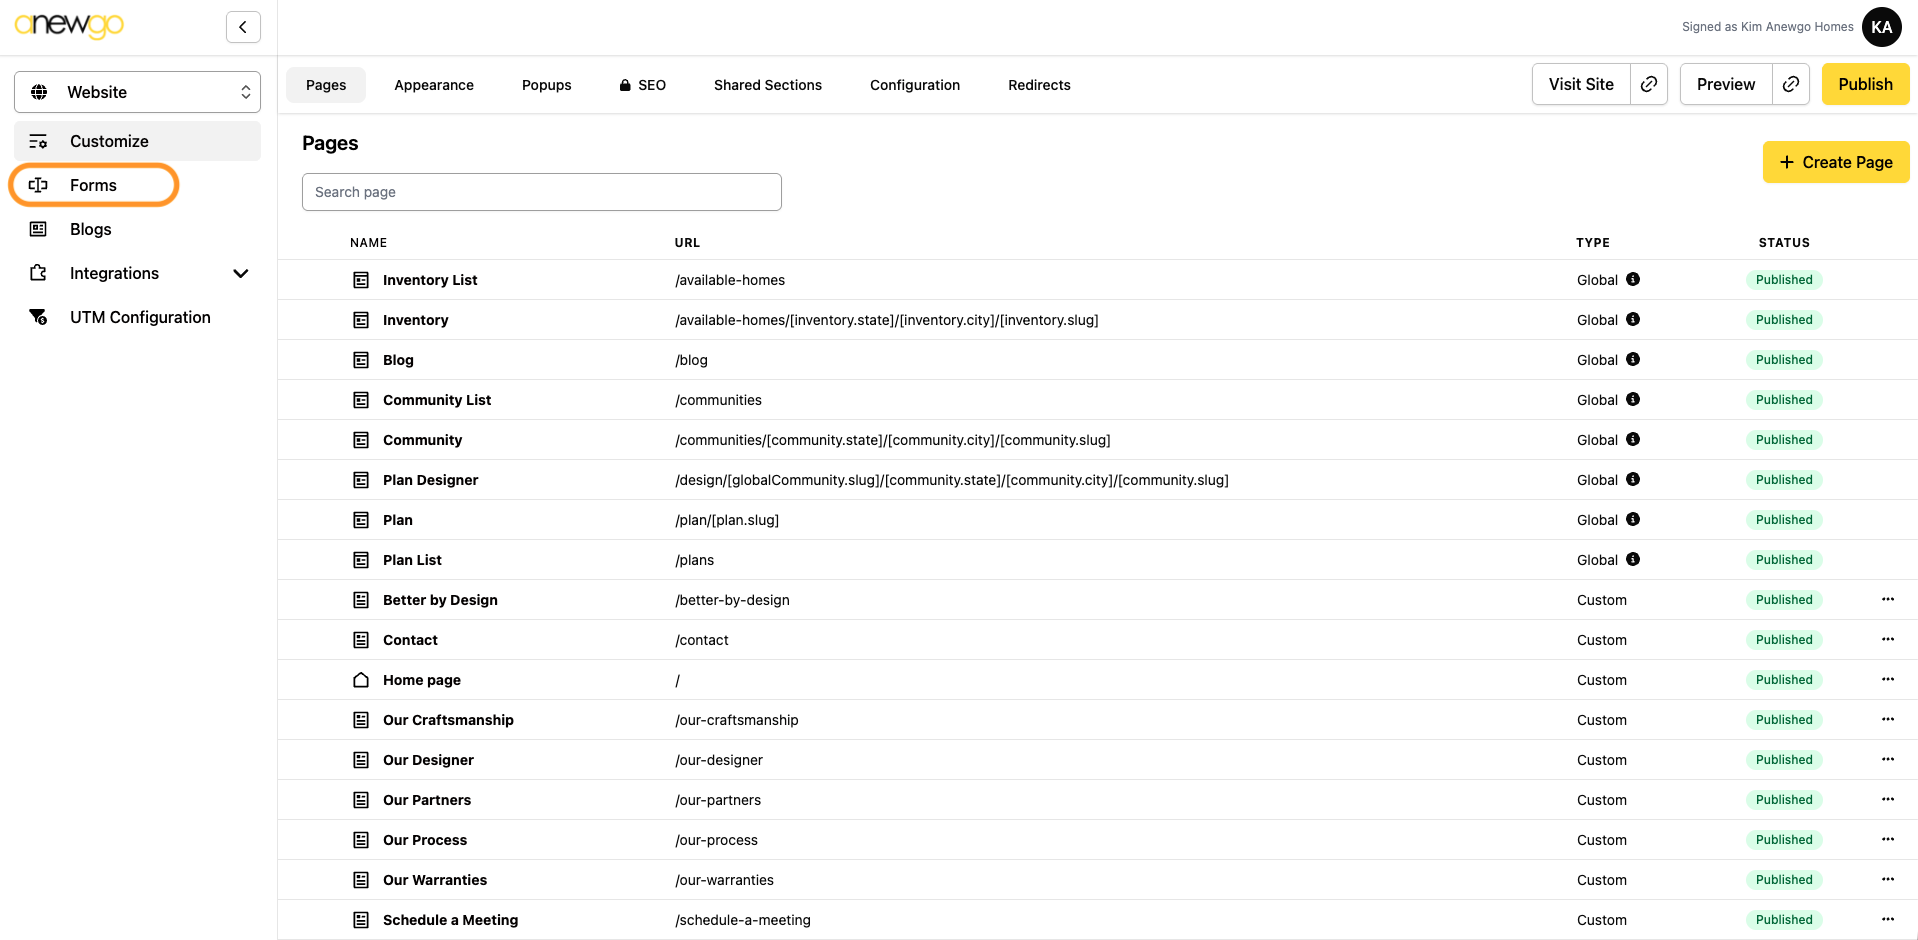
2. Click Forms
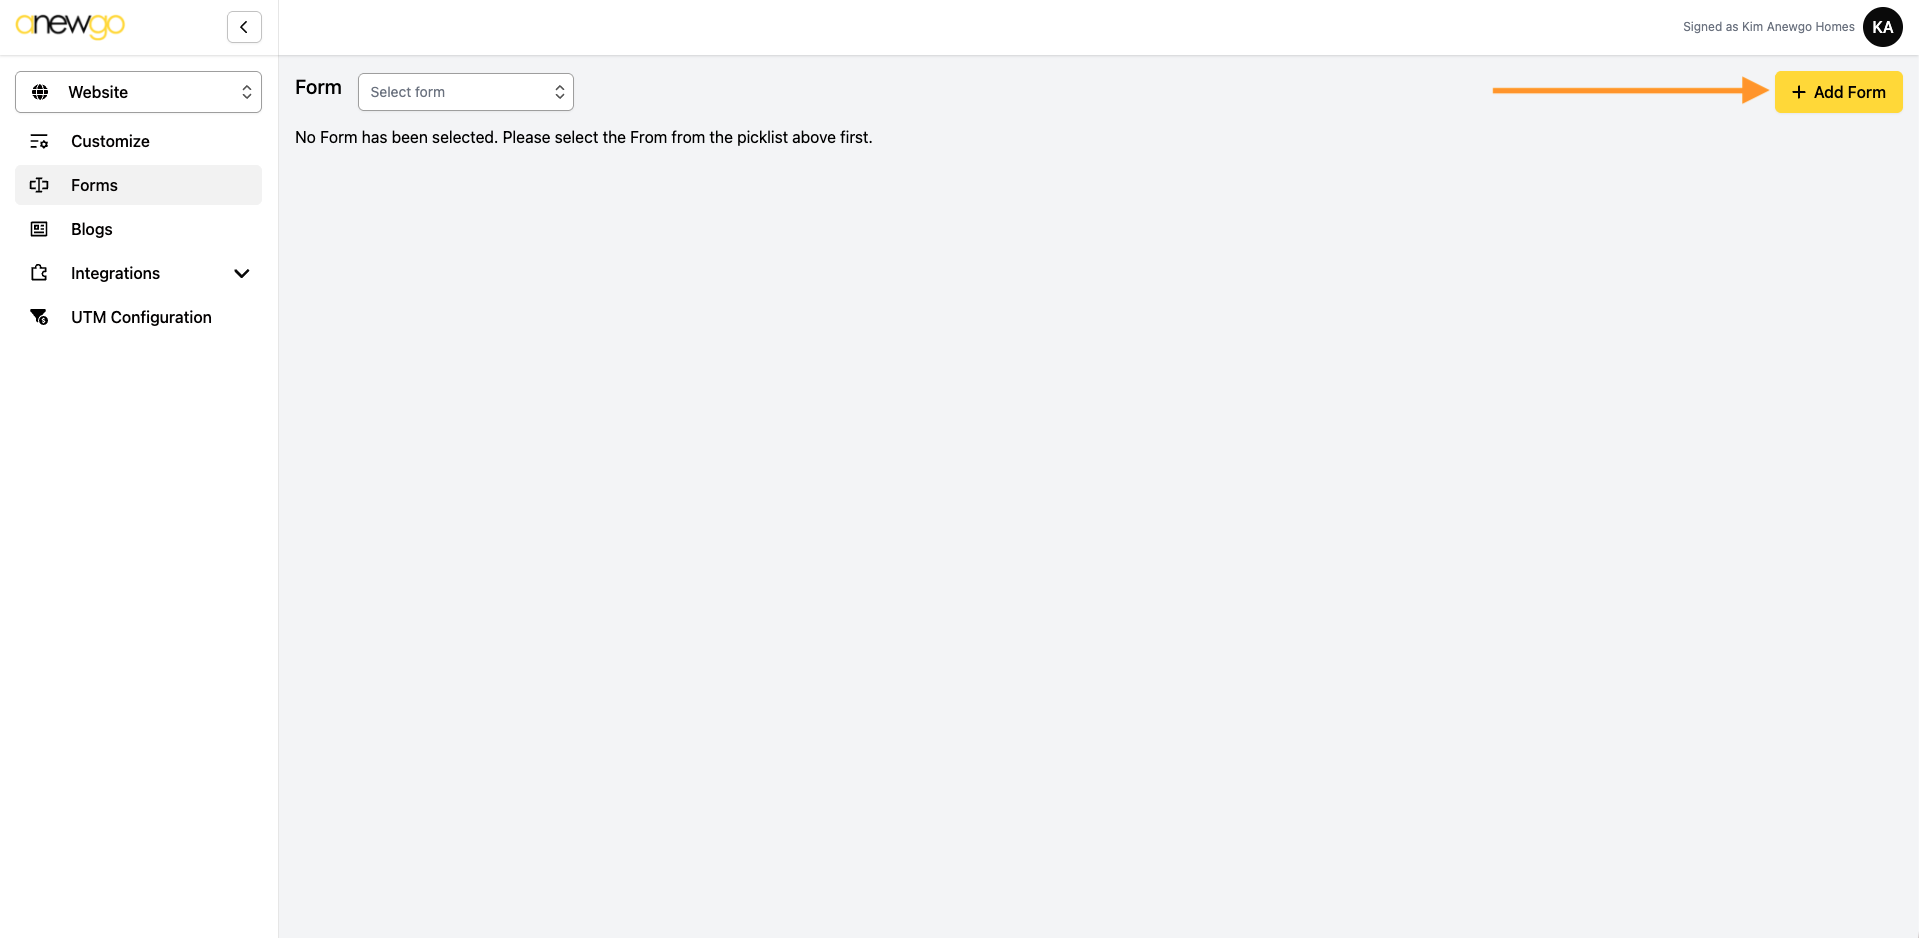
3. To add a new form, click + Add Form
4. Fill out the fields as needed (the only fields required are Form Title & Email Address for Submission). Click the “i” info buttons to see what each field is for and what input is needed.
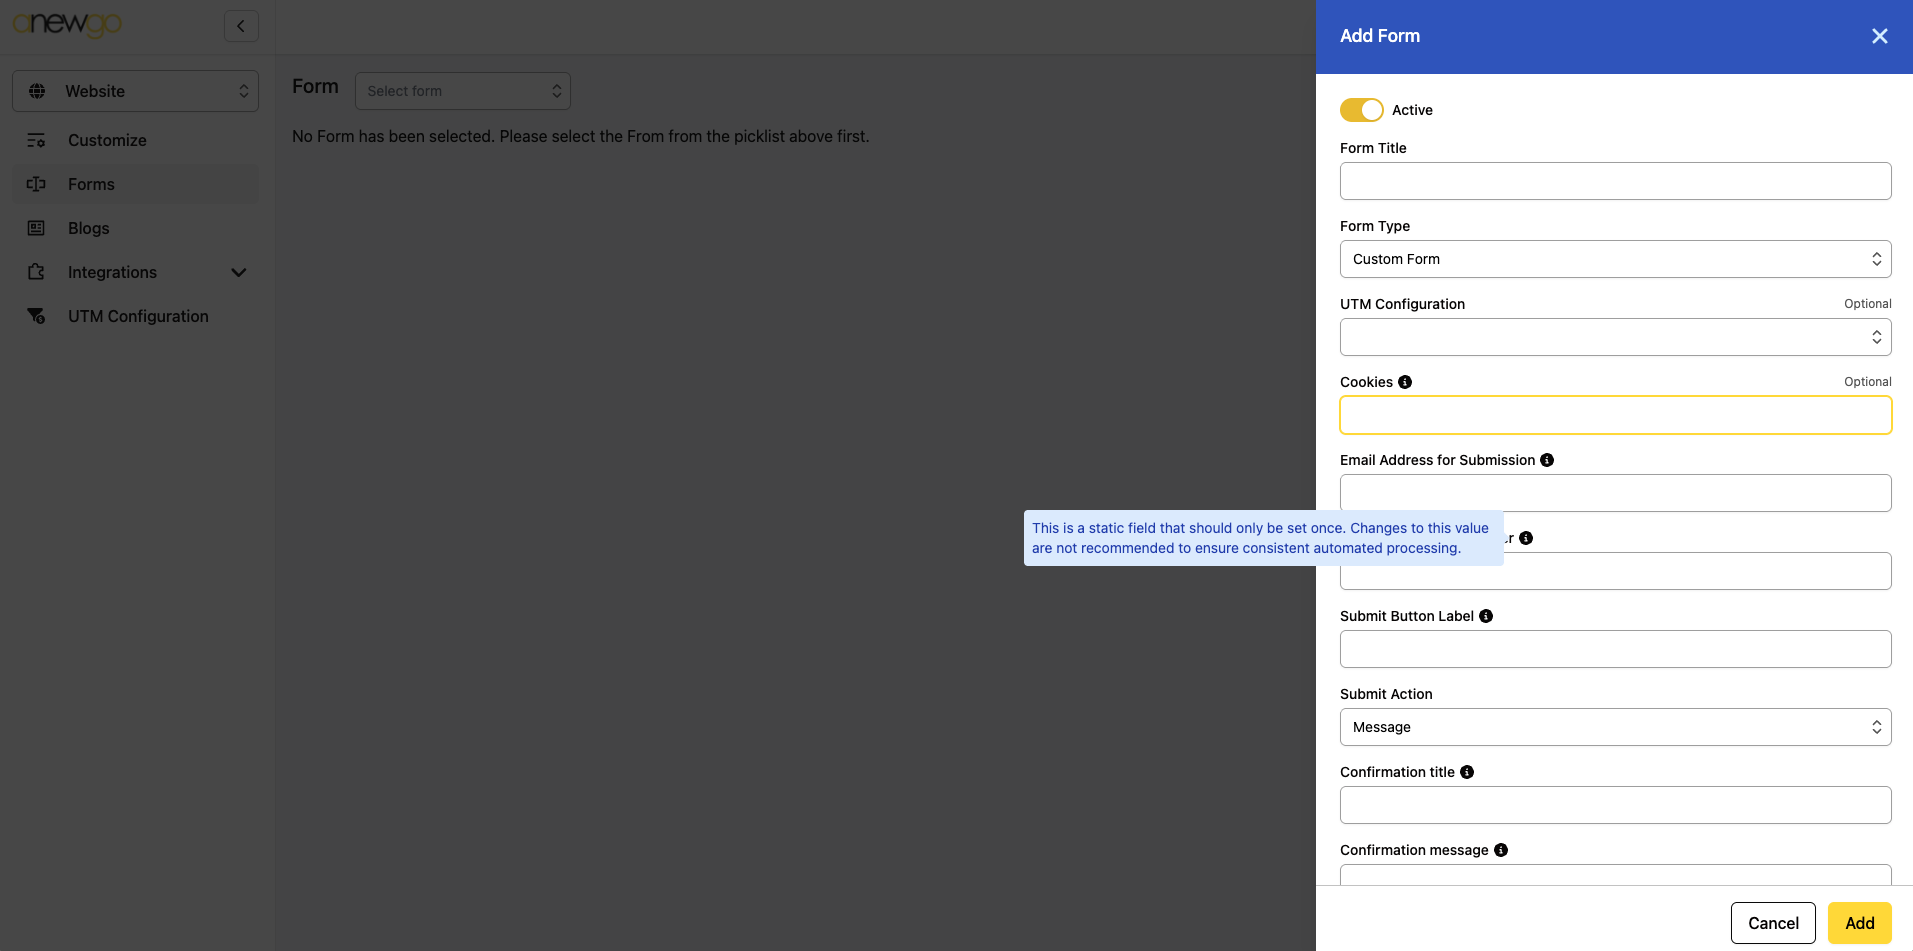
There are 2 types of forms: Custom Form & Newsletter. Newsletter is a form that will only have an email field for users to sign up to receive newsletters. Custom Form will be the most common type used to create forms like Contact Us, Warranty request, etc because you can customize the fields you want the form to have (i.e. Name, Phone, Email, Address, etc).
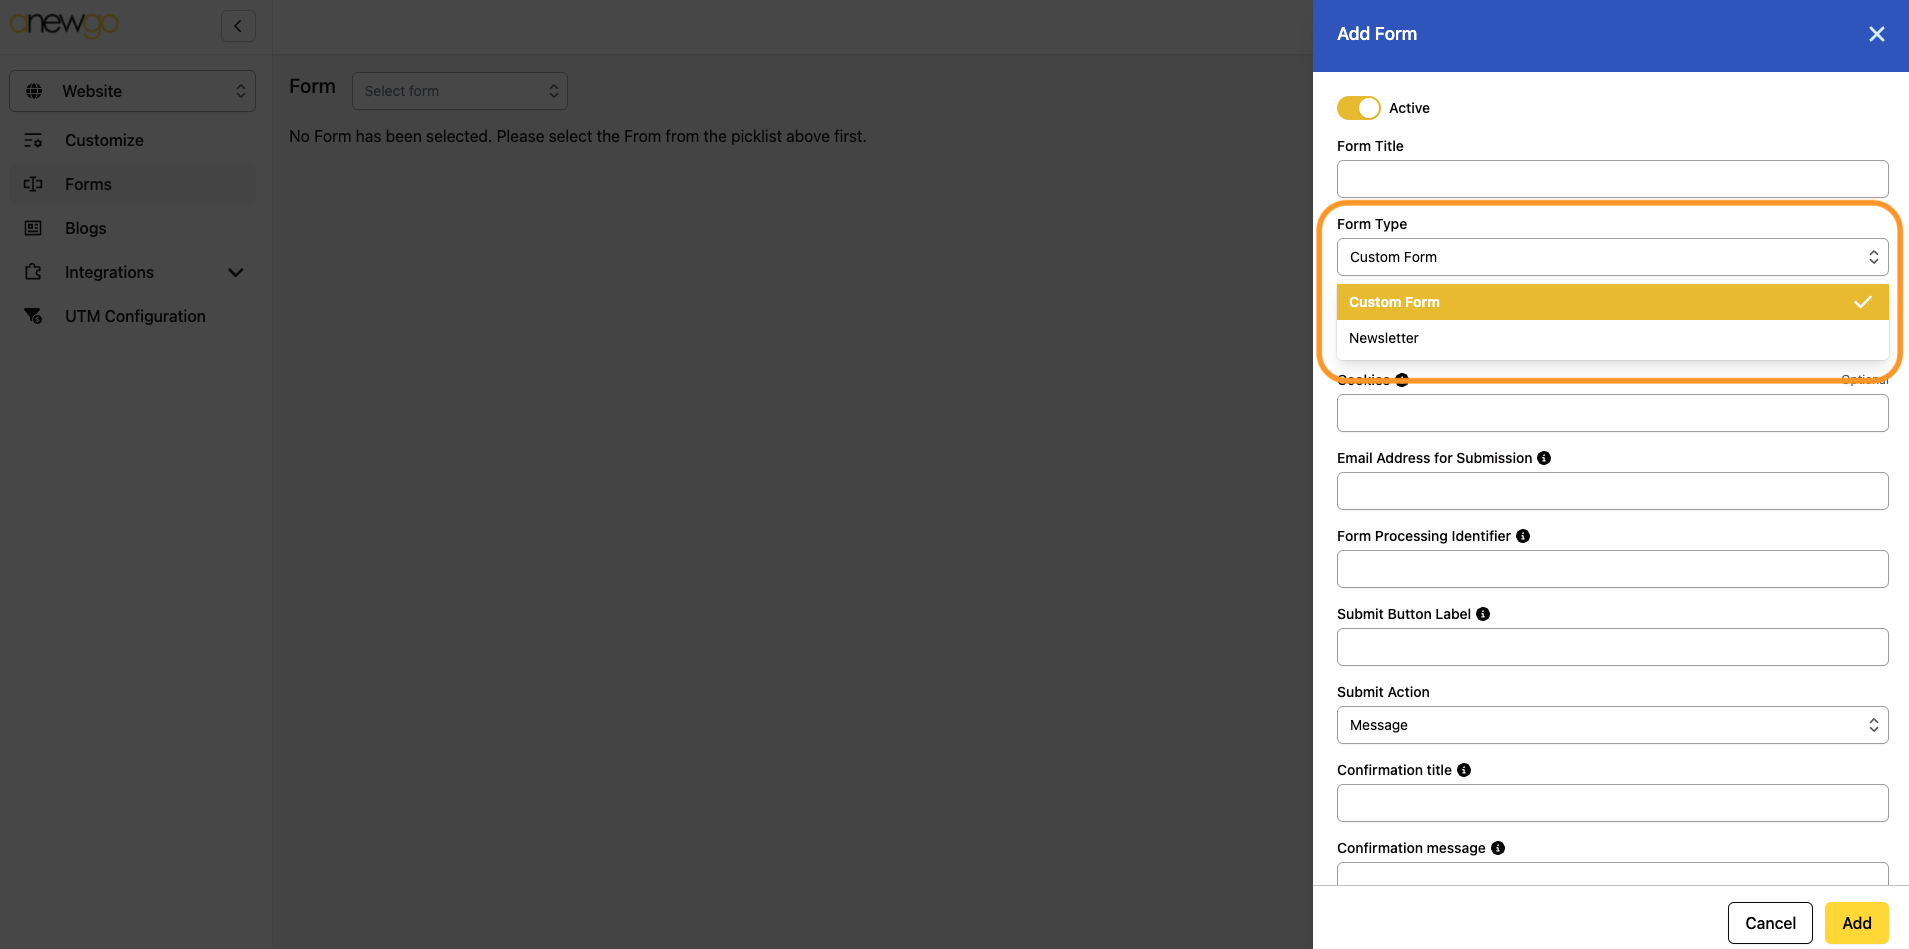
5. Complete the fields and click Add

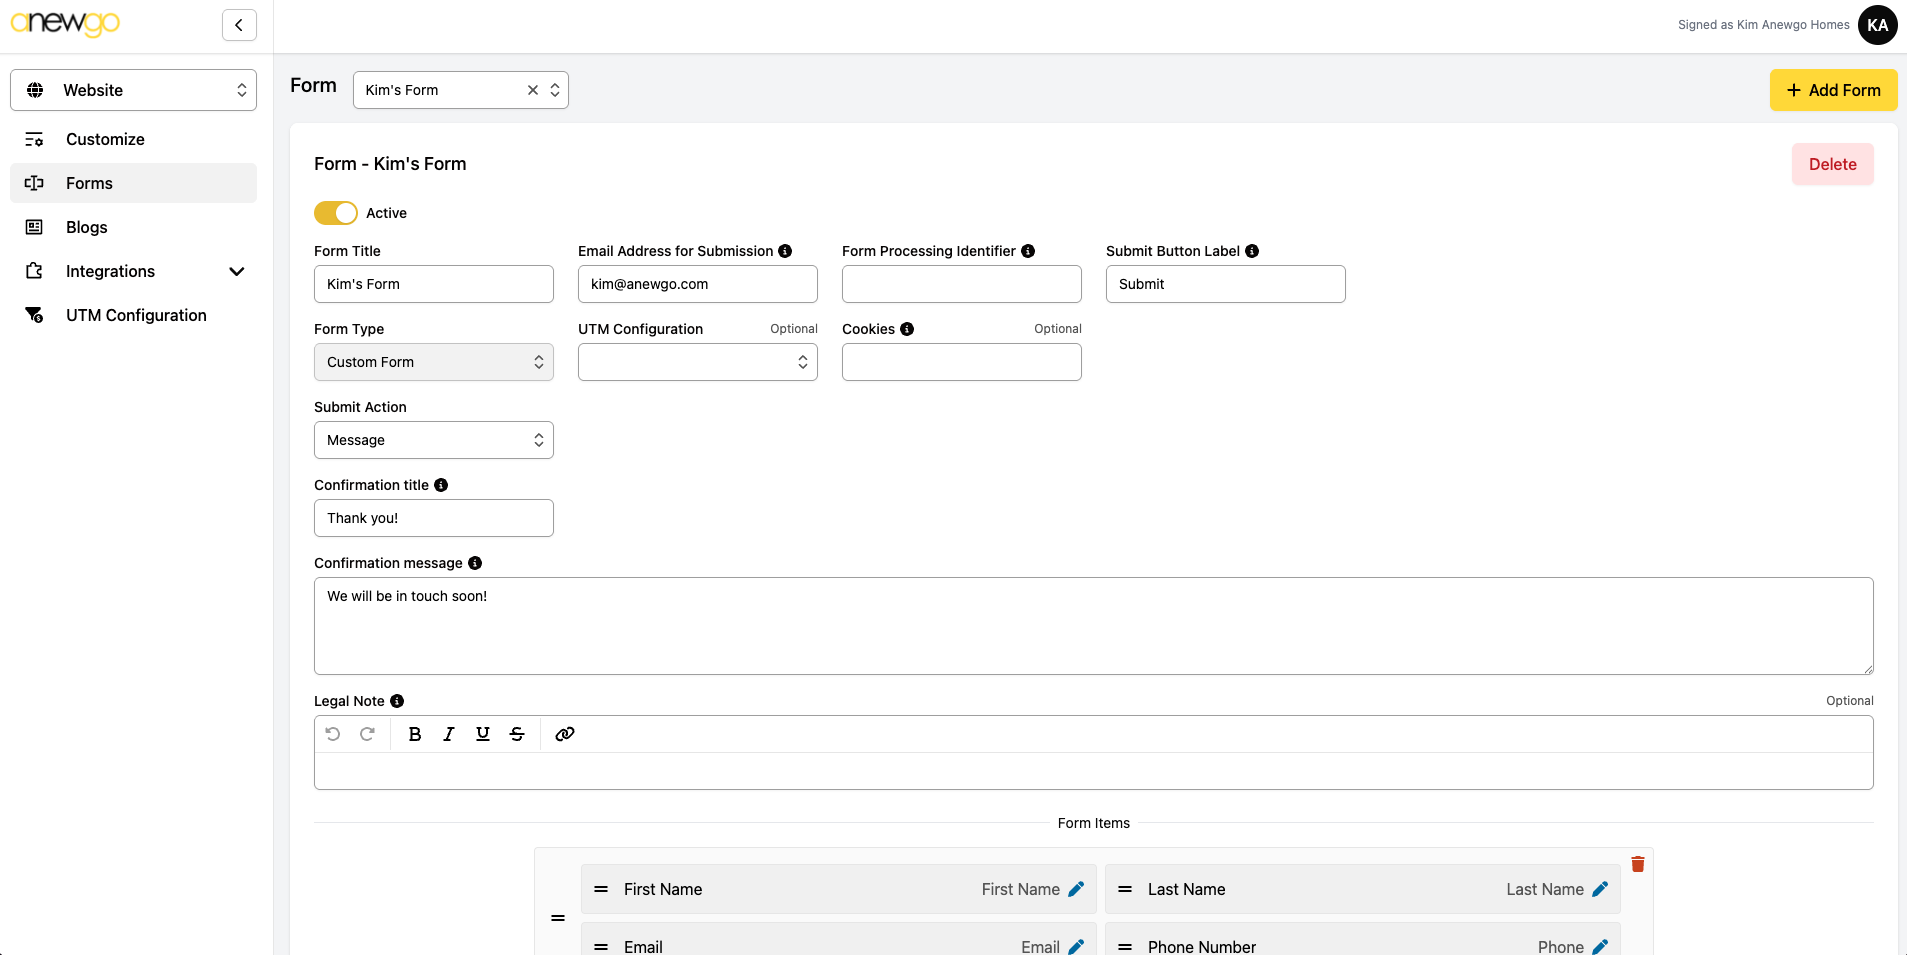
6. Here you can do the following:
a) Edit the fields you just completed
b) Add a legal note
c) Delete the form
d) Add the form items (see step 7)
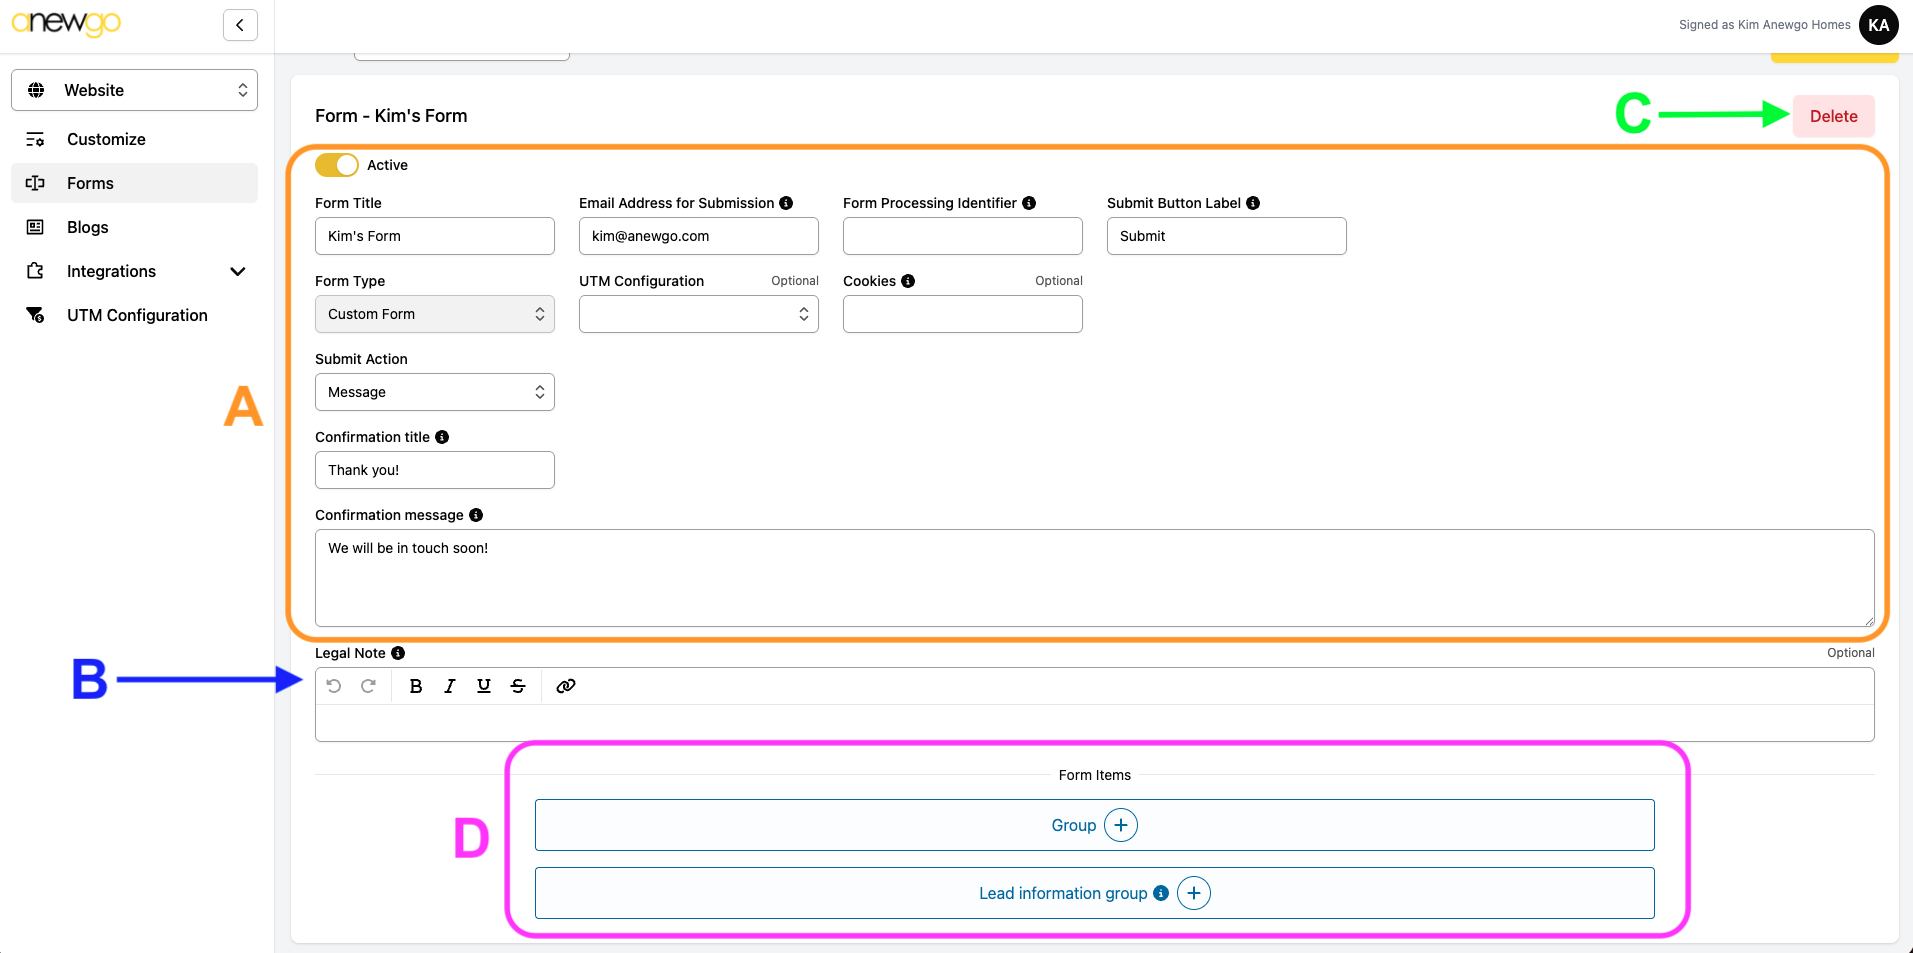
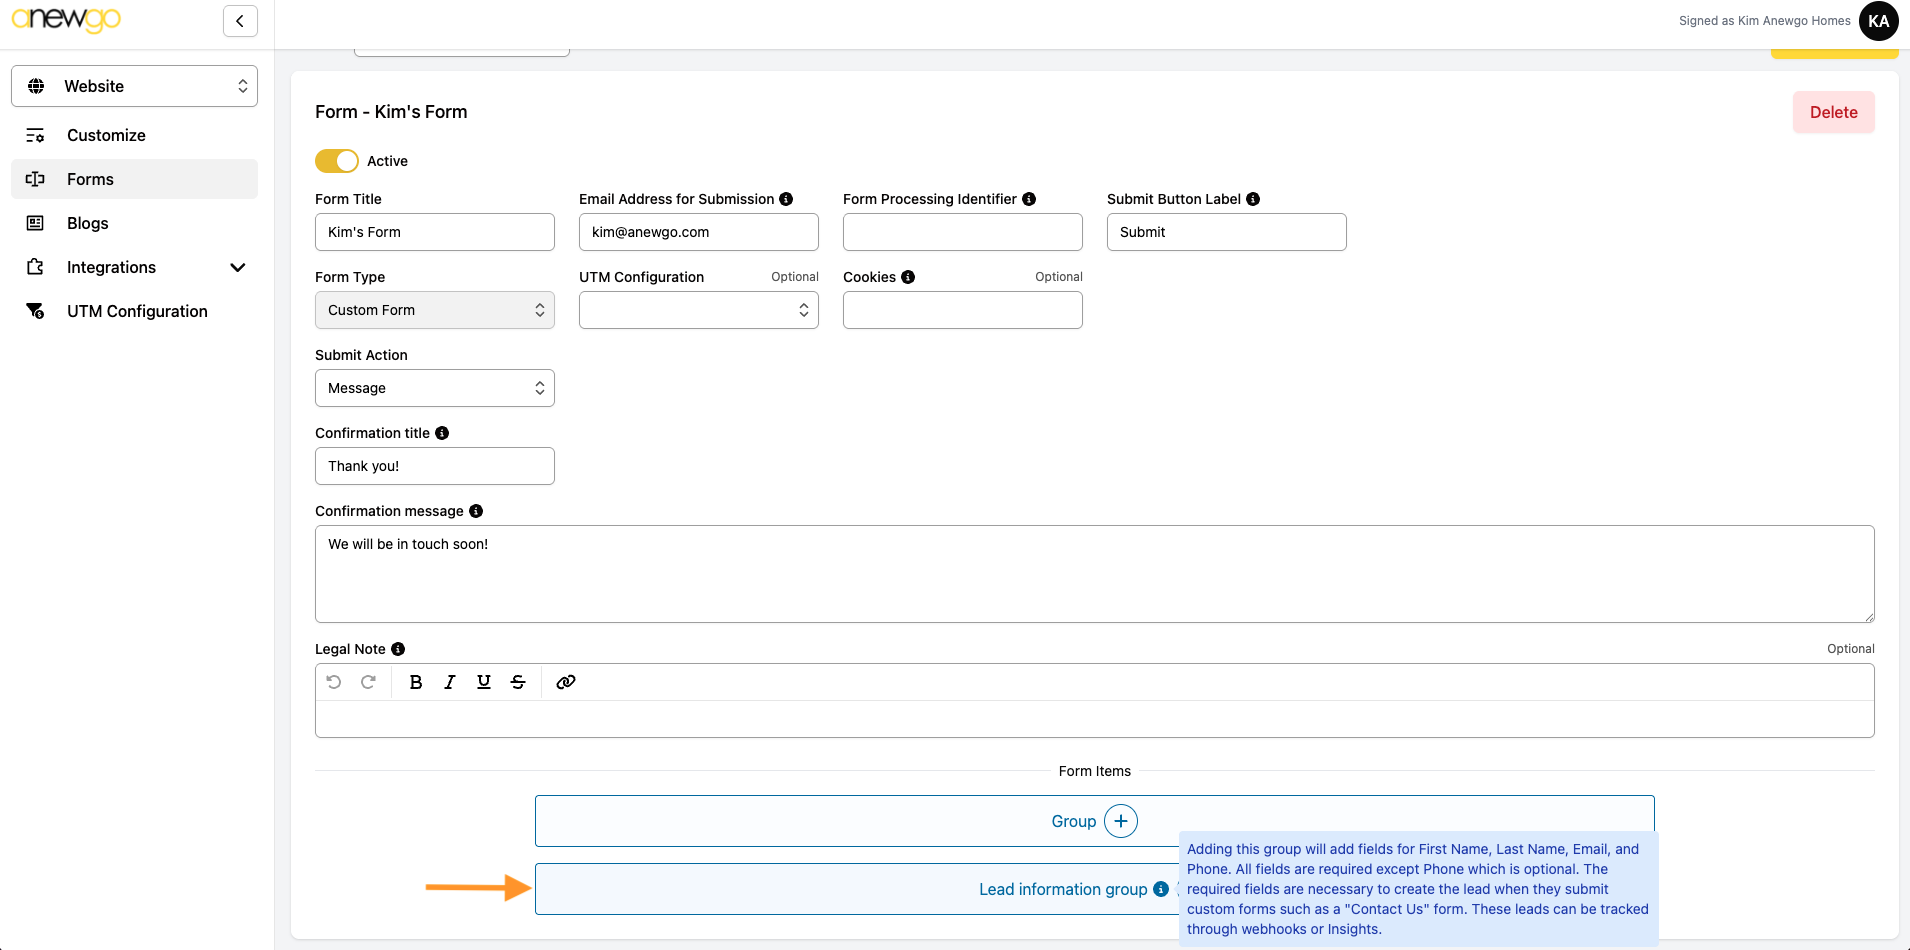
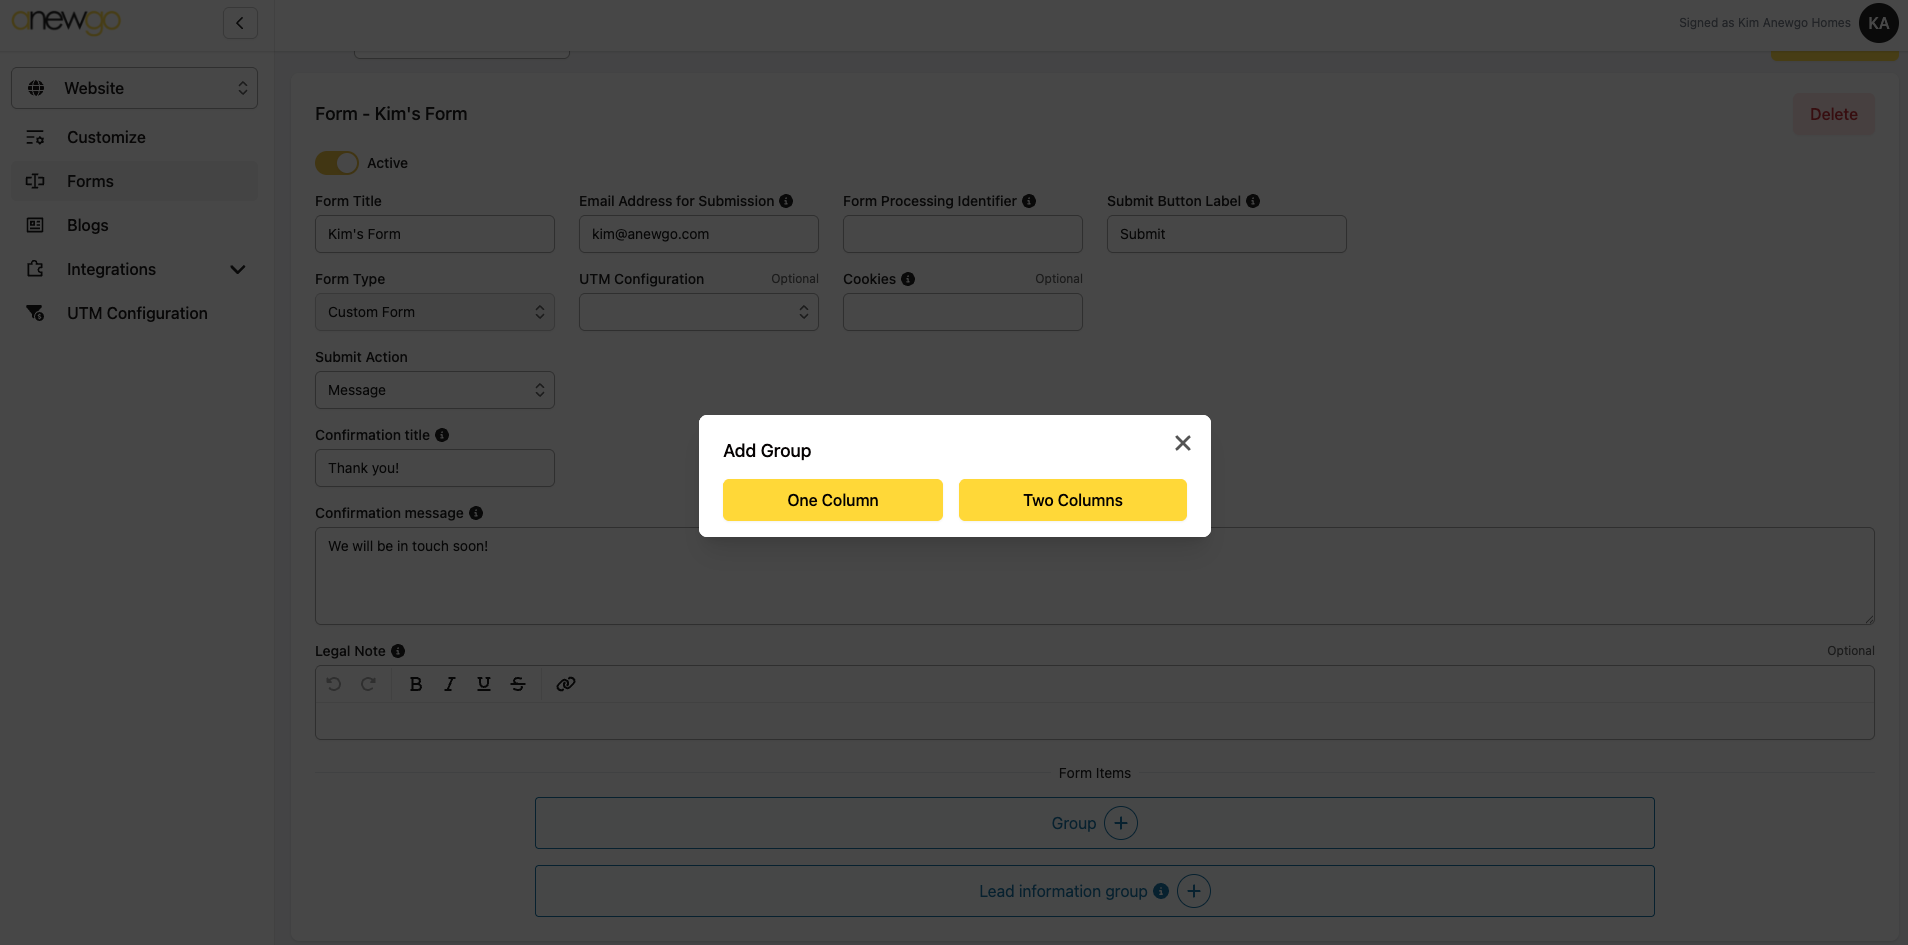
7. There are 2 options for adding Form Items – Group & Lead information group. Lead information group will add fields for First Name, Last Name, Email and Phone. Click the “i” info button for more information.
Group will let you customize how many columns you want. Click the + sign then select One Column or Two Columns
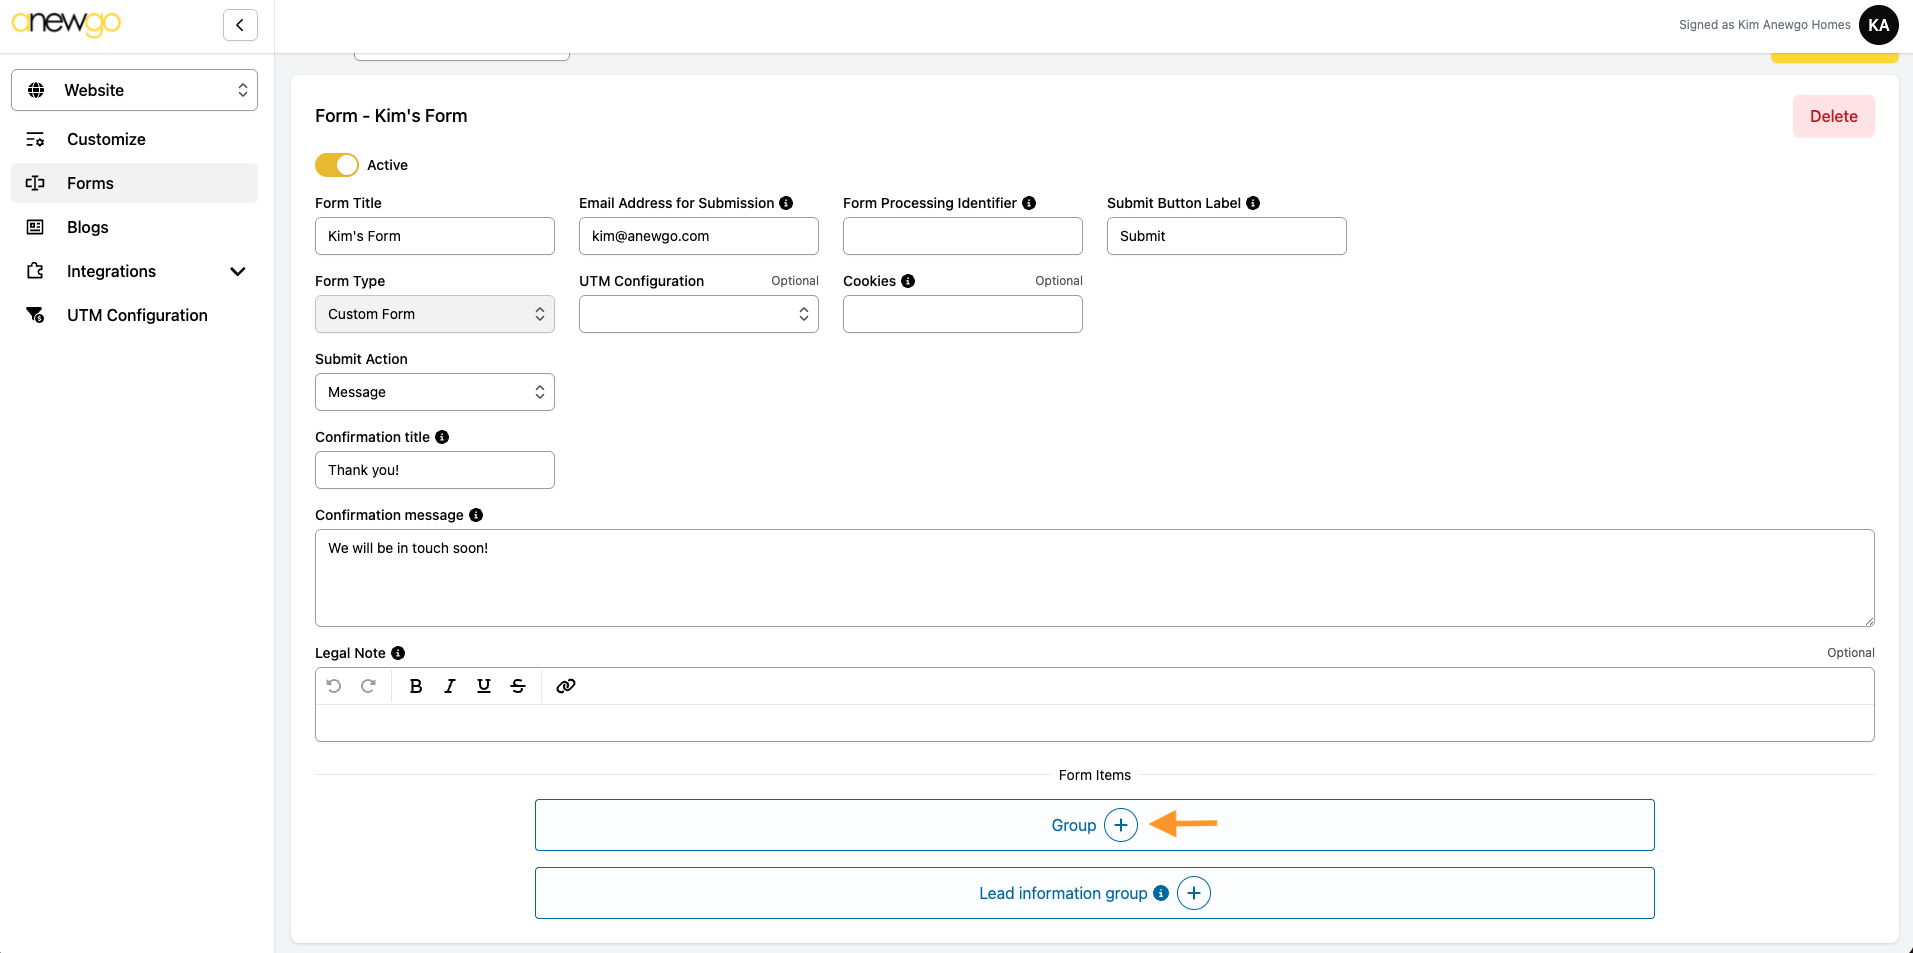
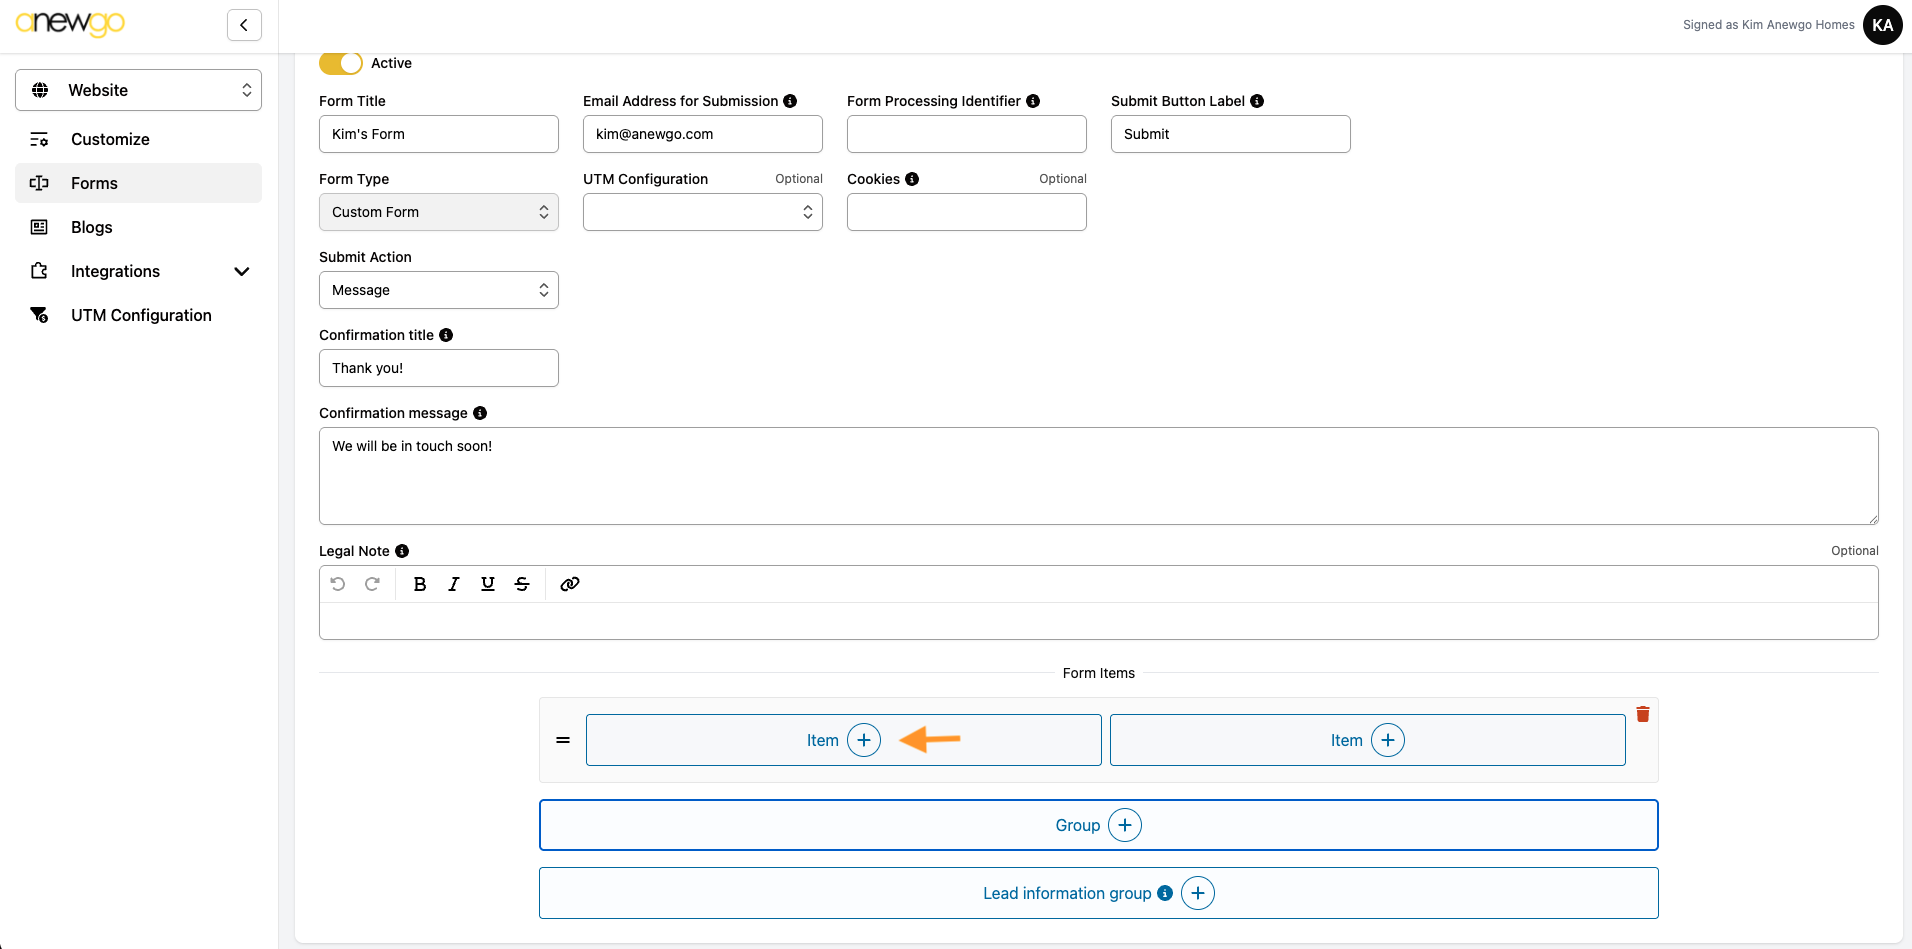
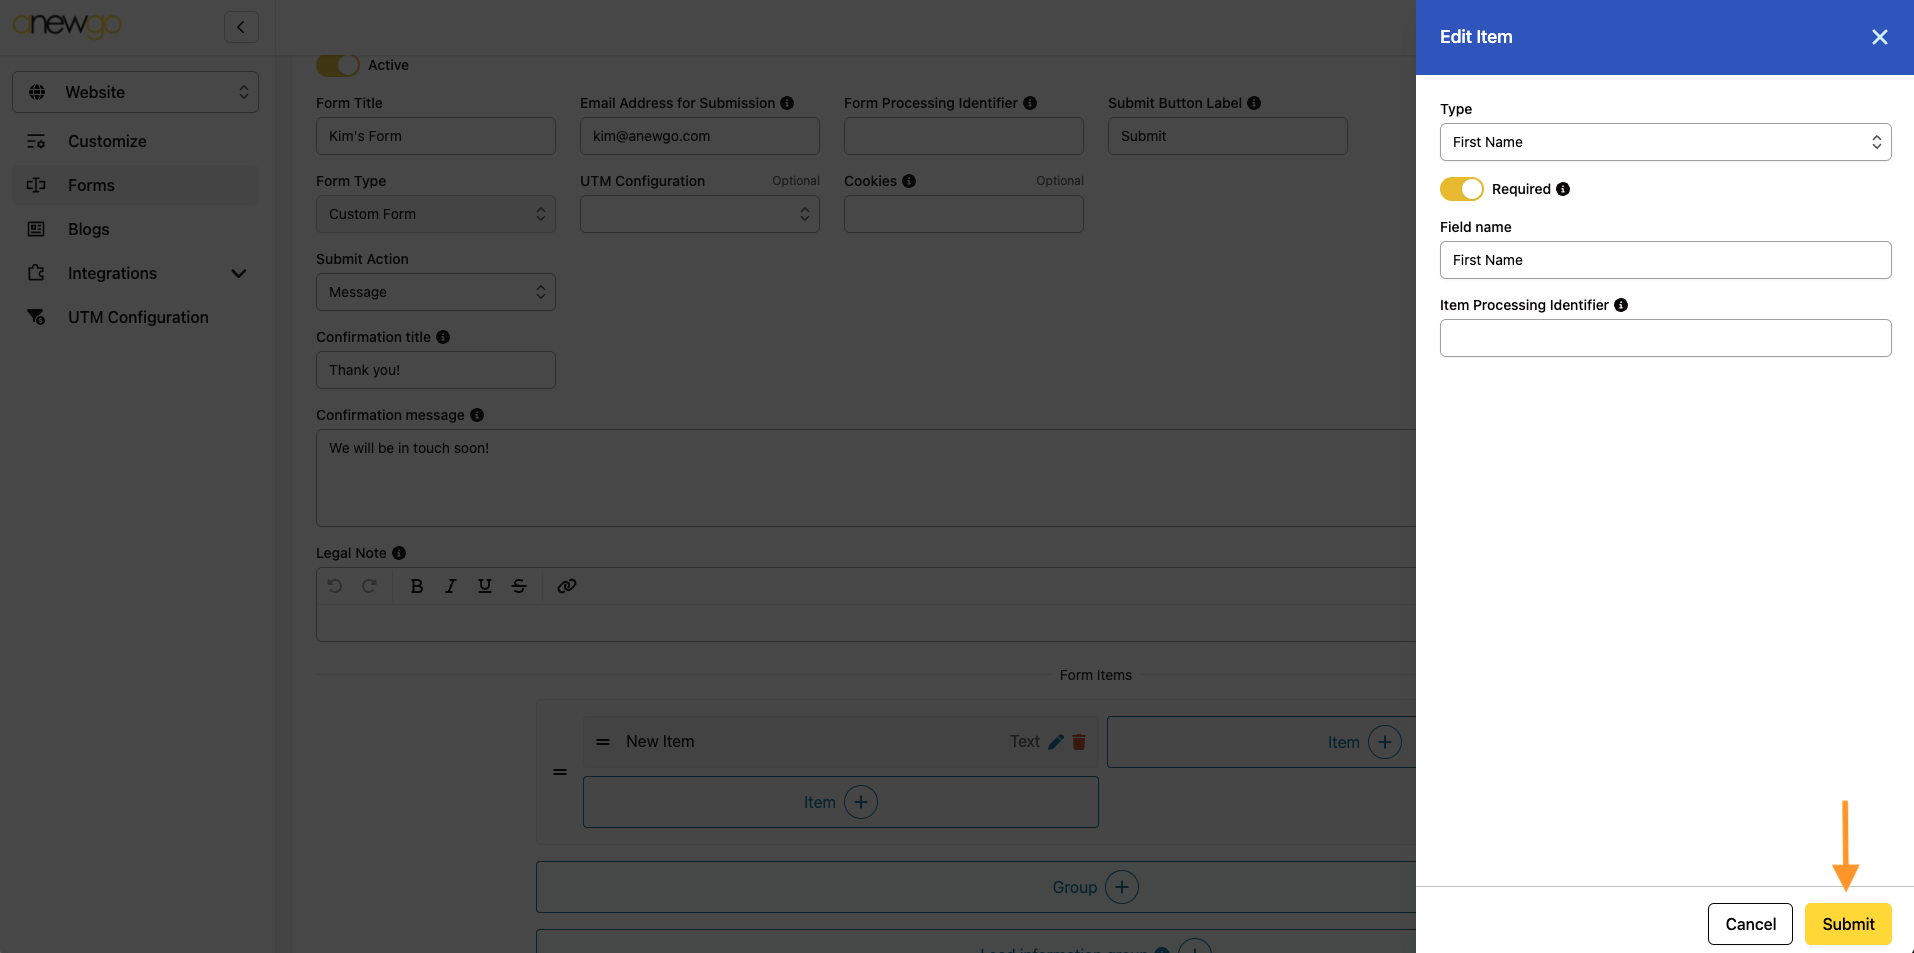
8. Click the + sign next to Item
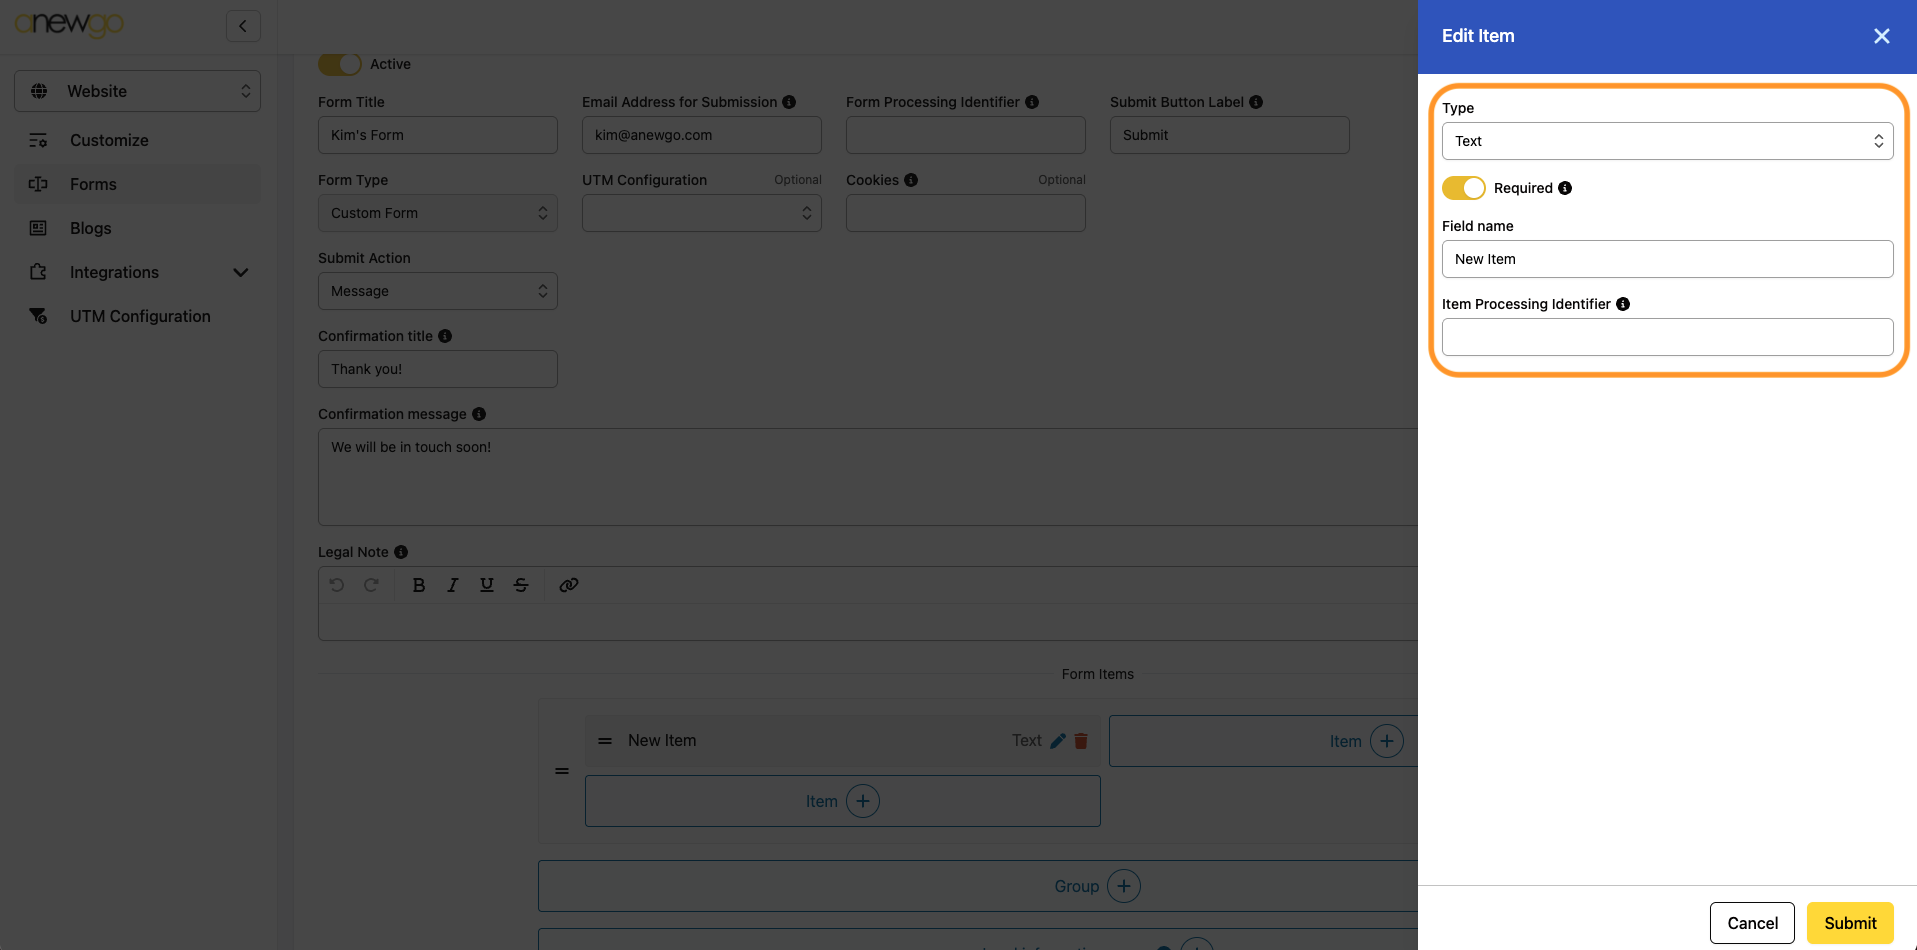
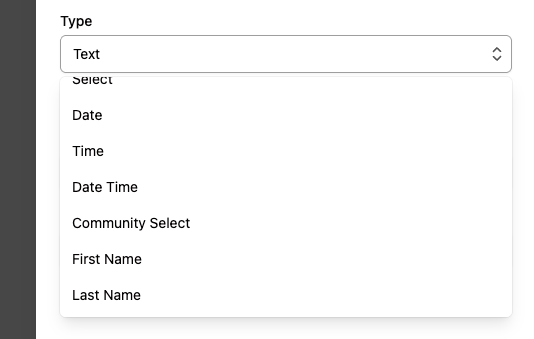
9. Now you can add a form item. Pick the field Type (see more details below) and if the field is required for a user to complete and enter a Field name. Item Processing Identifier is optional.
*Type is important for Lasso or CRM integrations. For Lasso, you must use Types “First Name” & “Last Name” & “Email” – you cannot use a “Text” type and rename it to Email.
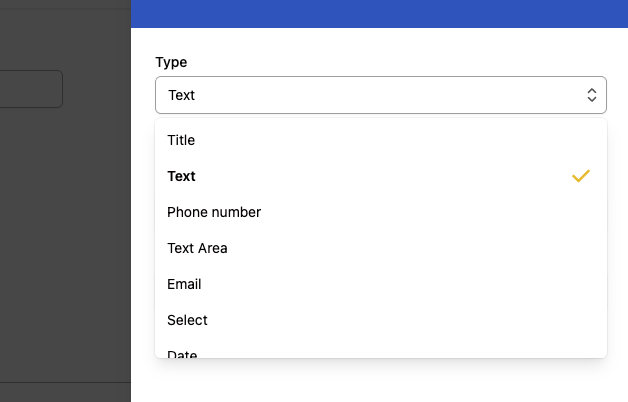
Here are the different item types:
10. Complete the Item fields and click Submit
11. Continue steps 7-10 until your form has all the necessary fields. Now your form is ready. You can add it to popups, Shared Sections and/or page sections (see steps 5-7).
12. To edit a form, when you navigate to the Forms area, select the existing form from the dropdown
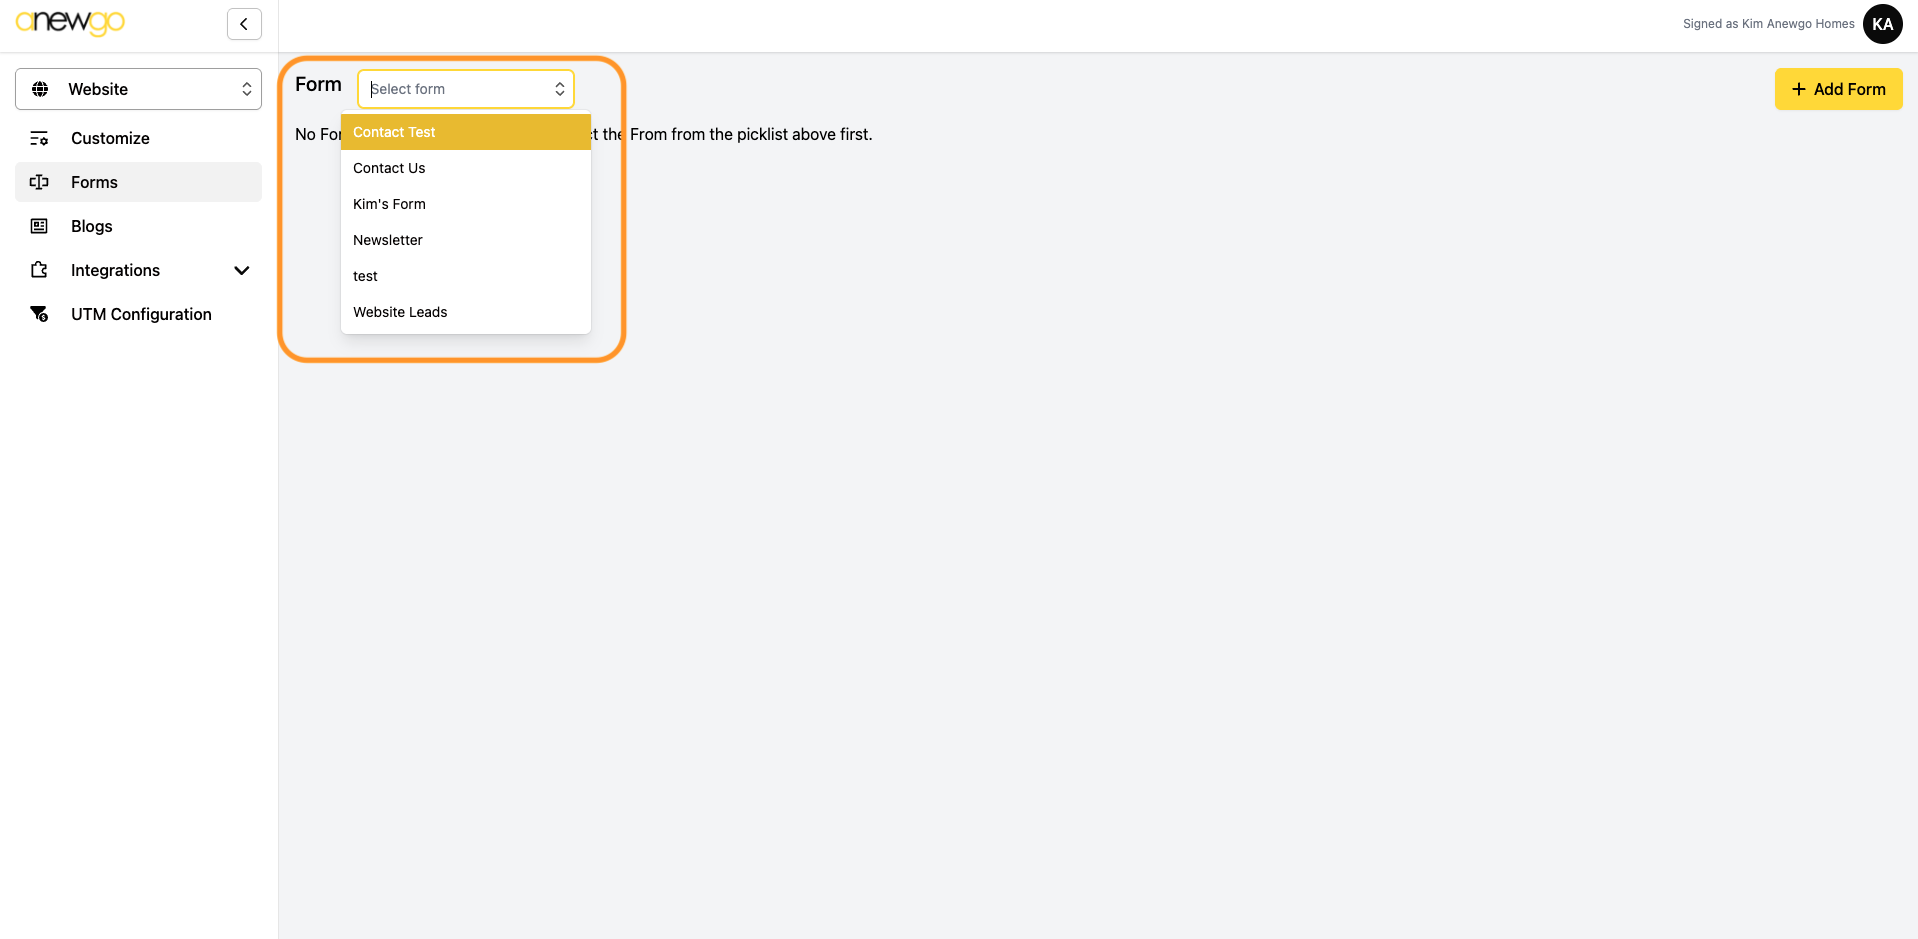
13. See step 6 above and follow the steps again to edit your form.