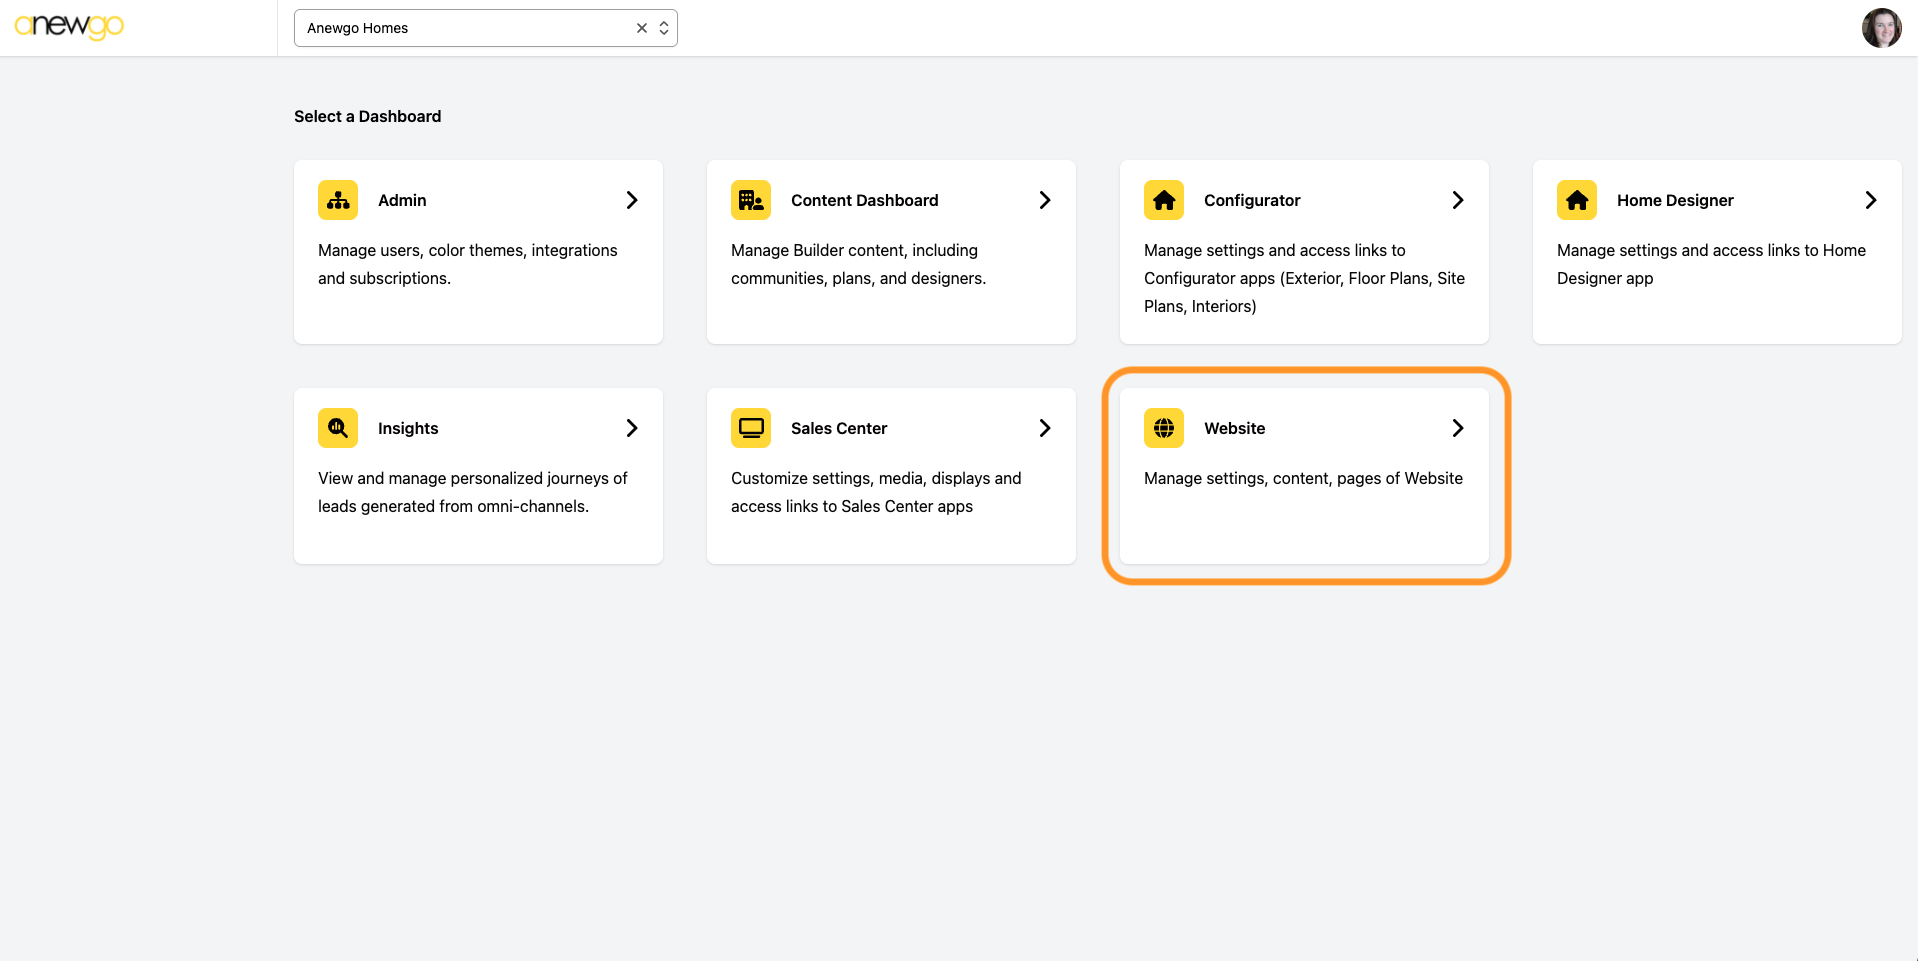
- Click the Website card
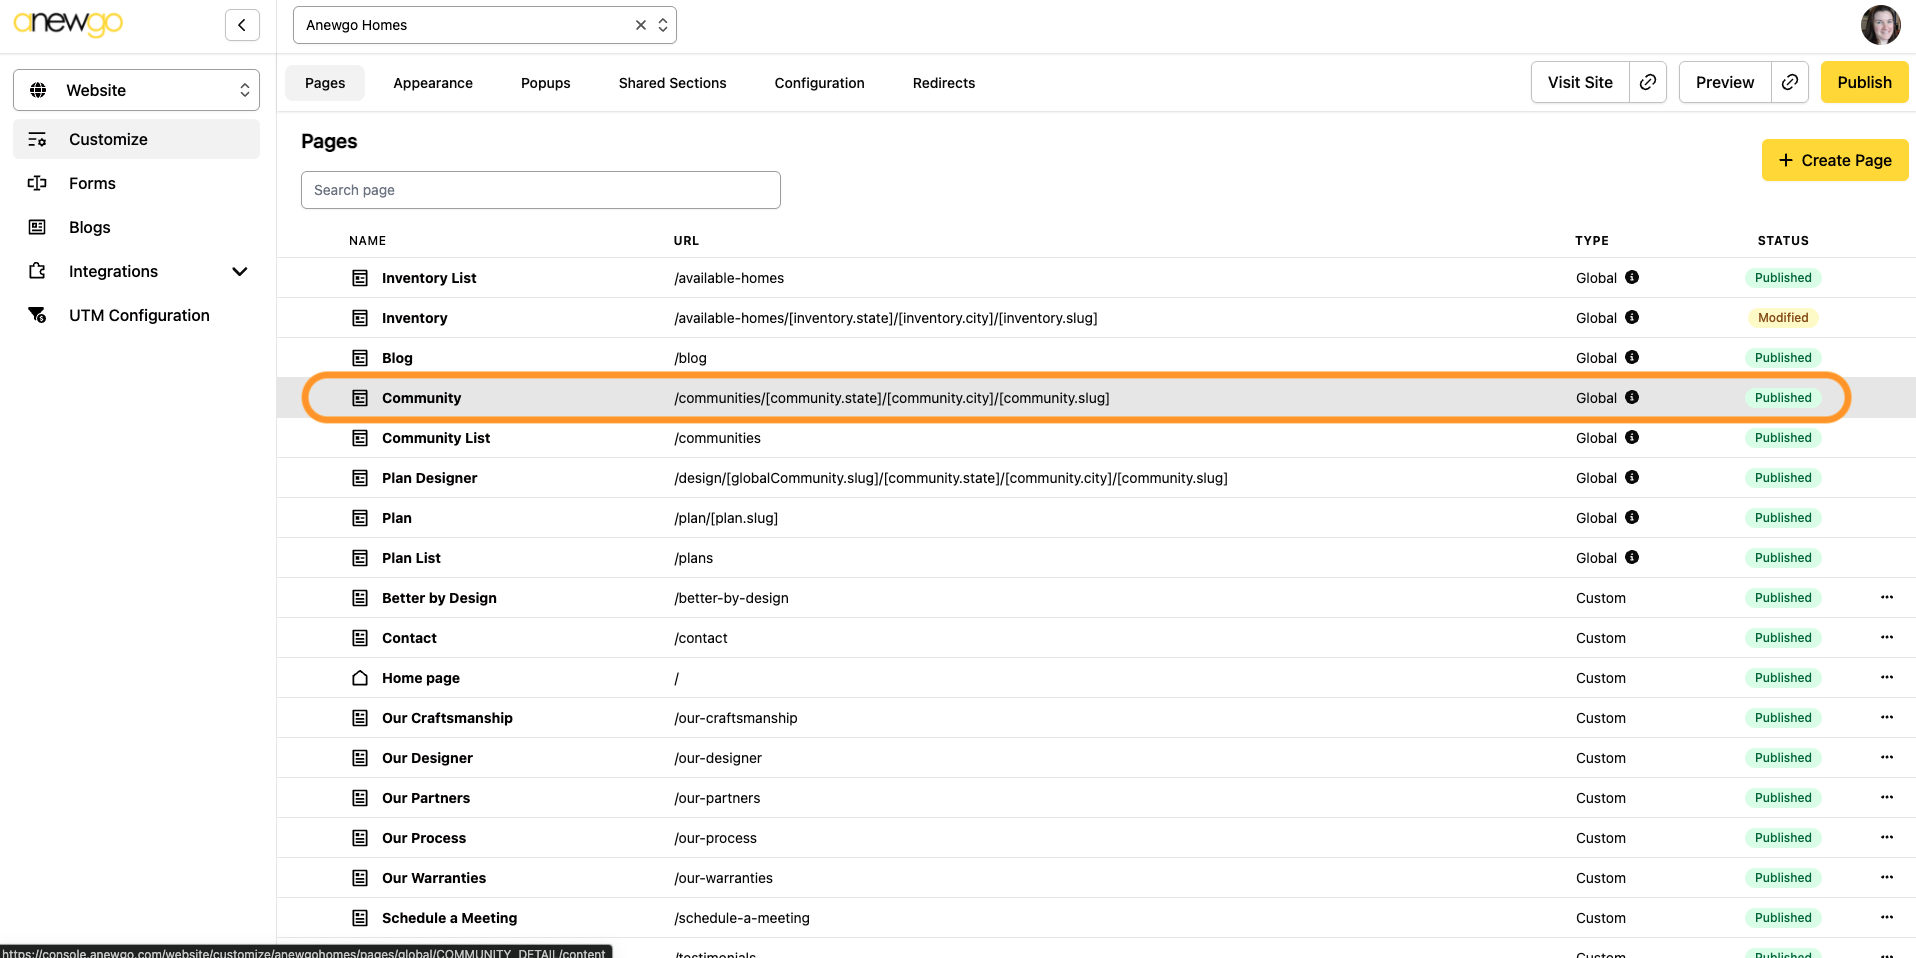
2. Click the Community global page
3. Click Edit
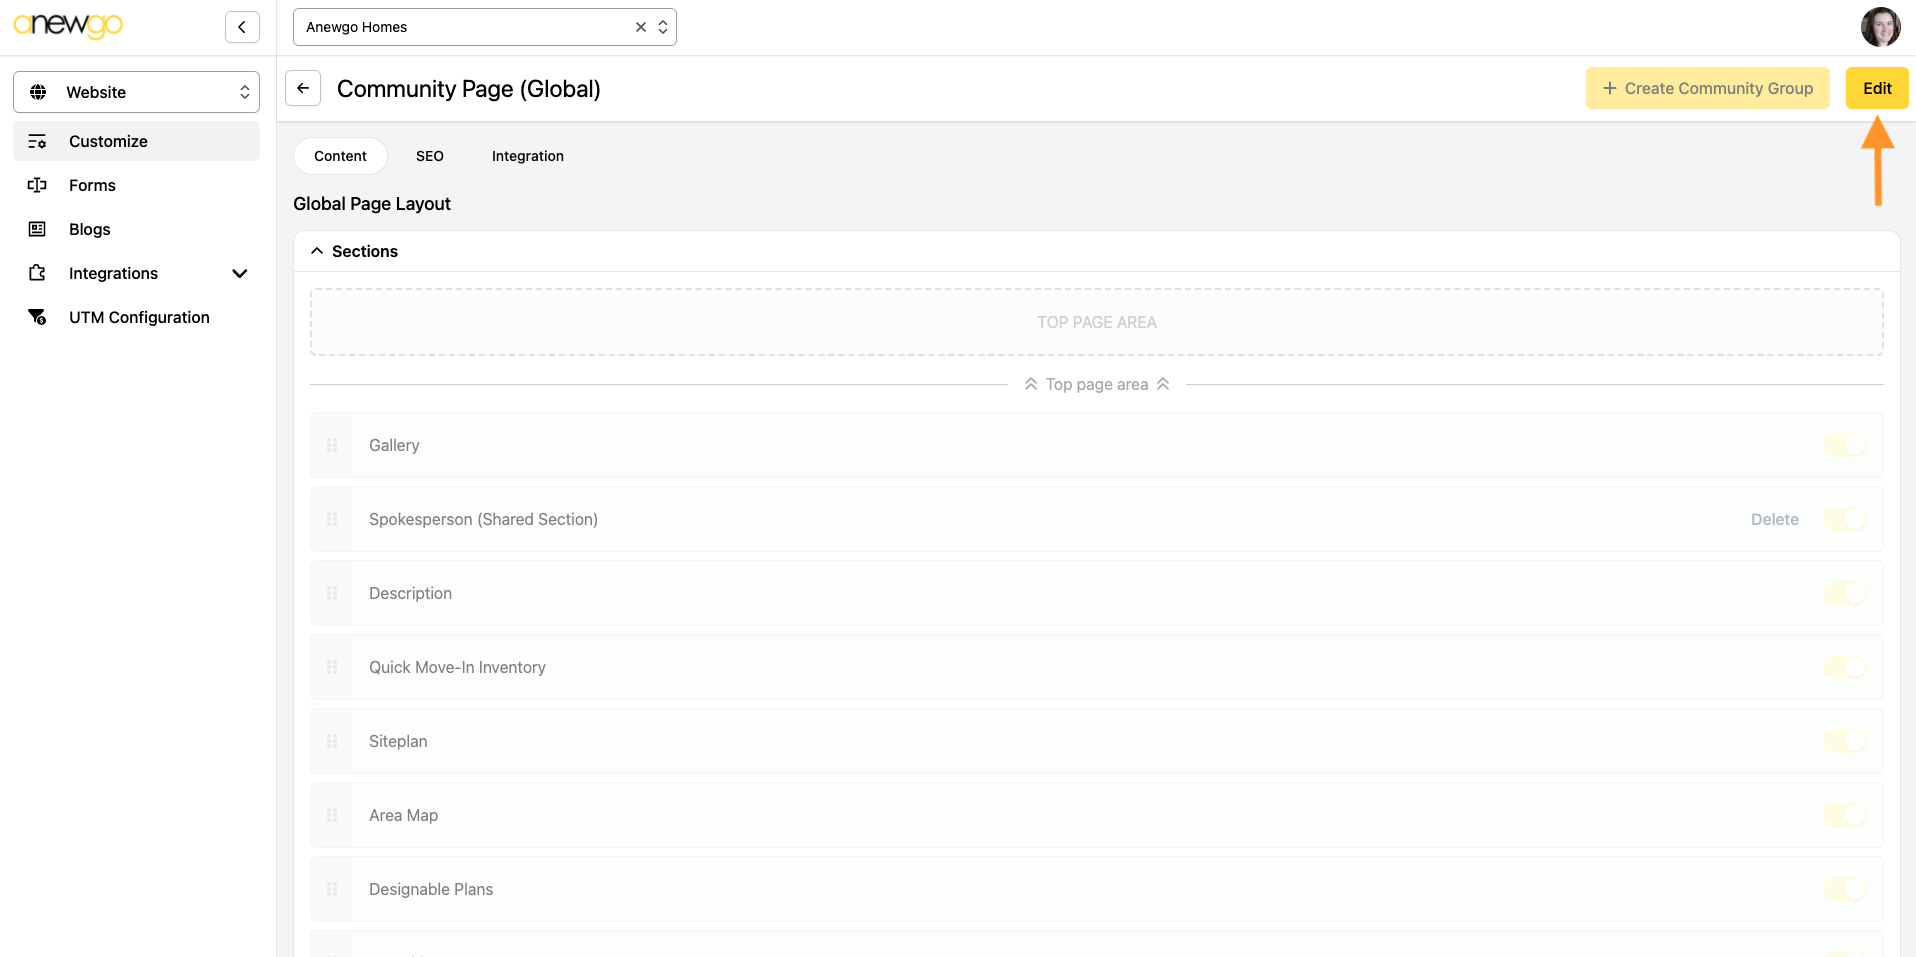
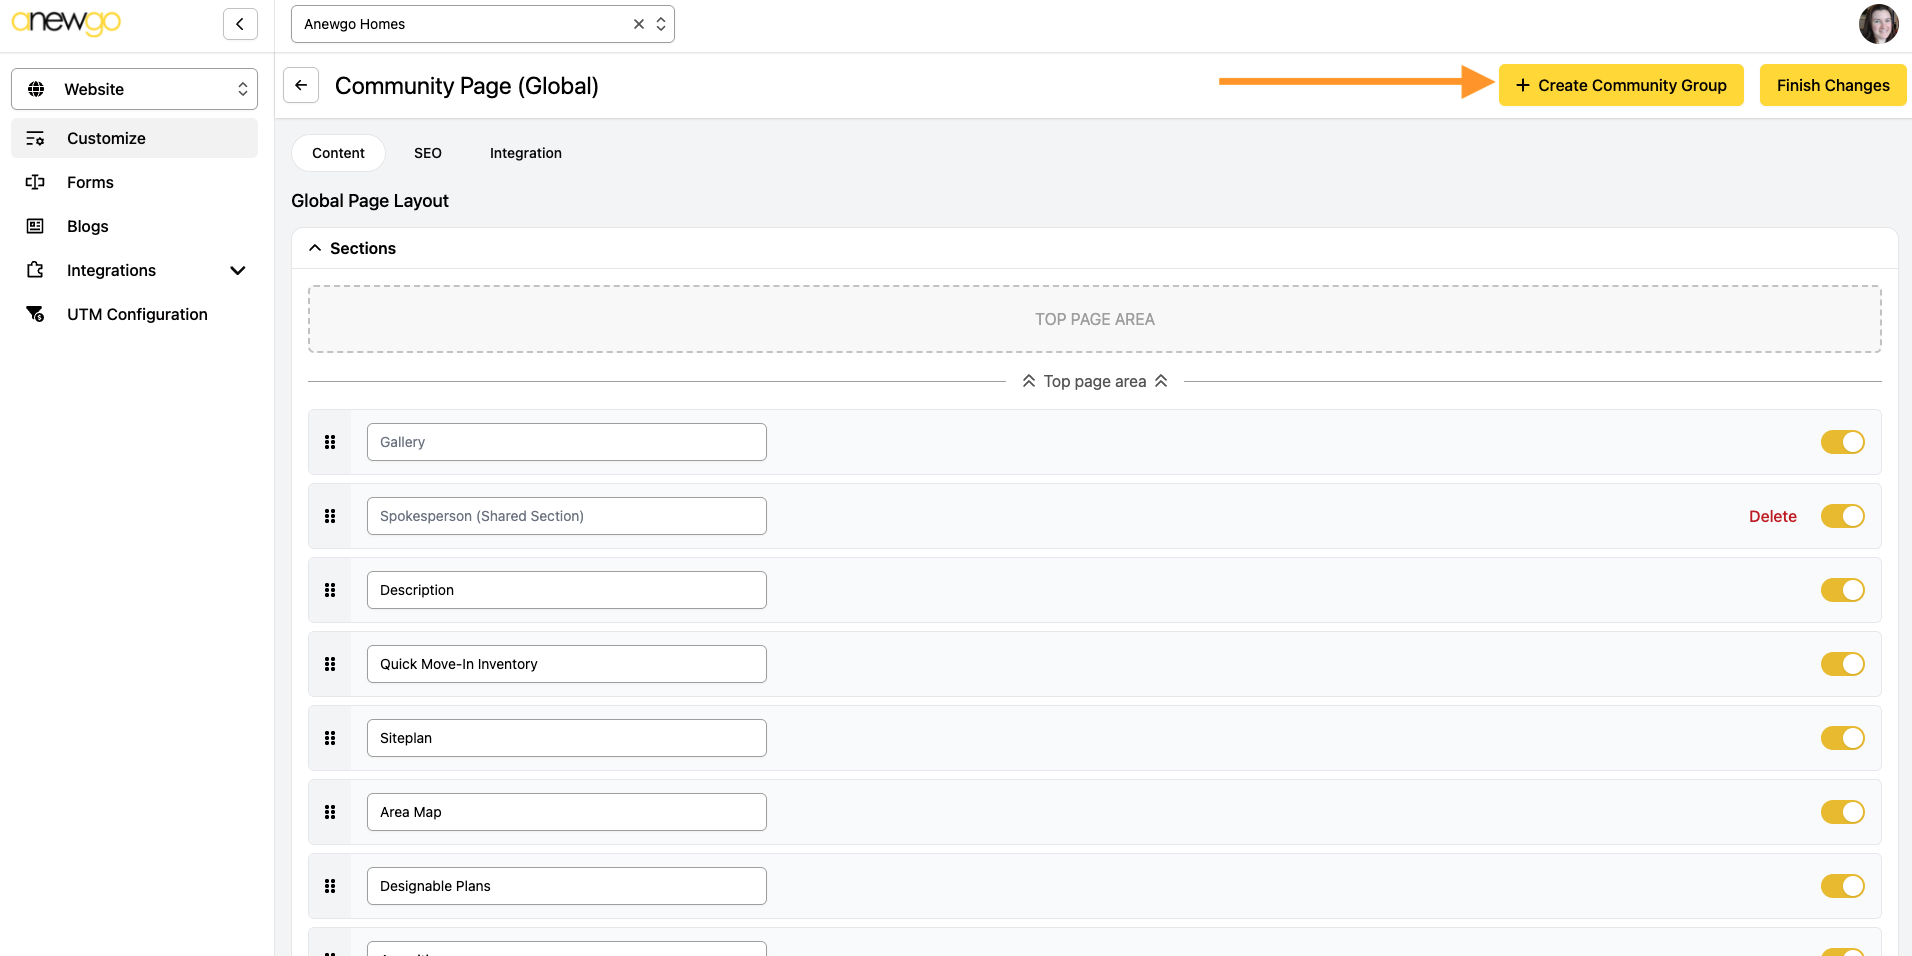
4. Click + Create Community Group
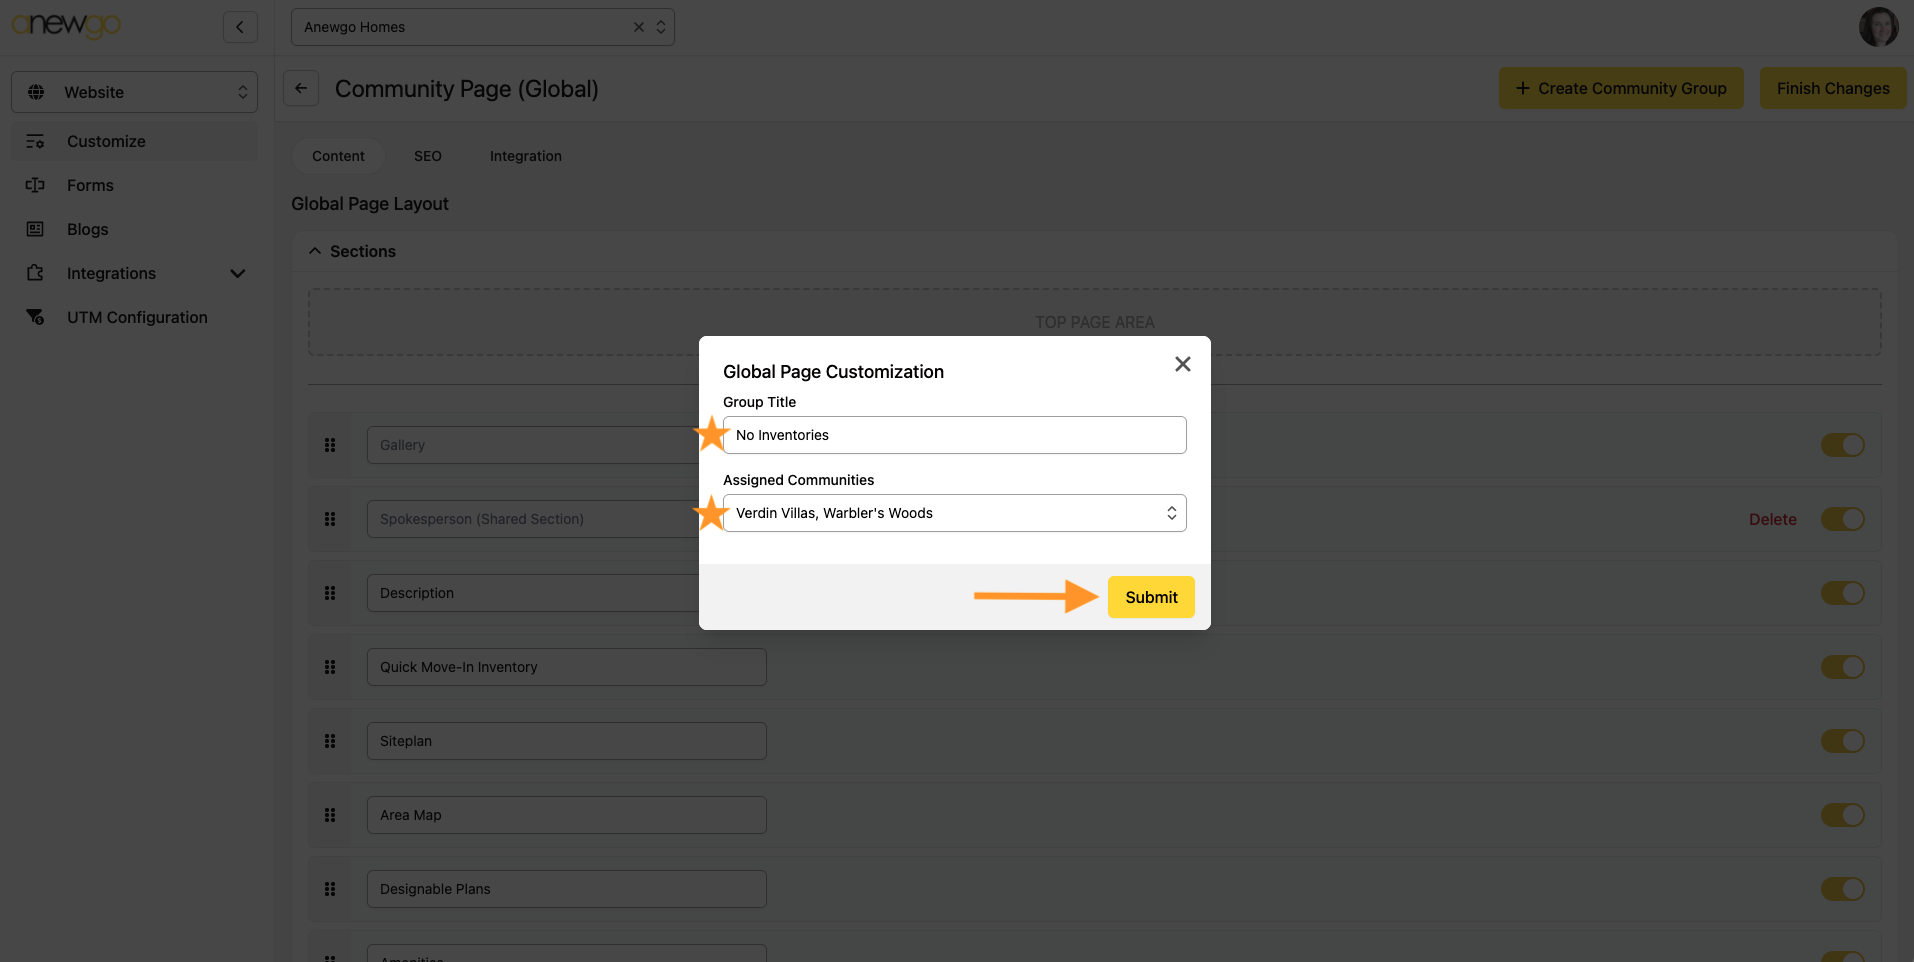
5. Enter the Group Title & select the communities you want to have customizations for, then click Submit when done.
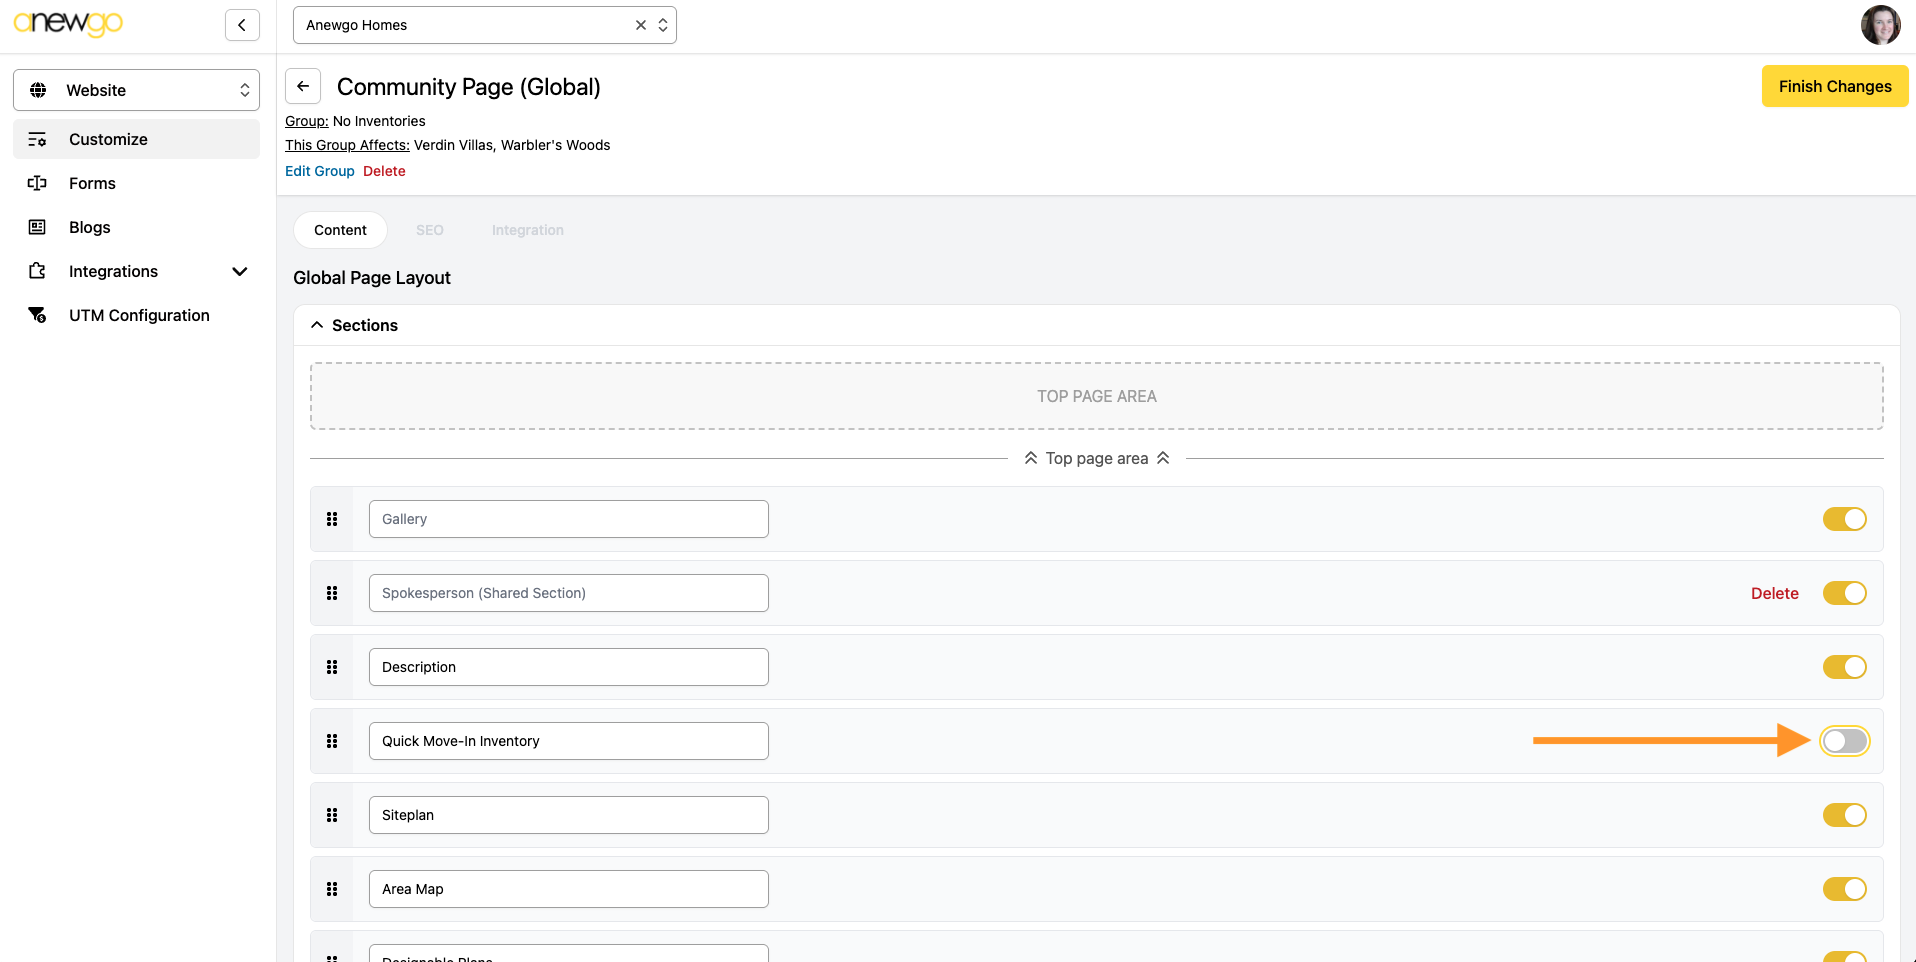
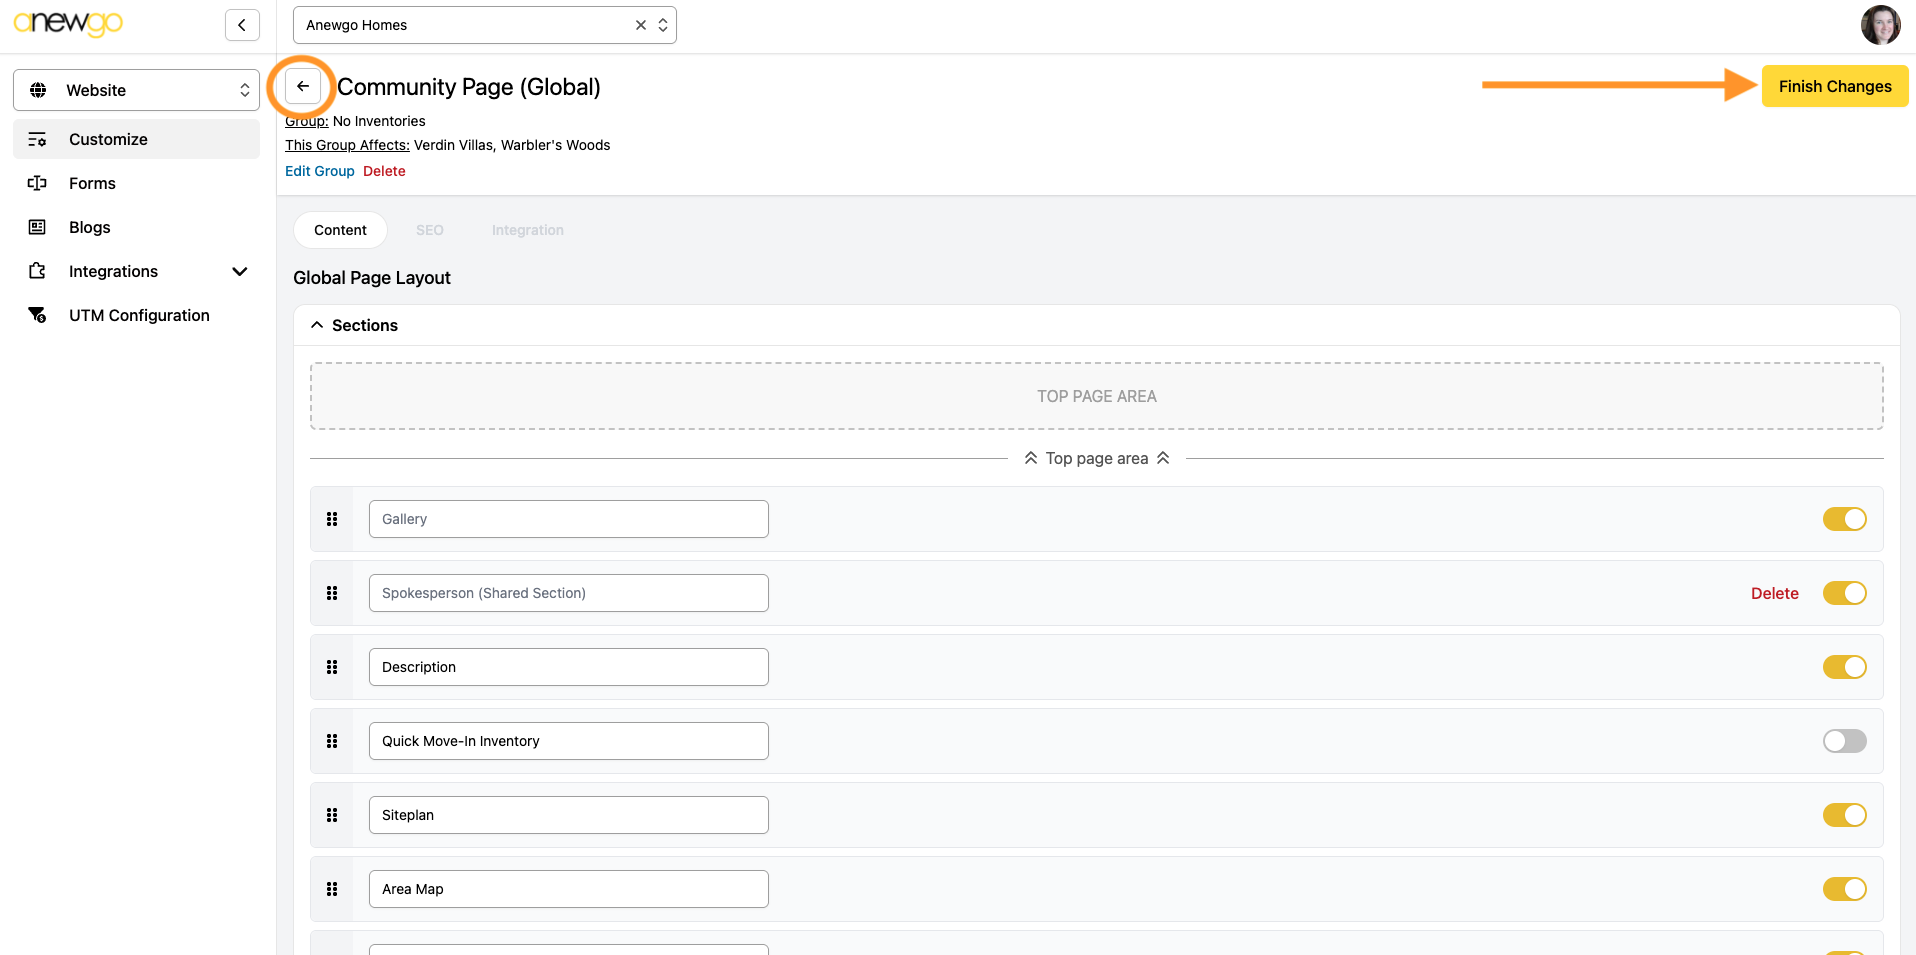
6. Then you can update the customizations you would like for this group of community pages. In this example, we turned off the Inventory homes section for these community pages. But you can also reorder sections or rename sections.
See Edit Global Pages for more information.
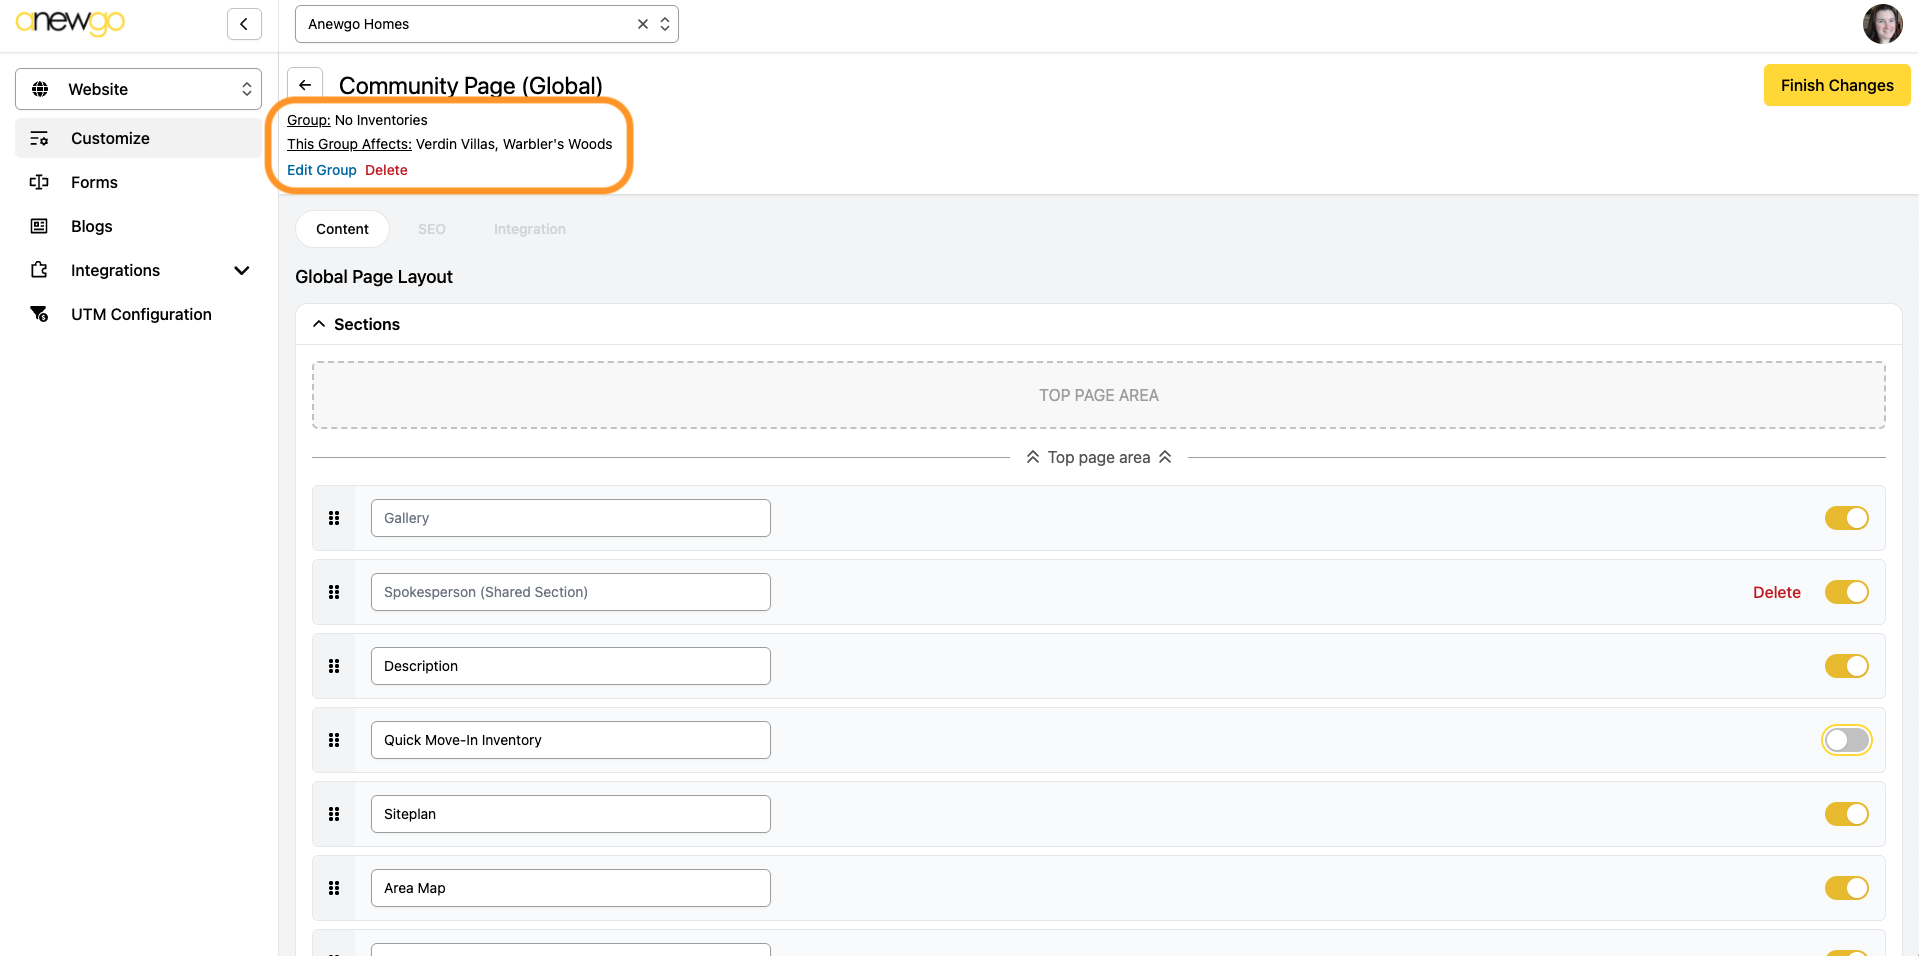
7. Note that you can edit this group or delete this group if needed
8. Click Finish Changes when done and navigate back to the main Customize area.
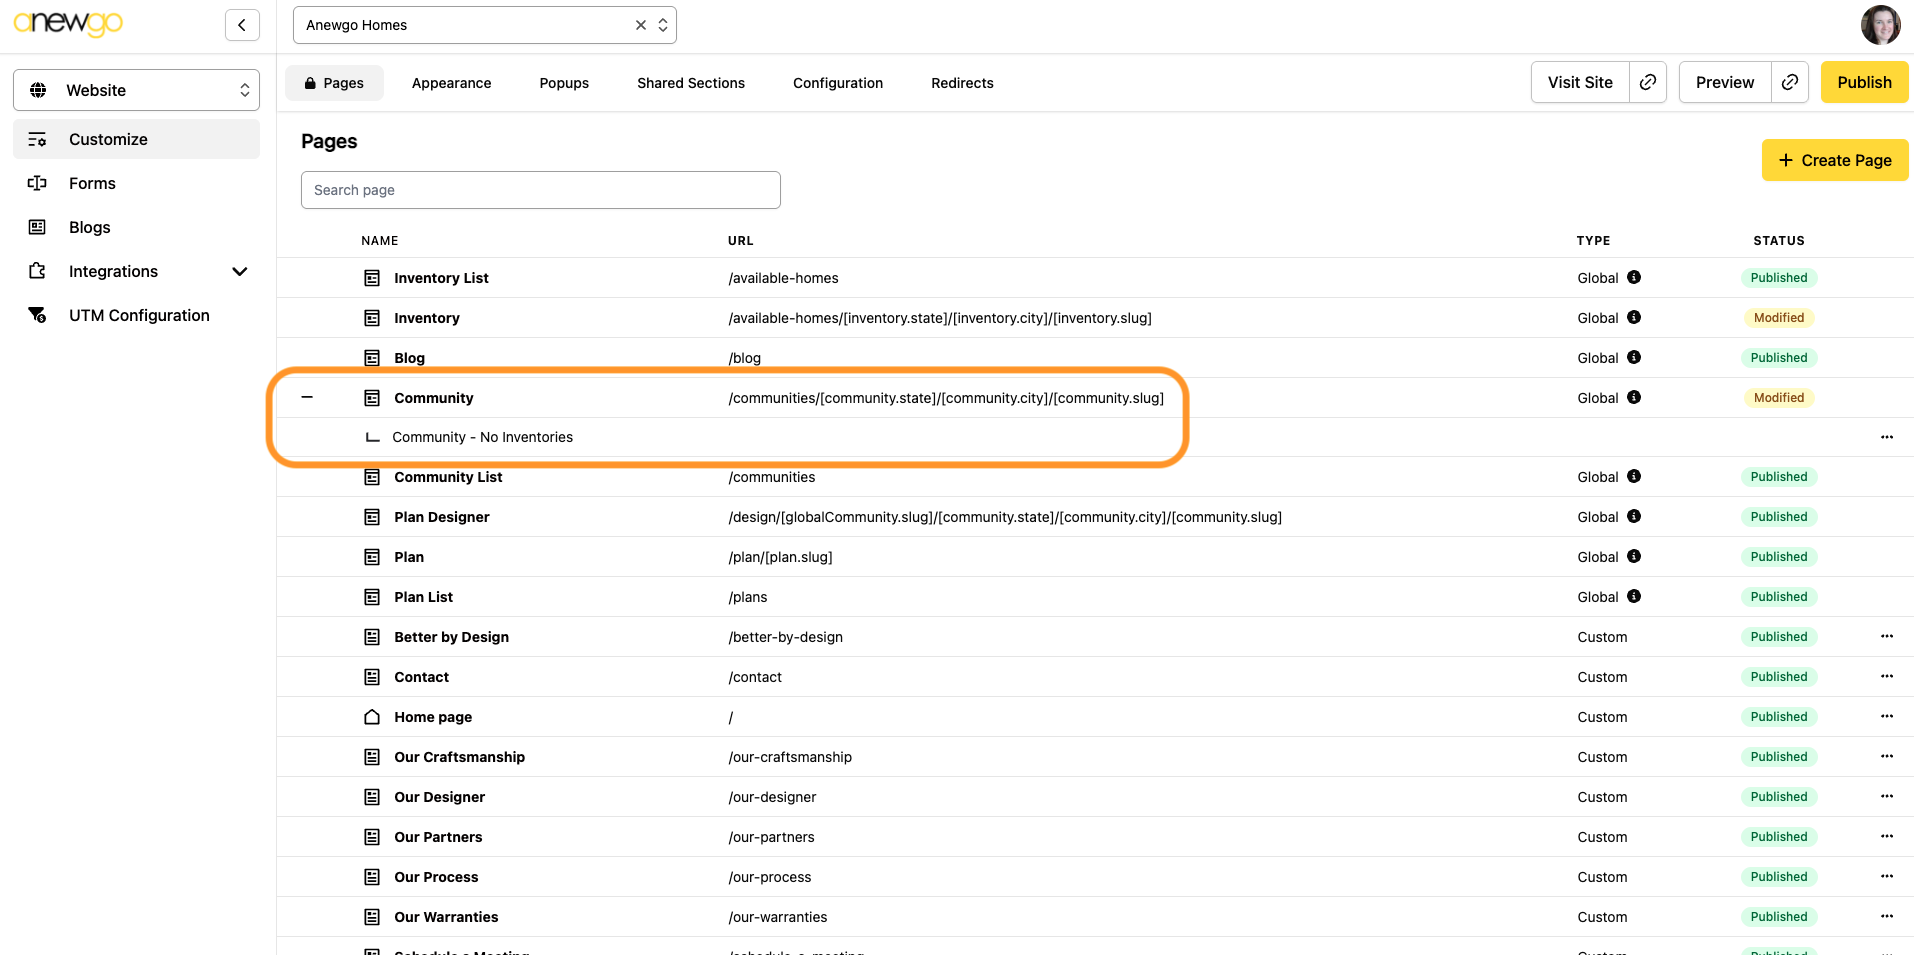
9. You can see your Community Group under the Community global page. Hit the + sign
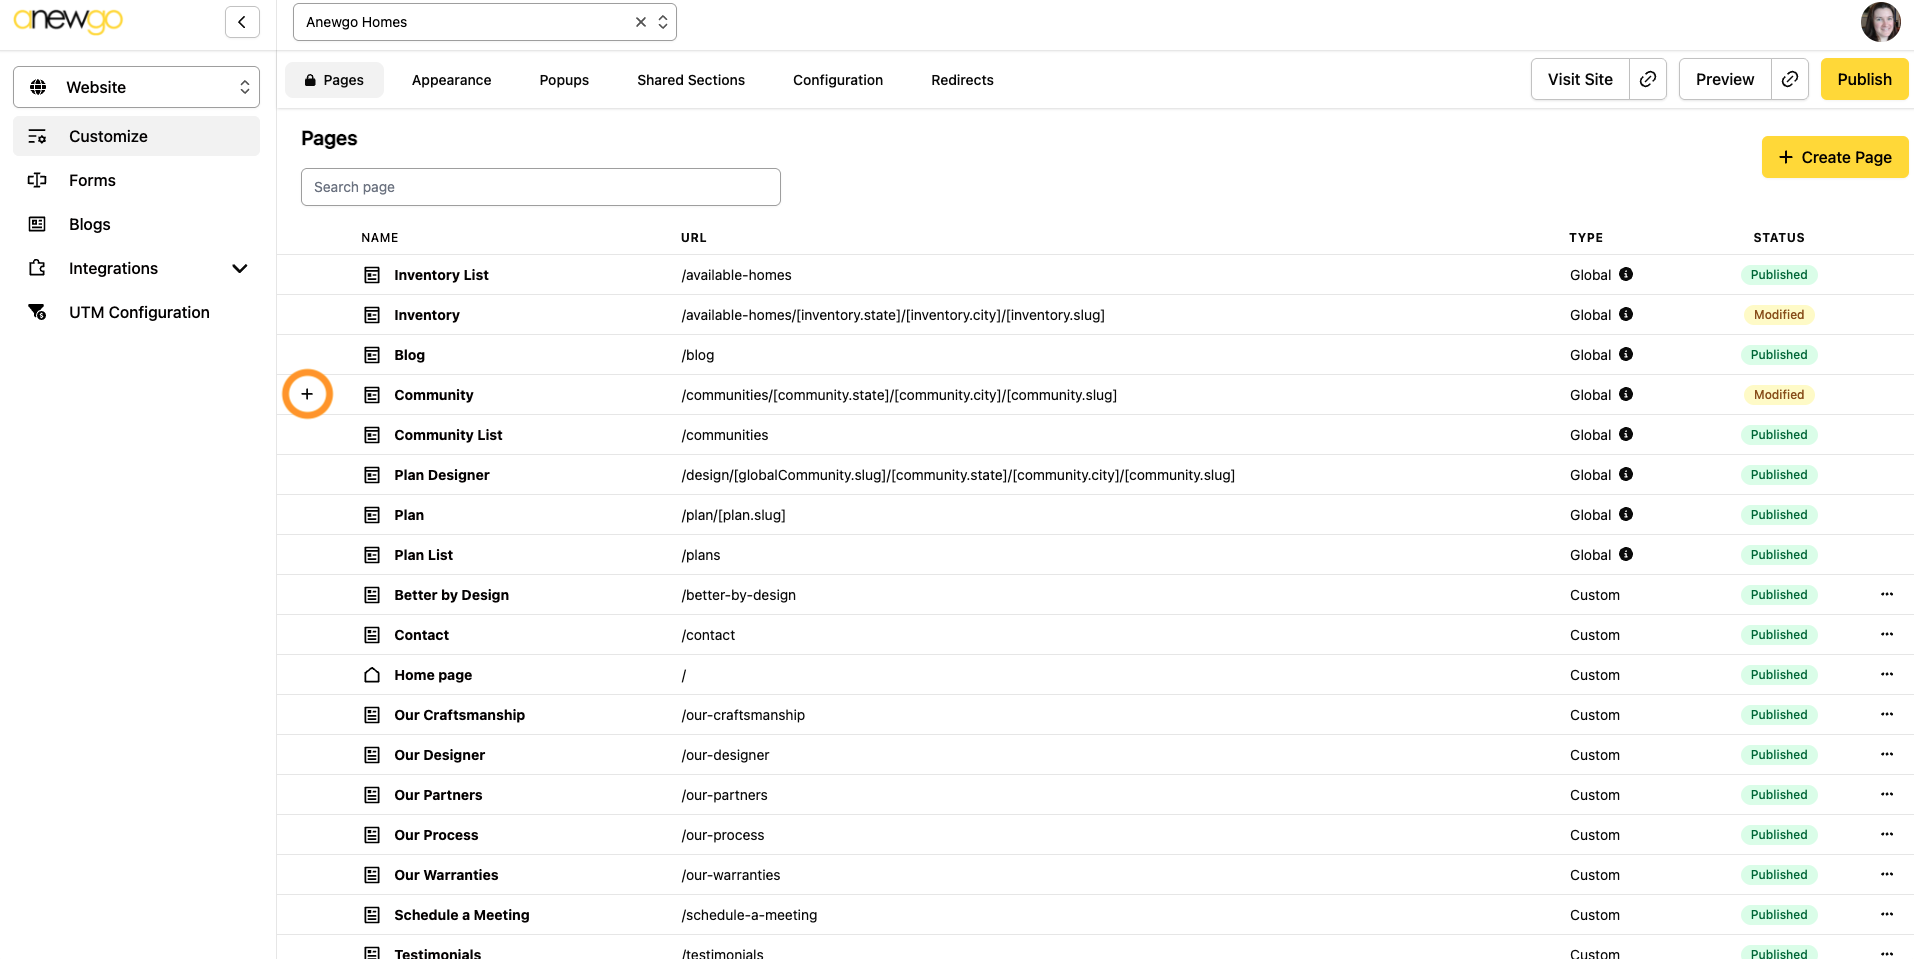
10. Click on the Community Group page if you need to make edits.