It can be helpful to have your color themes ready and media organized before editing your Sales Center App. However, you can access these areas within the Sales Center App editing if needed.
Manage Media: https://docs.dashboard.anewgo.com/2025/05/08/manage-media/
Color Themes: https://docs.dashboard.anewgo.com/2025/04/30/color-themes/
General: https://docs.dashboard.anewgo.com/2025/05/05/general/
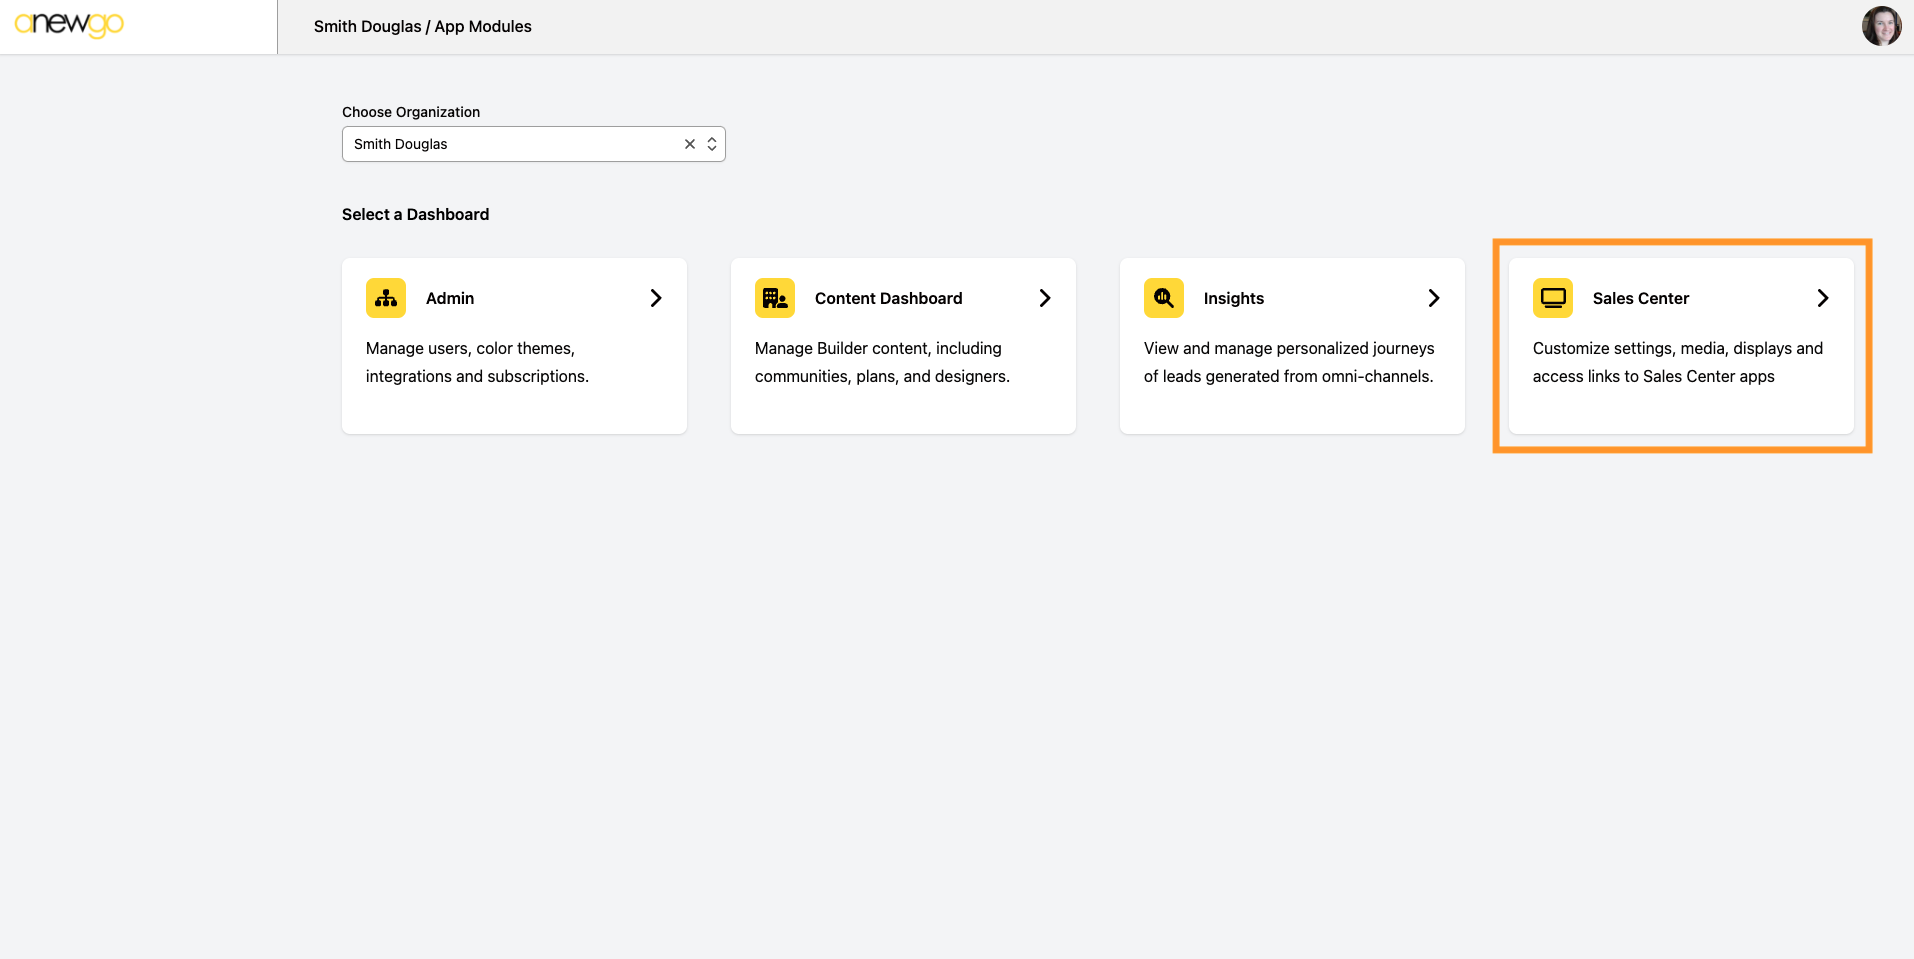
- Click Sales Center card from main menu
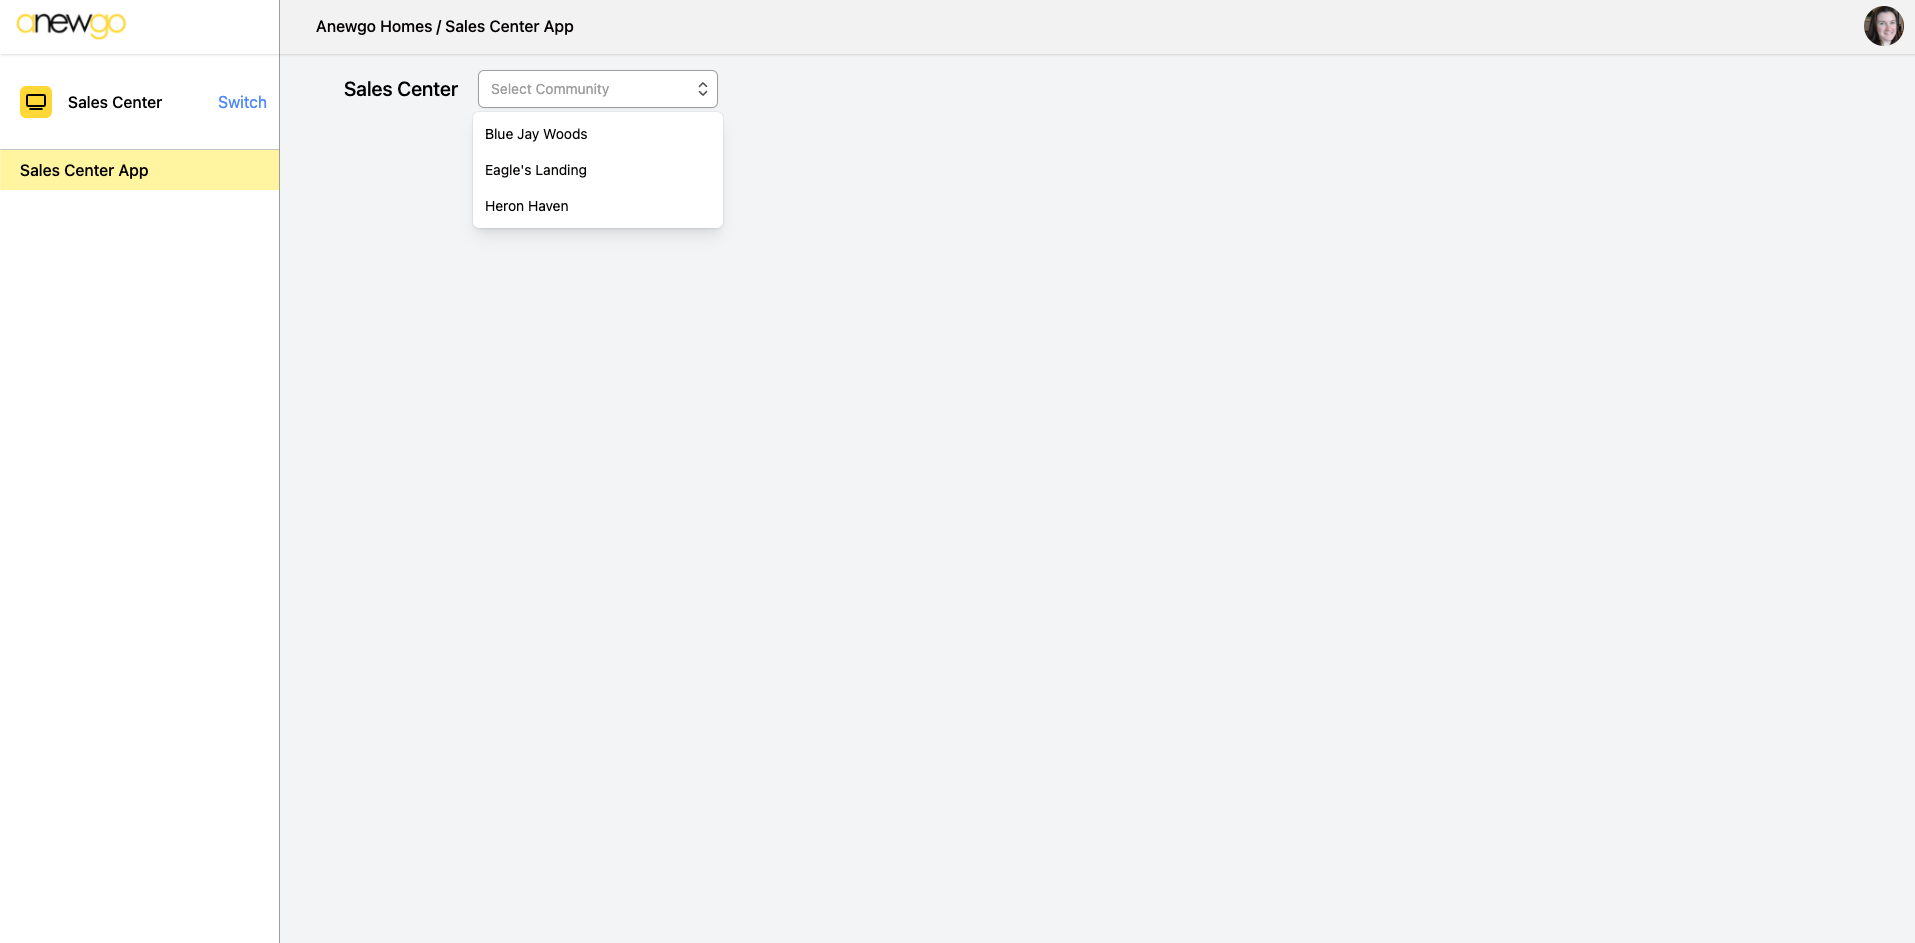
2. Select the community from the dropdown
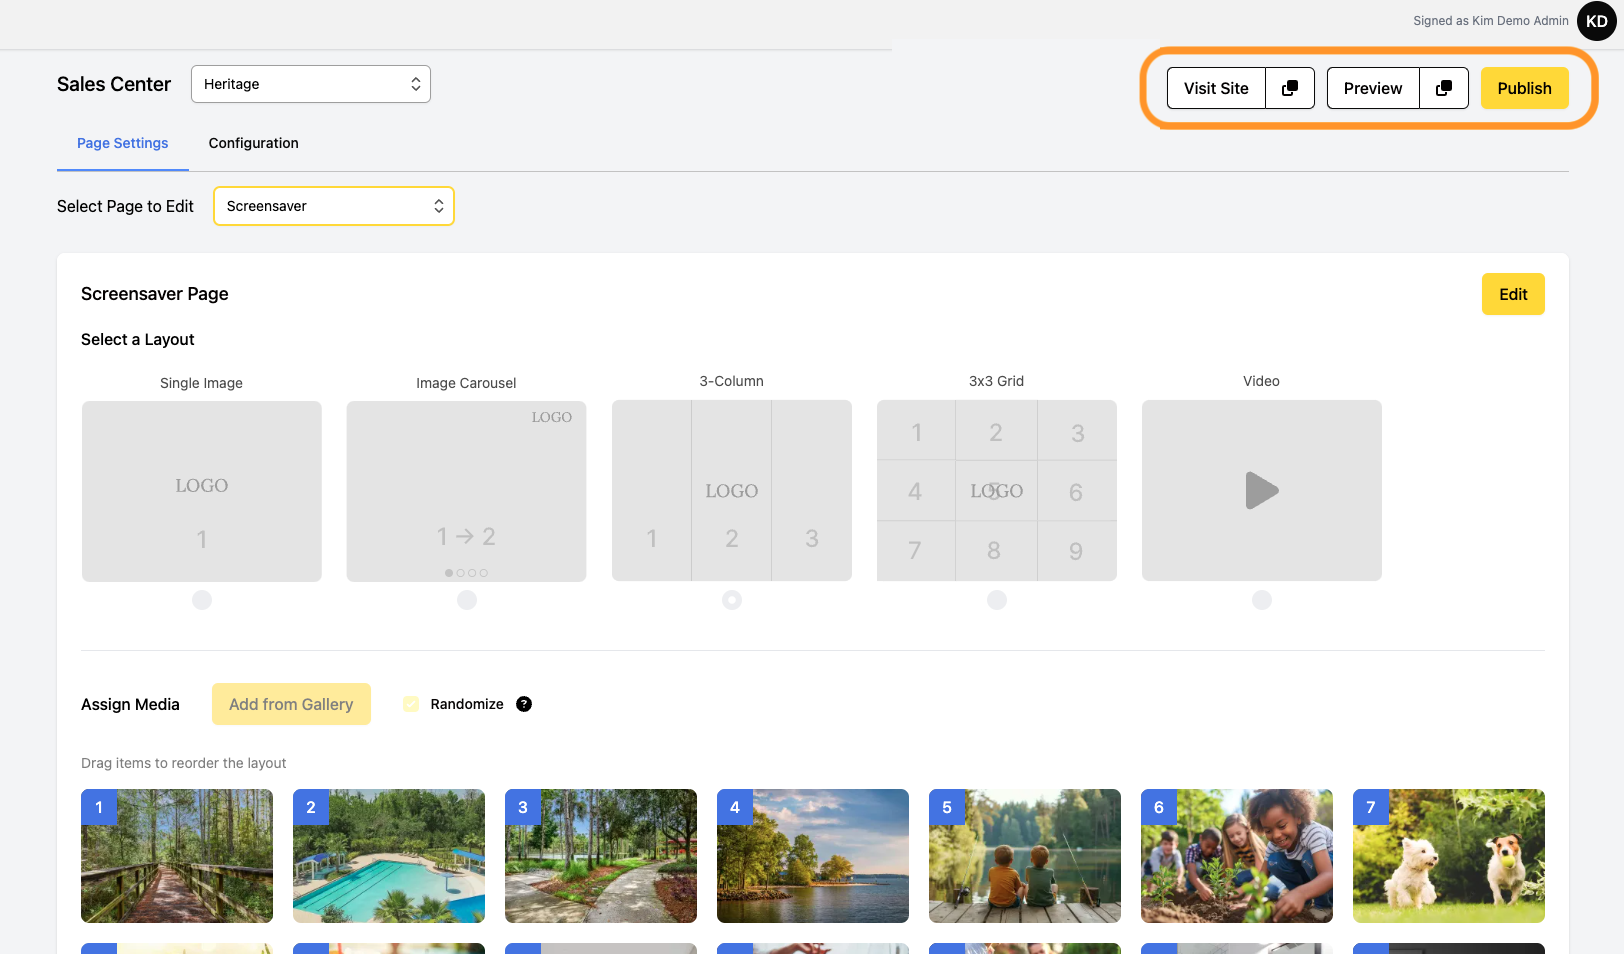
3. This is where you can start editing the content for your Sales Center App. The buttons in the upper right hand corner…
- Visit Site = link to the front end of your Sales Center App (the button next to it will copy the link to your clipboard)
- Preview = preview link of the front end of your Sales Center App (the button next to it will copy the link to your clipboard)
- Publish = make any of your recent updates live on the front end

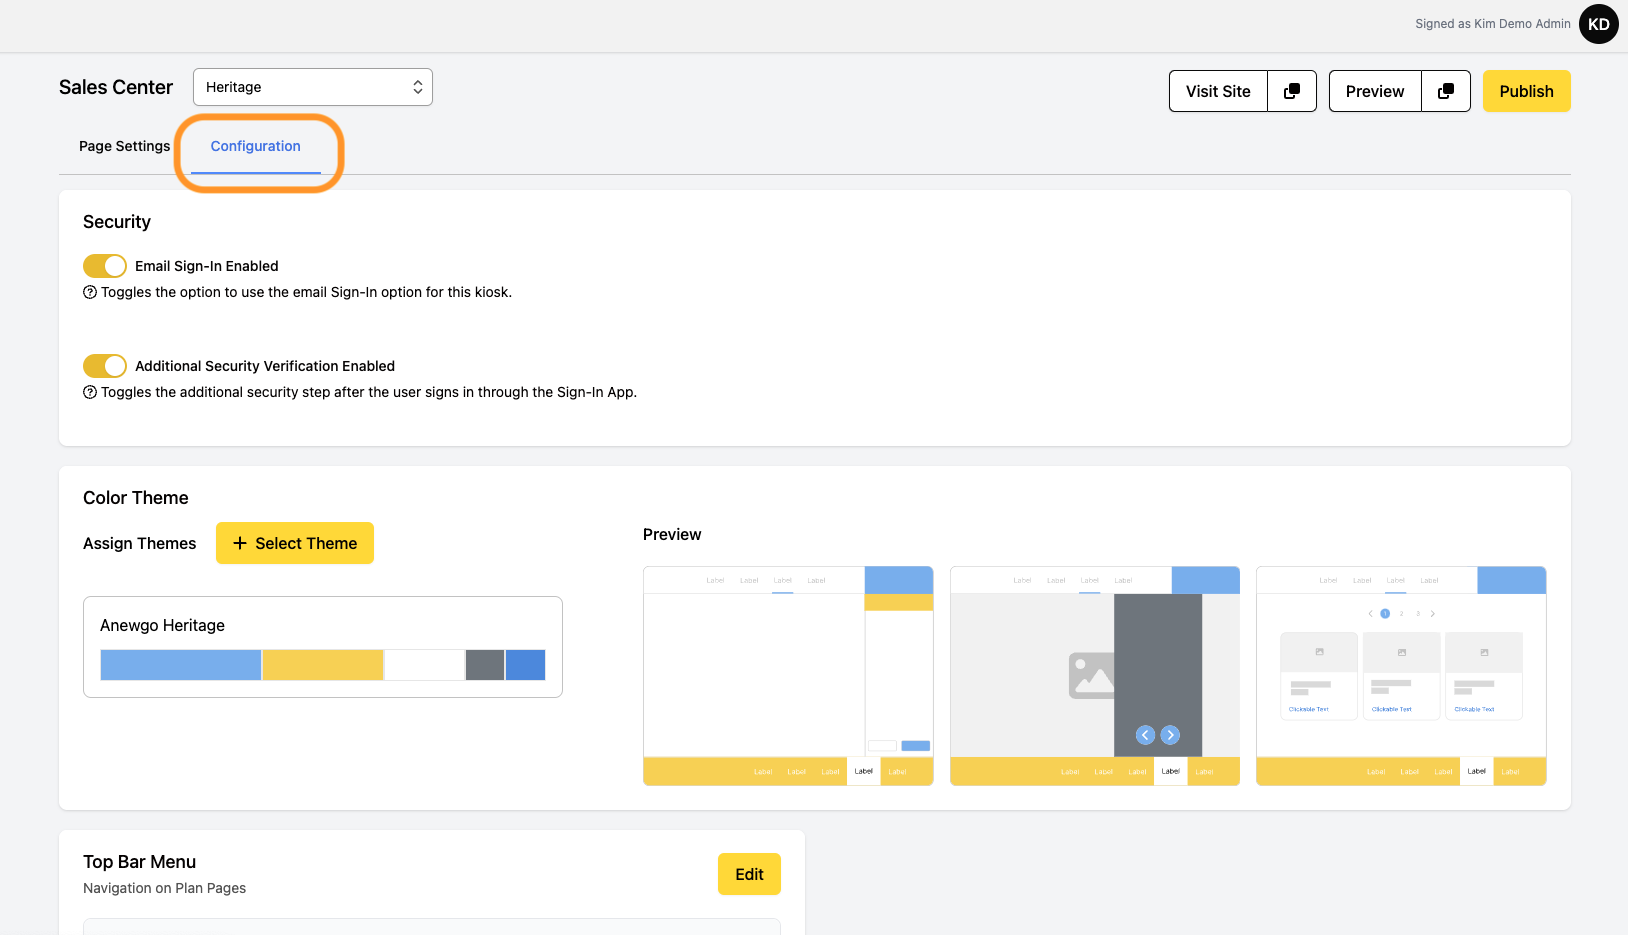
4. Click Configuration – here you can select certain specifications for this community’s Sales Center App…
- Email Sign-In Enabled
- Additional Security Verification Enabled
- Color Theme – click Select Theme to choose one
- Top Bar Menu
5. Scroll down to see the Top Bar Menu section. Click Edit to adjust.
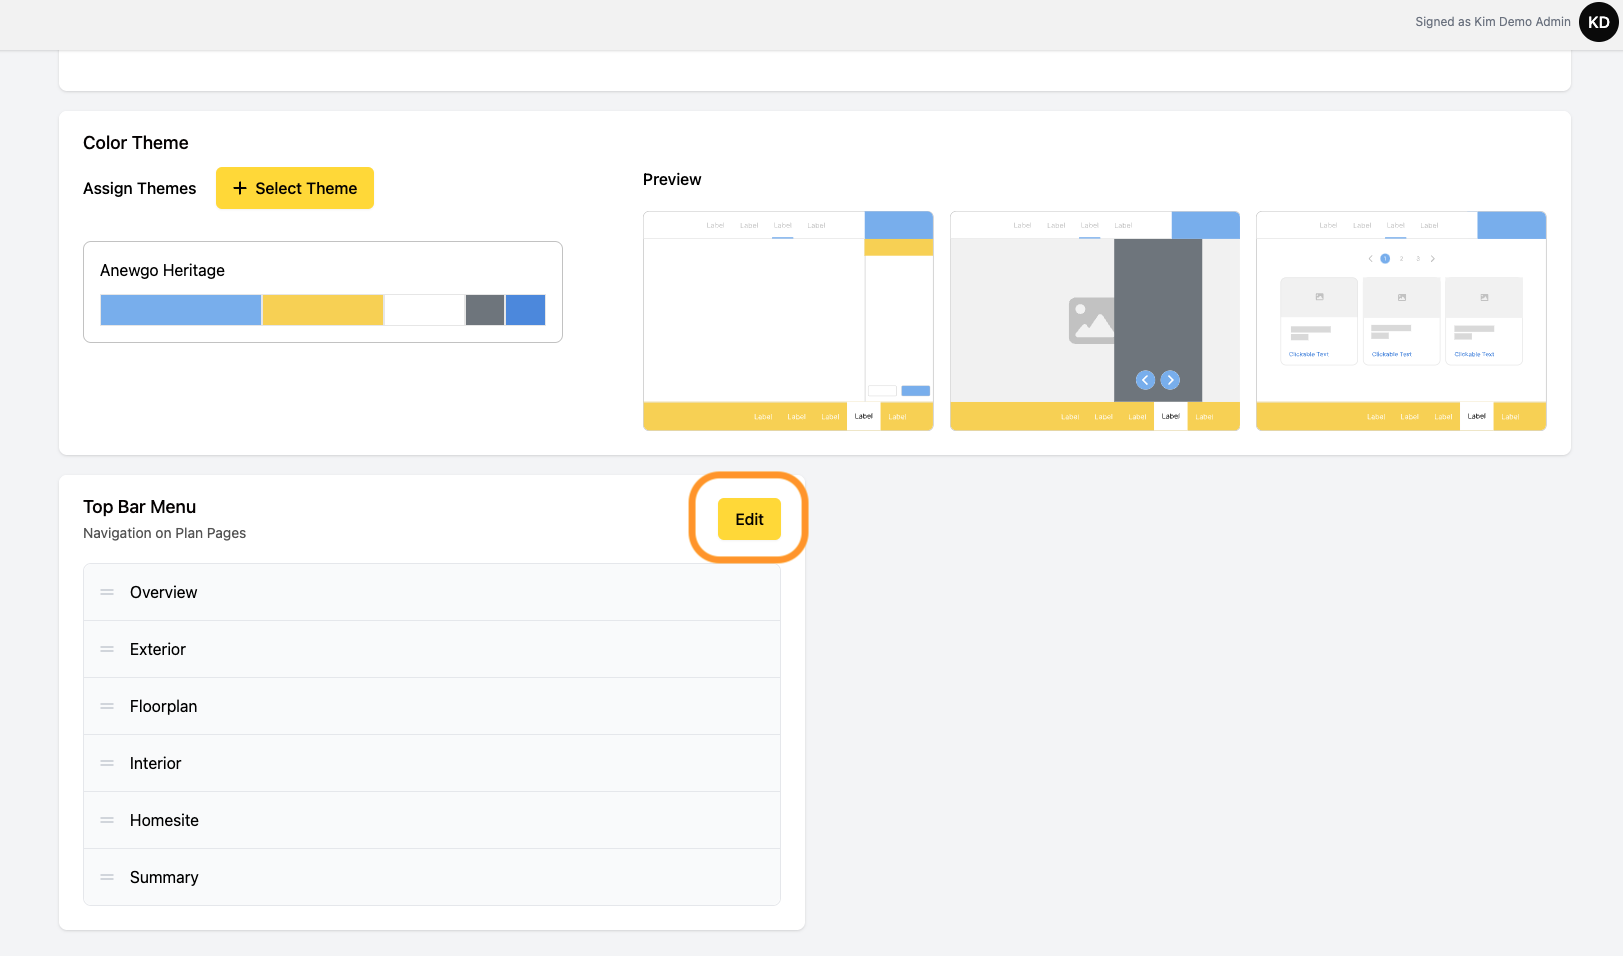
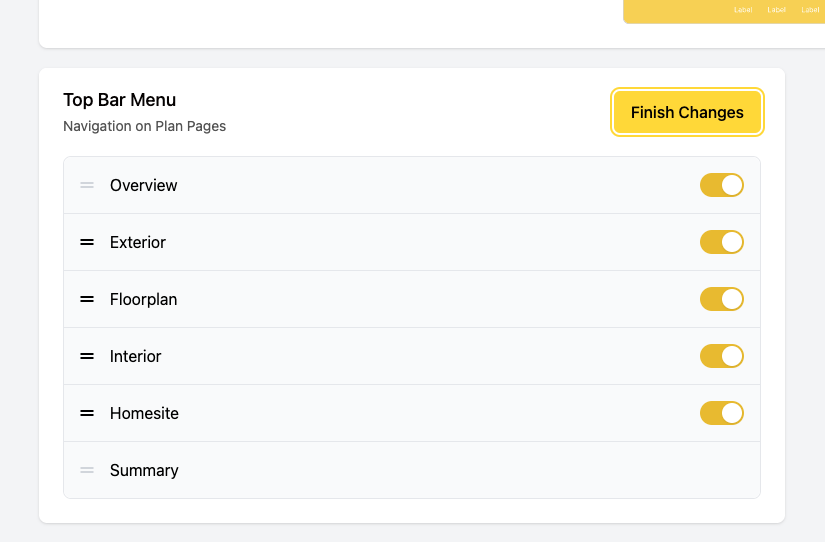
6. You can turn off sections you do not wish to display or rearrange the order of display by dragging and dropping (except for Overview & Summary – those two positions are locked). Click Finish Changes when you are done.
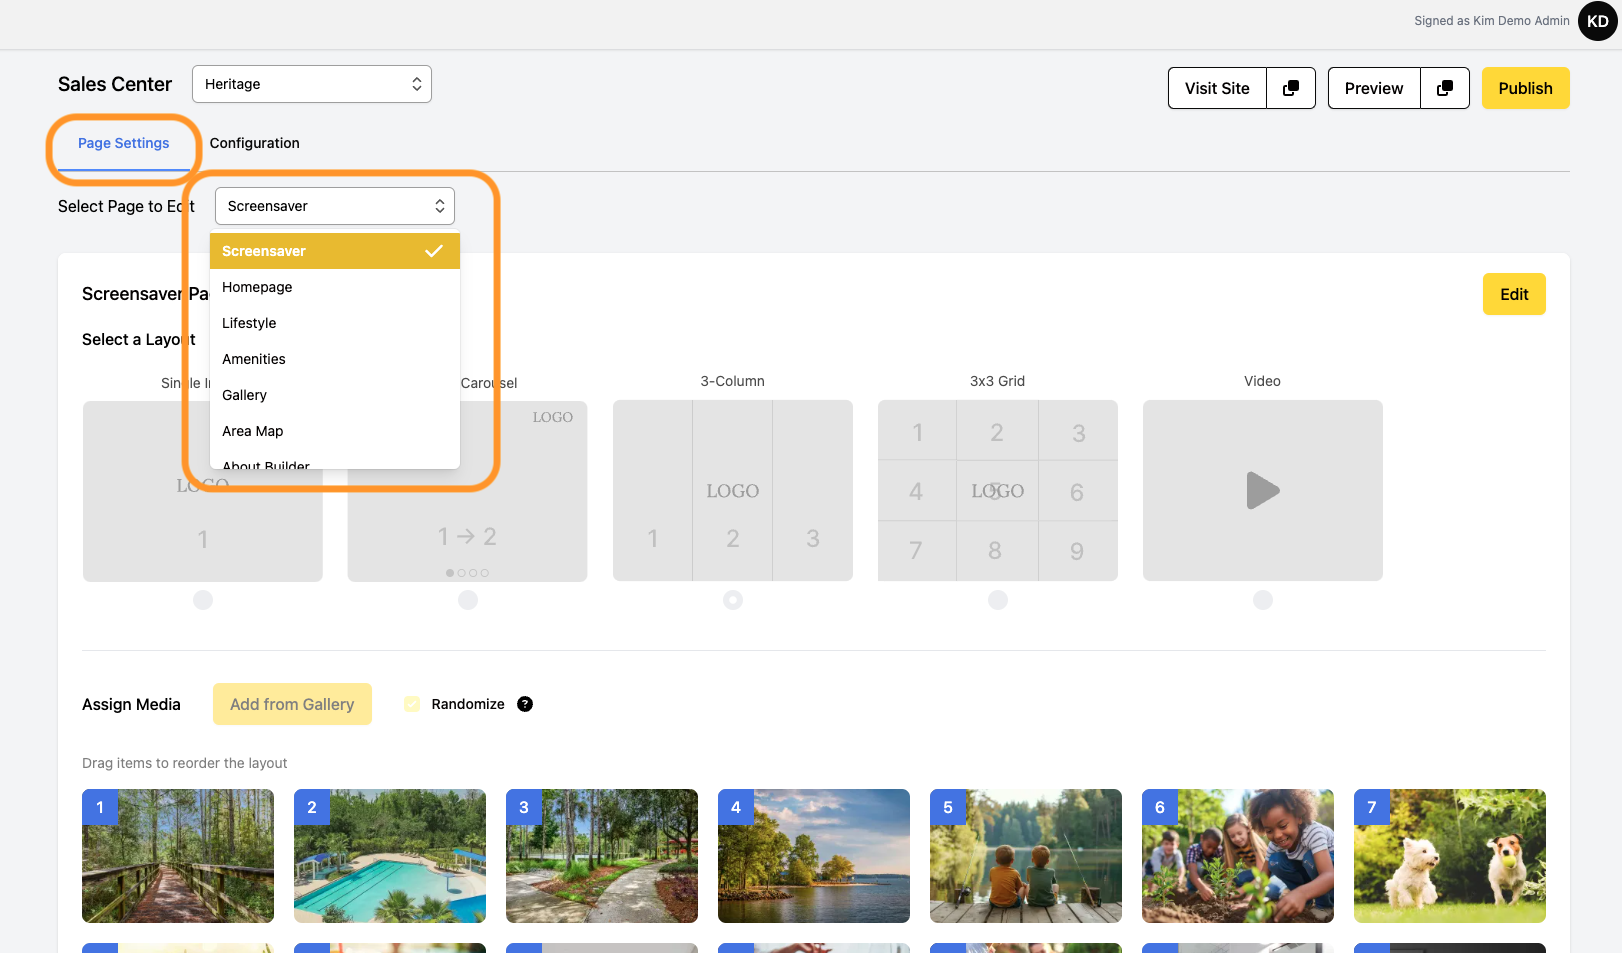
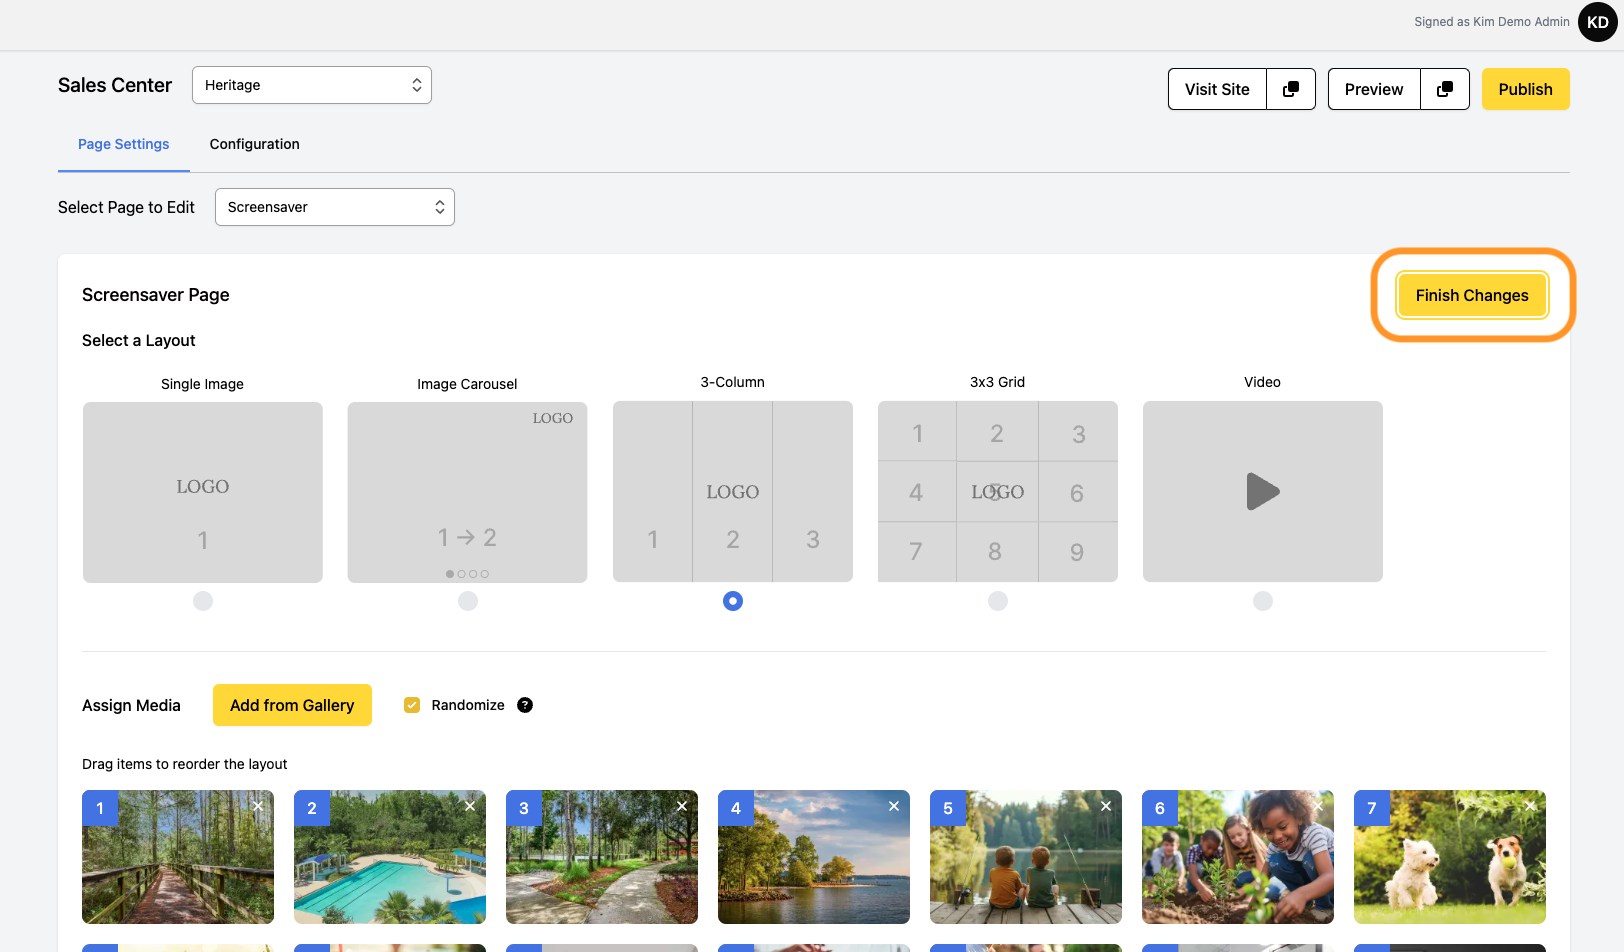
7. Back to Page Settings – you can use the “Select Page to Edit” dropdown to start editing each page in the Sales Center App.
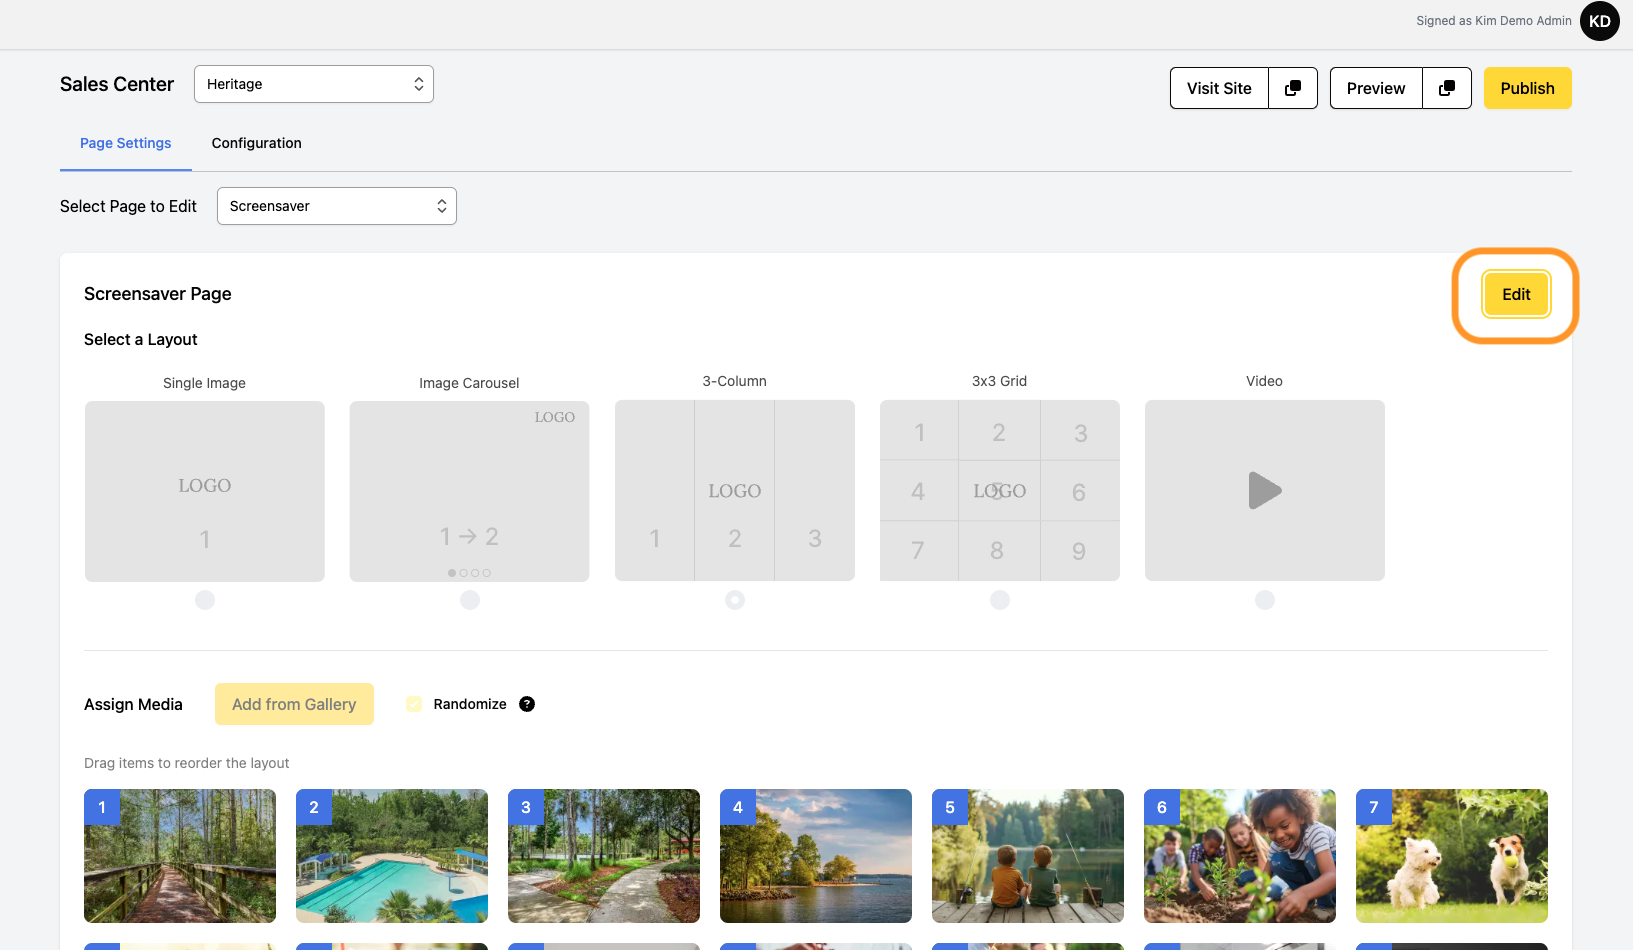
8. To start editing ANY of these pages that you select from the dropdown, click the Edit button.
9. Once you have made your adjustments, click Finish Changes to save everything. If you remain in edit mode, this will lock others users out from being able to edit those pages.
10. You can continue editing each page from the dropdown menu. Use the buttons in the top right to preview, publish and/or visit the front end of the Sales Center App.