
To create Presets for your interiors, be sure all of the Elements needed have been added to your app. If you need Elements added or adjusted, please contact jeremy@anewgo.com
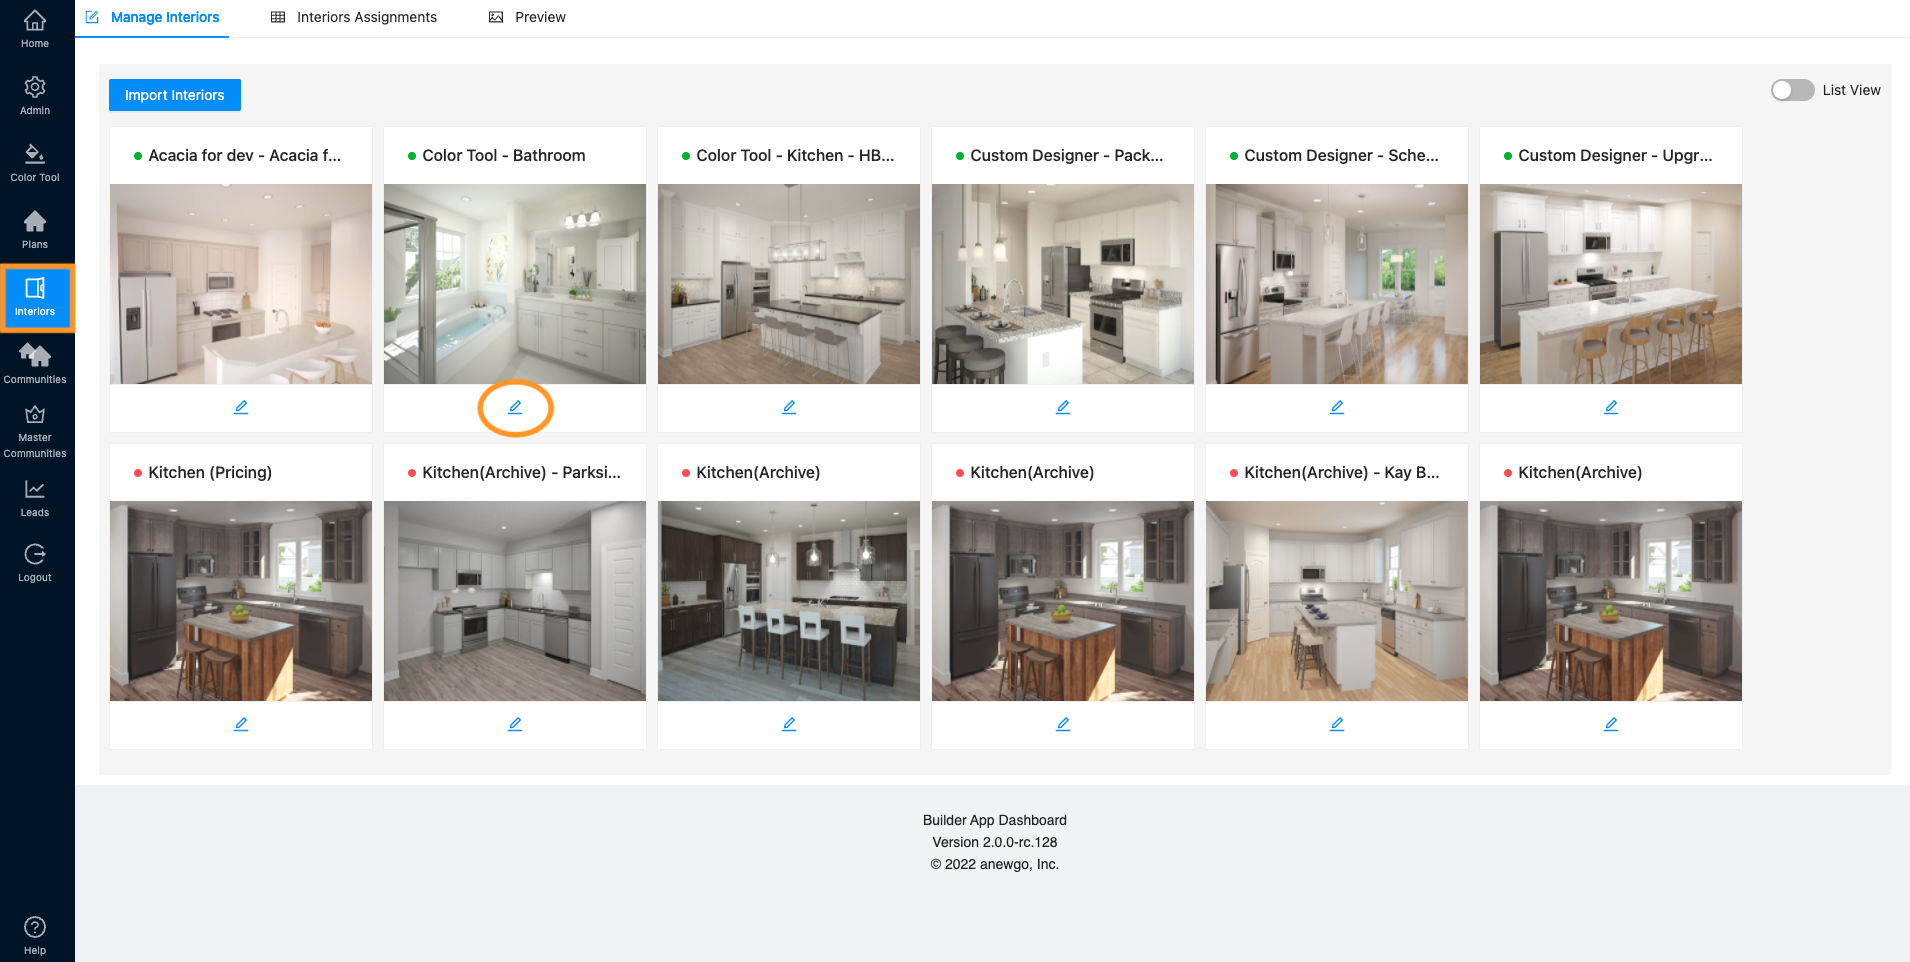
- Navigate to Interiors and select the Pencil icon (edit) for the interior you would like to create Presets for.
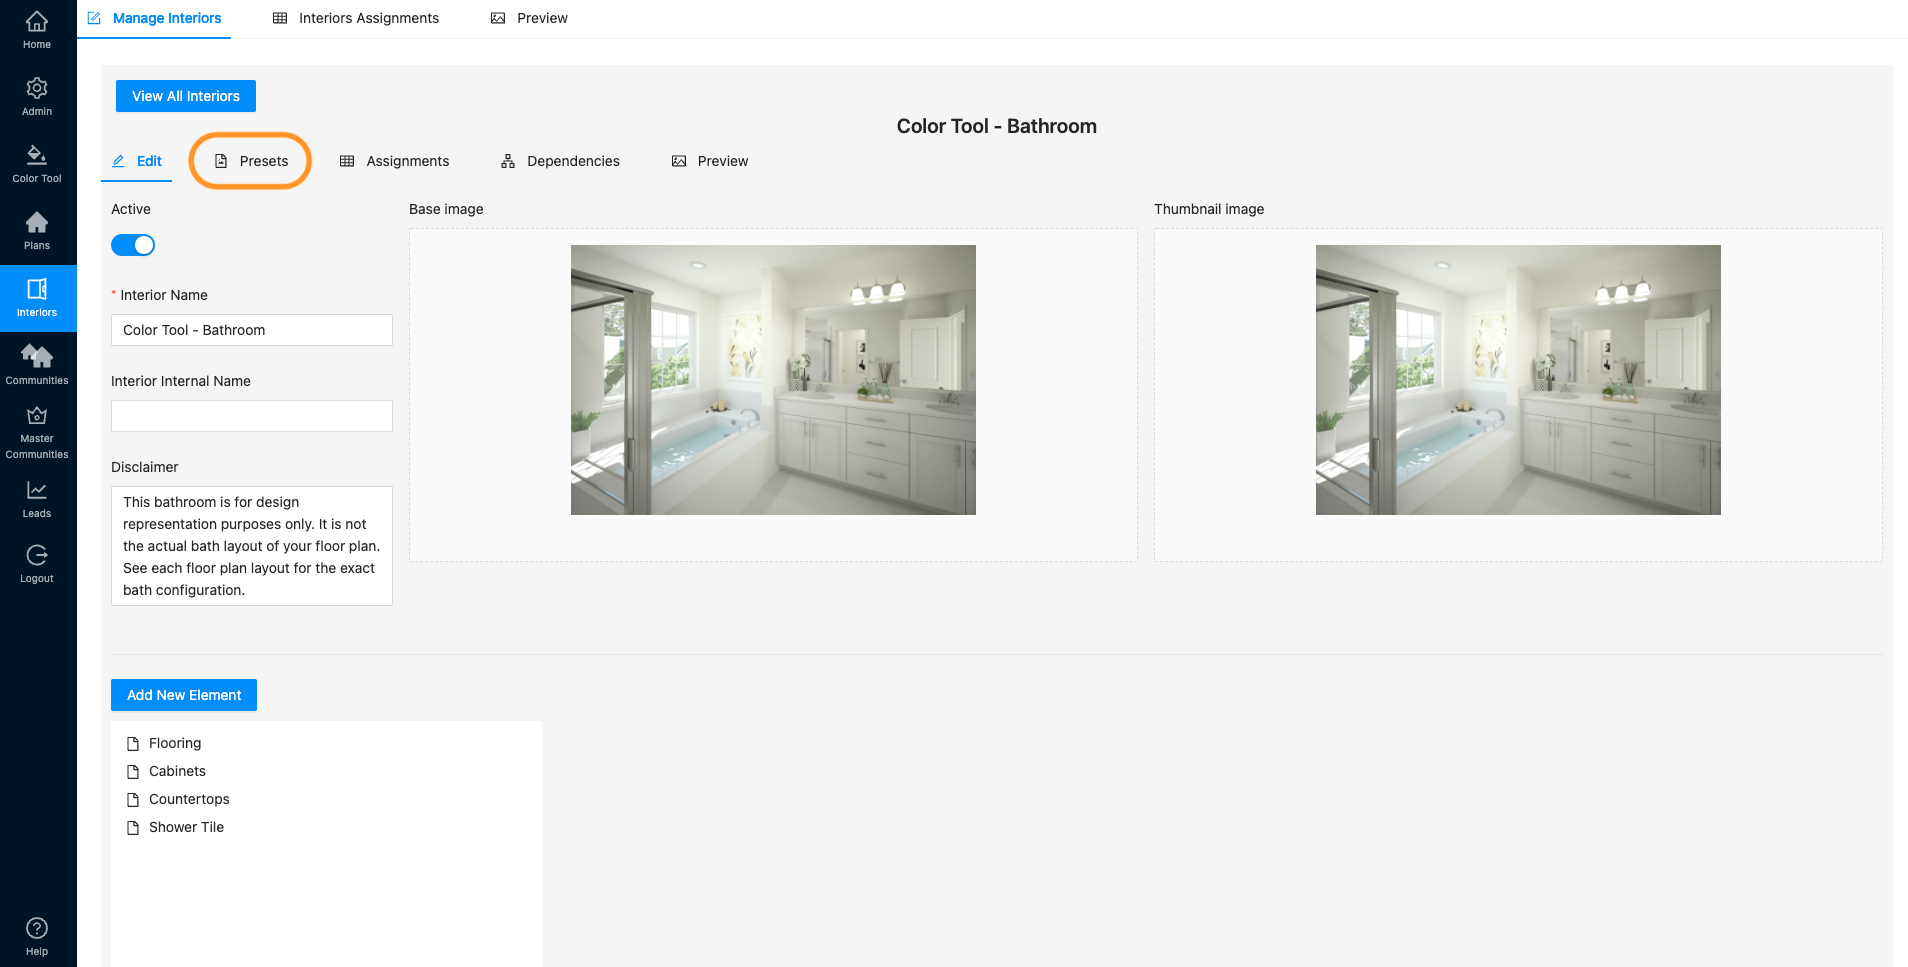
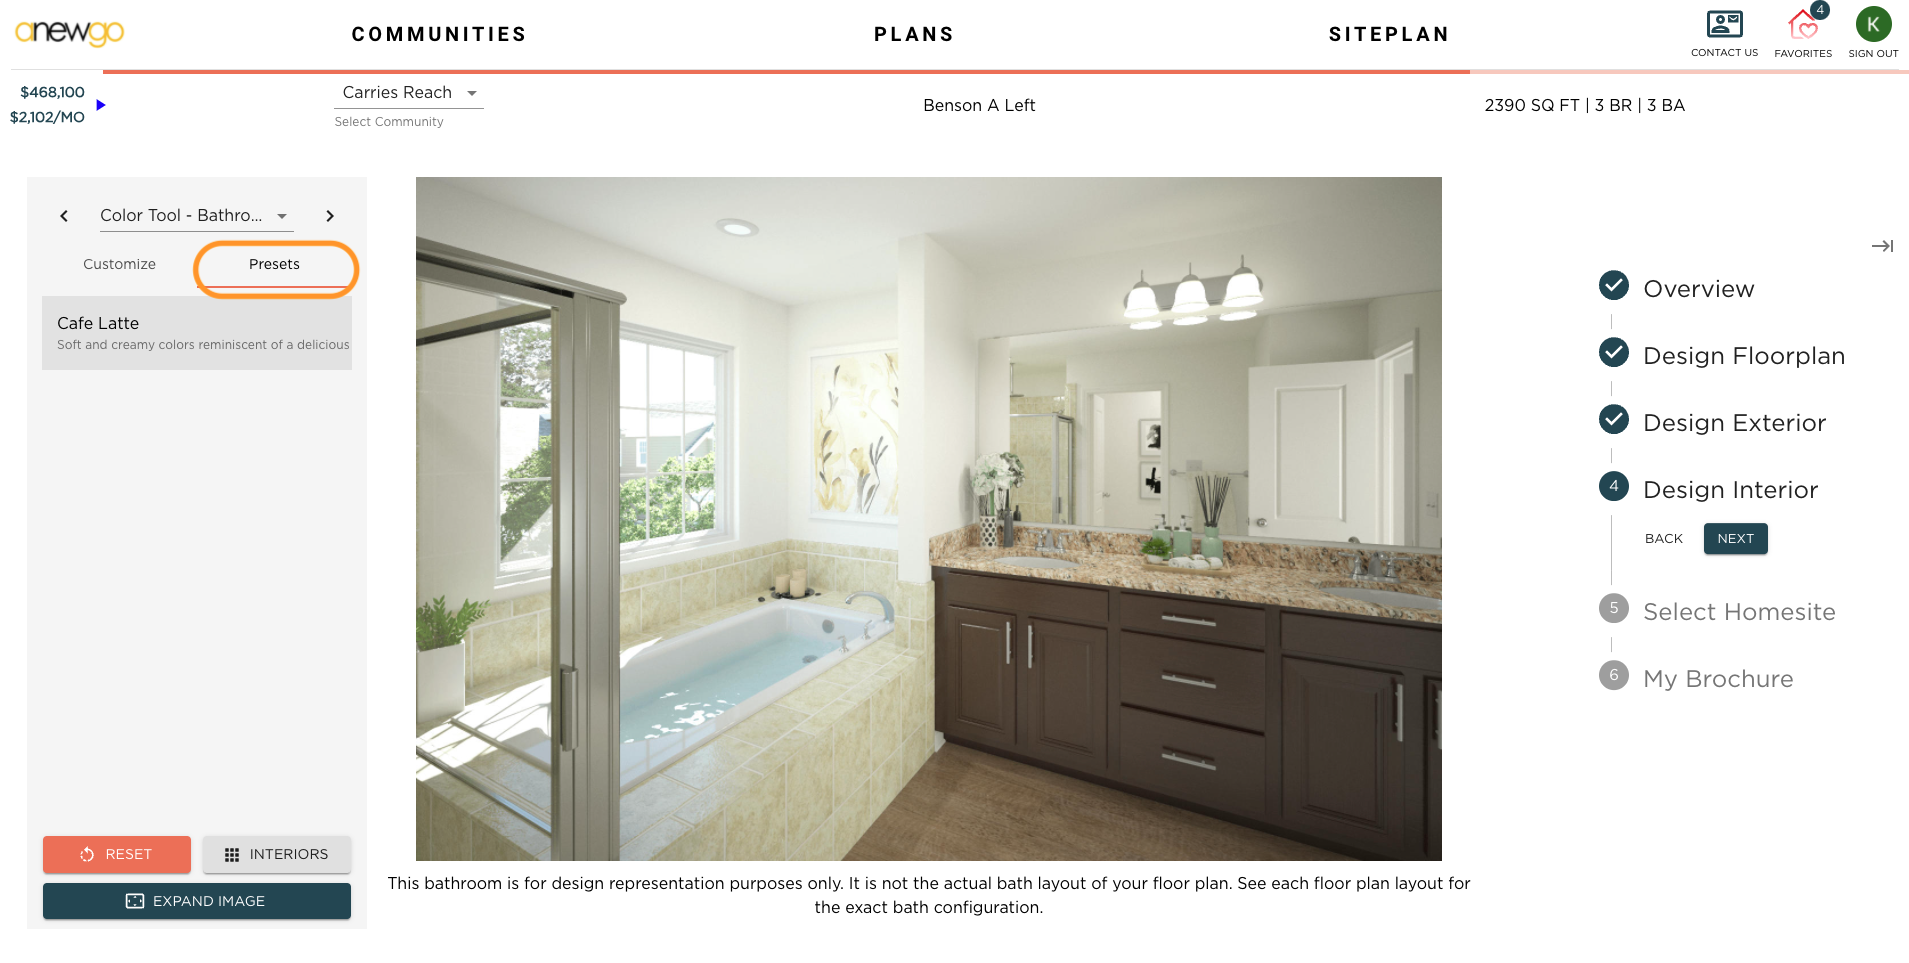
2. Click “Presets”
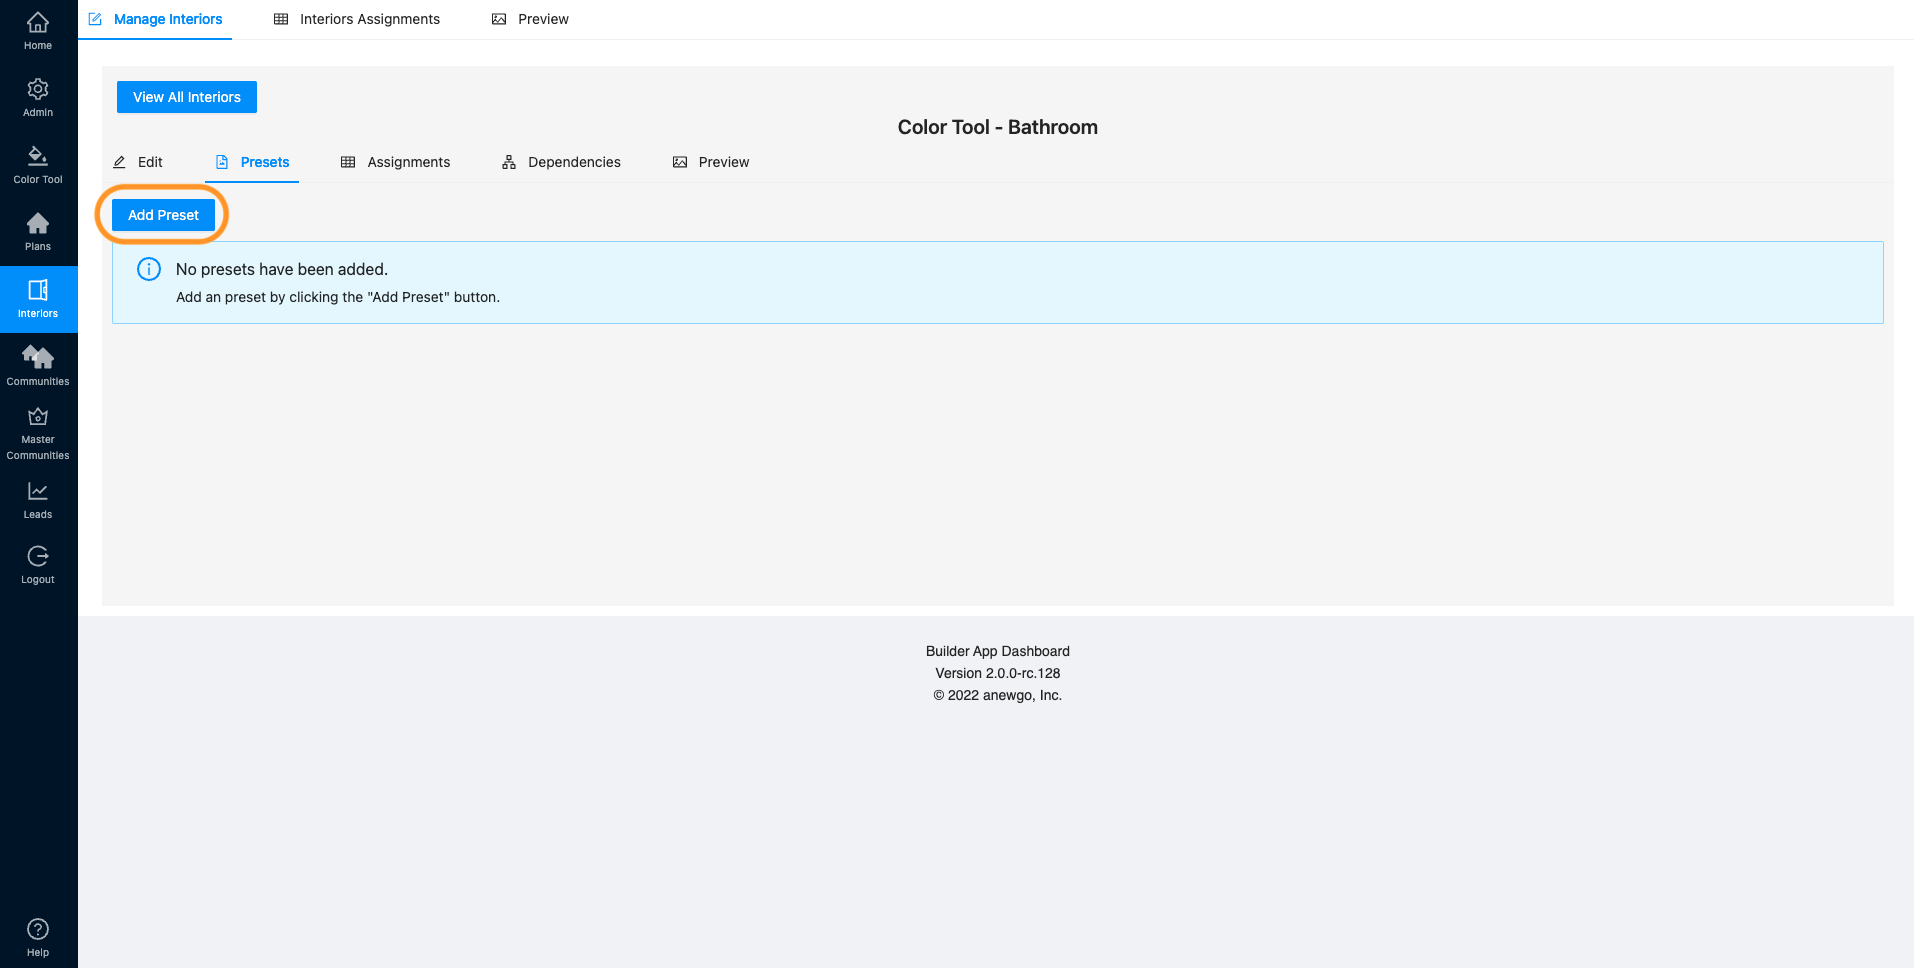
3. Click “Add Preset”
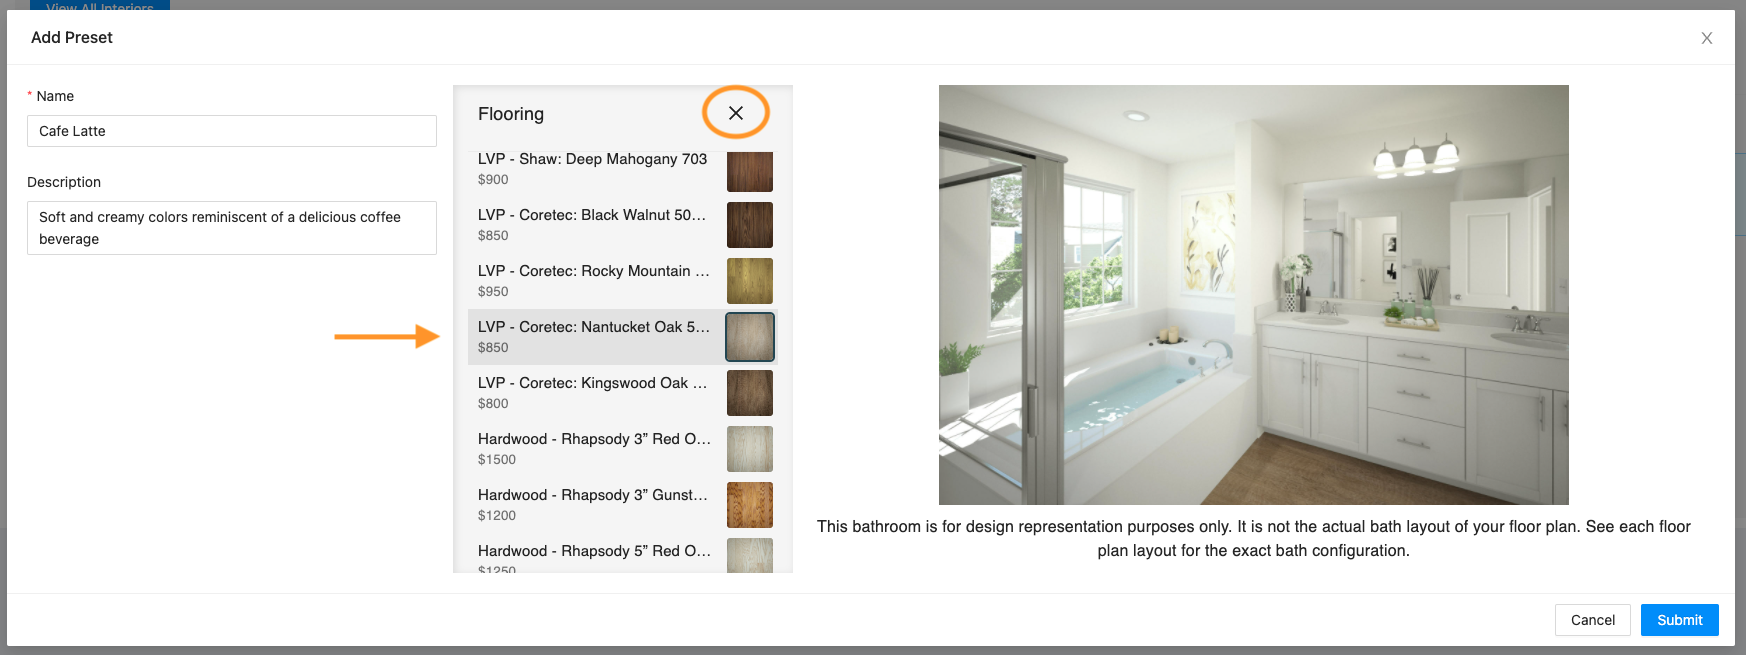
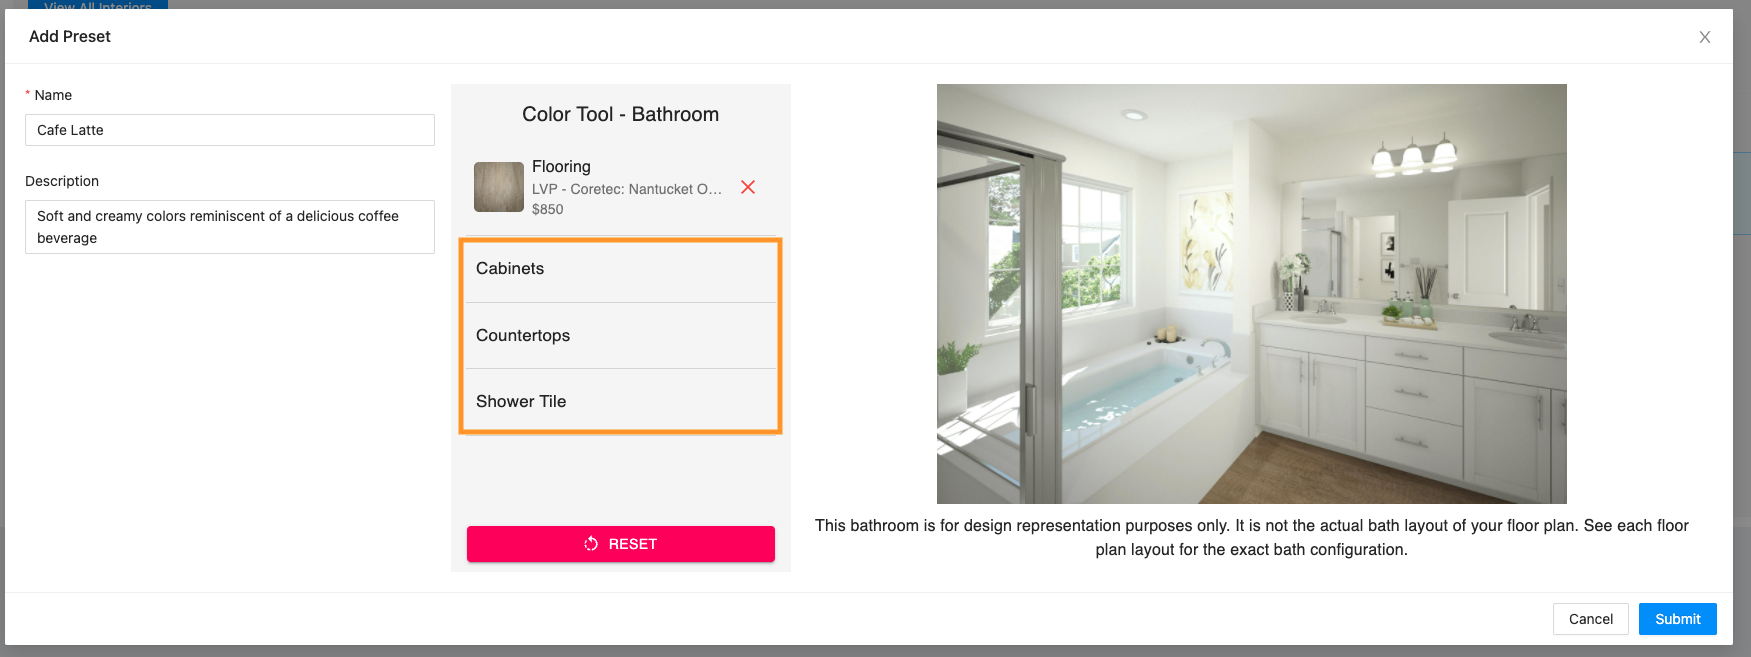
4. Add Preset name (required field) and a Description (optional field). Then begin clicking on each Element to assign a selection.
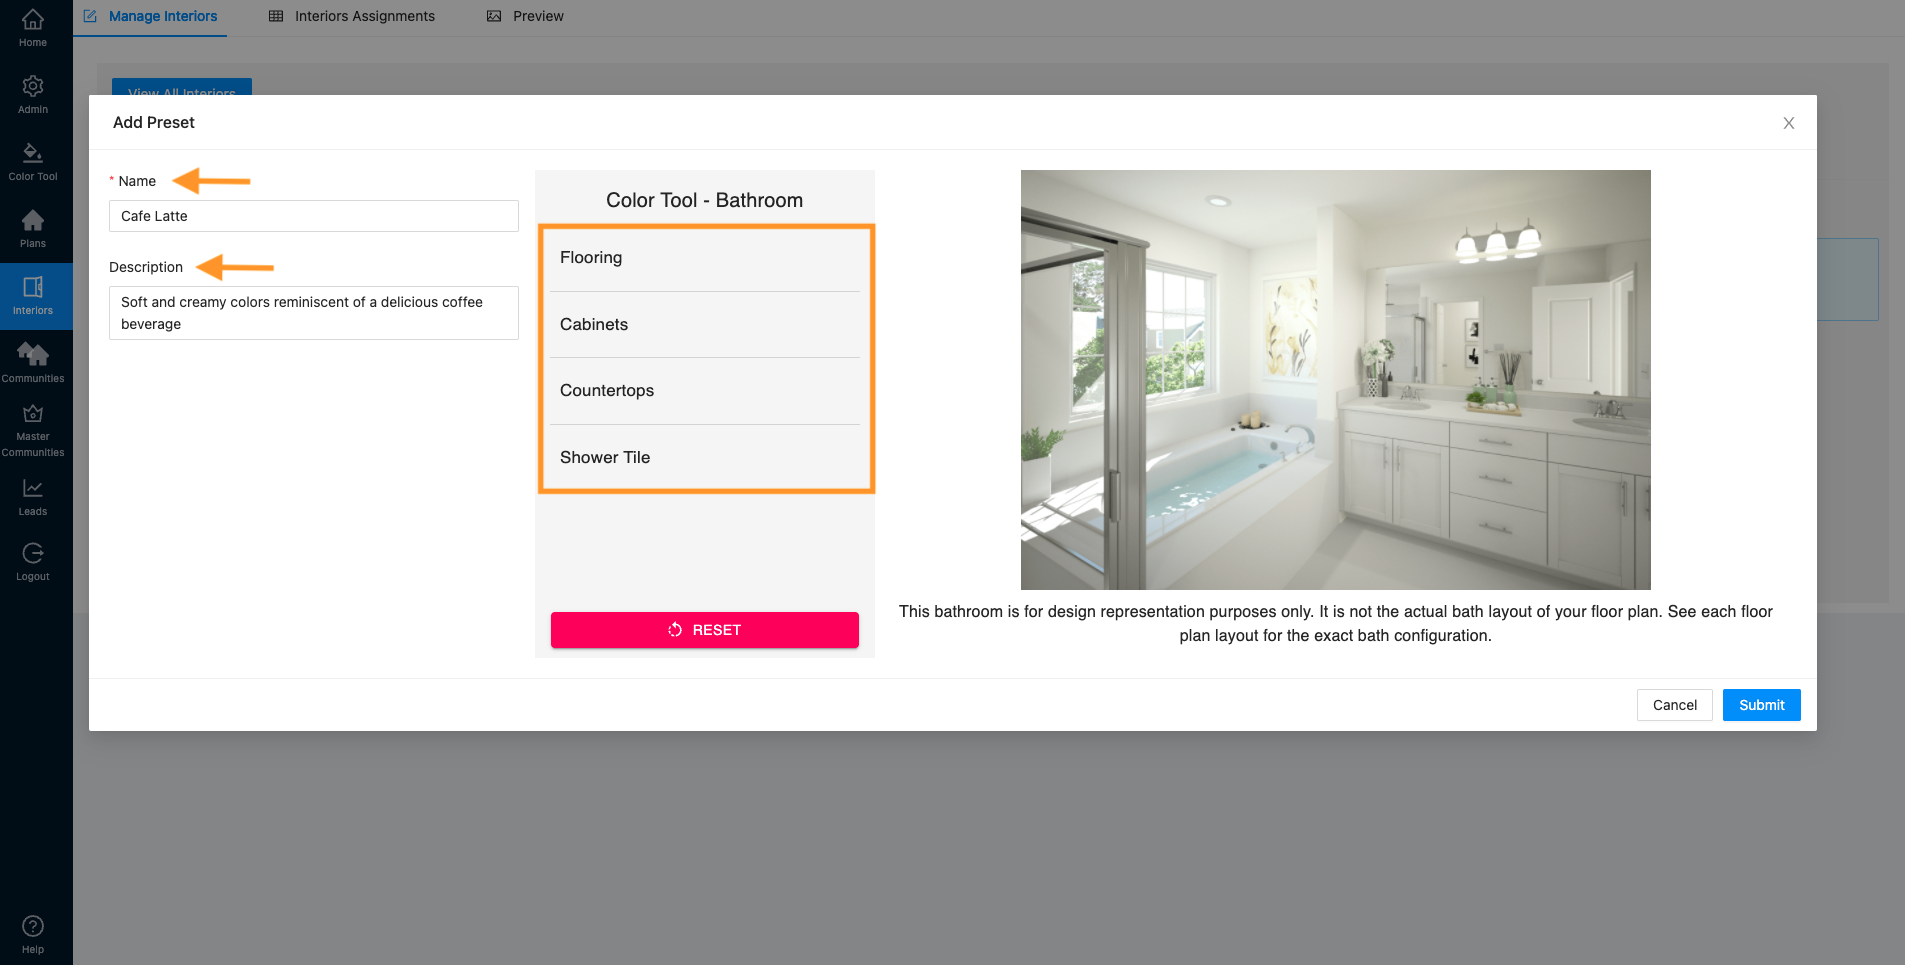
5. Make your selection and then hit the “X” to continue onto the next.
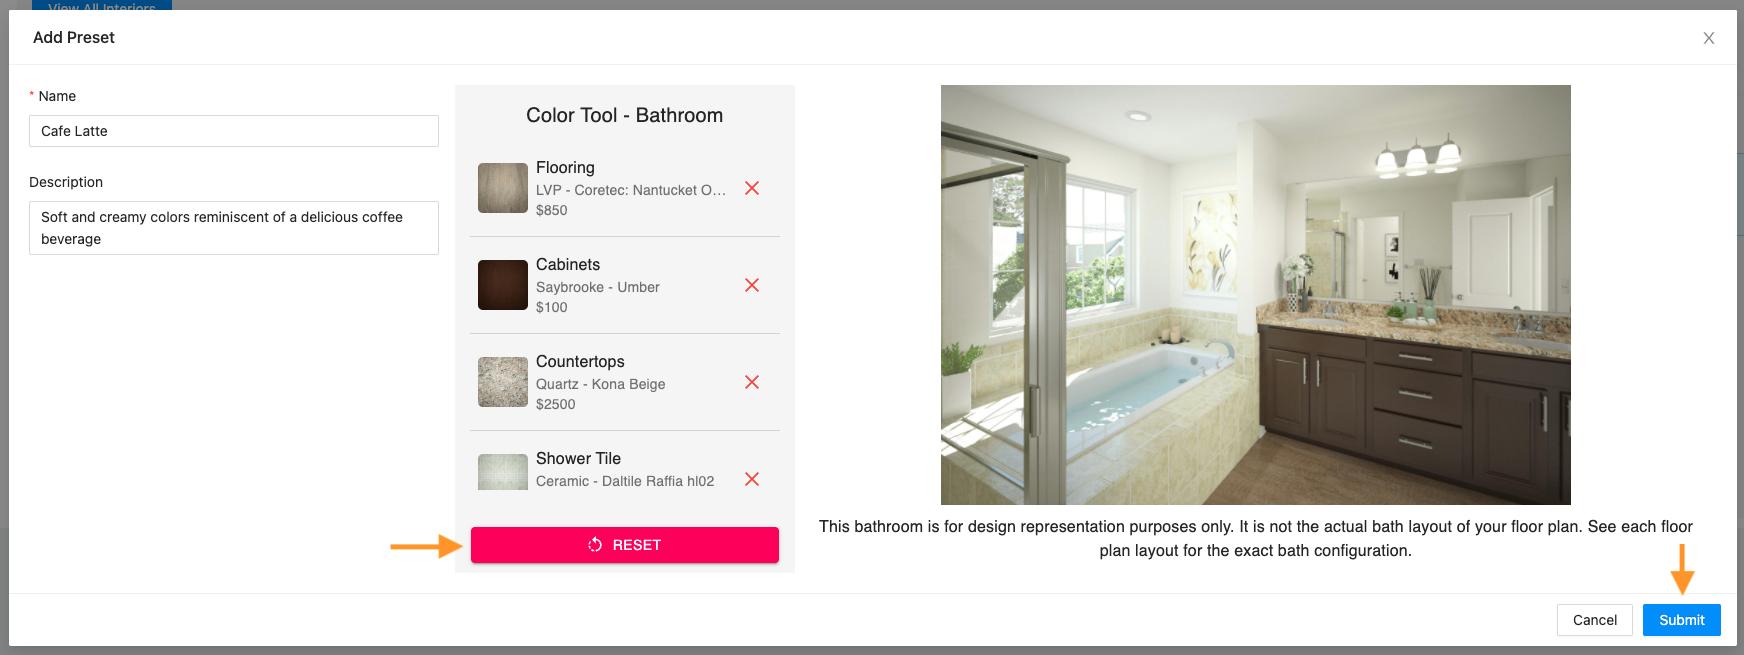
6. Once you have made all of your selections, you can click “Submit” to save the Preset. You can also click “Reset” and start all over if needed.
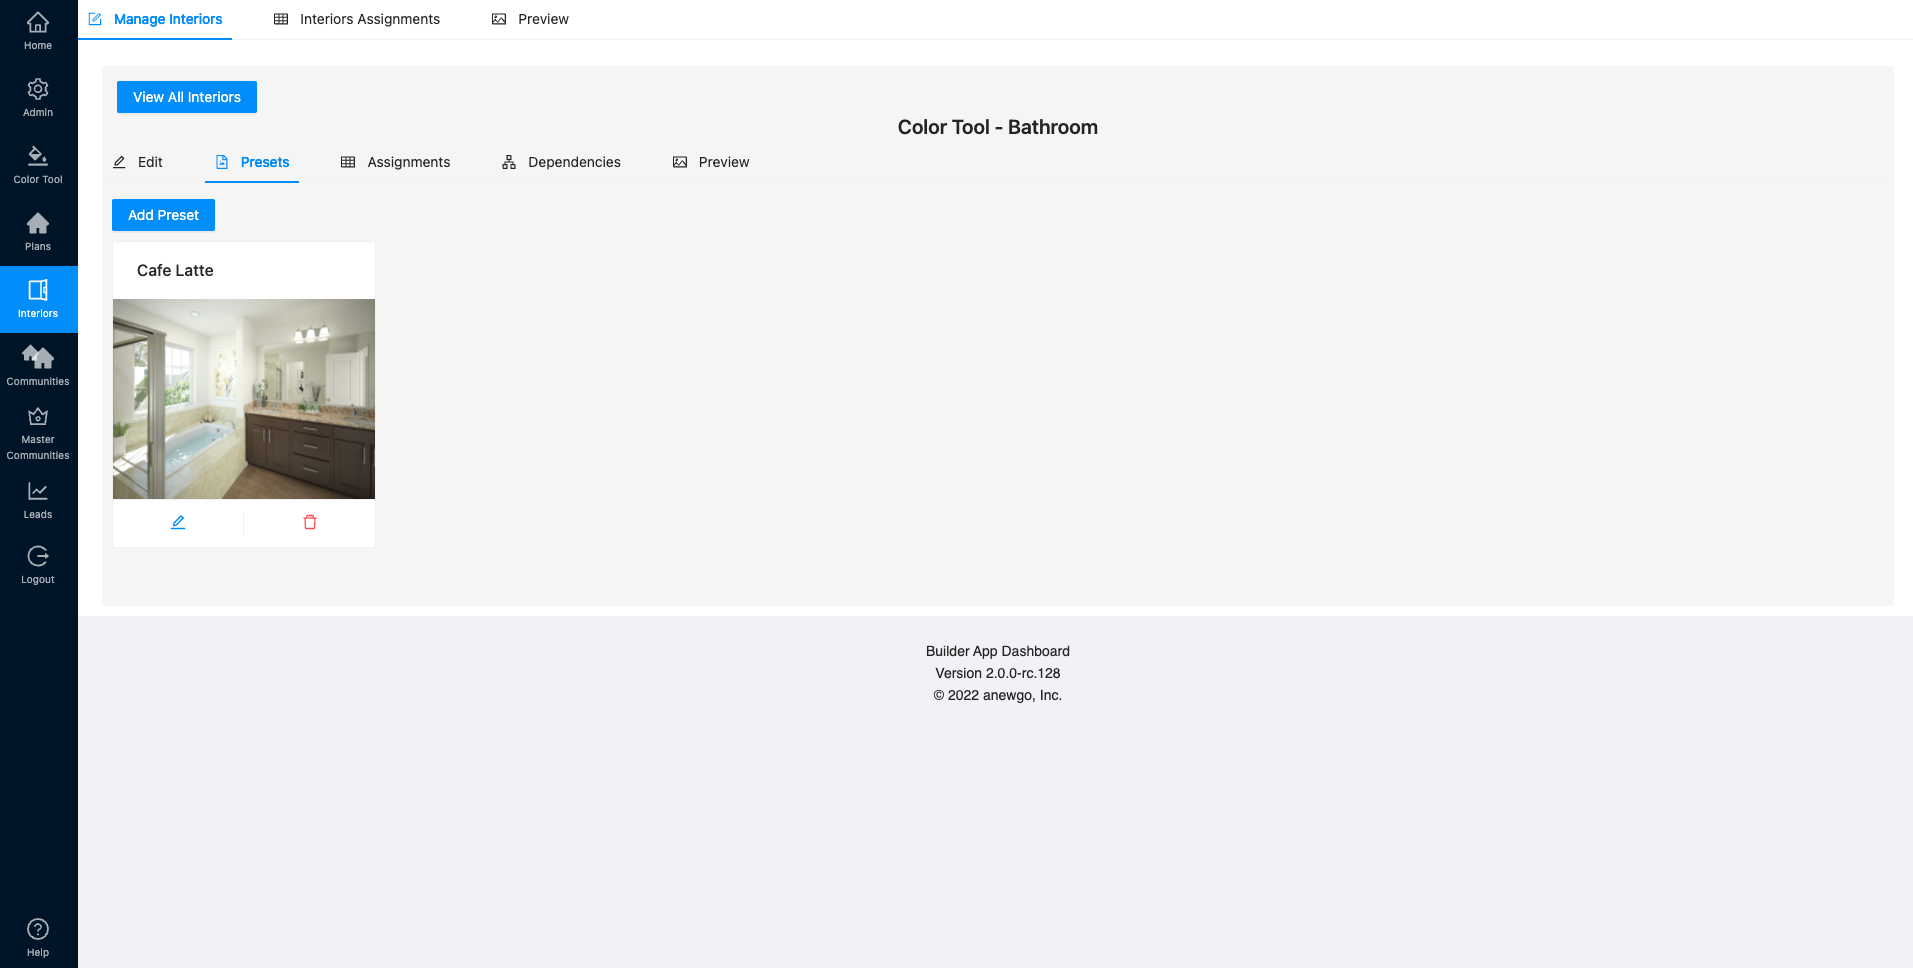
7. Your Preset has now been created! This preset is only available for the particular interior you created it for.
8. You can view the Preset on the front end of the My Home App by clicking the Preset tab when viewing the correlating interior.
9. To edit your Presets, navigate back to Interiors and select the correct interior.
10. Click Presets to see all of the presets created for that interior.
11. Click the pencil icon (edit) on the preset you would like to edit.

12. Follow steps 4-6 above to edit elements, reset and/or save changes. ⬆️
13. To remove a preset, click the trash can icon (delete).
