
For ideal formatting on the front end of the app, be sure to add a Thumbnail Image, Logo, Community Description and at least 1 Community Photo.
To update your community info, go to the Communities tab which will default to Info. Make sure the community you want to update is selected in the community list.
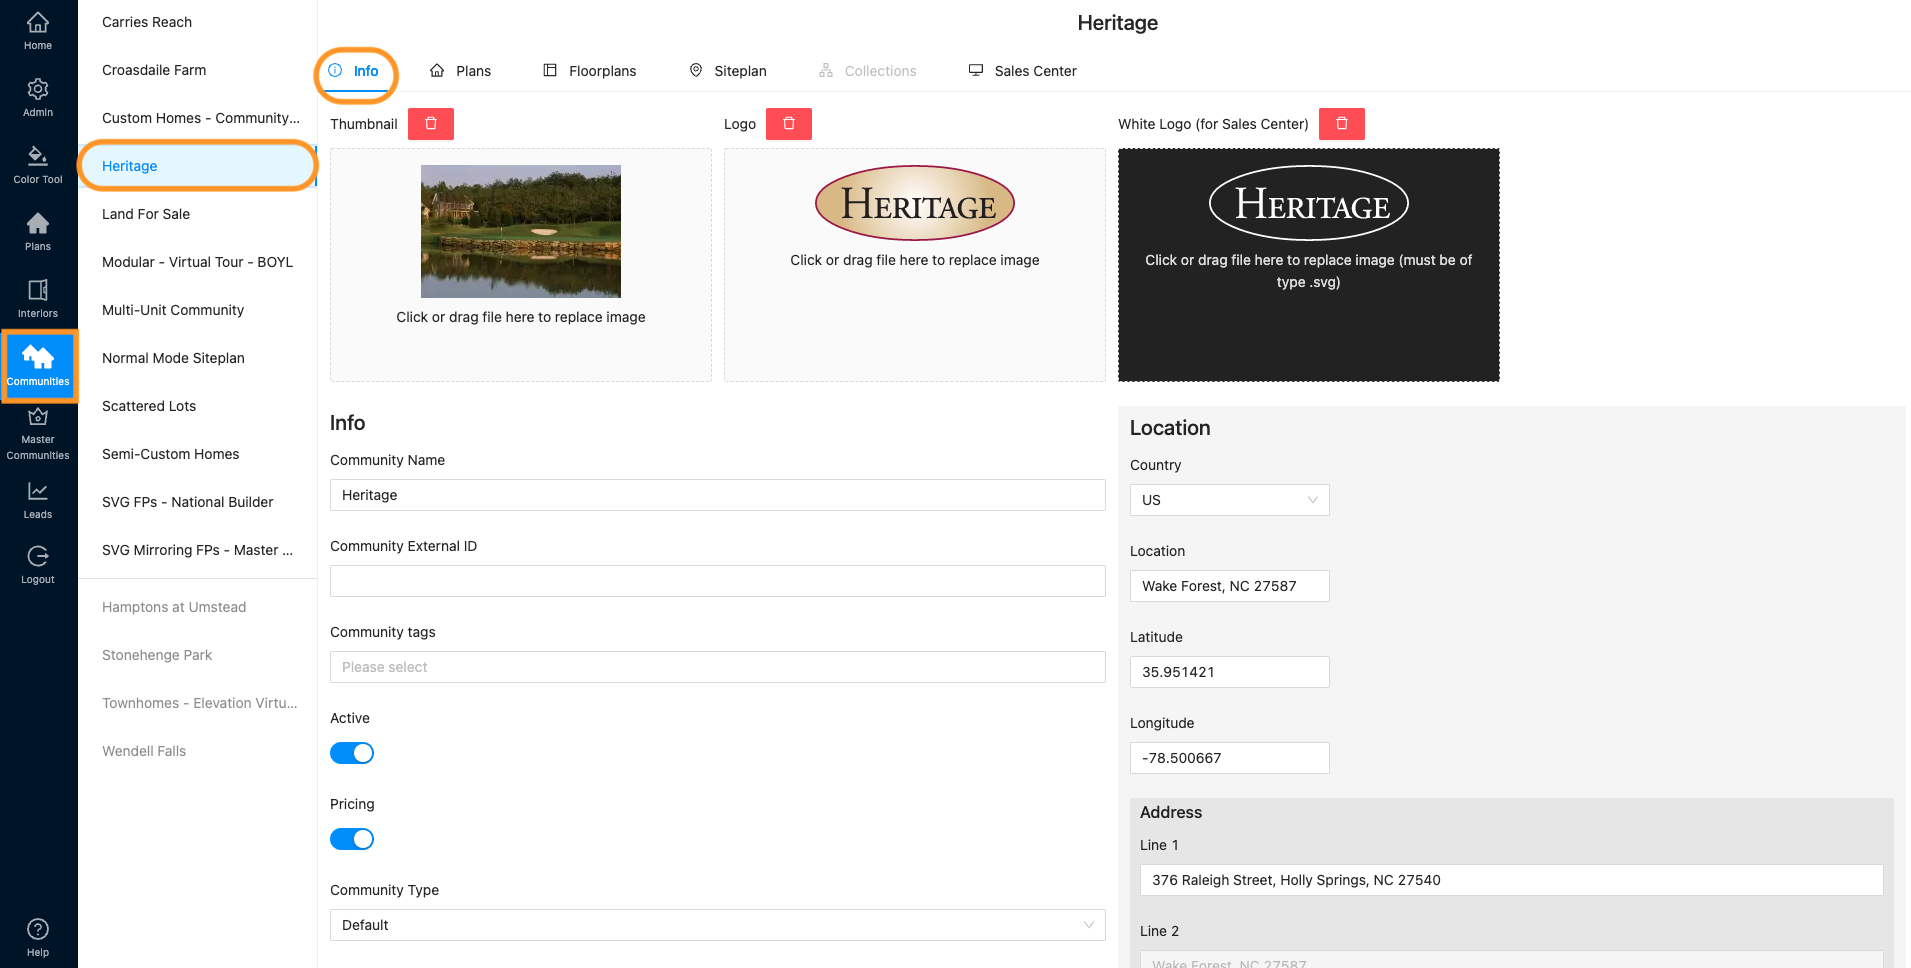
See the numbered sections listed below the following image to see explanations for each area…
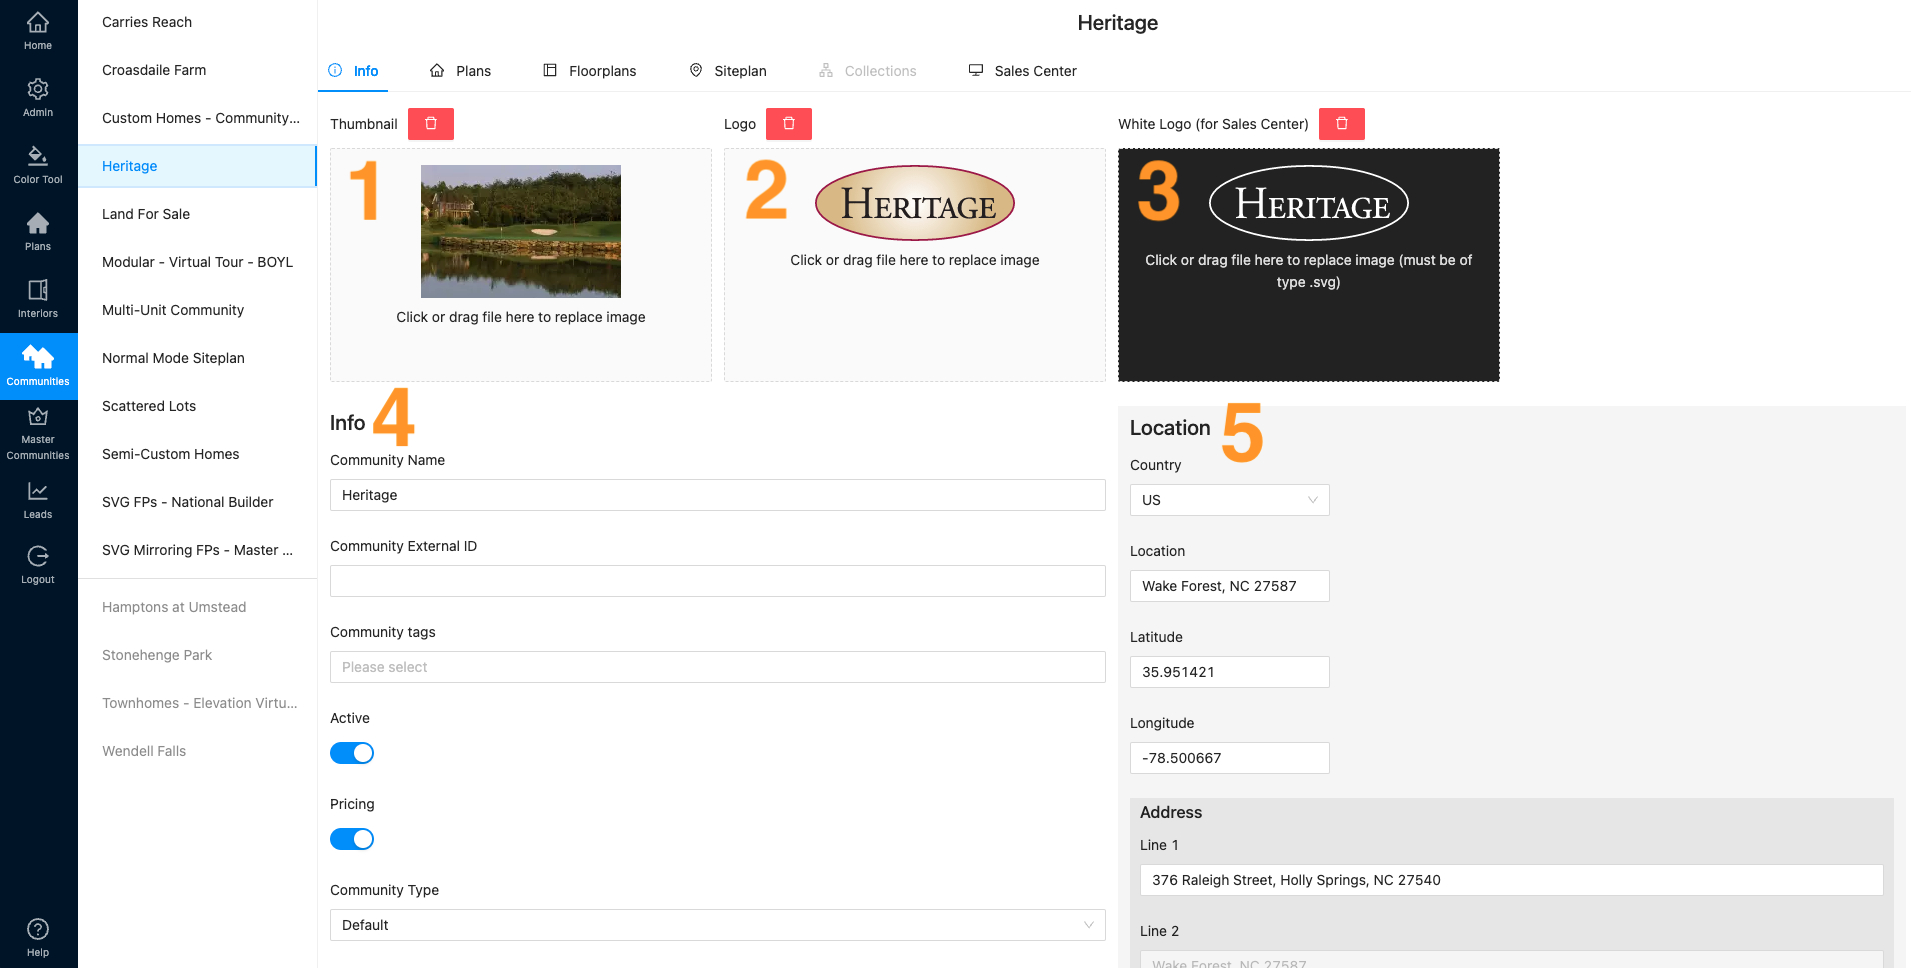
1 – Thumbnail Image
Here you can update your community’s thumbnail image (recommended size: 320×180). This only displays on the front end of the My Home App.
2 – Community Logo
Update the community logo here.
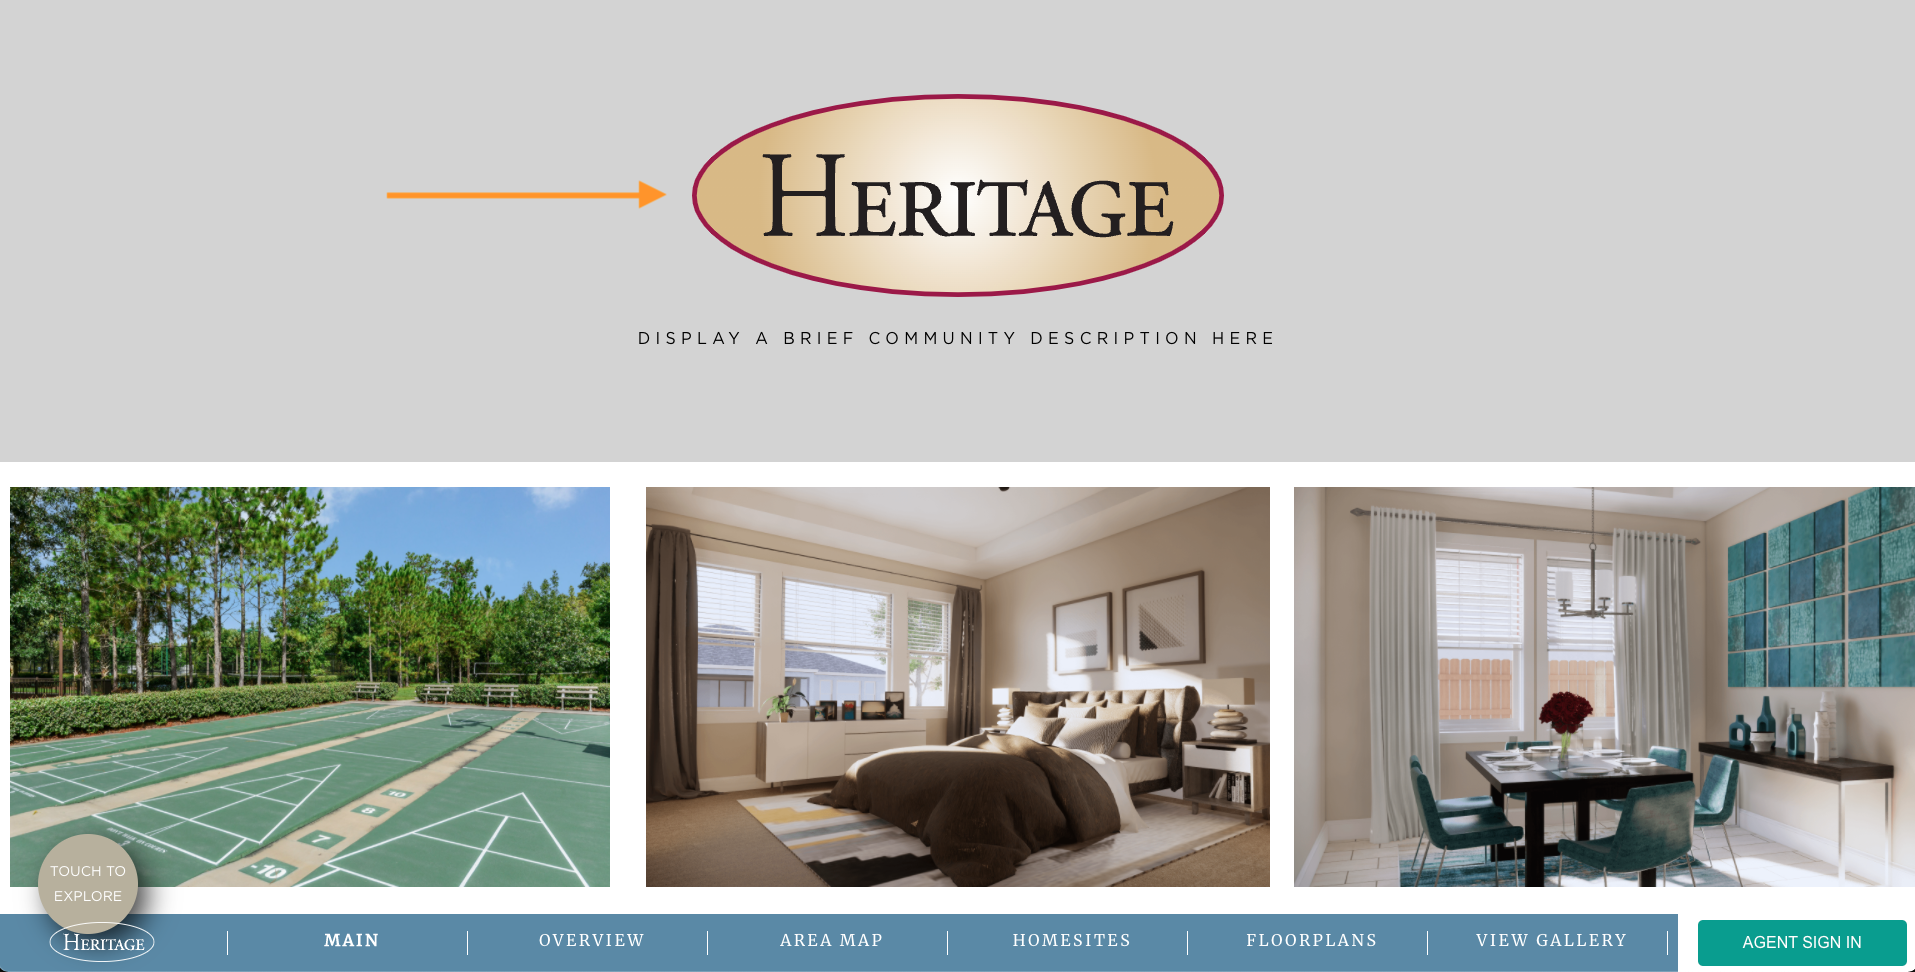
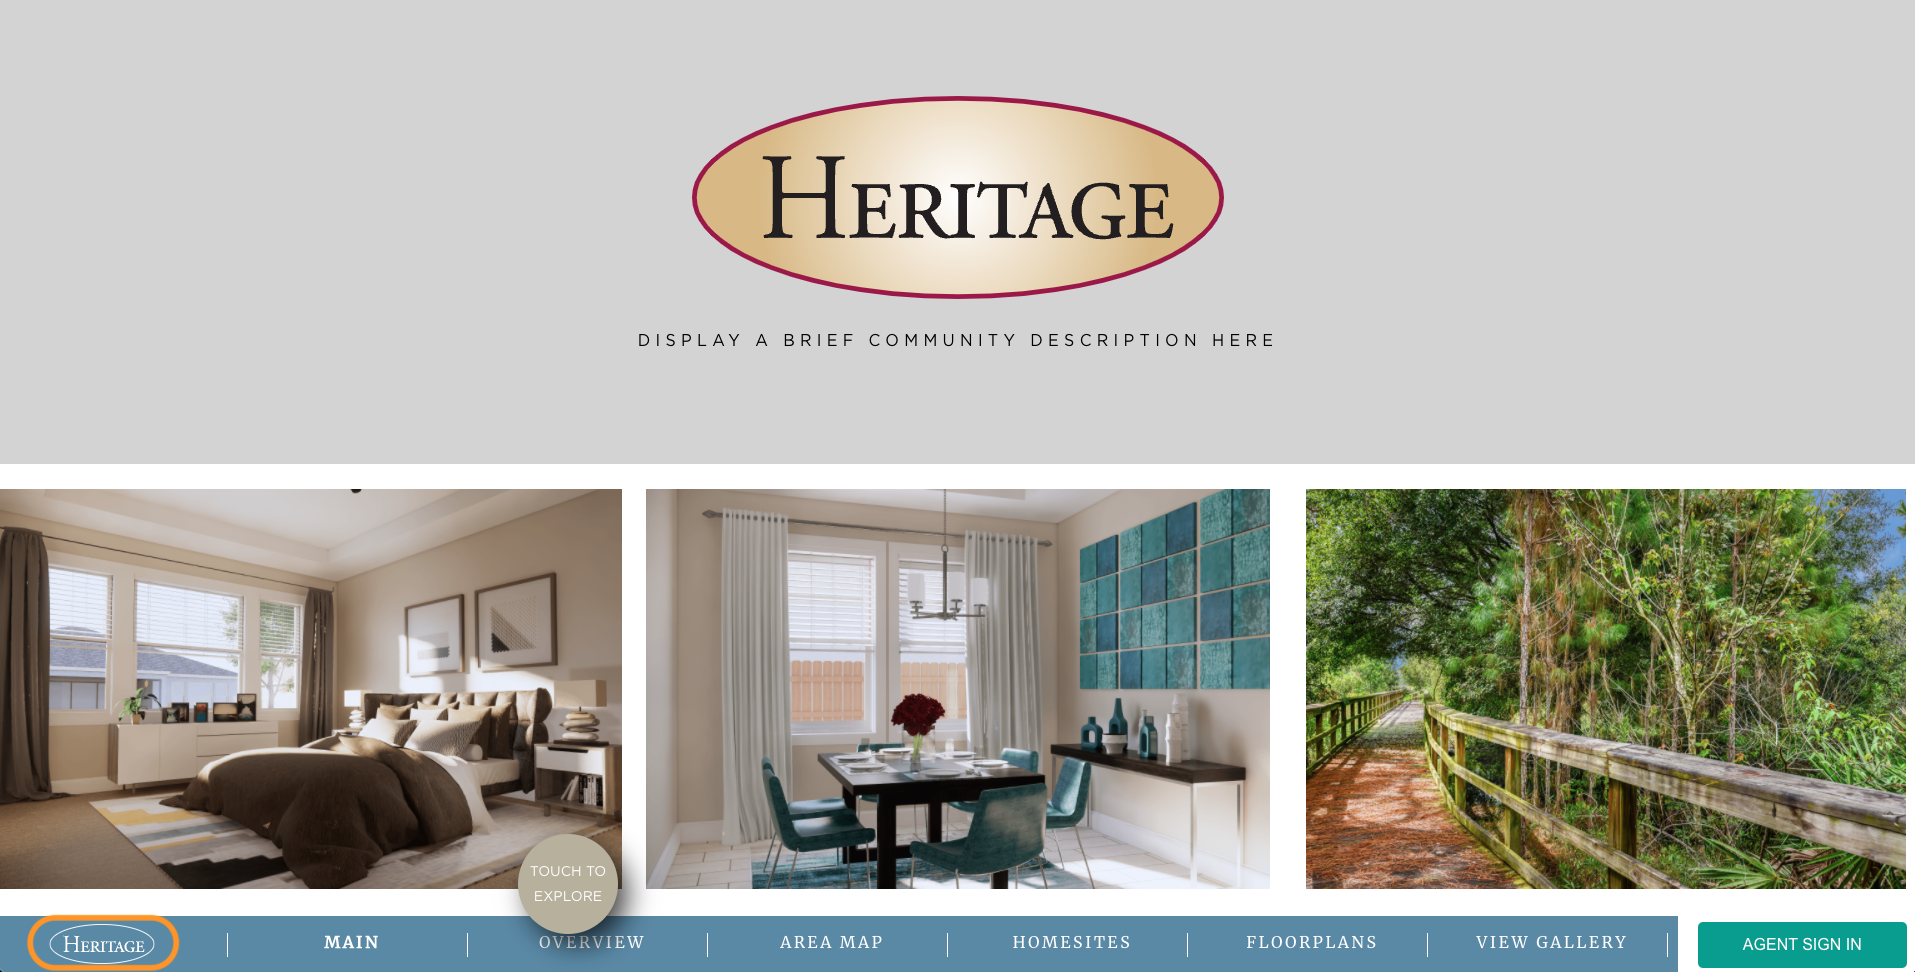
Front end display – Sales Kiosk main page:
3 – White Logo
Update your company white logo here (this is only for the Sales Kiosk App. The image must be SVG file format. Please contact your Account Manager or kim@anewgo.com if you have any questions about this.
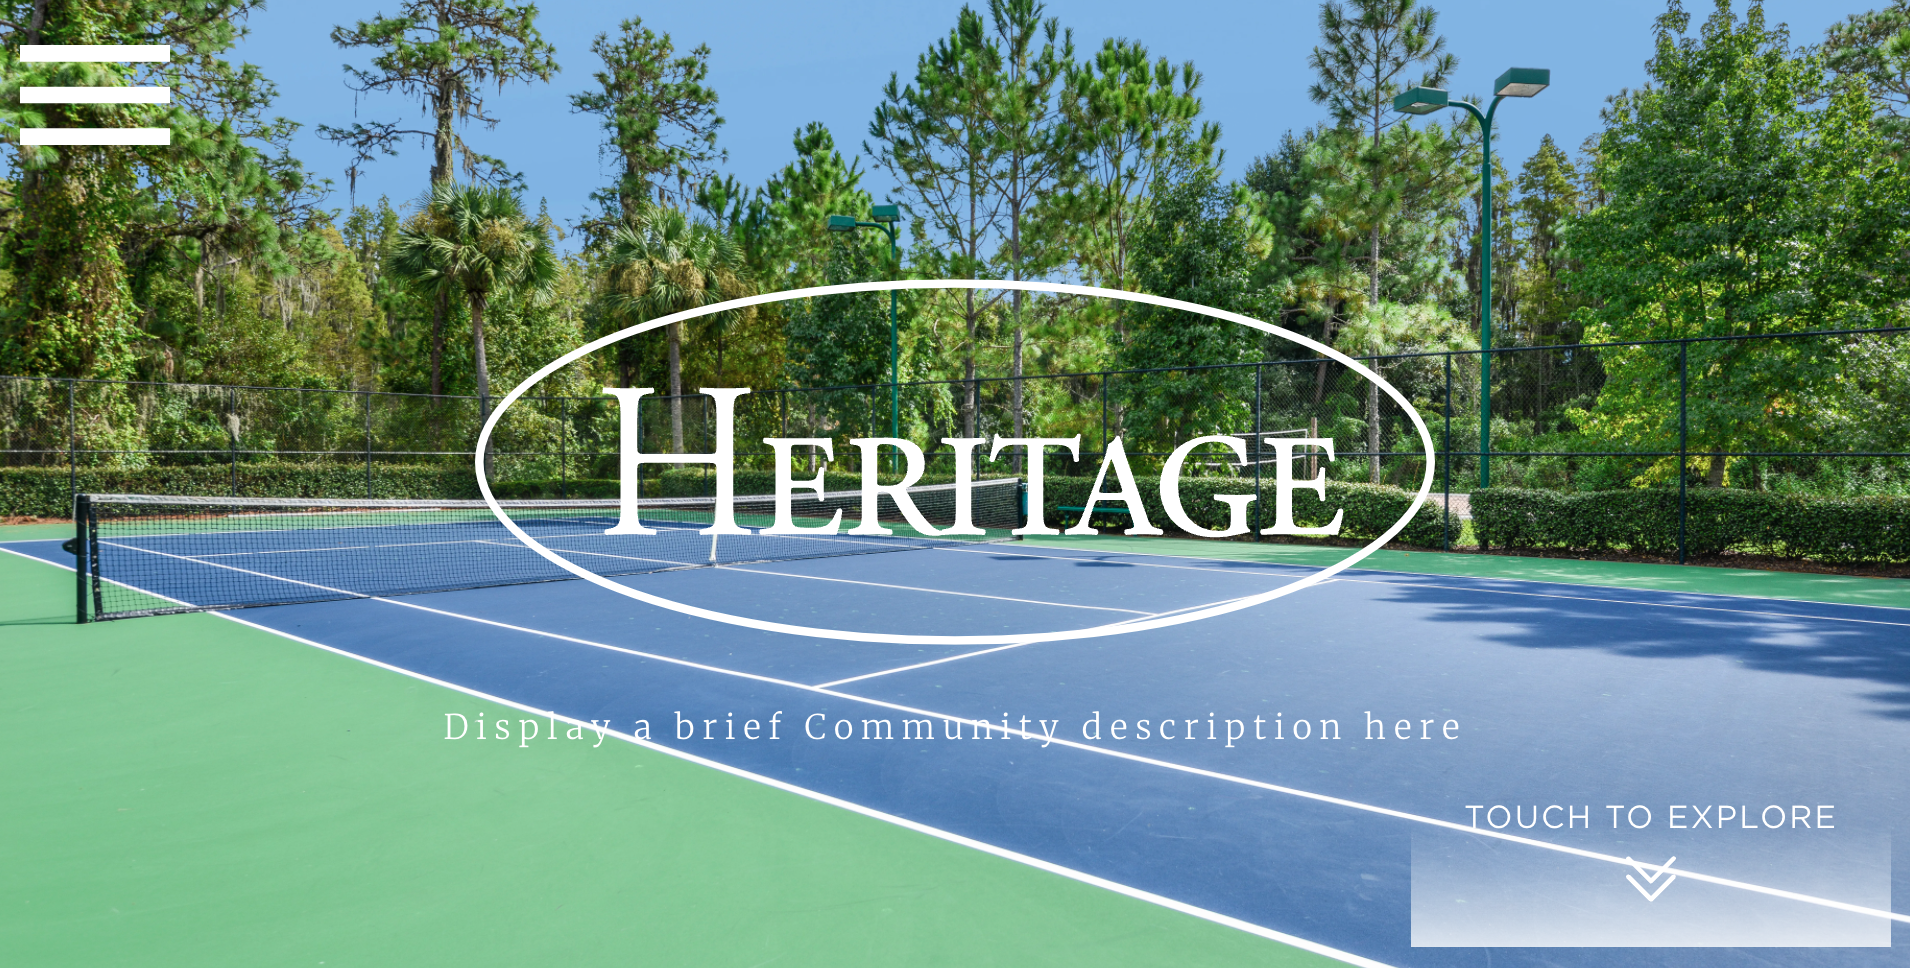
Front end display – Sales Kiosk intro page & main page (lower left corner):
4 – General Community Info
Update your general community info here (changes to these fields will affect BOTH the My Home App & Sales Kiosk App):
- Community Name – update your community name here (a warning will pop because changing the community name will also change all of the deep links to anything within the community)
- Community External ID – You can ignore. This is a field that staff at Anewgo will set up if needed.
- Active – toggle to make the community active or inactive (inactive communities will be grayed out in the dashboard community list and not show on the front end)
- Pricing – toggle to activate your community pricing
- Community Type – You can ignore. This is a field that staff at Anewgo will set up if needed.
- Sort Type – how your plans will be sorted on the front end. You can choose Name, Sqft, Bed, or Price
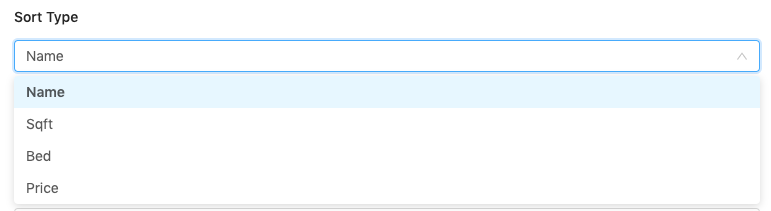
- Sort Orders – the order in which your plans will be sorted (i.e. low to high price). Can choose Ascending or Descending

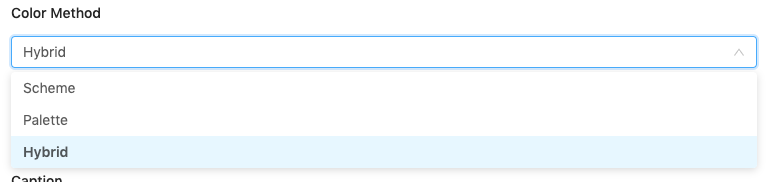
- Color Method – see tutorial here
- Website – link to your community website
5 – Community Location
Update your community location here. See the tutorial on how to find latitude and longitude here. This affects where the community displays on the Area Map.
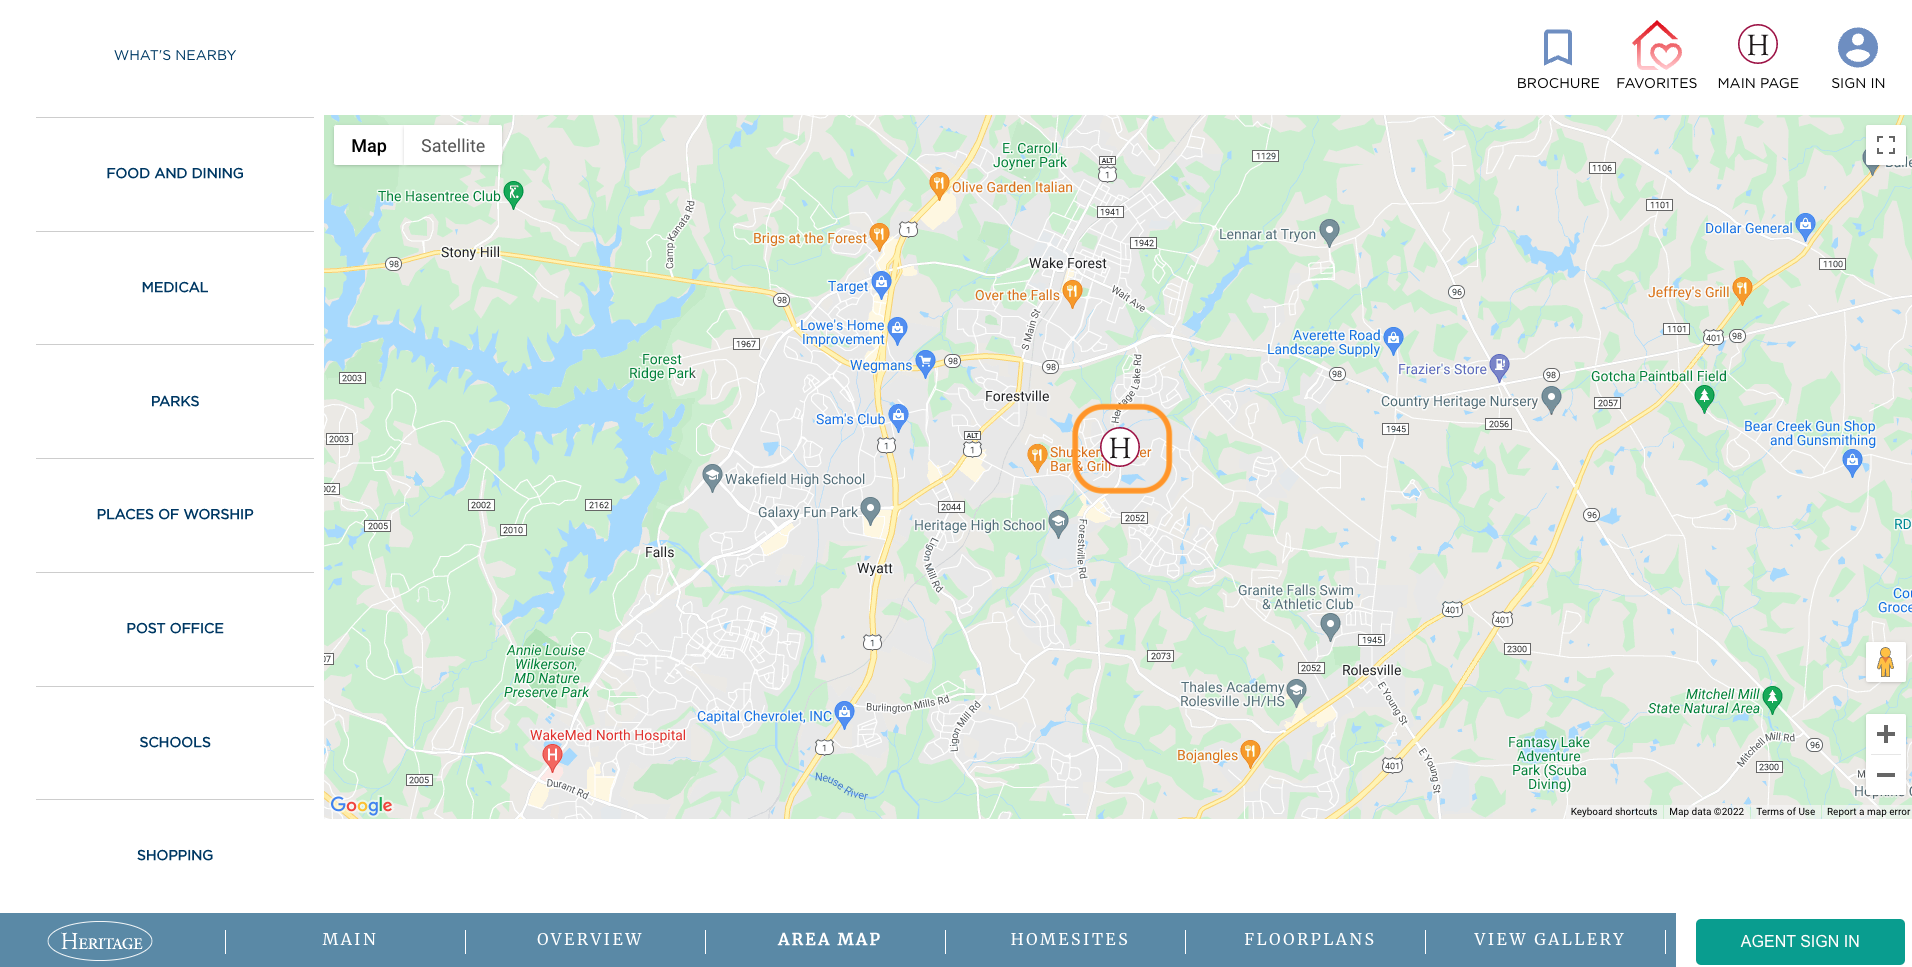
Scroll down to see more options…
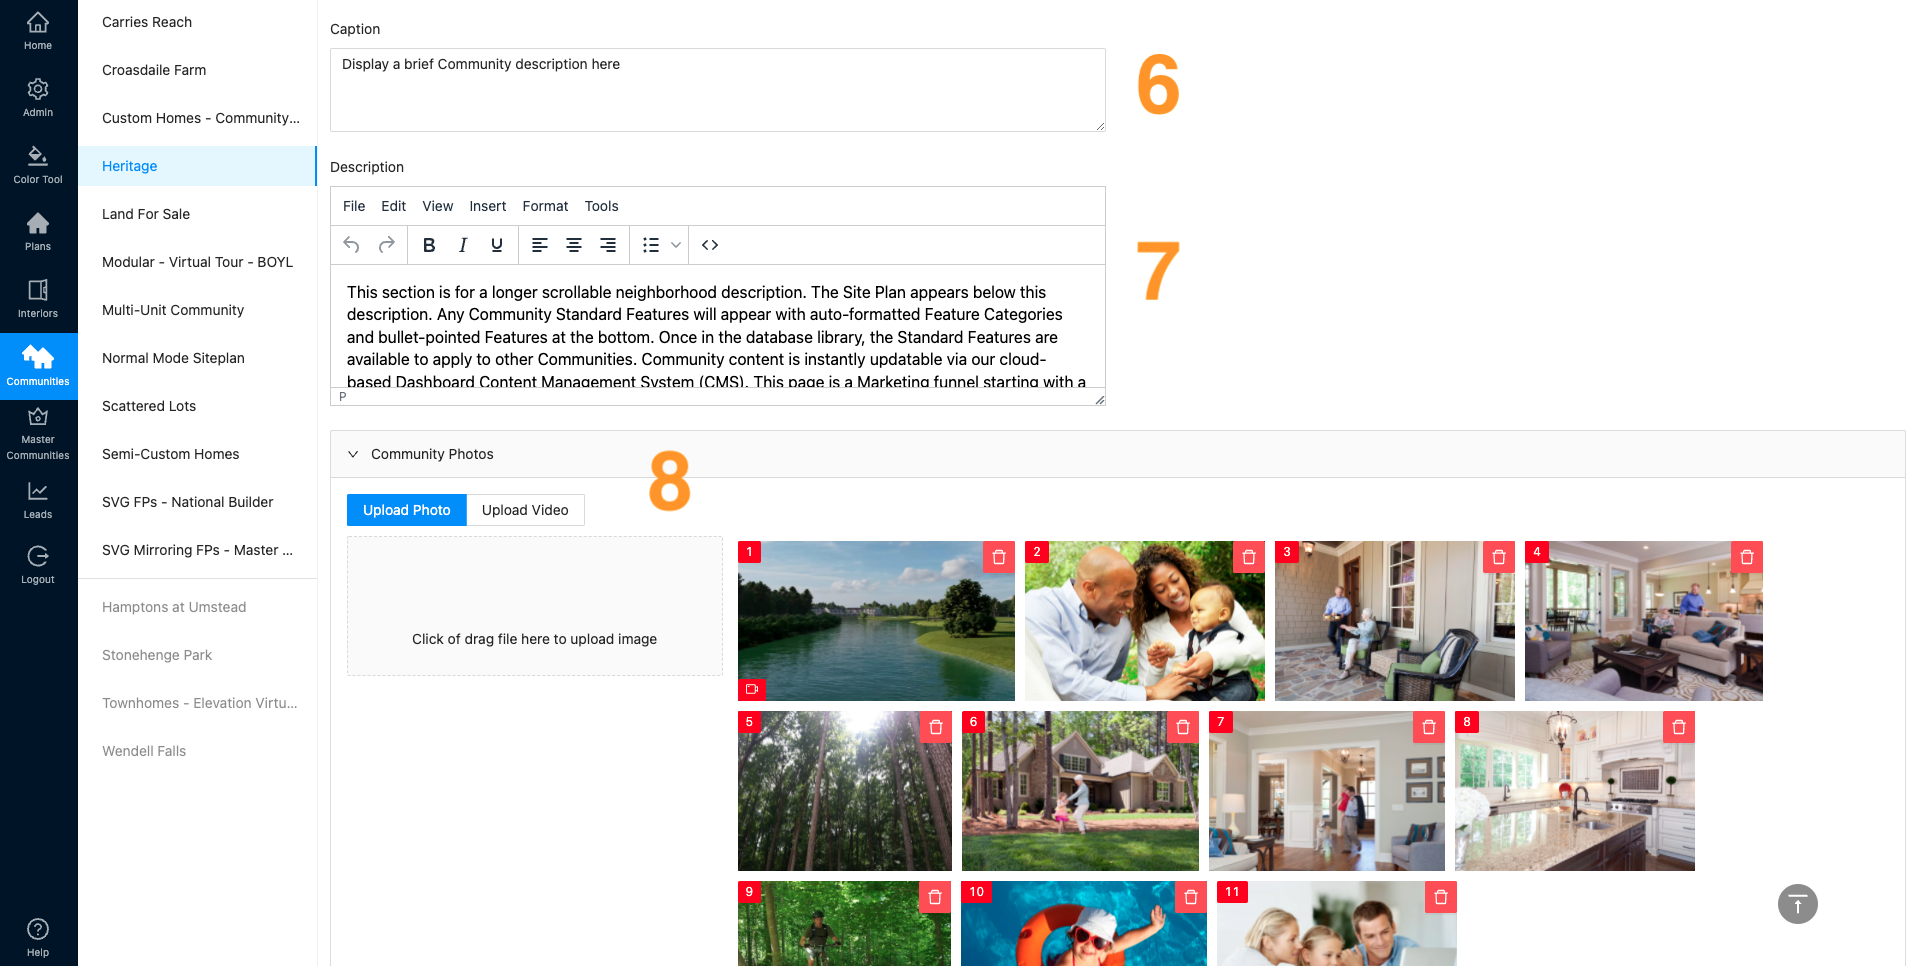
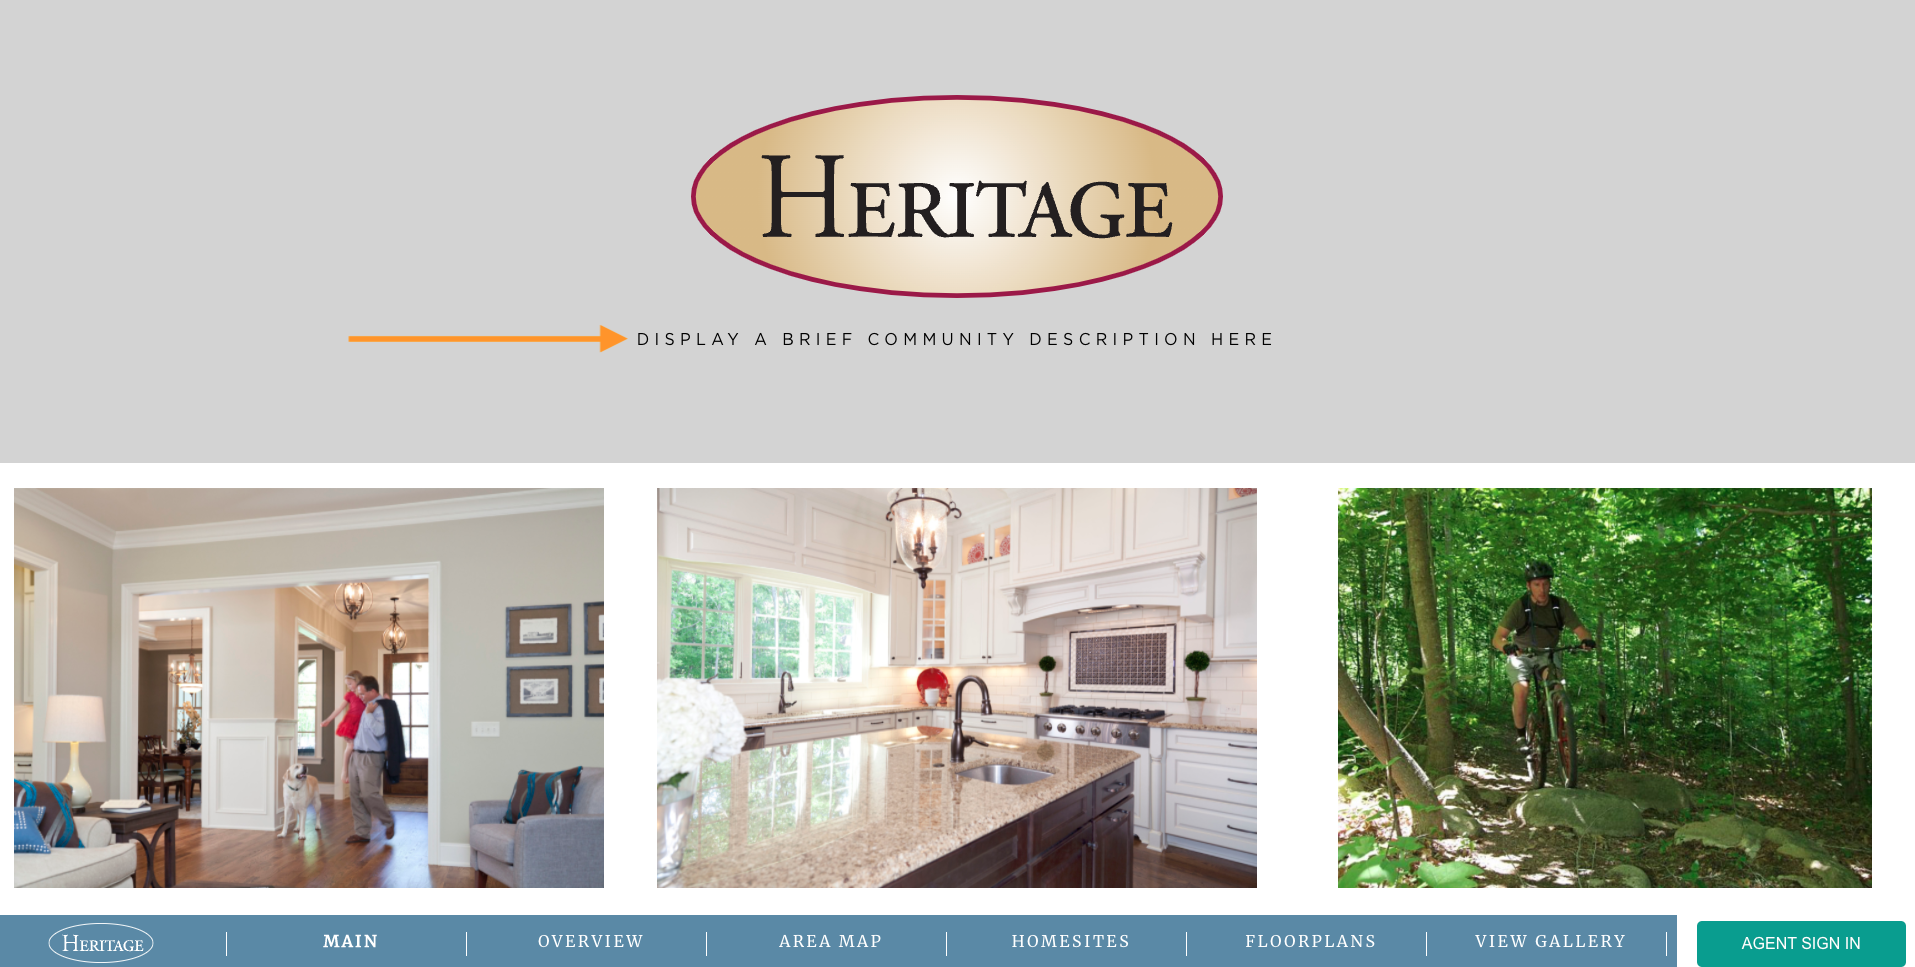
6 – Caption
Enter a tagline or short saying about your community here.
Front end display – Sales Kiosk main page:
7 – Description
Enter a description about your community here. This only displays on the My Home App.
8 – Community Photos
Community Photos – these only display on the My Home App. However you can set specific images for your Sales Kiosk App.
Continue to scroll down to see the Agents section. Here you can add or remove agents from the community. See tutorial here
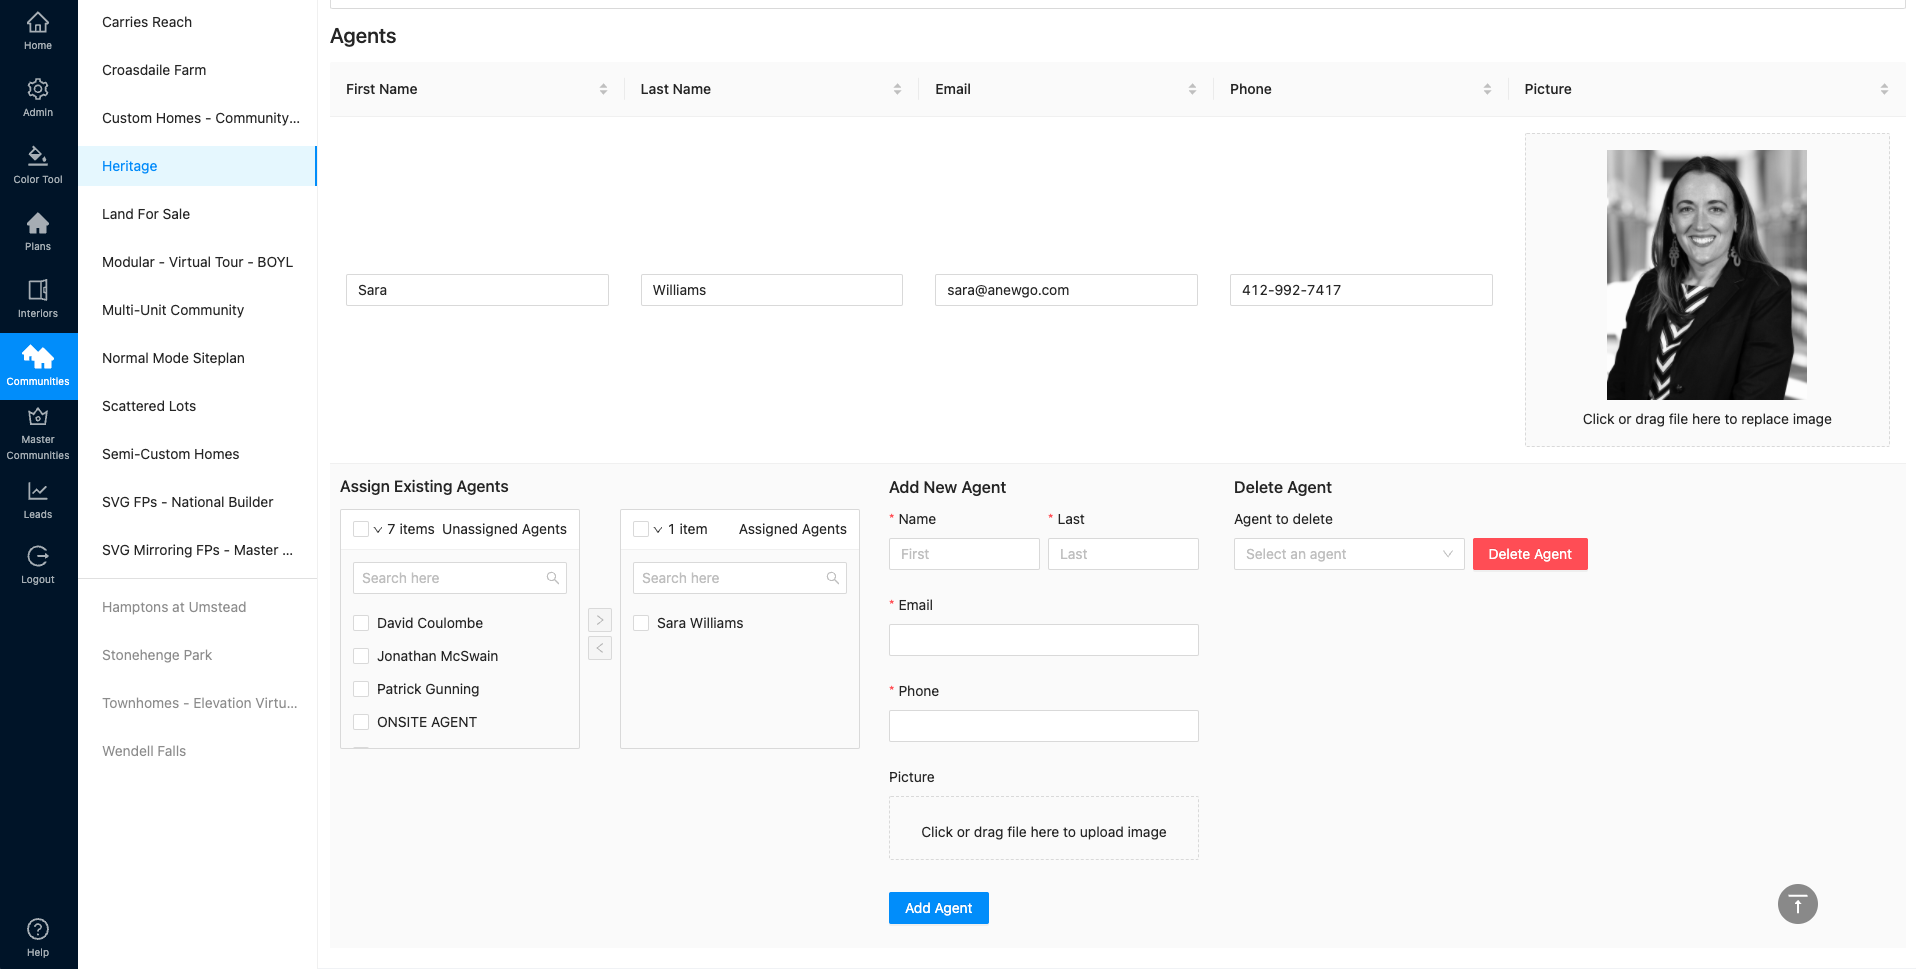
Agents assigned to the community will appear as options for the Agent Sign In within the Sales Kiosk App:
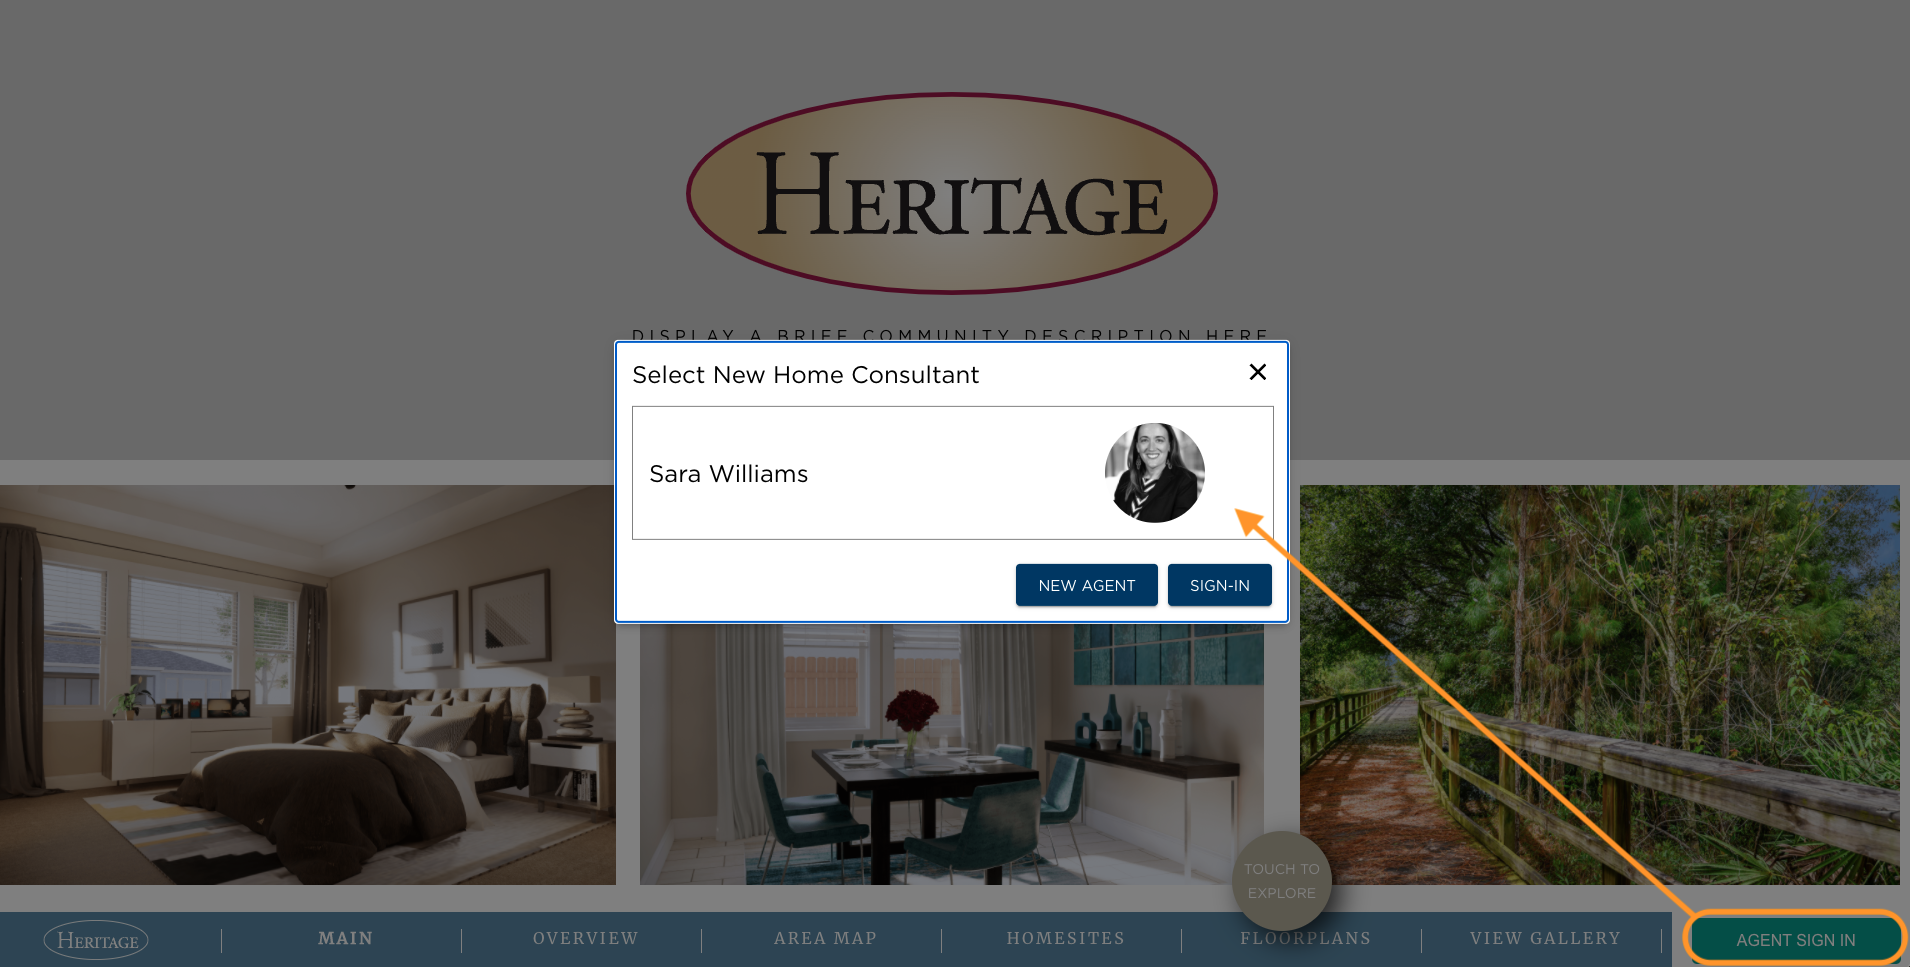
Please note: the Sales Kiosk App mentioned above is an additional cost/upgrade. Please contact your Account Manager for more details.