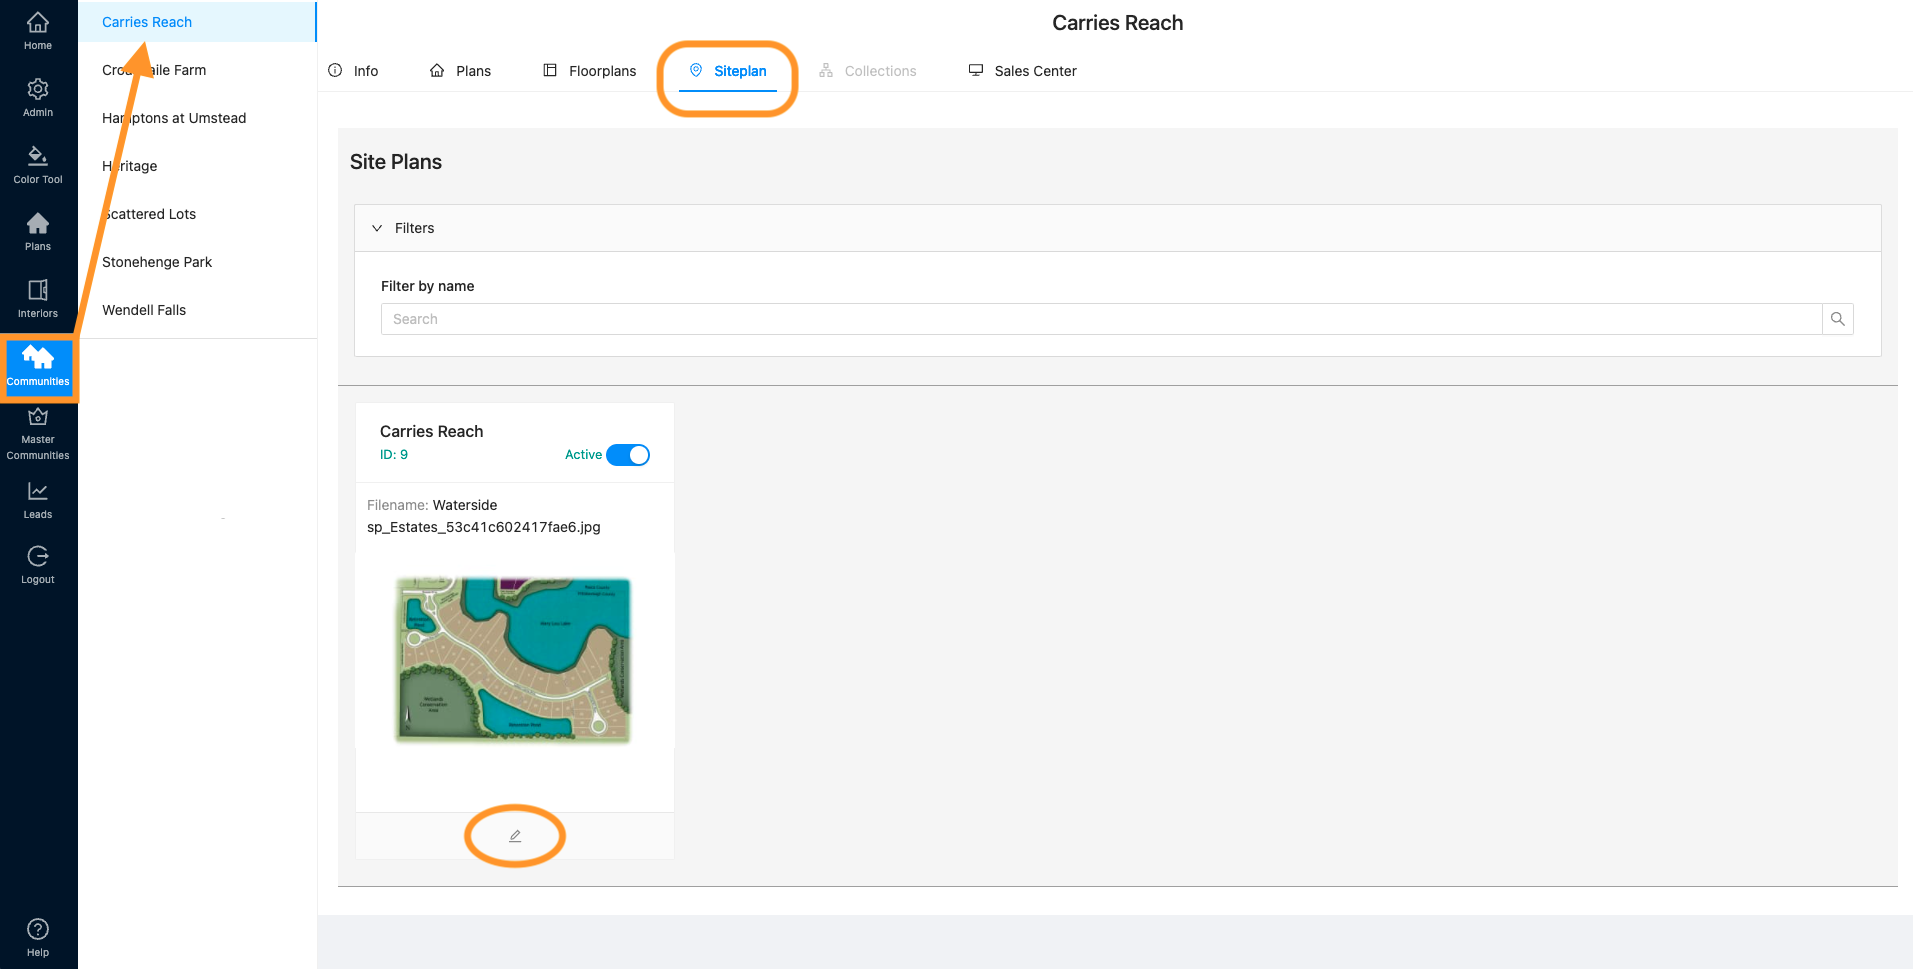
- To add or update photos for an Inventory home, go to “Communities” and select the community you need to work in, then click “Siteplan.” All of your siteplans for that community will display below. Click the pencil icon (edit) for the siteplan you need to work with.
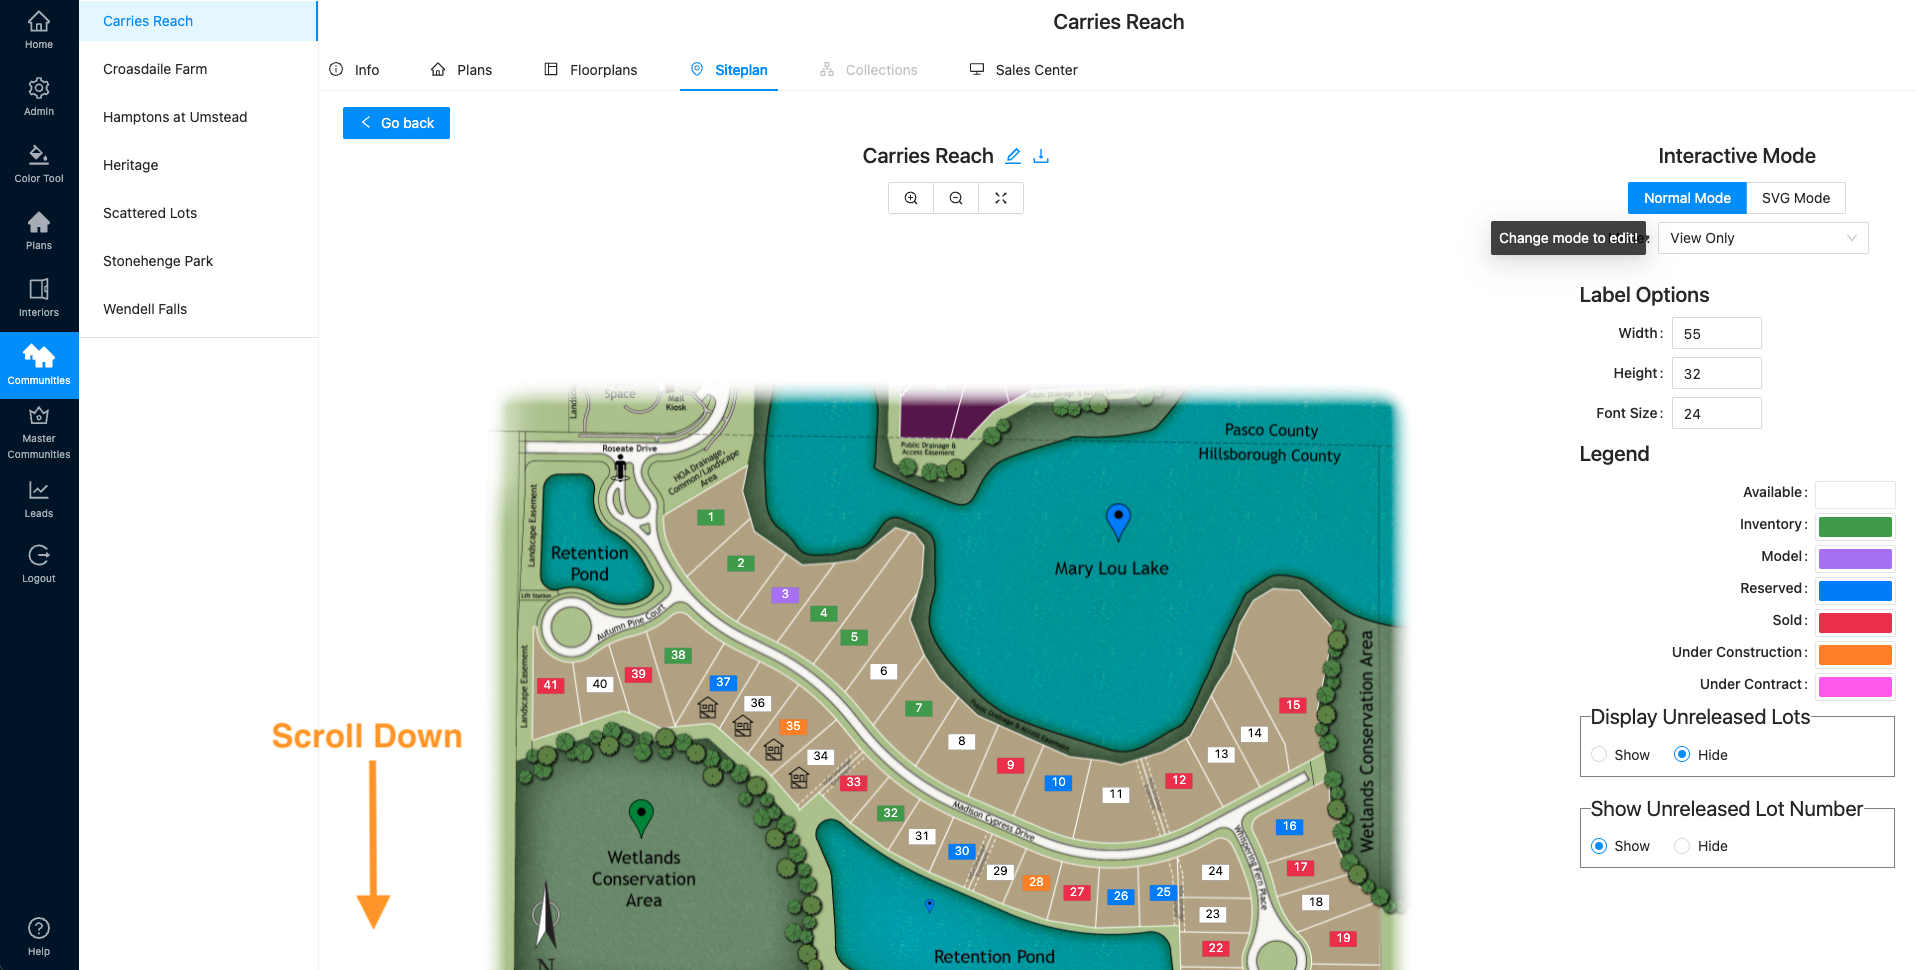
2. This will bring you to your siteplan map. Scroll down to the Home Sites list.
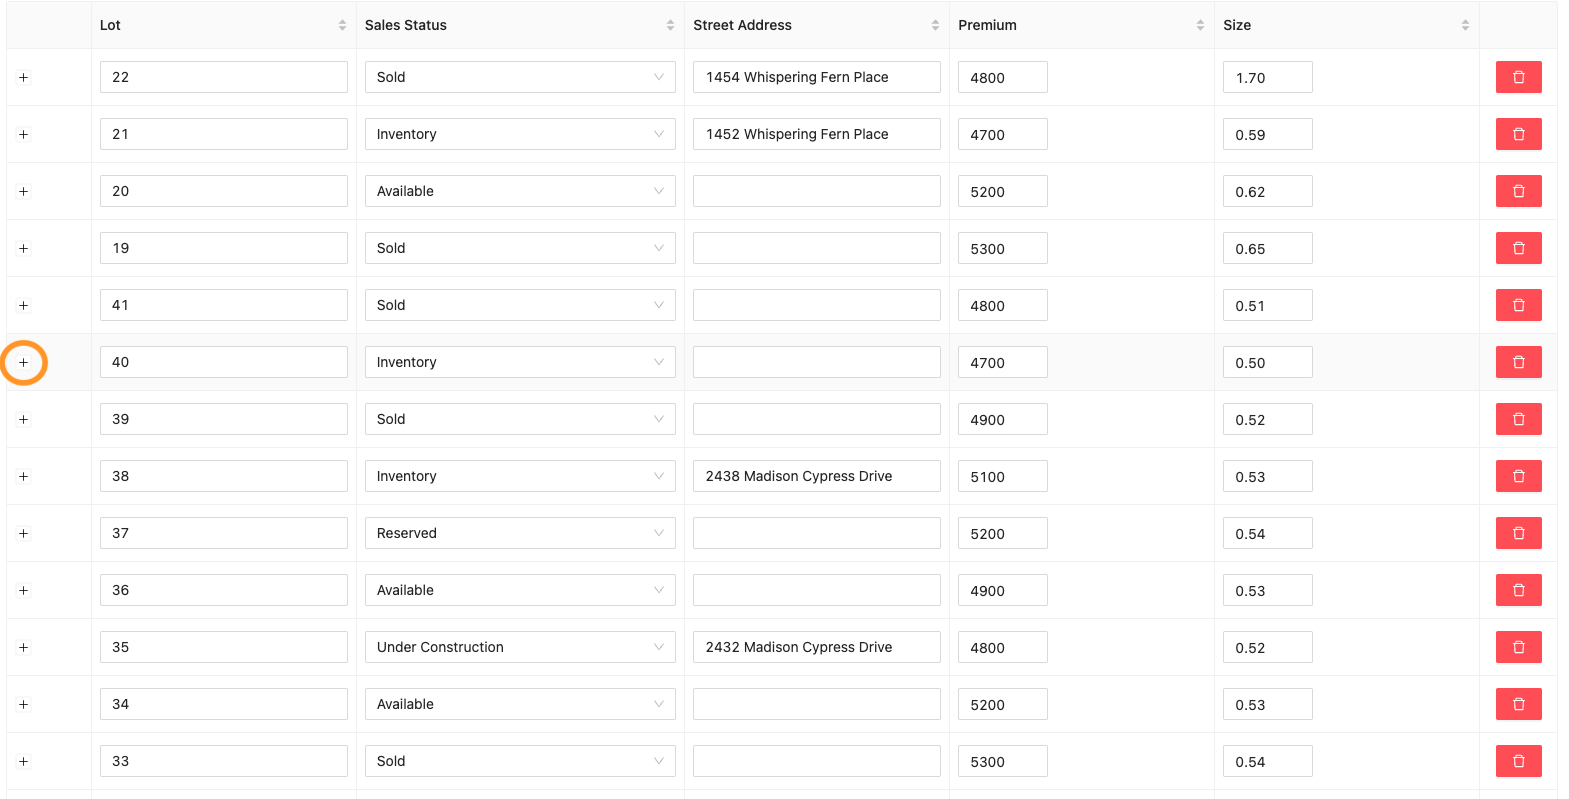
3. Find the correct lot and click the plus sign to expand the options.
4. Click the Inventory tab.
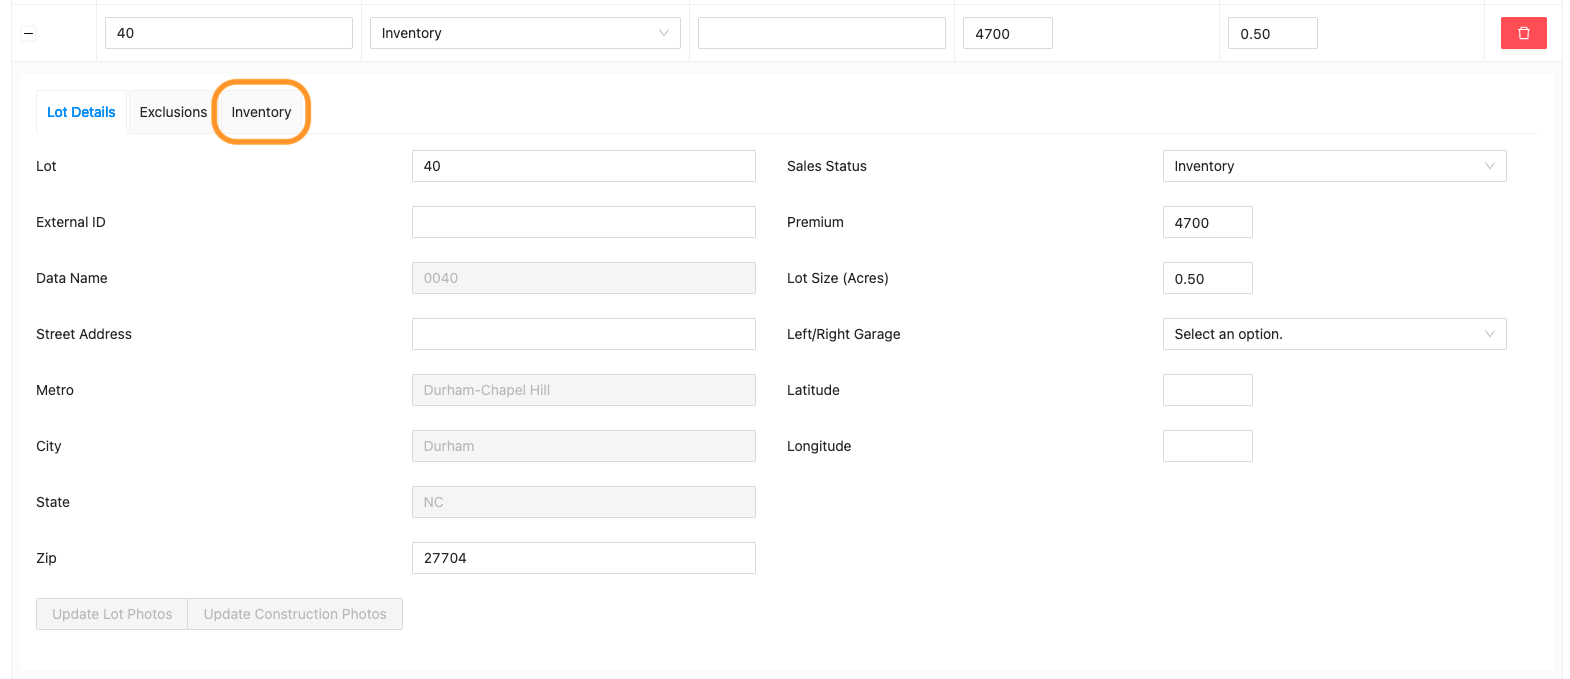
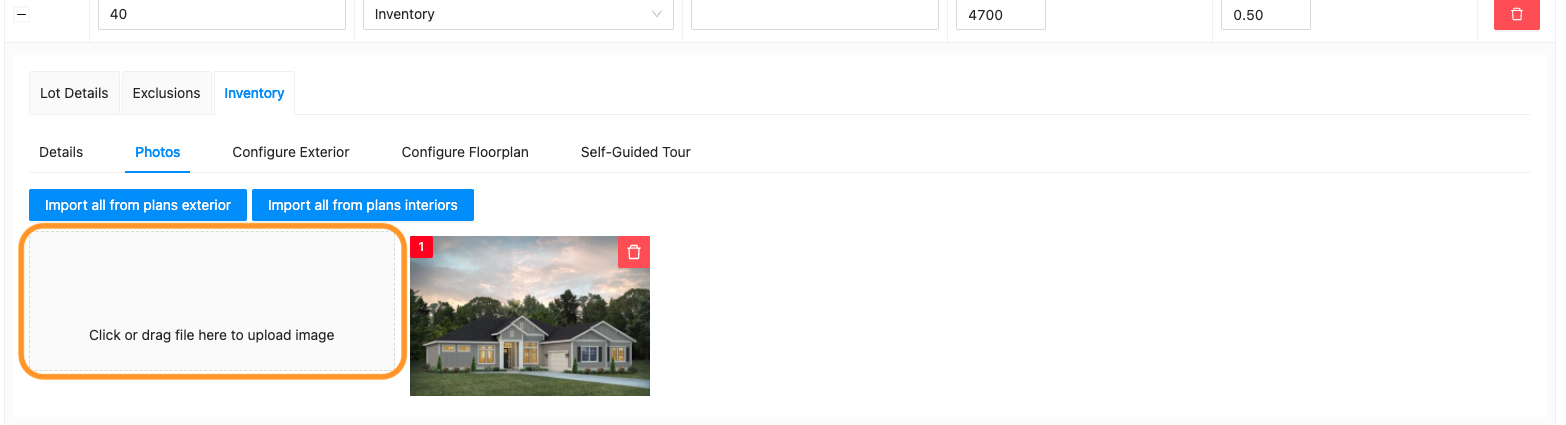
5. Click “Photos”
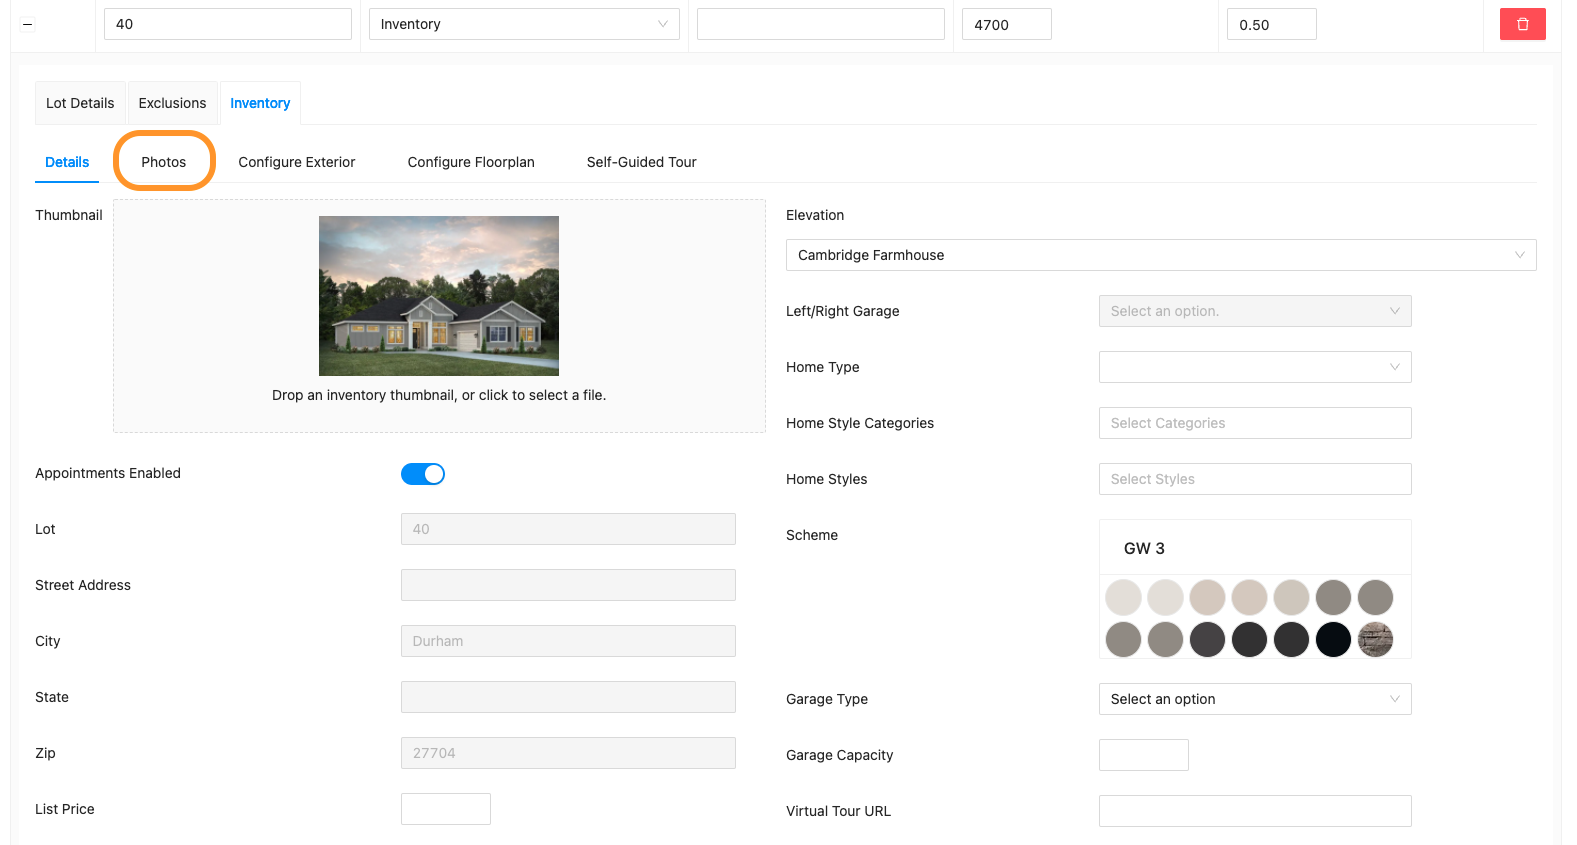
6. If you have already completed Configure Exterior, you will see the thumbnail image of the home included in this section. If no image is there, that is fine too.
7. If you have content loaded in the Plan Assets for this elevation, you can simply click “Import all from plan exterior” or “Import all from plan interiors.” This will pull all of that content and add it to this Inventory home.
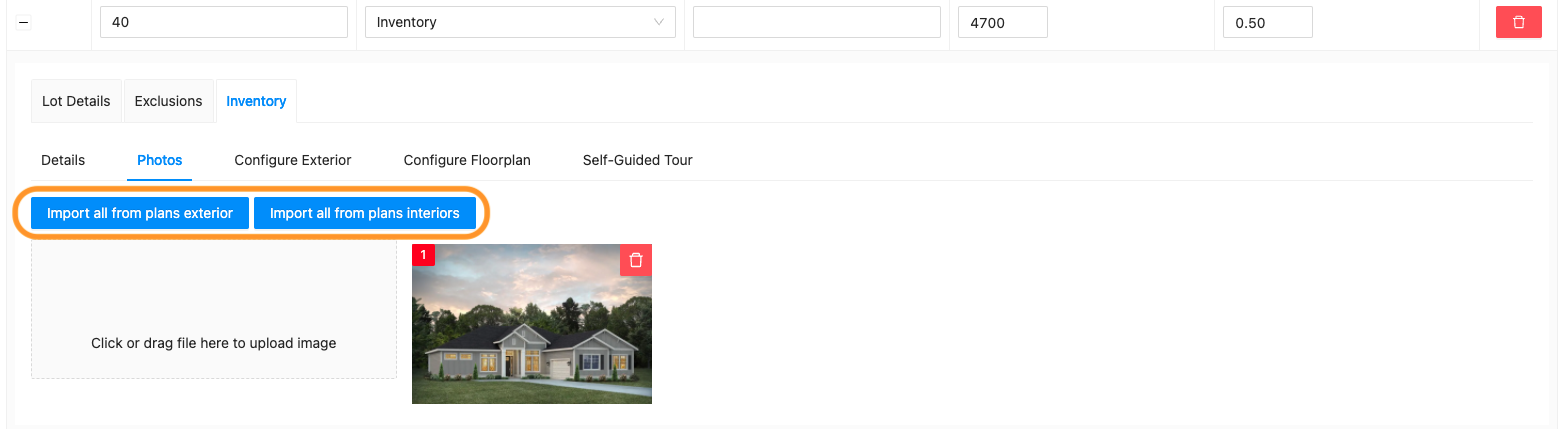
8. Alternatively, you can Click & Select or Drag & Drop photos to upload them.
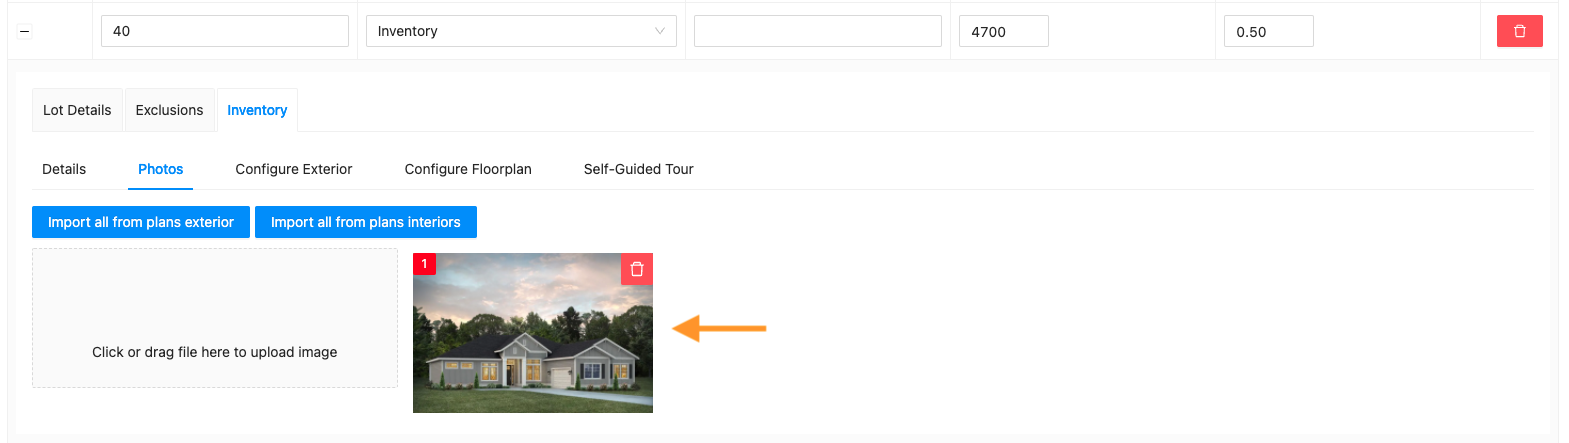
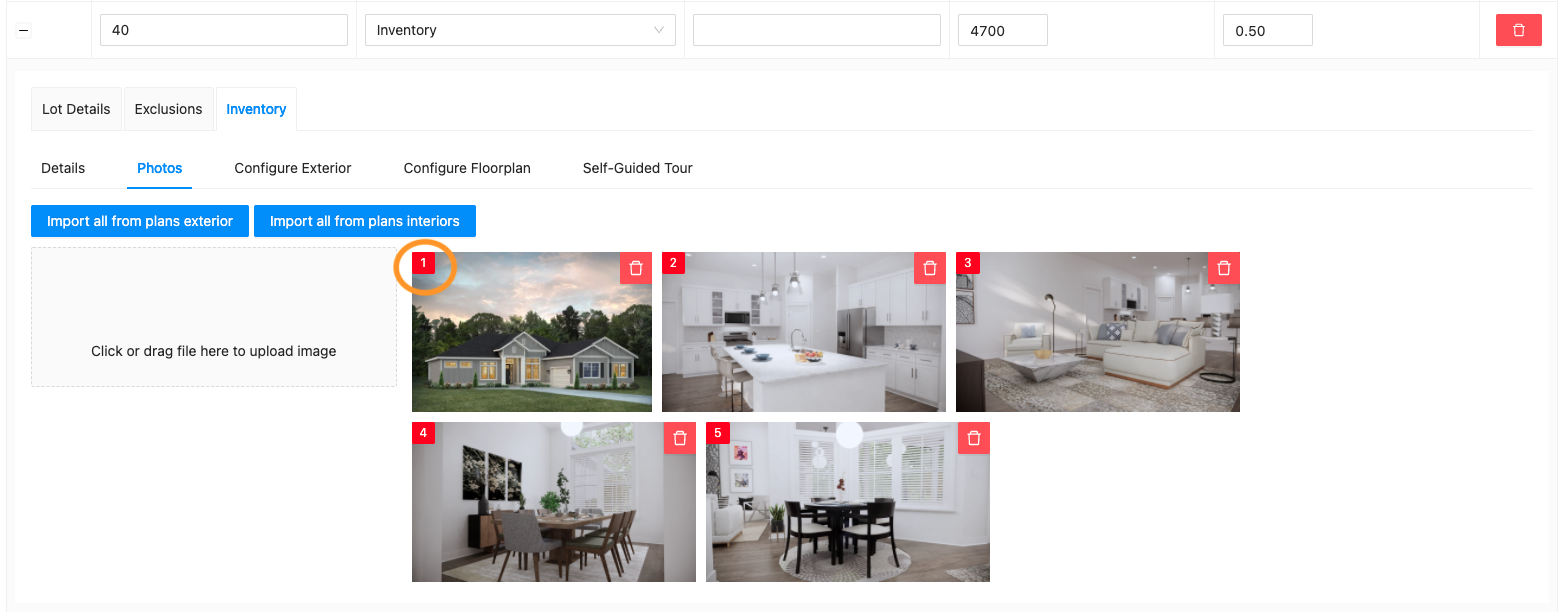
9. The number in the upper left corner displays the order in which the photos will appear. The #1 photo will appear first and largest in the grouping of photos on the front end (see step 11 below). You can simply drag and drop the photos around to change their order.
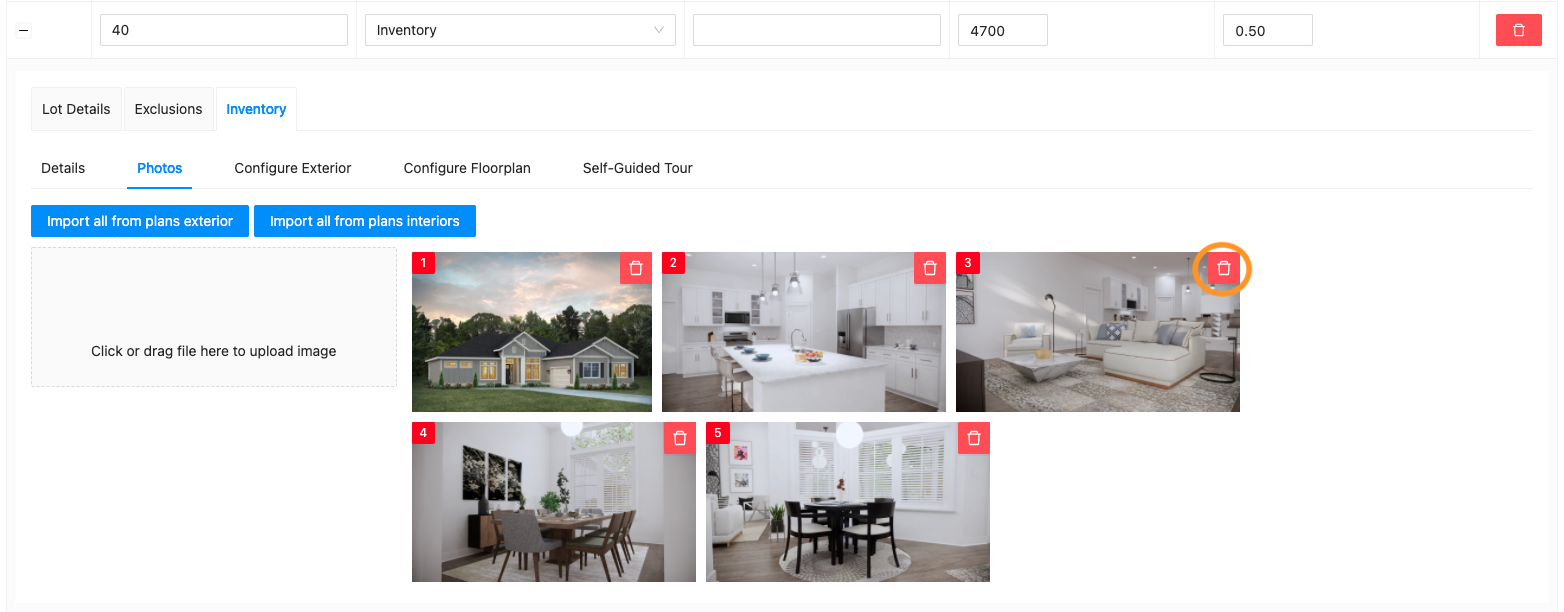
10. The trash can icon in the upper right corner is the Delete button to remove images no longer needed.
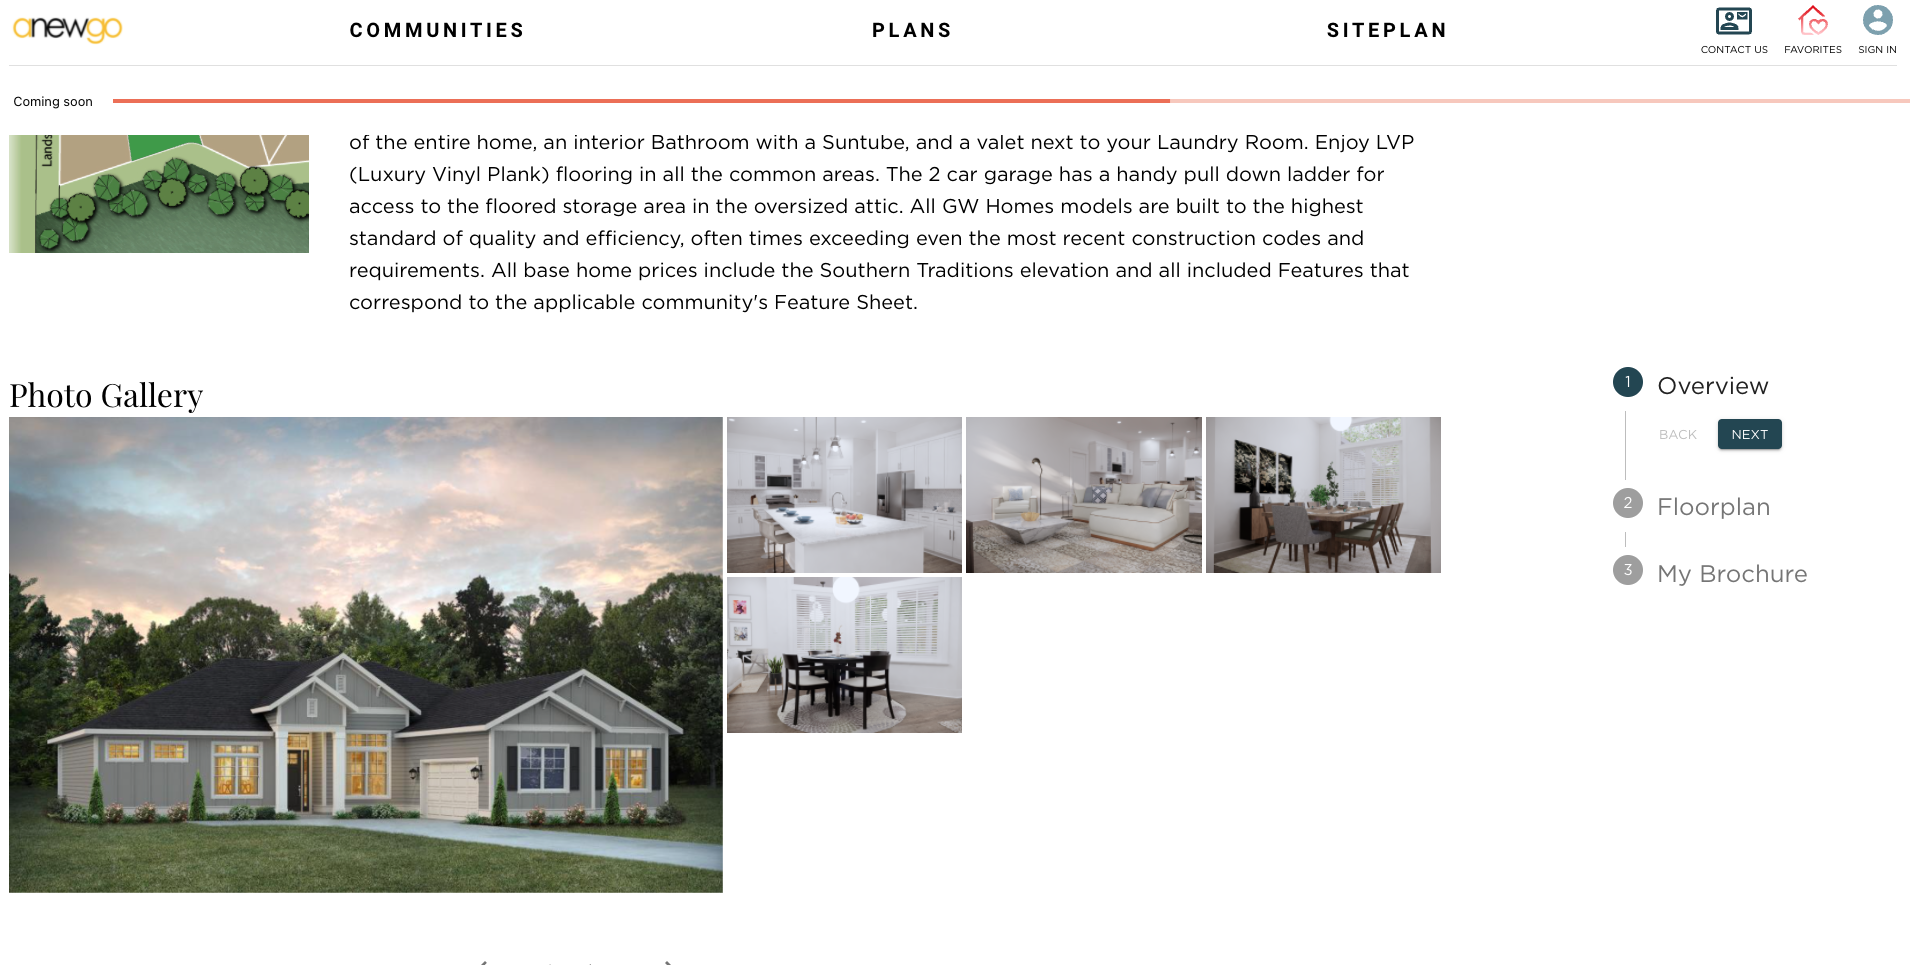
11. Once your photos are loaded and organized how you wish, they will now appear with this Inventory home on the My Home Page.