How to Add or Delete a lot on an Infill Siteplan.
How to Edit the Map View on an Infill Siteplan.
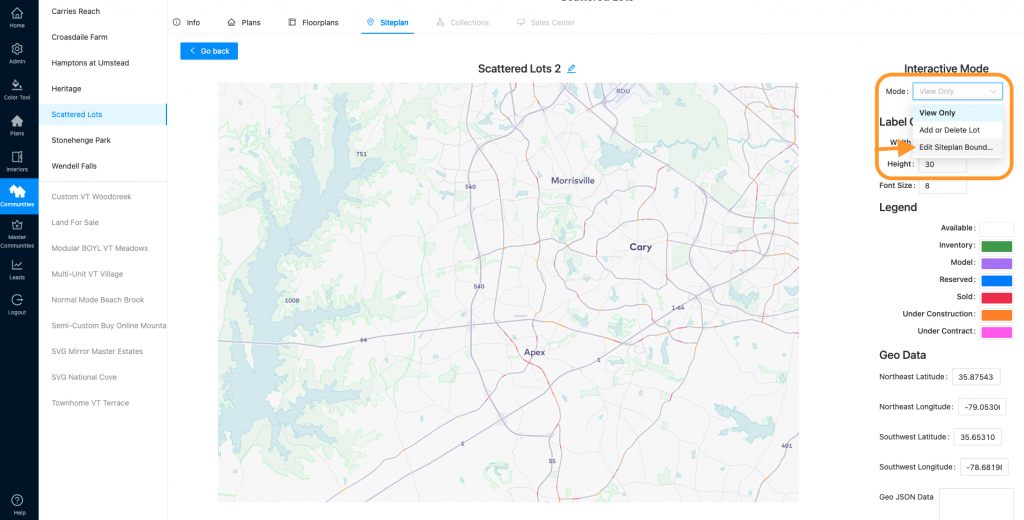
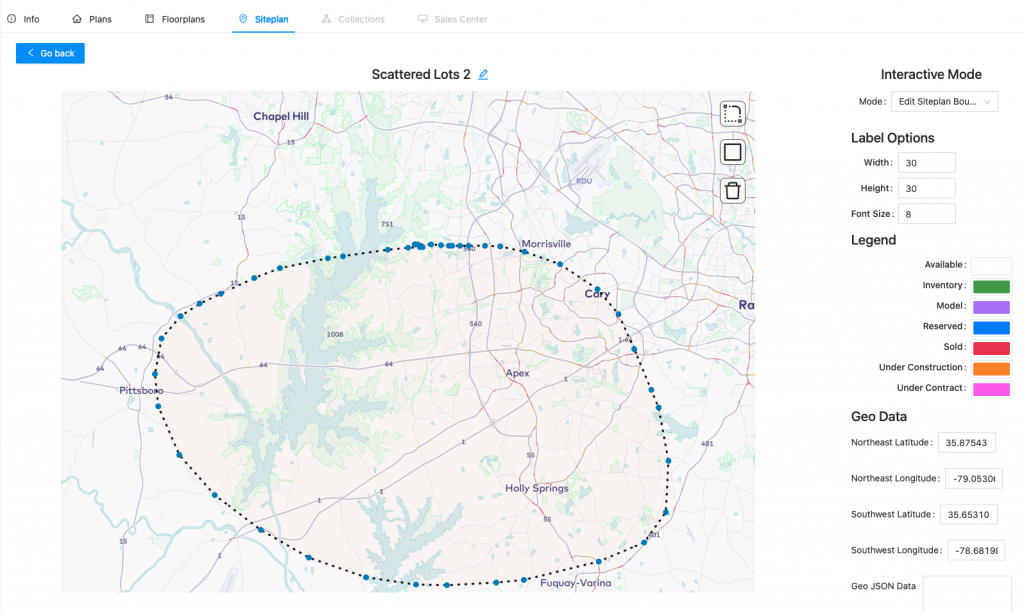
- To add a boundary outline to your geo/infill siteplan, navigate to Communities and select the correct community. Then click Siteplan. Find the correct siteplan and click the pencil icon (edit).

2. Select “Edit Siteplan Boundary” from the Mode dropdown. (Note: The boundary is a specific area where you build homes that is smaller than the map shown)
3. Two options appear on the siteplan: 1) draw a shape or 2) create a polygon shape.
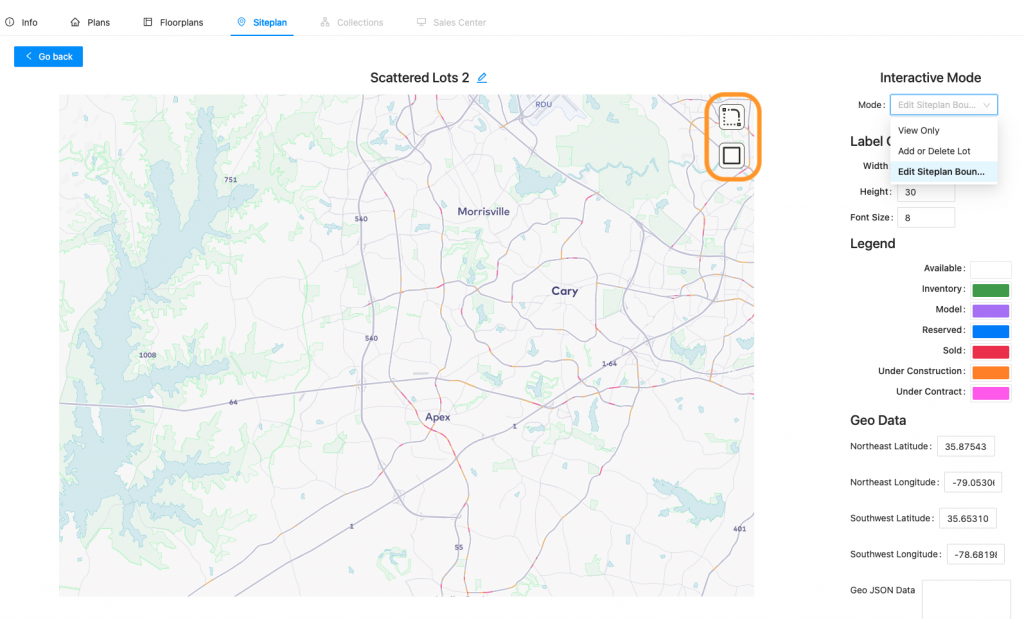
4. To draw a shape, click on the top icon.
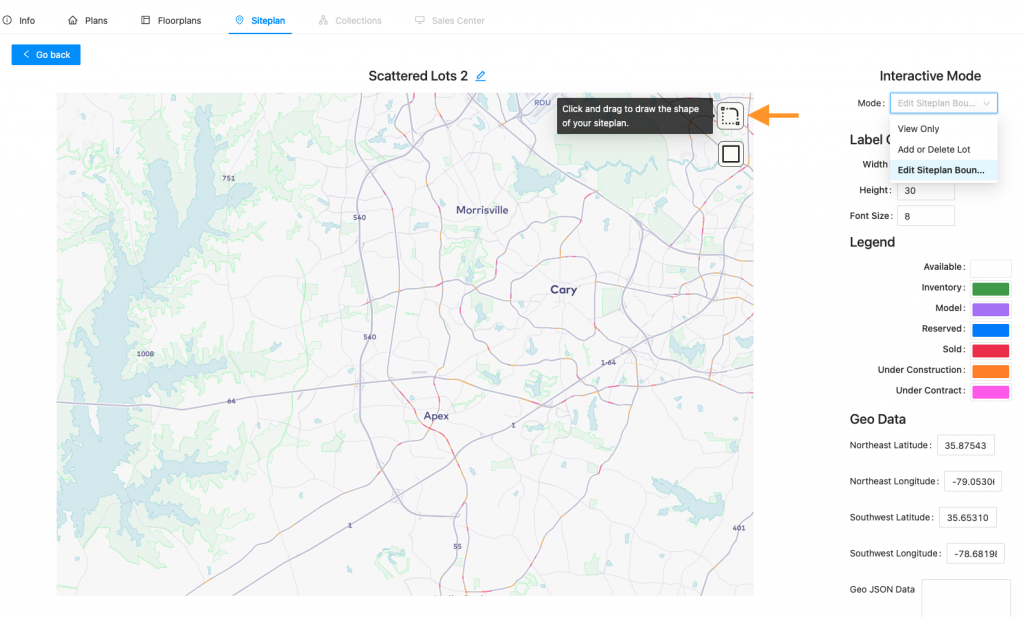
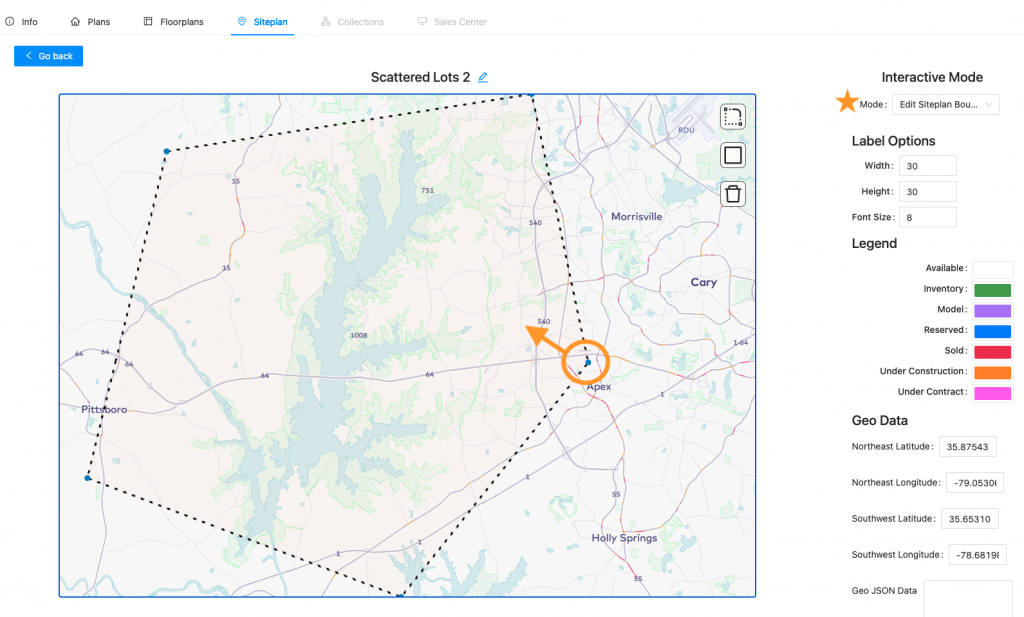
5. Then click once on the map and move your mouse to draw the shape you would like. (Don’t worry if you do not get it correct the first time – you can delete and try again!)
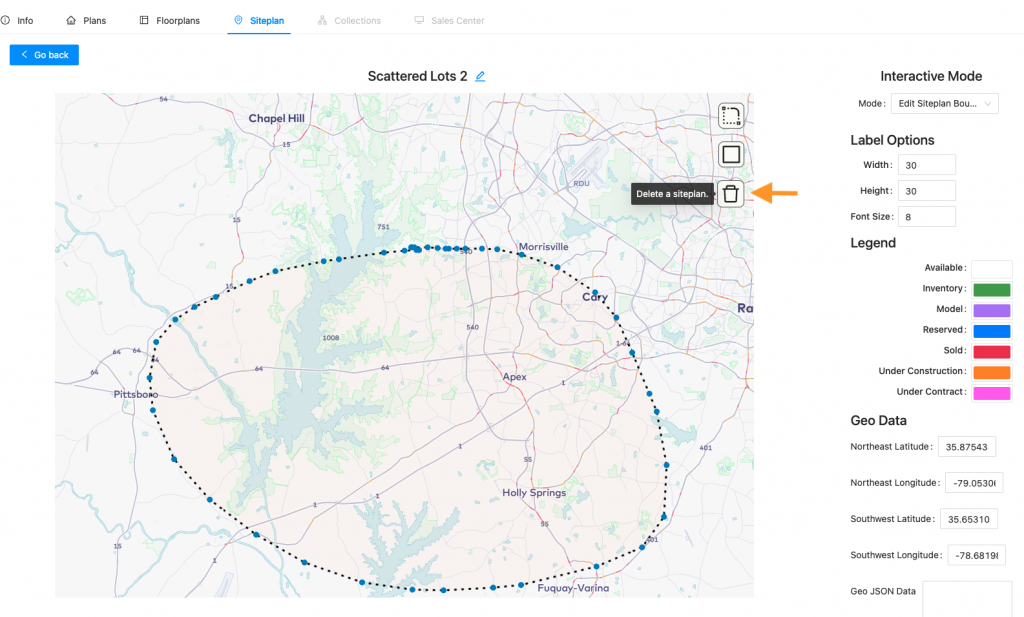
6. To delete, click the trash can icon. See how to adjust the boundary in step 10.
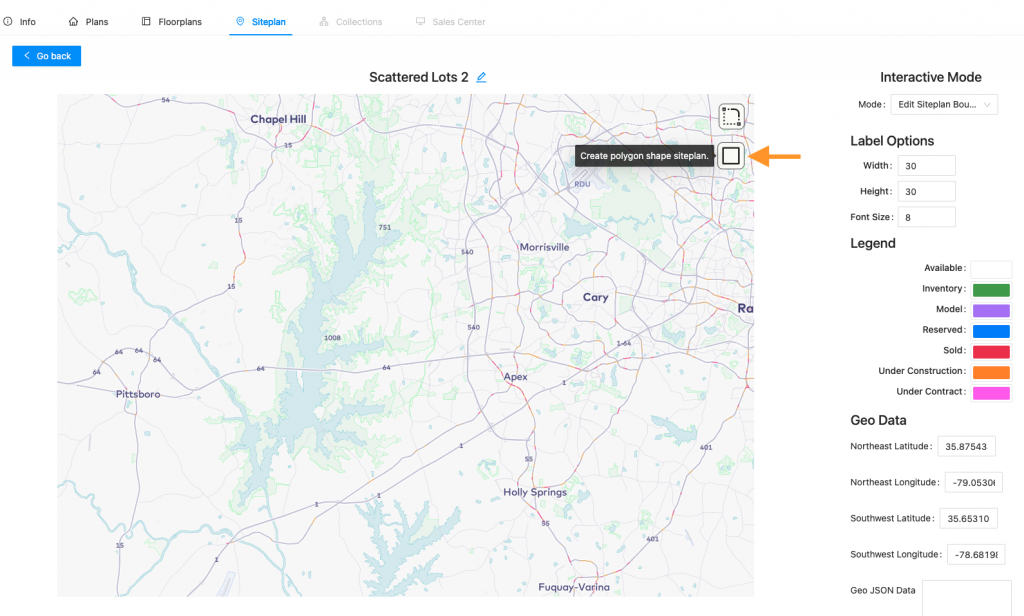
7. To add a polygon shape, click the square icon.
8. Click anywhere on the map to start your shape and then continue clicking each point of your shape.
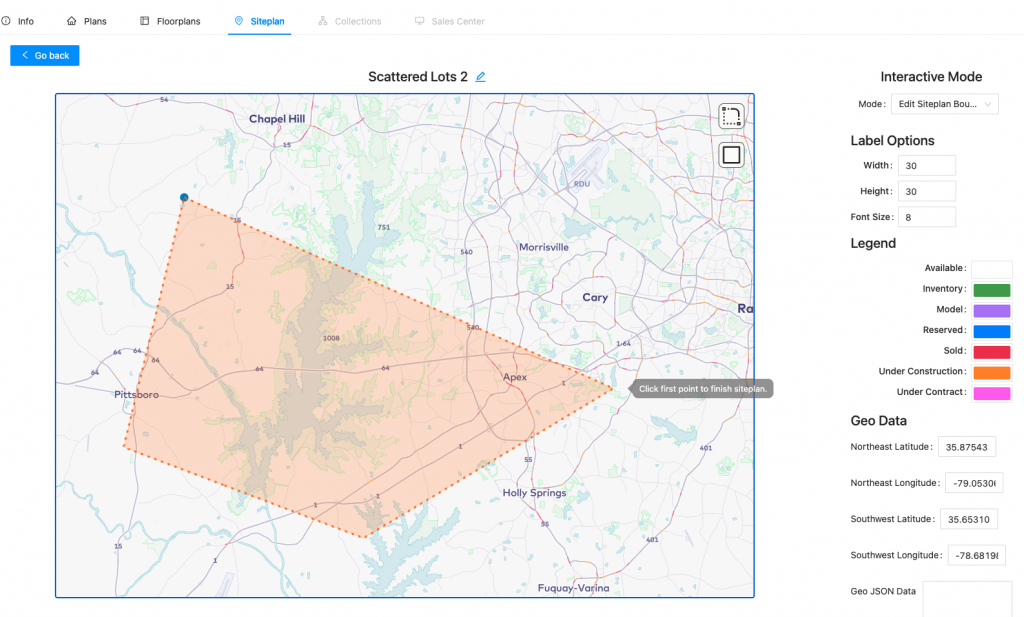
9. Be sure to click your starting point in order to complete your shape.
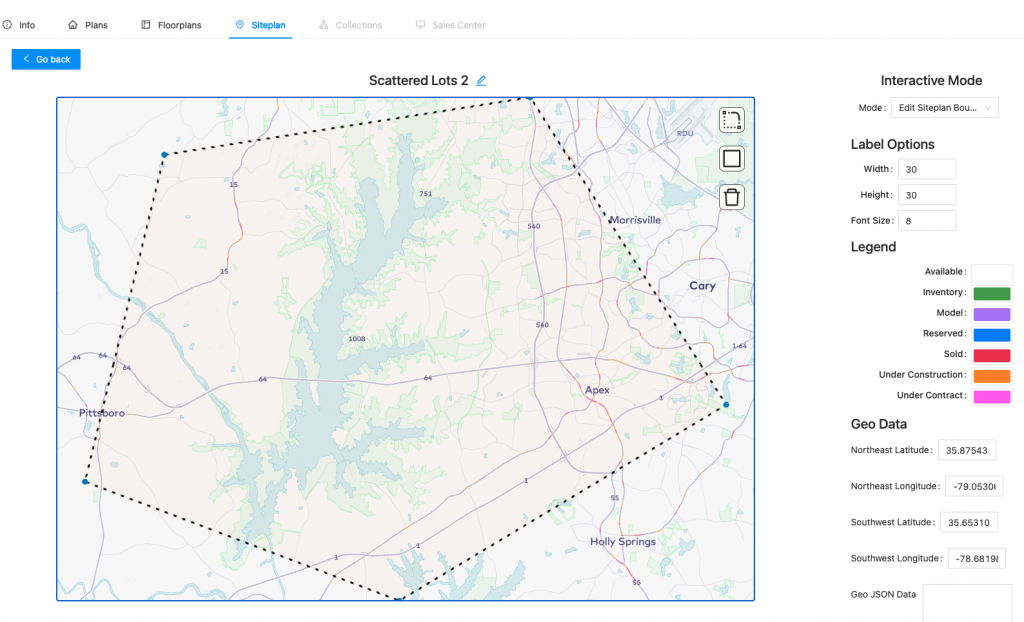
10. You can adjust your polygon shape or your drawn shape (step 5) by selecting any of the dots on the border of your shape and moving it. (Make sure you are in Edit Siteplan Boundary mode to do this!)