
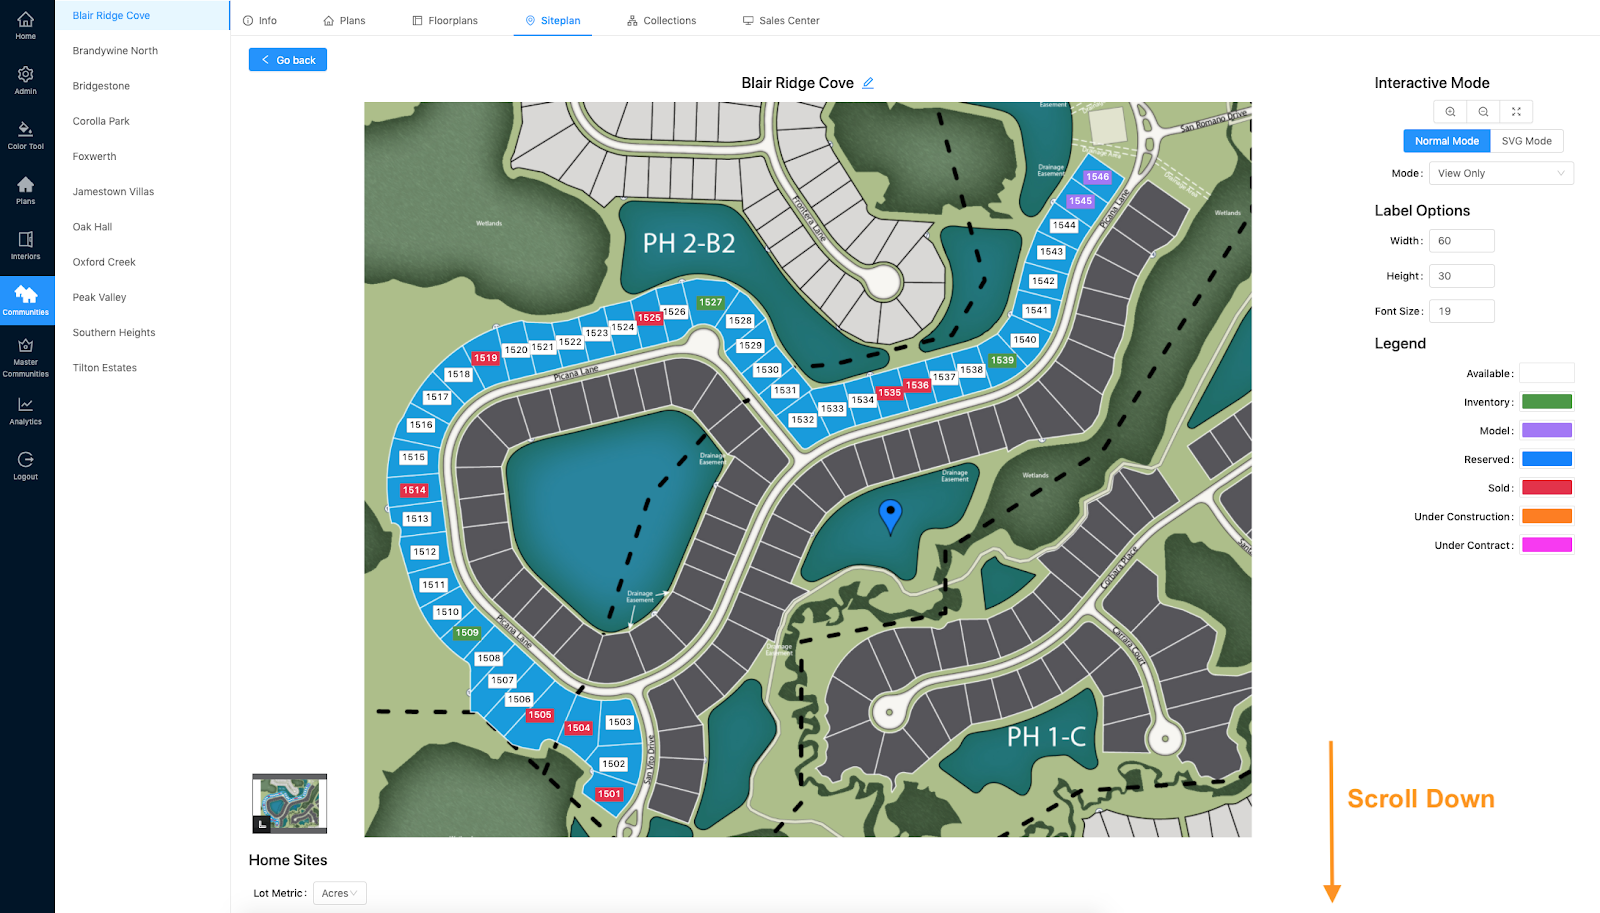
- Navigate to the community you want to add self-guided tours to and click “Siteplan.” Then click the pencil icon (edit) on the siteplan card.

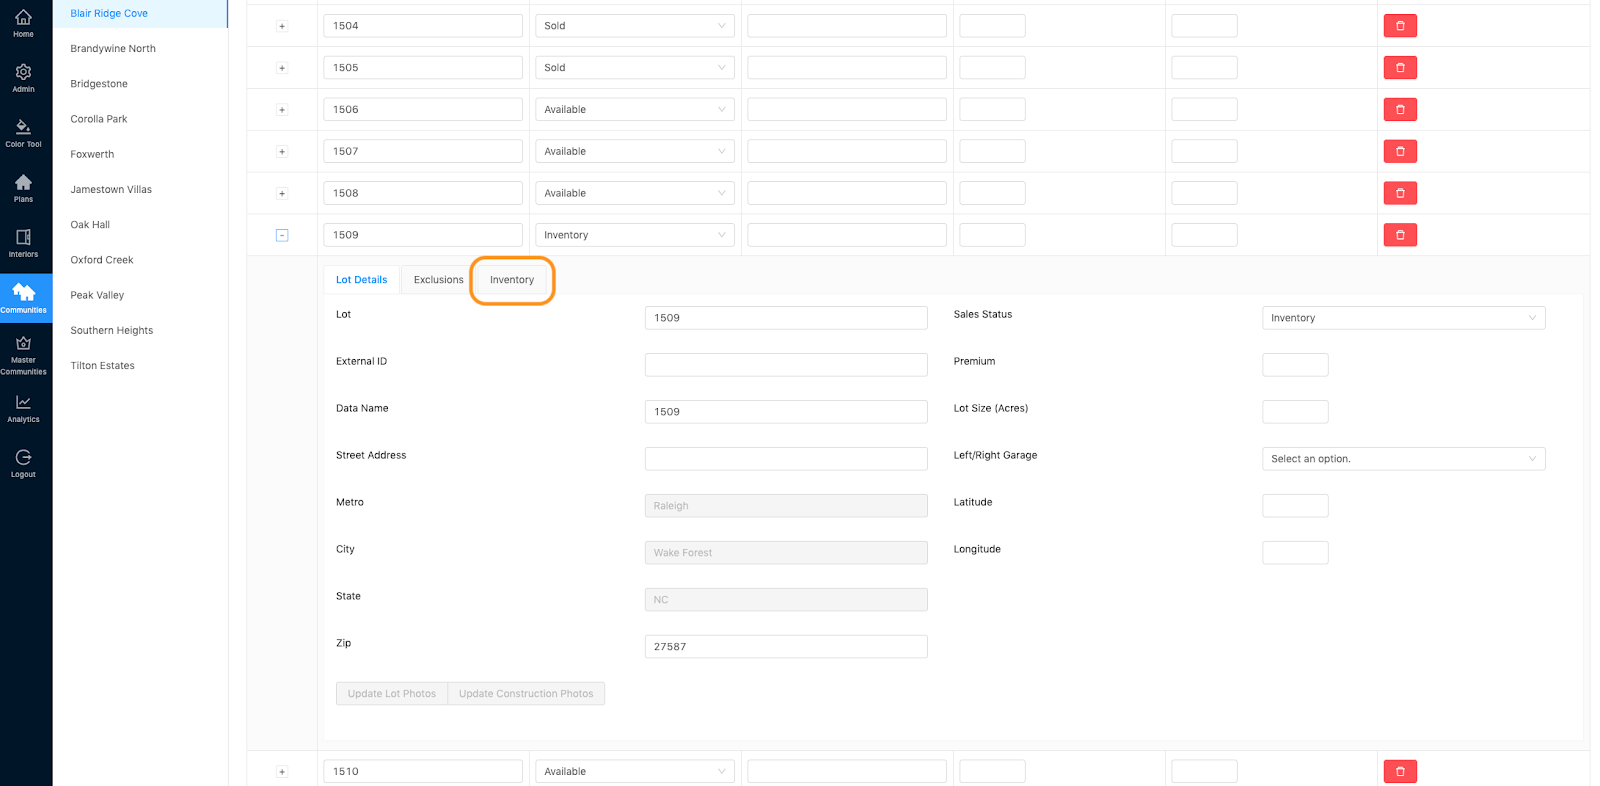
- Scroll down to the list of lots.
- Find your inventory lots (or create the inventory lots you need – see training here if needed). Click the + to expand editing options.

- Then click the “Inventory” tab.
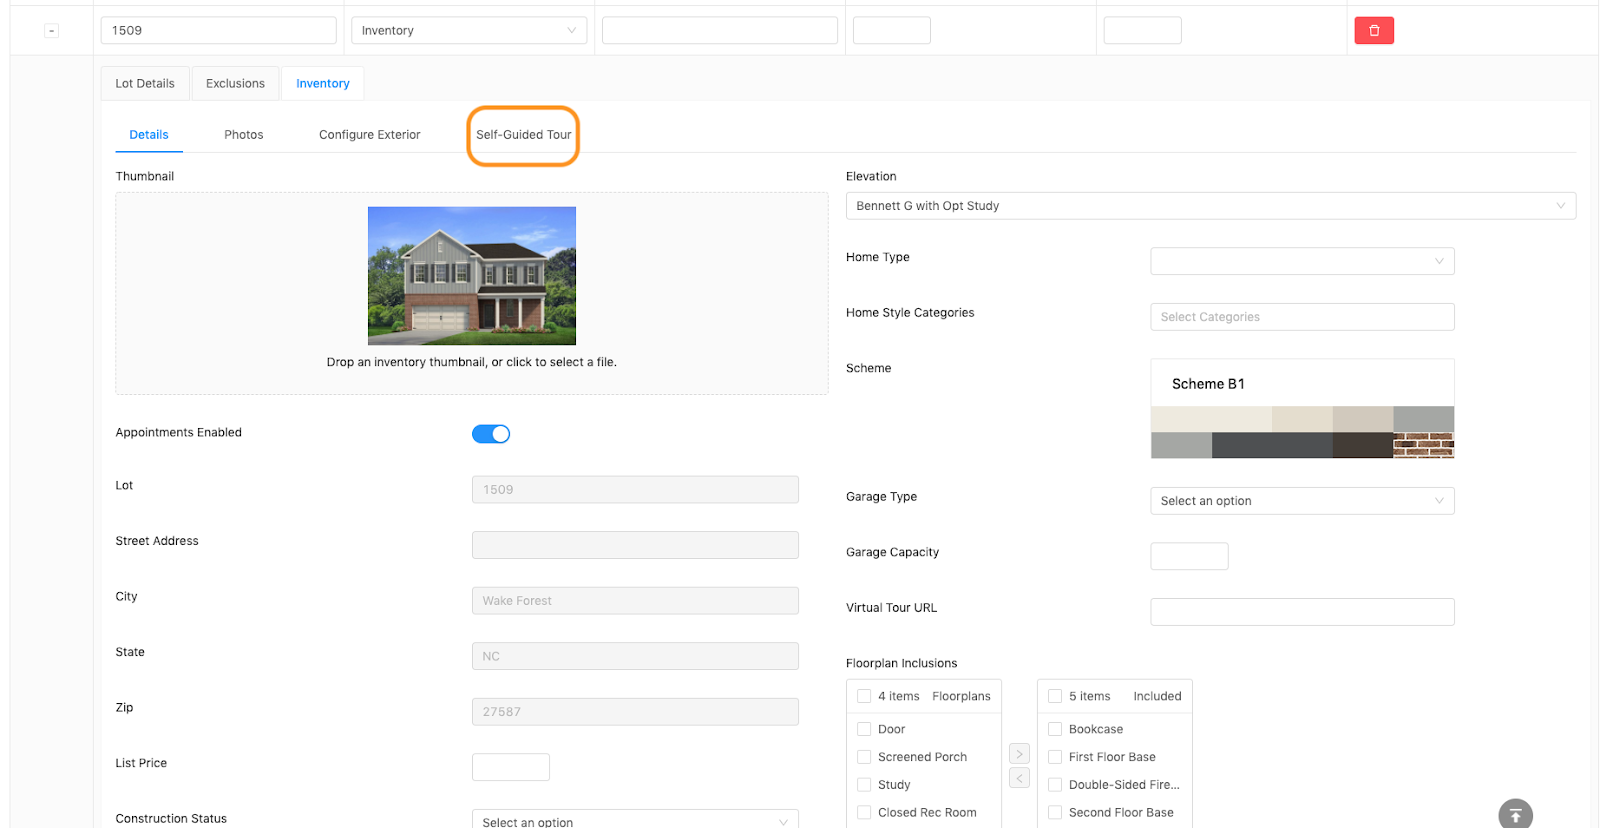
- In the inventory tab, click “Self-Guided Tour” (Note: The Appointments Enabled toggle underneath the thumbnail image is automatically turned on. Simply switch it off to no longer allow users to request appointments.)
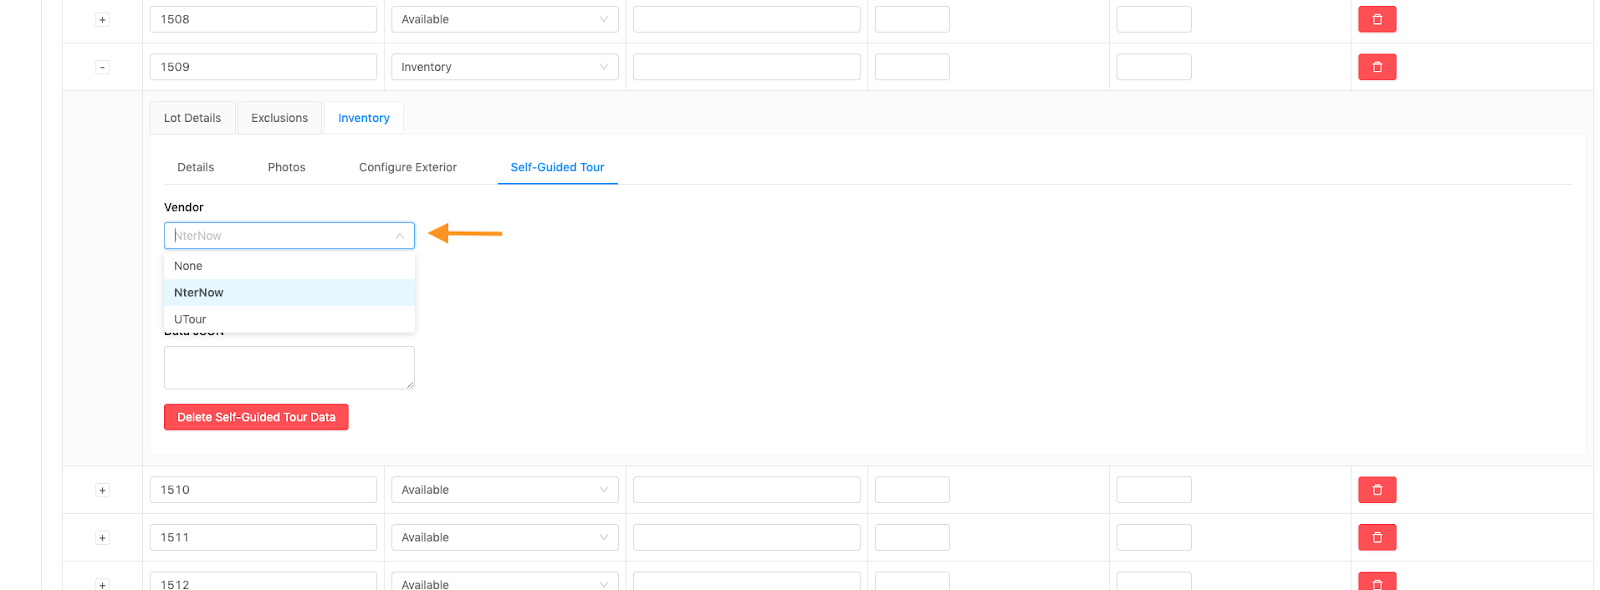
- Then click the “Add Self-Guided Tour” button.

- New options will appear. If you have multiple vendor options, you can select them from the dropdown. (Note: if you need to add a new/different vendor, please contact kim@anewgo.com to do so) You can also delete the self-guided tour data here if needed.
- That’s it! Now you can see your SGT lots on the front end of your app. Just switch the “Show Self-Guided Tours” toggle on in the legend box to see them. Click here to see more about Self-Guided Tours on the front end (buttons, filtering, etc).
