
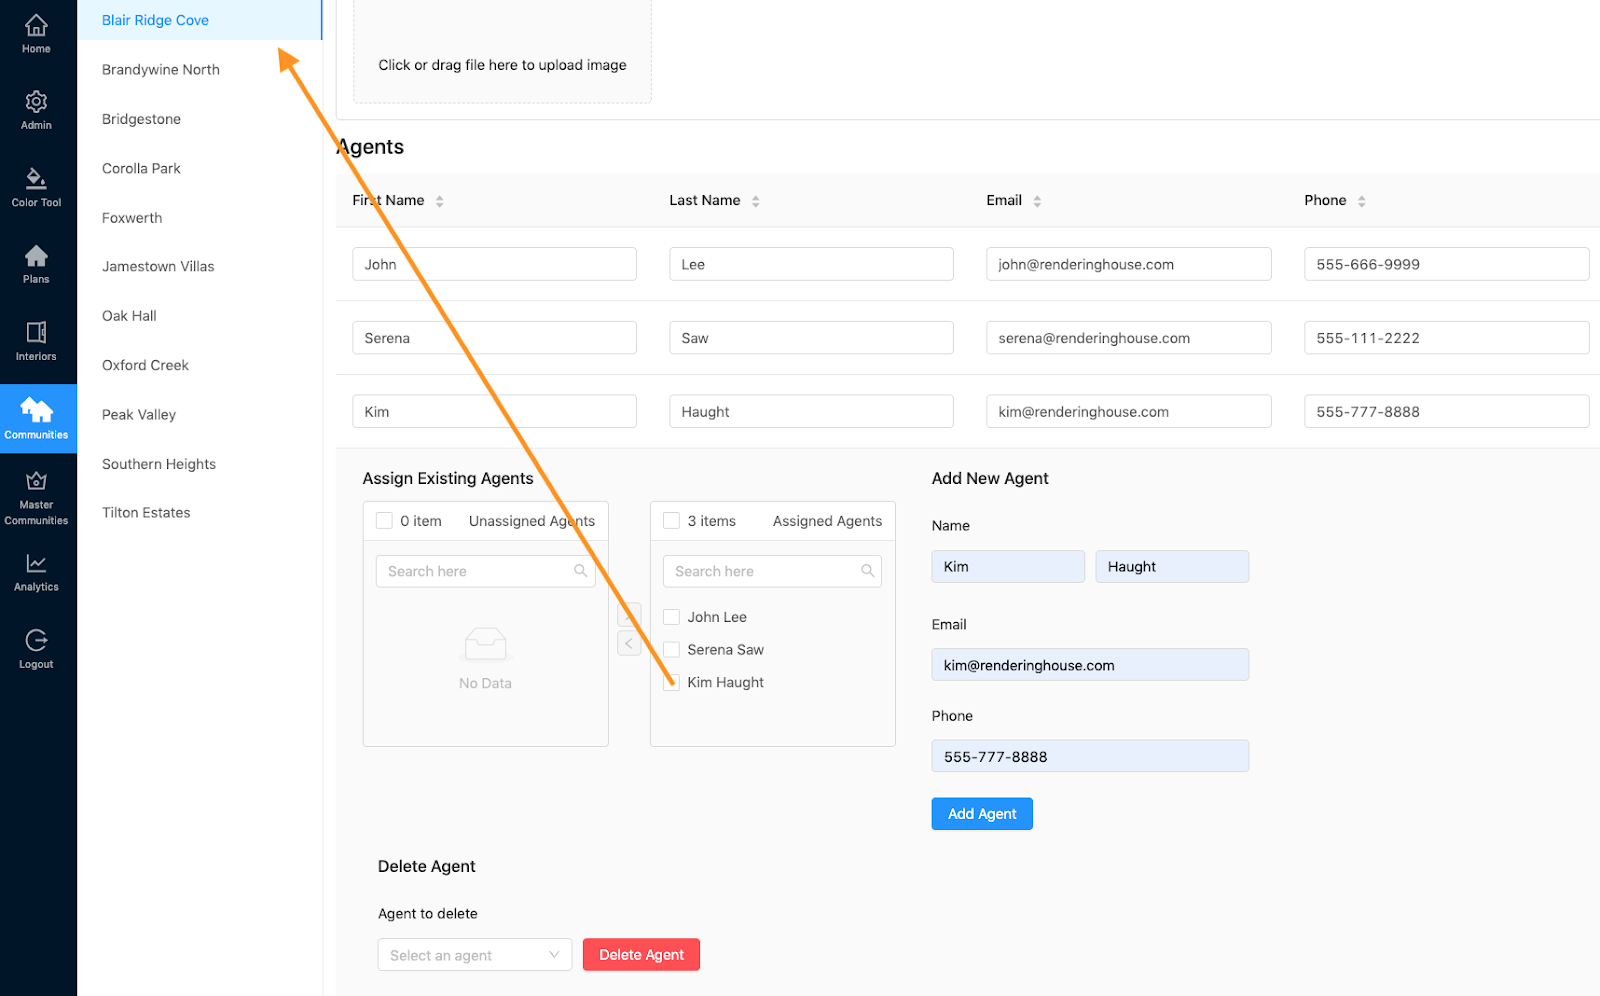
- To add or edit an agent, go to “Communities” and “Info.” Scroll down to the “Agents” section.

- This is where you can add, edit, or delete agent information.

- To add an agent, fill in the information in the “Add New Agent” section. Then click “Add Agent”. Note, the only characters allowed are alphabet characters in lower and upper case as well as all characters with diacritics. The only non-alphabet characters allowed are space, hyphen and apostrophe.

- The name you add will appear in the “Assigned Agents” list.

- The agent automatically goes to the “Assigned Agents” list in whichever community you added the agent in.
- When you switch communities, the agent will be listed in the “Unassigned Agents” list.

- To move the agent from “Unassigned Agents” to “Assigned Agents” select the agent(s) you want to move in the list. Then click the > (or vice versa if you want to move an agent from “Assigned Agents” to “Unassigned Agents”)
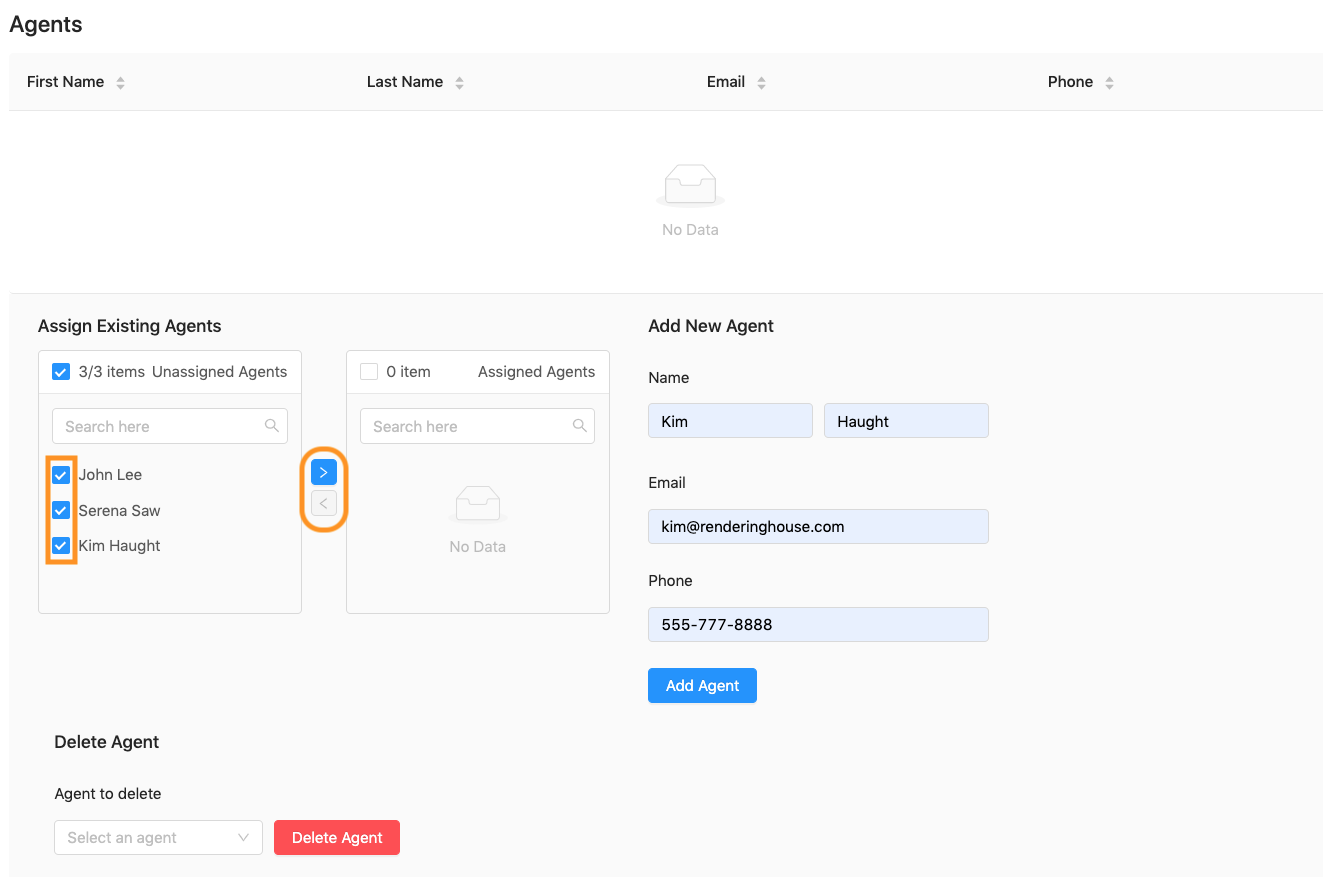

- When an agent is moved to “Assigned Agents”, the agent’s information will appear in a list format which you can edit or update if needed.

- To delete an agent, find the name you want to delete in the dropdown menu. Then click “Delete Agent”

- Another window will pop up to confirm if you wish to delete the agent or not.
