
- Click on “Communities” and then click on “Sales Center.” Make sure the community you wish to work with is selected in the community list.

- This will automatically bring you to the “Main Photos” tab. This particular community already has images in it. See step 3 for what it would look like if it was empty.

- If you do not have photos in your sales center yet, this is the view that you would see. Simply click on the box OR drag & drop the photos you wish to add.

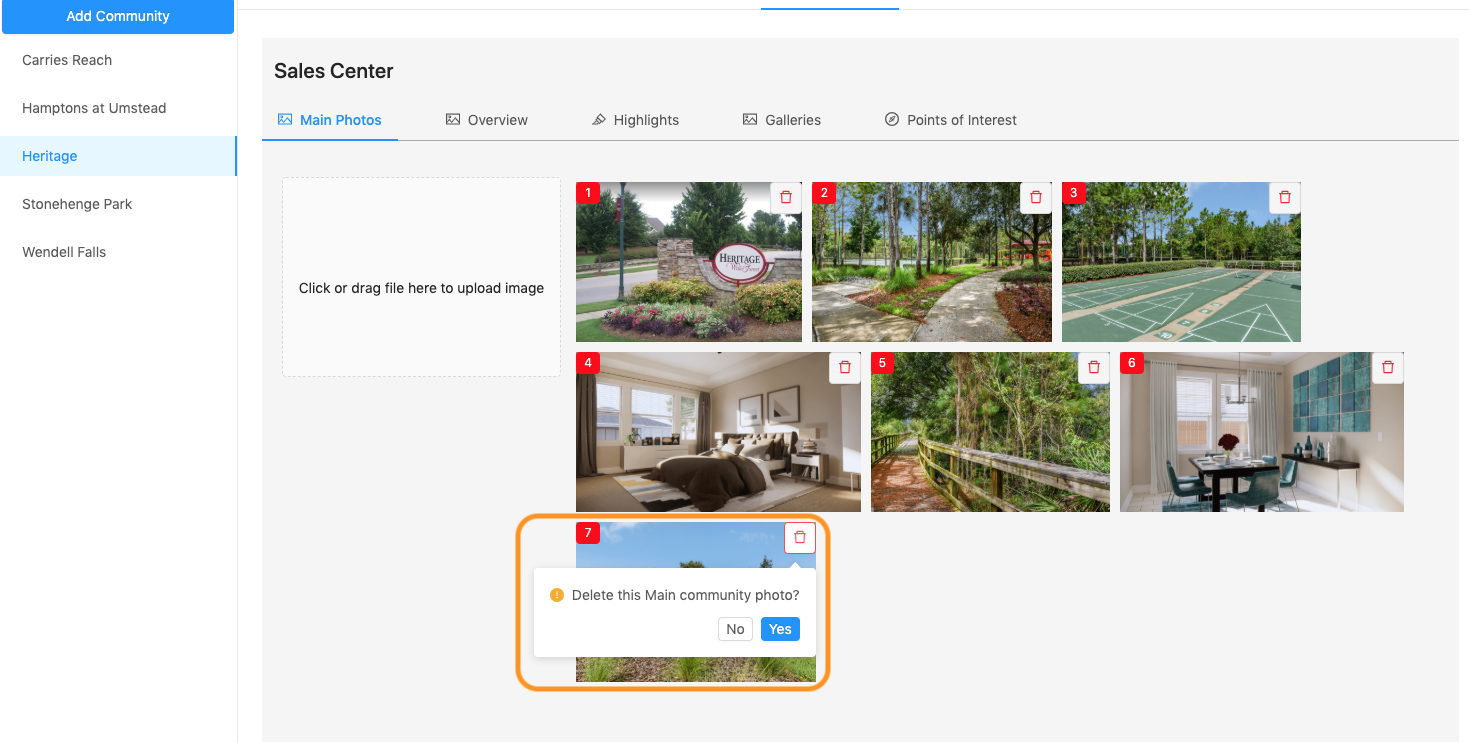
- The red numbers indicate the order in which the photos appear on the front end of the app.

- If you want to reorder the photos, click on one photo and drag it to the new position.


- The trash can icon in the upper right of each photo is the “delete” button. Clicking this will bring up another box to confirm you wish to delete that photo.
- When you are happy with your selections and order of photos, you can see them displayed on the “Main” page of your sales center app. (Note: they are on a 3 second side scroll)

Note: We can import data from one completed kiosk to another one for Main Photos. Contact your Account Manager or kim@anewgo.com if you would like to do this.